
How To Make Friendship Bracelets (15+ Step-by-Step Guide)
If making friendship bracelets seems intimidating, I’m here to help. Between making friendship bracelets as a kid and making them with my own kids, I’ve probably made hundreds of them. In this post, I’ll teach you everything you need to know about how to make friendship bracelets and show you step-by-step how to make 5 different kinds. They range in difficulty from beginner to advanced, so there’s something for everyone!
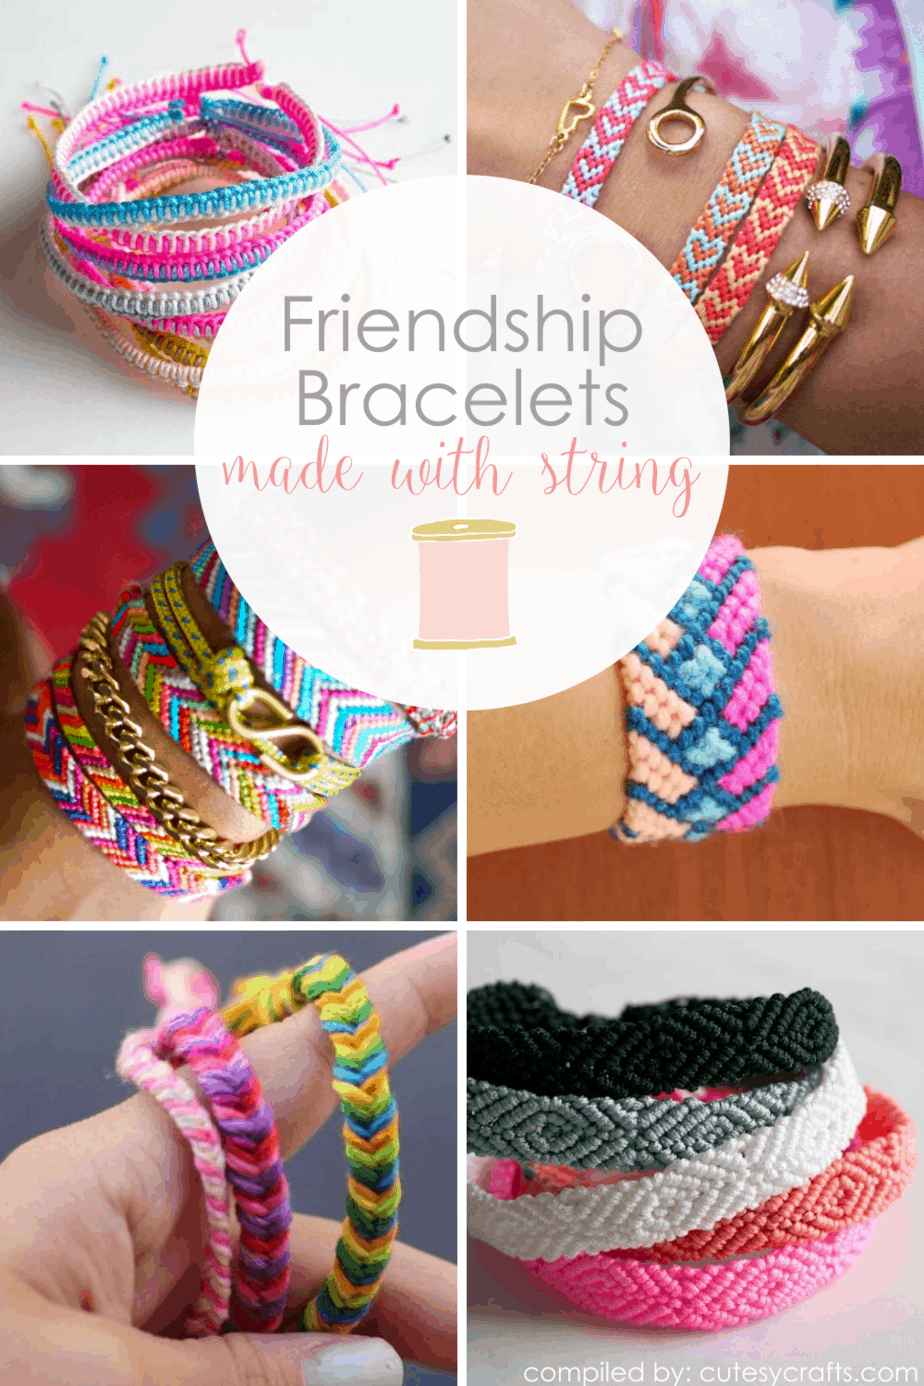
Friendship Bracelets
Making friendship bracelets doesn’t need to be hard. Let’s talk about what supplies you need, how to choose colors, how to make friendship bracelet knots, and teach you how to make them. I’ve got step-by-step photos and a video to help. Let’s get started!

Friendship Bracelet Supplies
(This post may contain affiliate links, which means I may receive a commission, at no extra cost to you, if you click a link and purchase something that I have recommended.)
- Embroidery floss in various colors
- Masking tape, a clipboard, or safety pin to hold the floss down
- Scissors

Friendship Bracelets String
The best type of string for friendship bracelets is embroidery floss. It doesn’t matter what brand you use. Amazon has some fun packs of floss that have all different kinds of colors for a reasonable price.

How to Make Friendship Bracelets (The Knots You Need to Know)
Watch the Video
If you’re more of a video learner, I created a step-by-step video tutorial on how to make friendship bracelets. You can watch it below.
Friendship Bracelet Knots
There are two basic moves that make up friendship bracelets. The forward hitch and the backward hitch. They create the four knots that you use to make bracelets.
Forward Hitch
- Lay the left string (pink) over the right string (blue), creating the shape of a number 4.
- Take the pink string under the blue string and through the hole in the 4 shape.
- Pull the pink string to the right, while keeping the blue string straight.

Backward Hitch
- Lay the right string (pink) over the left string (blue), creating the shape of a backwards number 4.
- Take the pink string under the blue string and through the hole in the 4 shape.
- Pull the pink string to the left, while keeping the blue string straight.

Create Knots
The forward hitch and the backward hitch make up the four friendship bracelets knots:
- Forward knot = 2 forward hitches
- Backward knot = 2 backward hitches
- Forward backward knot = 1 forward hitch + 1 backward hitch
- Backward forward knot = 1 backward hitch + 1 forward hitch
Friendship Bracelet Patterns
Now that you know the four friendship bracelet knots, you can learn to read a friendship bracelet pattern. The letters on top show the different colors of thread. The numbered rows on the left indicate what row you are on. The different arrows show you what knots to use.

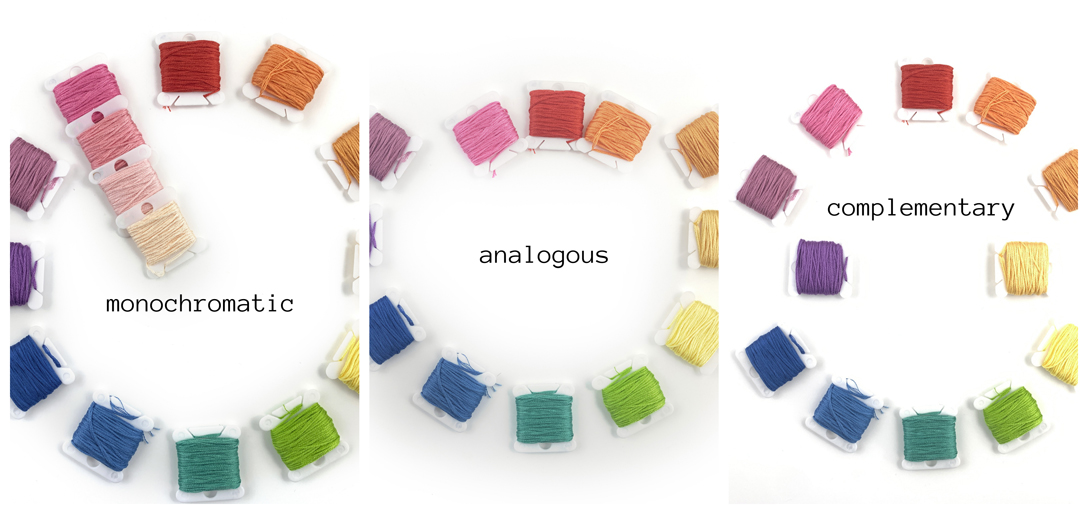
How To Choose Your Friendship Bracelet Colors
Color theory for friendship bracelets works just the same for any other form of art. There are different color schemes that look nice together that are based off the color wheel. Or you can just have fun and choose whatever colors you like! There are no rules, but here are some common color schemes just in case.
- Monochromatic – Different shades of the same color.
- Analogous – Colors that are next to each other on the color wheel.
- Complementary – Colors that are opposite each other on the color wheel.
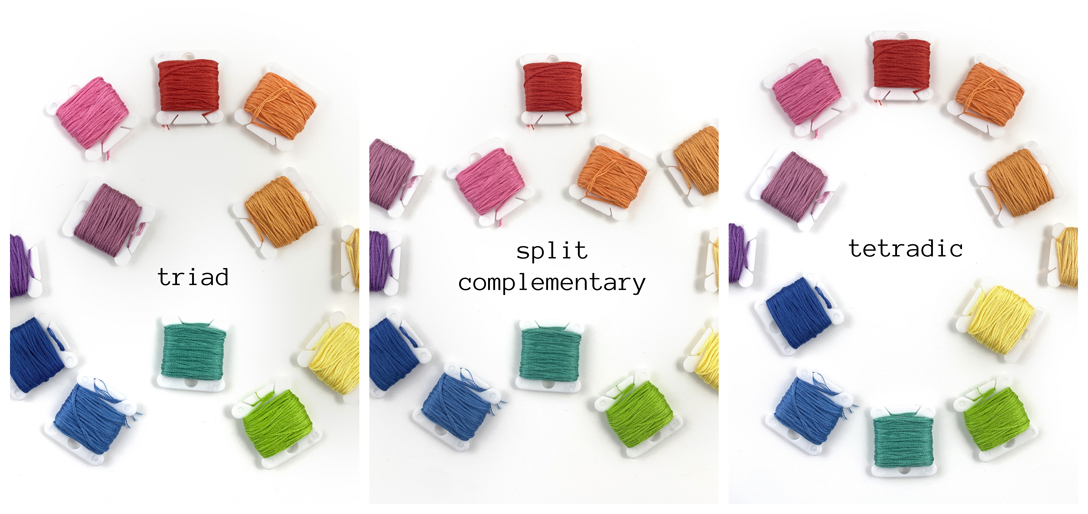
- Triad – Three colors evenly spaced on the color wheel.
- Split Complementary – One color plus the two colors on either side of that color’s complementary color on the color wheel.
- Tetradic – Two sets of complementary colors (four colors total).
Beginner Friendship Bracelet Patterns
Two String Friendship Bracelet
(Level: Beginner, Time: 30 Minutes)

- Cut 2 strings each 36 inches long. Tie them together in a knot, leaving a tail.
- Take the string on the left (blue) and make a forward hitch on the right string (pink). The pink string is now on the left.
- Take the pink string and make a forward hitch on the blue string.
- Continue alternating colors with right hitches until you reach the desired bracelet length.
- Tie a knot at the end and trim off the excess string, leaving a tail to tie it on your wrist.

Spiral Friendship Bracelet
(Level: Beginner, Time: 30 Minutes)

- Cut however many colors of string you want each 36 inches long. Tie them together in a knot, leaving a tail.
- Group all of the string together and pull out the color you’d like to start with (pink).
- Make forward knots over and over again around the group of remaining strings.
- Once you have the length of pink that you want, return the pink string to the group and pull out the second color.
- Repeat the process with the second, third, etc. colors until you reach the desired bracelet length.
- Tie a knot at the end and trim off the excess string, leaving a tail to tie it on your wrist.

Candy Stripe Friendship Bracelet
(Level: Intermediate, Time: 1 Hour)

- Cut at least 4 strings each 36 inches long. Tie them together in a knot, leaving a tail.
- Take the string on the left (pink) and make a forward knot on the string directly to the right (green). The pink string has now moved to the right one position.
- Use the pink string to make a forward knot on the next string to the right (blue).
- Use the pink string to make a forward knot on the next string to the right (yellow).
- Repeat the same process with the string that is now on the far left (green). Then do the same for the blue and yellow strings. Each row makes a new stripe on the bracelet.
- Continue your pattern of stripes until you reach the desired bracelet length.
- Tie a knot at the end and trim off the excess string, leaving a tail to tie it on your wrist.

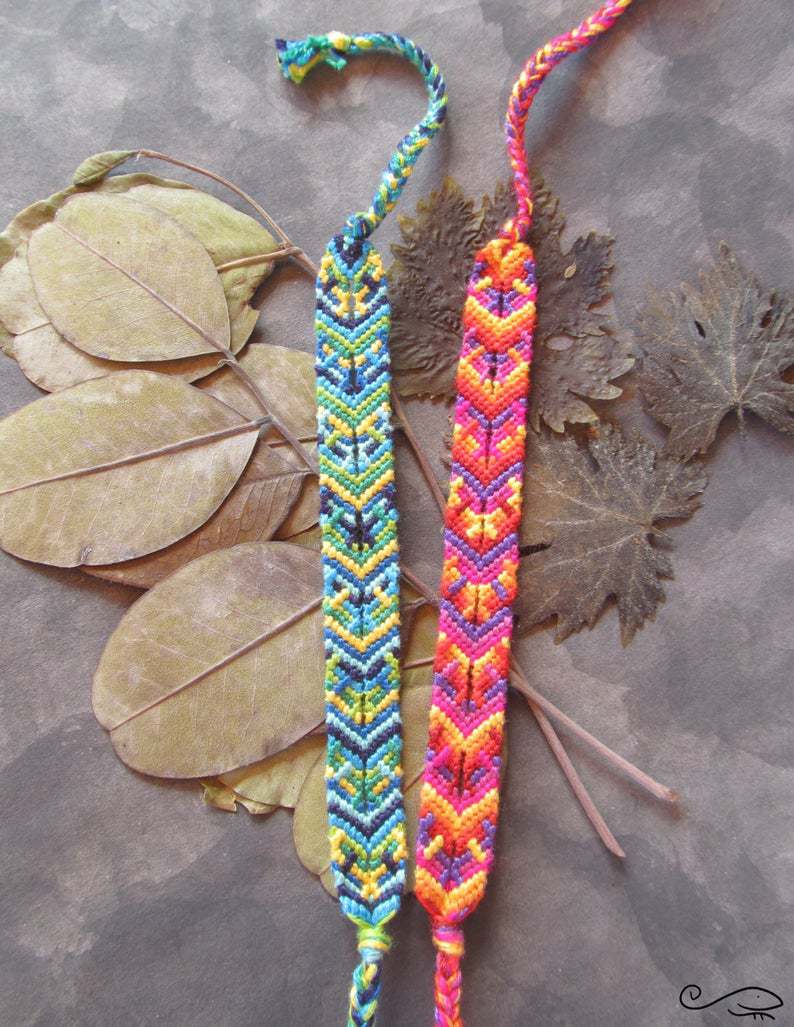
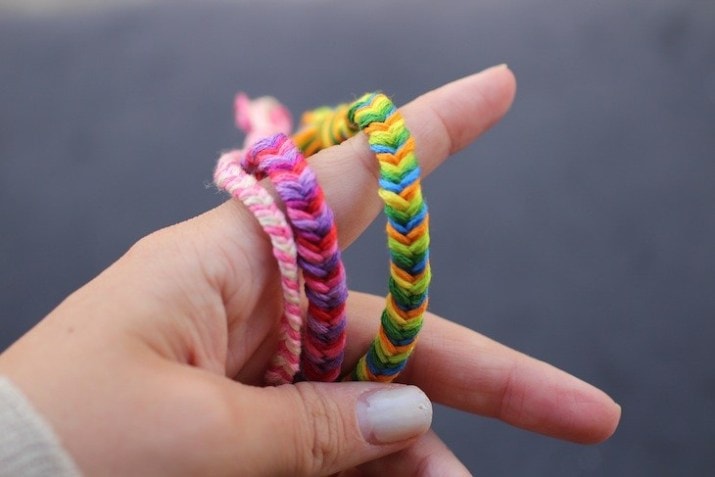
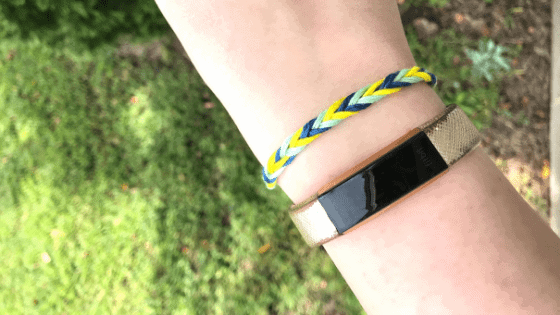
Chevron Friendship Bracelet
(Level: Intermediate, Time: 1.5 Hours)

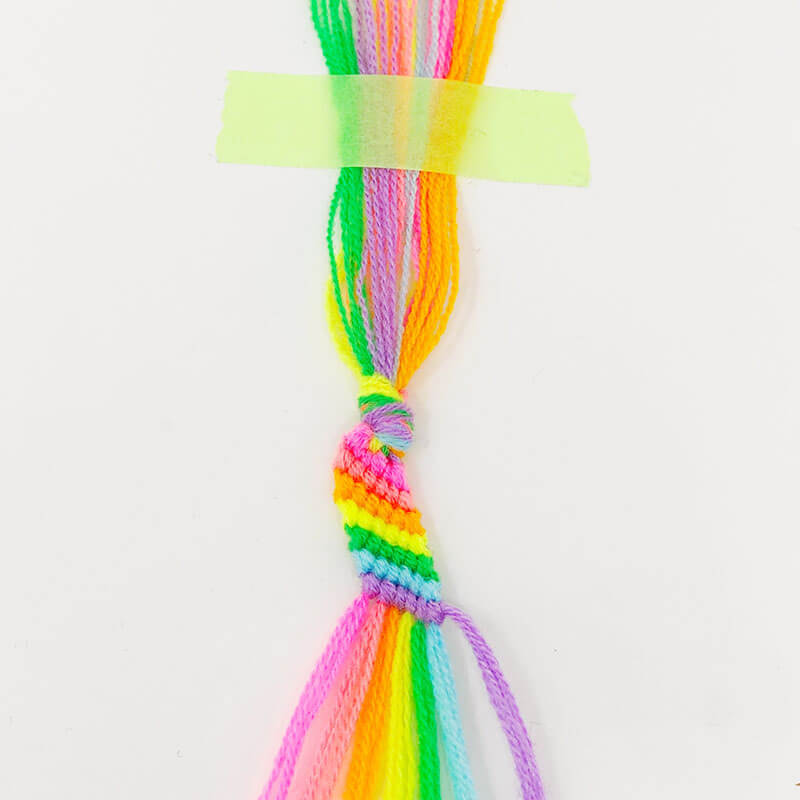
- Cut at least 4 strings each 72 inches long. Fold them in half and create a loop at the top by tying a knot.
- Arrange the strings so they mirror each other.
- Take the string on the left (pink) and make forward knots on each of the 3 strings to the right.
- Take the string on the right (pink) and make backward knots on each of the 3 strings to the left.
- Take the two pink strings in the middle and make a backward knot.
- Repeat the process with the other colors over and over until you reach the desired bracelet length.
- Tie a knot at the end and trim off the excess string, leaving a tail to tie it on your wrist.
Click here for detailed instructions and photos of how to make a chevron friendship bracelet.


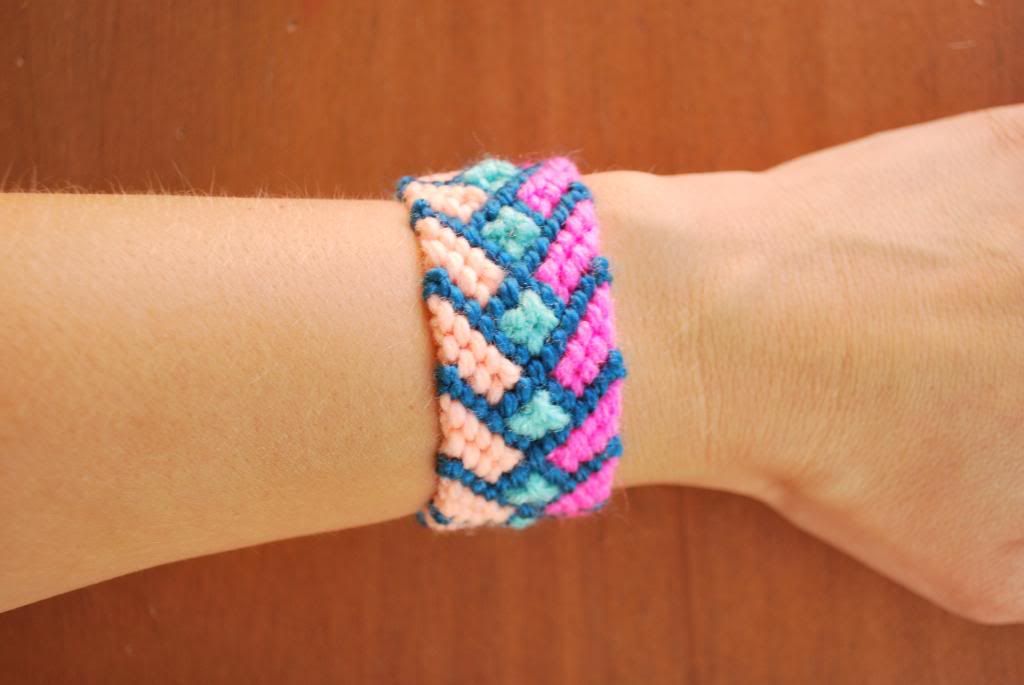
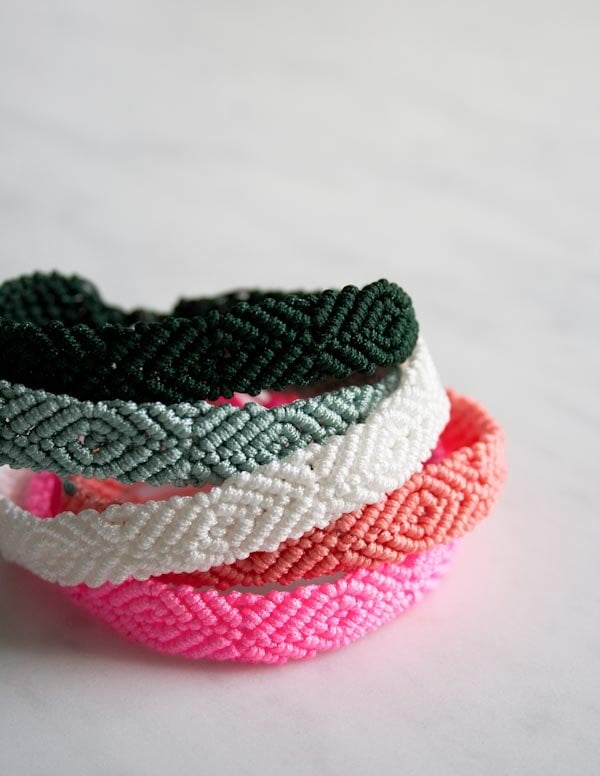
Diamond Friendship Bracelet
(Level: Advanced, Time 2 Hours+)

- Cut 2 strings each 72 inches long and 2 strings each 90 inches long. Fold them in half and create a loop at the top by tying a knot.
- Arrange the strings so they mirror each other.
- Take the two strings in the middle (light pink) and make a backward knot.
- Take the light pink string on the right and travel it to the right by making a forward knot, forward knot, and forward backward knot. Do the opposite with the light pink string on the left.
- Take the two hot pink strings in the middle and make a backward knot.
- Take the hot pink string on the right and make a forward backward knot on the light blue string on the right. Do the opposite with the hot pink string on the left.
- Take the two hot pink strings in the middle and make a backward knot.
- Bring the light pink string on the right and travel it back to the middle by making a backward knot and a backward knot. Do the opposite with the light pink string on the left.
- Take the dark blue string on the left and travel it to the center by making a forward knot, forward knot, forward backward knot. Do the opposite with the dark blue string on the right.
- Take the light blue string on the left and make a forward backward knot on the hot pink string. Do the opposite with the light blue string on the right.
- Travel the dark blue string on the left, back to the left side by making a backward knot and a backward knot.
- That completes one set. Repeat until you reach the desired bracelet length.
- Tie a knot at the end and trim off the excess string, leaving a tail to tie it on your wrist.
Click here for detailed instructions and photos of how to make a diamond friendship bracelet.


FAQs about Friendship Bracelet Patterns
36 inches is enough for most friendship bracelet patterns. If you see that one color is used more than the others, you’ll need to use more. The diamond friendship bracelet pattern shown above, for example, needs 10 extra inches per thread of the light pink and the dark blue.
The most popular friendship bracelet is the chevron friendship bracelet pattern. It’s an intermediate pattern, so it’s frequently learned before more advanced patterns.
The easiest friendship bracelet to make is the two strand friendship bracelet.
More Friendship Bracelet Ideas
Polka Dot Friendship Bracelet from Free People
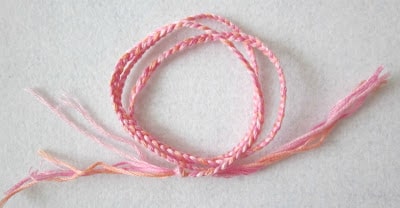
Simple Braided Friendship Bracelet from Lauren Hartmann
Diamond Friendship Bracelet from The Stripe
Breezy Friendship Bracelet from Purl Soho
DIY Friendship Bracelet from HonestlyWTF
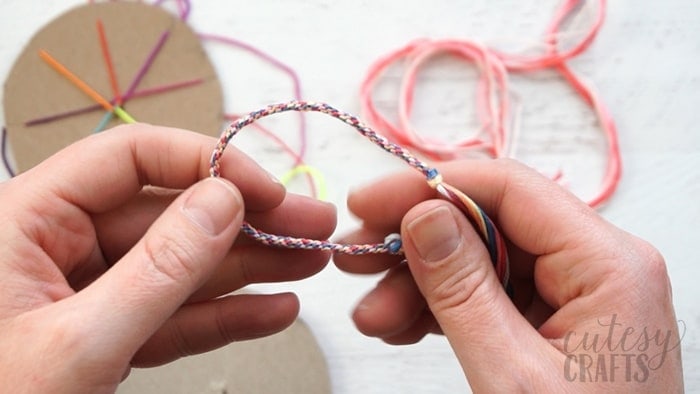
How to Make Friendship Bracelets the Easiest Way from Cutesy Crafts
Ocean & Leaves Friendship Bracelet from Leguanworld
Crazy Complicated Friendship Bracelet from Hey Wanderer
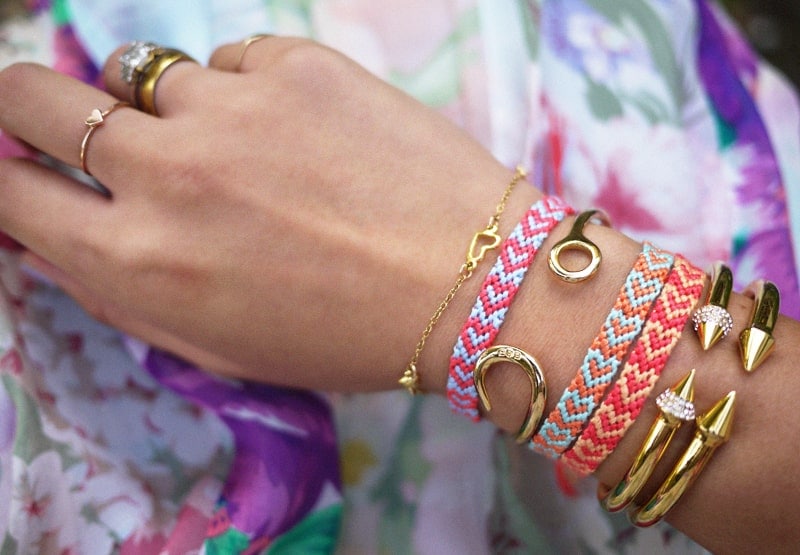
Heart Friendship Bracelet from HonestlyWTF
Fishtail Braid Friendship Bracelet from The Stripe
Candy Stripe Friendship Bracelet from The Neon Tea Party
Monochrome Friendship Bracelets from Purl Soho
Easy Friendship Bracelet Tutorial from Cutesy Crafts
Now you’re armed (no pun intended!) and ready to make fun friendship bracelets with string. So rally your best friends, grab your favorite colored string, and get started on this simple craft. Oh, and don’t forget to have fun!
You’ll May Also Like:


Fantastic information. I have found many patterns but you explain it so well. Thank You and God Bless You ❤️
How do u make a easy one