
How to Make Friendship Bracelets – The EASIEST way!
My kids wanted to learn how to make friendship bracelets, but it proved to be too difficult a task for them to master. Last summer we learned the absolute easiest way to make friendship bracelets, and I just had to share. This method is so easy that even my kindergartner can do it, but fun enough that older kids will enjoy it too. Now my kids are bracelet making fools!
 (This post may contain affiliate links, which means I may receive a commission, at no extra cost to you, if you click a link and purchase something that I have recommended. As an Amazon Associate I earn from qualifying purchases.)
If you like this tutorial, make sure you also check out my easy friendship bracelet tutorial. The easiest way for me to show you how to make the bracelets is with a video, so I made a little how to make friendship bracelets video for you to watch. If you are using an ad blocker, you may need to turn it off to see the video. You can also watch it on my YouTube channel.
To make friendship bracelets, you’ll need:
- pearl cotton or embroidery floss – 7 strands
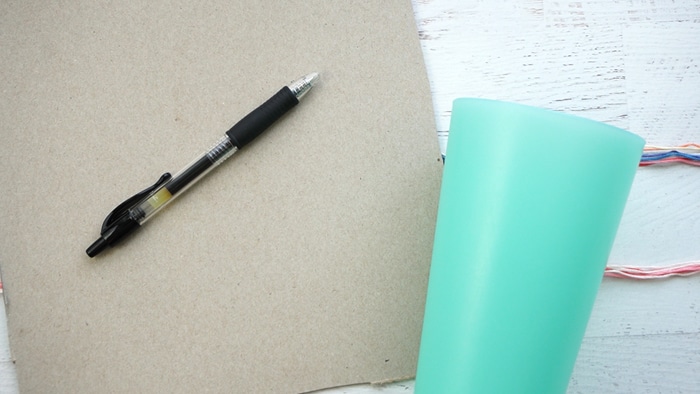
- old cereal box
- a pen
- scissors
- a cup (or other object to trace a circle)
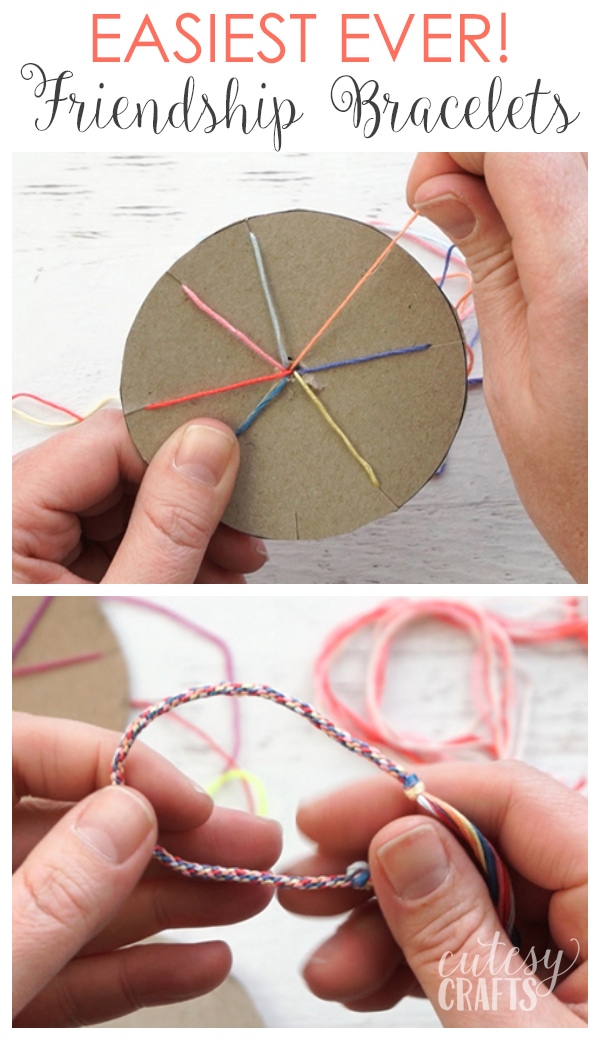
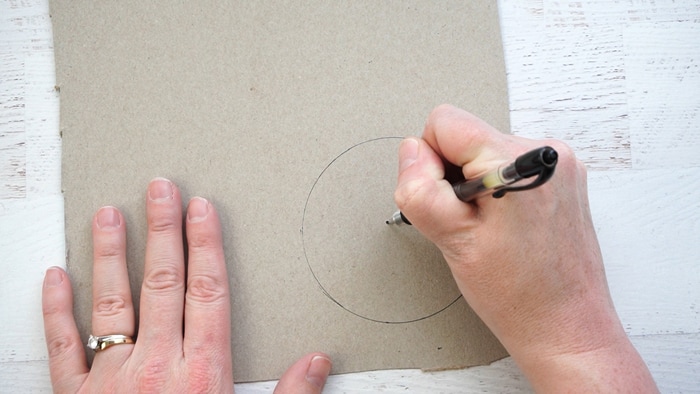
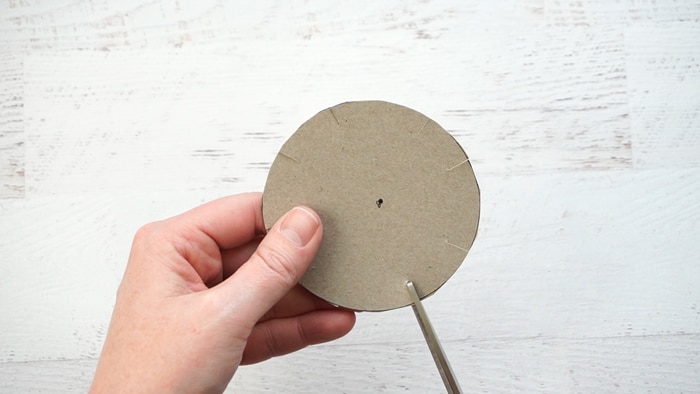
Trace a circle on the cereal box and mark a dot in the middle of the circle. It does not need to be perfect.
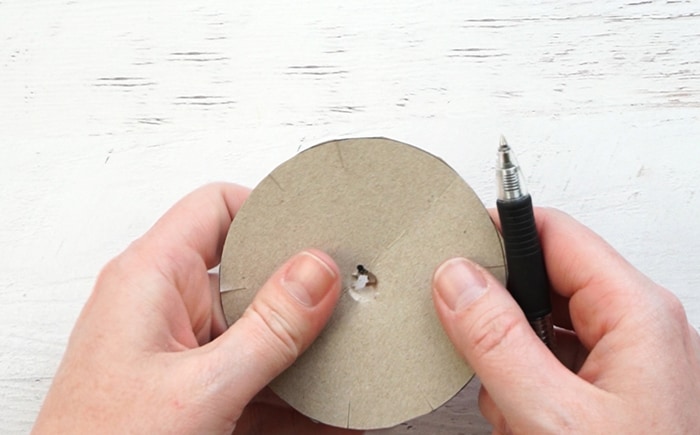
Cut out the circle and poke a hole through the center of the circle with your pen, where you made a mark.
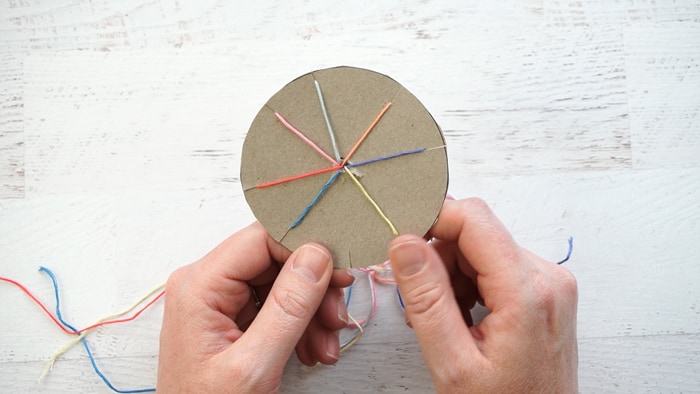
Cut 8, evenly spaced, slits around the circle.
Cut 7 pieces of embroidery floss about the length from your hand to your shoulder.
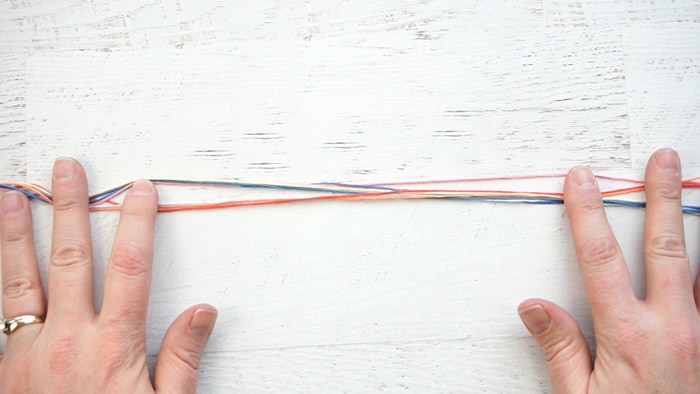
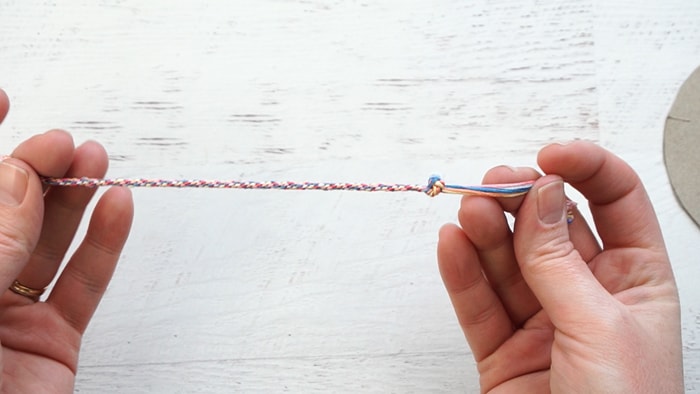
Line up the ends of the floss and tie a double knot.
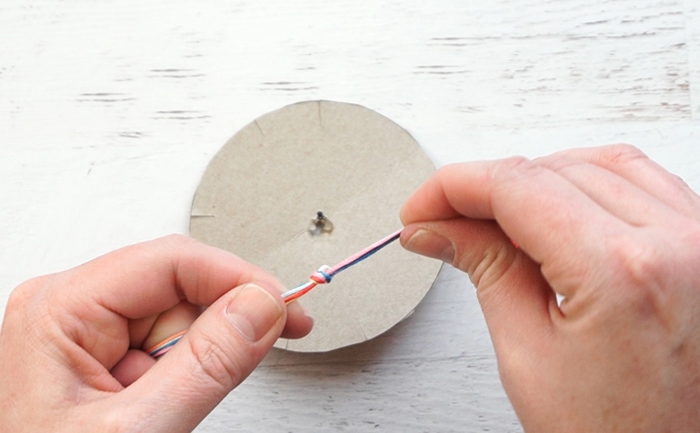
Thread the strands through the back of the hole. Make sure the knot stays on the back side.
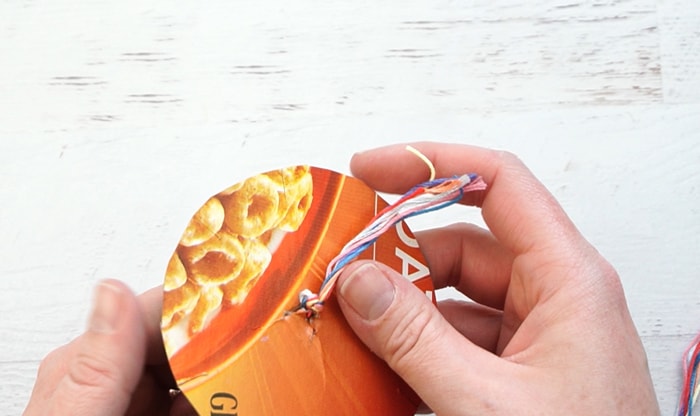
Thread each of the strands through the slits on the front. One slit will be empty. Always keep the empty slit on the bottom of the circle while you work.
Count to the right, 3 strands. Remove the strand from that slit.
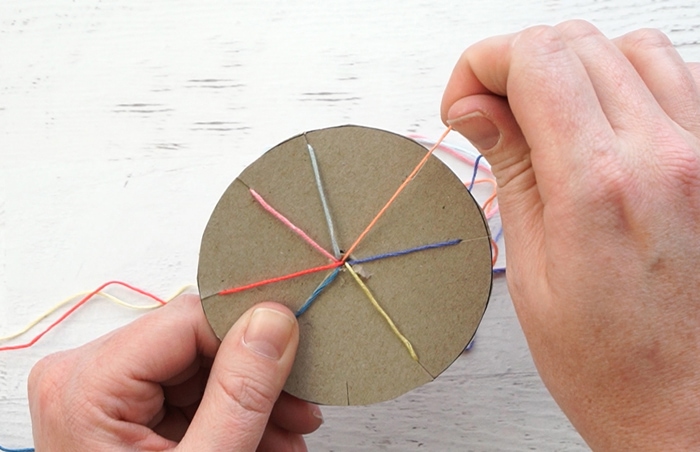
Put the strand in the empty slit at the bottom. This creates a new empty slit. Now turn the circle so that empty slit is at the bottom. Continue with this action over and over.
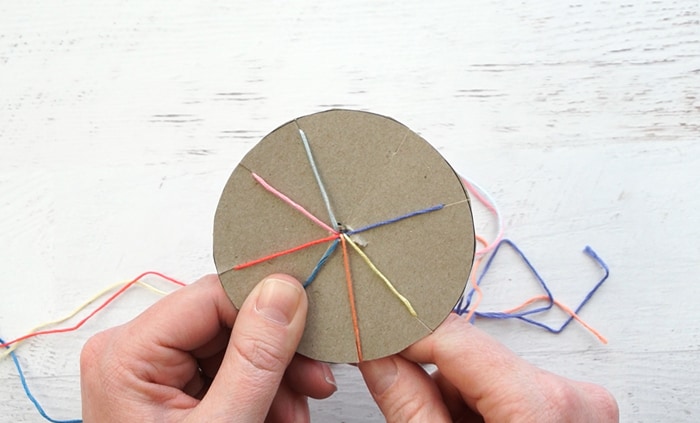
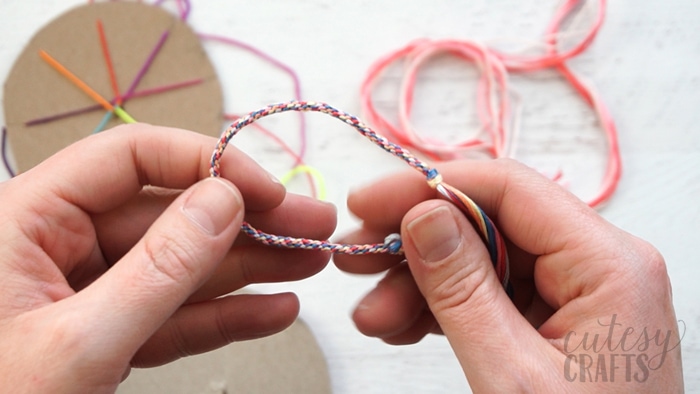
The bracelet will start to form on the other side of the cardboard. Once it is long enough, remove the bracelet from the circle.
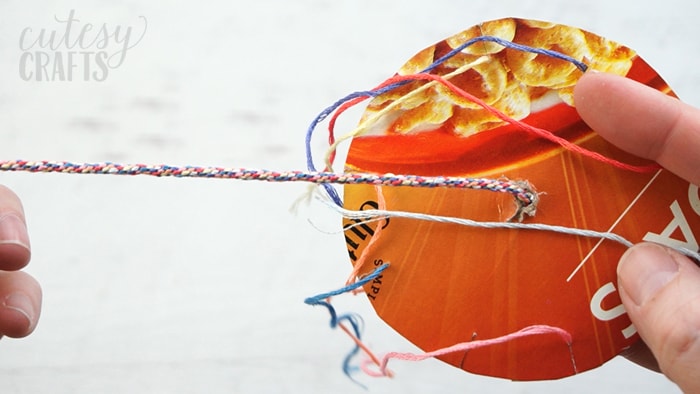
Tie a knot in the loose end, as close to the bracelet as possible. Trim the excess thread, leaving about 2 inches.
That’s it! The actual bracelet formation takes a while, but I found that my kids were actually patient enough to finish using this method.
Now you can keep your kids busy all summer long learning how to make friendship bracelets! And once you’ve mastered this method, you’ll also want to take a look at these other great friendship bracelets with string. Click here for more fun kid craft ideas and go here for fun primary activity ideas for kids.


Finally a tutorial I can understand & follow easily! Thank you 😊
When using embroidery floss do you only use one strand? I tried it and it came out really thin.
Use all 6 strands for bracelets
Love this. Thank you!
Do you know if this would work with 10 color strings and 11 hole?
*I would like to make something for the 10 lines of the Girl Scout Law.
How do you tie the bracelets around the wrist??
I like to just keep the ends long and tie a knot. I think there are fancier things you can do, but I’m simple.
yass soo cute!! I love them sooooo much
Works so well! I made three for my friends and one for myself… They all turned out so pretty. If i had to choose a favorite string craft, i would choose these no doubt!
Could you add beads to it?
Ooh, I don’t know, that’s a good question. Next time my girls are making them, I’ll have to make them test that out.
I made some of these for my daughter and I but I’m having a hard time making it as smooth as yours looks. I keep getting little bumps but can’t figure out why. Would you have any idea?
Hmmm… hard to say without being there. Only thing I can think of is to make sure the bracelet has enough wiggle room to flow freely through the hole you made in the cardboard. You don’t want it to get stuck and end up building on the same part over and over.
How do you finish off the bracelet? Do you just tie the two ends together?
Yes, just tie knot.
My kindergartener promised friendship bracelets to her while class. She used her own money to get floss but I had no idea how to explain how to make them. I am so excited to have this to help her! Thank you so much!!
I can’t wait to try this method. My 10 year old is notoriously impatient about the process of crafting, but always wants to make things (no, I don’t get it either, lol!) Looking forward to giving this one a go with her!
My kids are the same way. Always starting and never finishing! They have made a ton of these though, so she will probably love it!