
How to Embroider on Clothing by Hand
Embroidering a wall hanging is one thing, but there are a few things you have to take into consideration when you want to learn how to embroider on clothing. I wrote this guide to help walk you through embroidering on different types of clothing. I’ll hopefully continue to add to it as I try different types of clothing, so keep checking back if there’s something specific you’re looking for.

(This post may contain affiliate links, which means I may receive a commission, at no extra cost to you, if you click a link and purchase something that I have recommended. As an Amazon Associate I earn from qualifying purchases.)
Supplies needed:
- clothing
- embroidery floss
- embroidery hoop
- needles
- stabilizer
- backing (optional)
How to Embroider on Clothing by Hand
Step 1 – Choose Your Clothing
Really, if you can poke a needle through it, it’s fair game, so feel free to experiment. Here’s a little rundown on a few of the most common types of clothing that people embroider on. Some will be easier than others.
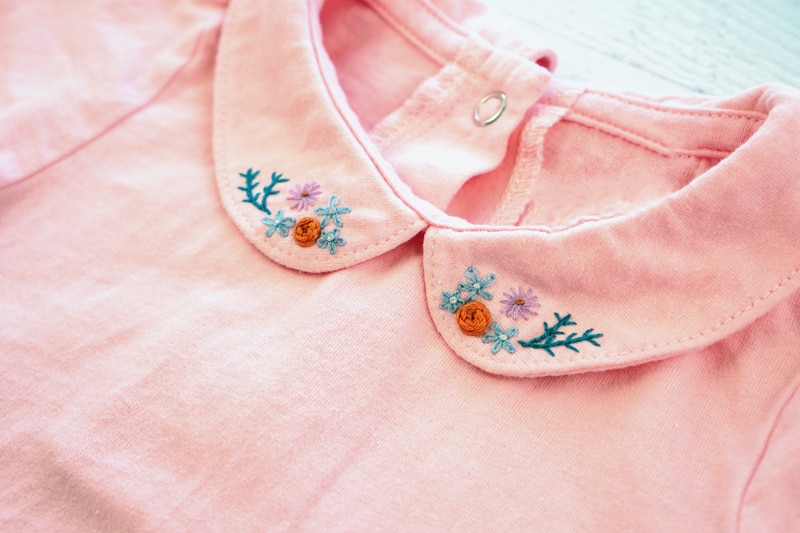
Woven – The easiest type of clothing to embroider on is regular, non-stretchy woven fabric. Think a cotton, button up blouse, or something like that. If you’re a beginner, start with just one layer of fabric, unless you’re feeling particularly ambitious. If you like to embroider, you are likely already using a woven fabric for most projects.
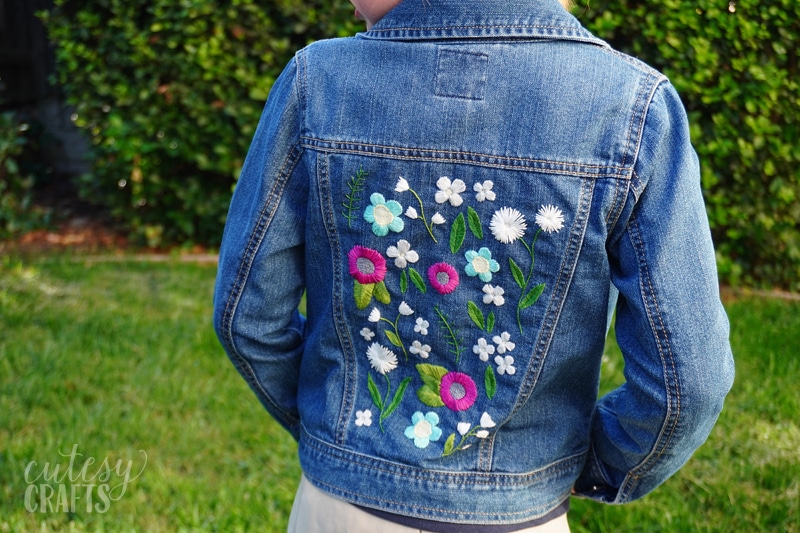
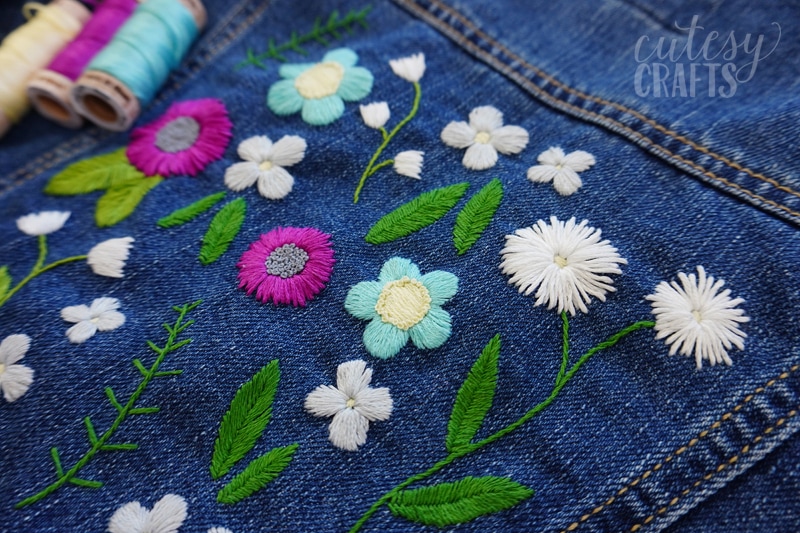
Denim – Denim is a great fabric to embroider on. Imagine all of the beautiful customization you can make to denim jackets and jeans. Just make sure you don’t have too many layers to stitch through. It’s such a thick fabric, so it can become difficult to stick a needle through. Learn more about this jacket that I embroidered here.
Jersey Cotton (T-Shirts, onesies, etc.) – Since jersey cotton is stretchy, it can be a little more difficult to stitch on. You’ll want to use a ball point needle to prevent snags, and use a good stabilizer to stop the fabric from stretching out too much. Check out my post on how to embroider on a t-shirt for more details.
Step 2 – Pre-Wash Clothing
It’s important to wash and dry your clothing before adding any embroidery. If something is going to shrink in the wash, you want that to happen before adding your cute design. Failure to do this, could cause the fabric to pucker and make your hard work look less than fashionable. While you’re at it, make sure to iron out any wrinkles in the fabric before stitching too.
Step 3 – Choose a Pattern
The next thing you need to take into consideration when learning how to embroider on clothing is the kind of embroidery stitches you are using. Choose a pattern that doesn’t use anything too dimensional, like a woven wheel flower, that will get distorted in the wash. Of course, you can always modify a pattern to make it more clothing-friendly. Stick with flat, short stitches and you should be fine. If you really really want to use a more dimensional stitch, just make sure to hand wash the item every time. Be sure to check out all of my free hand embroidery patterns for ideas.
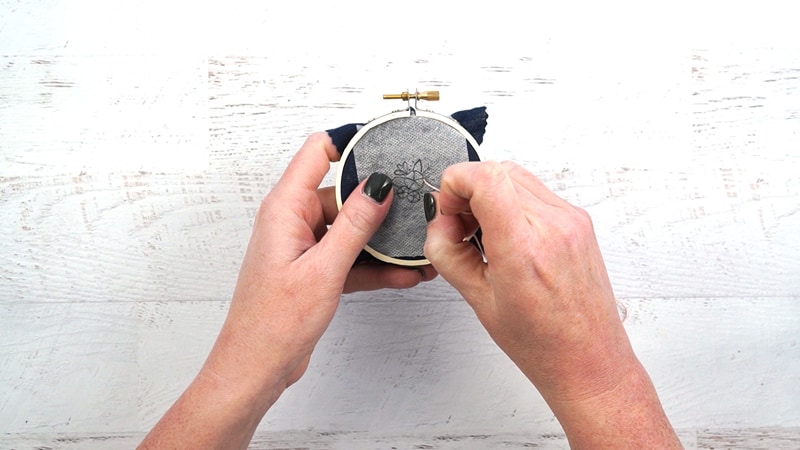
Step 4 – Transfer Your Design
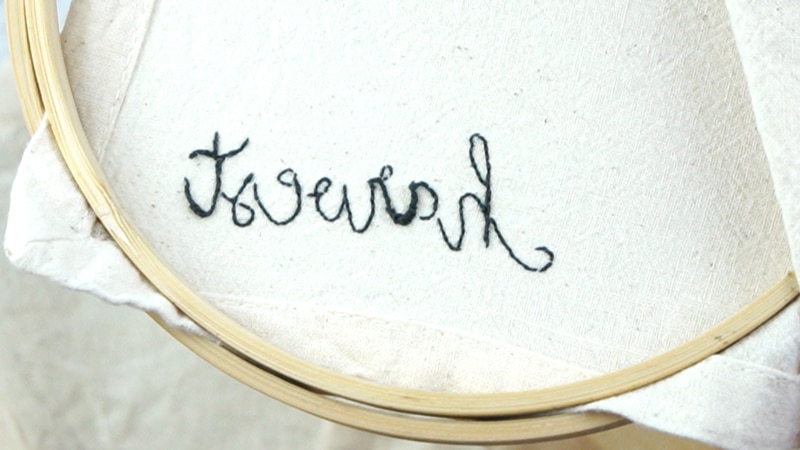
There are several ways to transfer embroidery designs, and everyone kind of finds what works best for them. I’m not a big fan or water or air soluble pens, as I’ve had experience with them not disappearing as they should. I like to use my FriXion pens a lot, which disappear with heat, however, the marks can come back with cold temperatures. Whatever method you use, try to make sure all of your marks are covered with stitches, just in case.
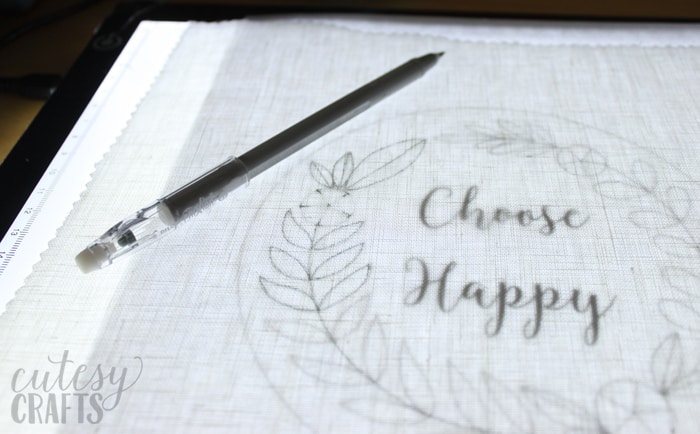
For clothing, my favorite thing to use is Fabri-Solvy water soluble stabilizer, and I have a whole video on how to use it. You are killing two birds with one stone since this will also stabilize your fabric to keep it from stretching. Just trace your design on the soft side of the stabilizer, peel off the paper backing, stick it on the spot you want to embroider, stitch your design through it, and soak it in water until it dissolves. Click here to watch my video.
Step 5 – Use a Stabilizer
If you are using a thin or stretchy fabric, you’ll want to use a stabilizer. This will, you guessed it, stabilize the fabric so your stitches don’t get distorted. If your fabric is thick and doesn’t stretch very much, you can skip this part. Generally stabilizers are applied to the back of the area that you’re going to embroider. Make sure to cut your piece of stabilizer slightly larger than the embroidery hoop that you’re using. That prevents stretching of the fabric while it’s in the hoop. There are several different types of stabilizer that you can use:
Water Soluble – As I previously mentioned, Sulky Fabri-Solvy not only acts as a stabilizer, but you can also use it to transfer your design. If you are only using it to stabilize the fabric, apply it to the back of the area you’re going to embroider. If you also want to use it to transfer your design, apply it to the front. Embroider your design through the stabilizer, and then soak it until it washes away. If you’re embroidering on t-shirt fabric check out my post here.
Tear Away – Tear away stabilizers are applied to the back of your fabric. They can be iron-on or stick-on, and you tear them off after you’re done with the embroidery. I haven’t used them, but I know some people like them.
Permanent – I’ve never personally used a permanent stabilizer for hand embroidery. I think they are more common to use in machine embroidery. These would be applied to the back of your design, embroidered through, and then remain on the clothing. Some can be “cut-away” stabilizers that you cut close to the design, but the stabilizer remains under the embroidery.
Step 6 – Put Your Fabric in a Hoop
Using an embroidery hoop is always going to make embroidery easier. There are some cases, where you won’t be able to hoop the clothing item you’re working on, and that’s okay. Just be extra careful not to tug hard on your thread, to avoid puckering. When using an embroidery hoop on stretchy fabric, it’s very important that you don’t stretch the fabric fibers out in the hoop. Use a piece of stabilizer that is slightly bigger than the hoop to back your fabric. That should help with any stretching. I also suggest removing the hoop in between stitching sessions to prevent “hoop burn” (a crease left in the fabric where the hoop was).
Step 7 – Embroider Your Design
When embroidering on clothing, it’s especially important to keep the back as tidy as possible. This means not using knots (if you can help it) and not creating large lines of thread on the back of your work. Take a look at my video that shows several methods to start and stop embroidery without knots. It might also help if you watch my video on how to embroider words. It shows a few ways to hide the traveling thread on the back of your work.
Step 8- Remove the Stabilizer
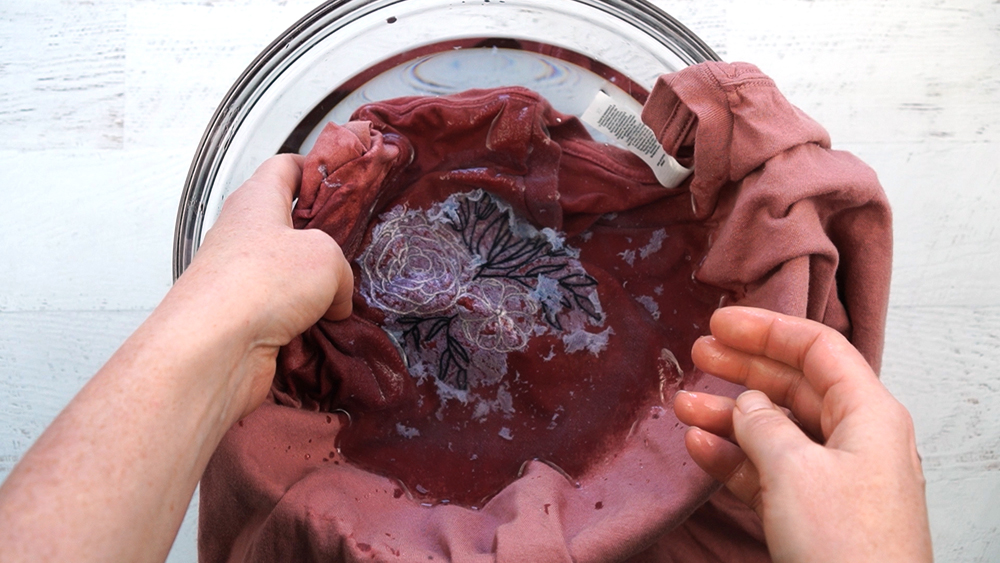
Once you’re done embroidering your design, it’s time to remove the stabilizer (unless, of course, you’re using a permanent one). Depending on the type of stabilizer used, this might mean tearing it away or soaking it in water. If soaking, let it lie flat to dry after.
Step 9 – Add a Backing
This step is optional, but I like to add an iron-on backing to cover the back of my stitches on clothing. I feel that this keeps the clothing more comfortable against skin and adds to the durability of my stitches. I tested out several different types of backing and their durability. You can read about that on my post about best backing for embroidery. For thin, soft fabrics, Sulky Tender Touch is a good choice. For something thicker, like a denim jacket, I like something a little more robust, like Pellon SF 101.

Step 10 – Wash and Care
As with all clothing, hand washing and line drying is going to make it last longest. Hand embroidery can be very delicate, so your best bet is going to be hand washing in cold water with mild detergent. Although, I will say I like to throw caution to the wind and wash mine in the washing machine. (I’m not super sentimental about the things I make.) The dye in some embroidery floss can run so be careful of that. If you notice it, keep rinsing over and over, and don’t let it dry. Using a color catcher in the wash may help if you are concerned with running dyes. Also, avoid ironing over your embroidered design, so you don’t smash it down.
Step 11 – Enjoy!
Enjoy your one-of-a-kind hand embroidered clothing. Remember to have fun with it and don’t stress over any small imperfections. That’s what makes your item look handmade and unique!
I hope this guide on how to embroider on clothing by hand was helpful. Leave any questions you have in the comments below, and I’ll do my best to answer them.


Wondering what you suggest if the design (in my case a short phrase) does not fit in a hoop? I will be using stretchy fabric.
would you have a pattern for a vine look floral design along the edge of a wrap shirt.
Thanks
I want to learn hand embroidery. I have a group who are interested in downloadable patterns.
@Mary Ann Logan, which group, can you give the link…