
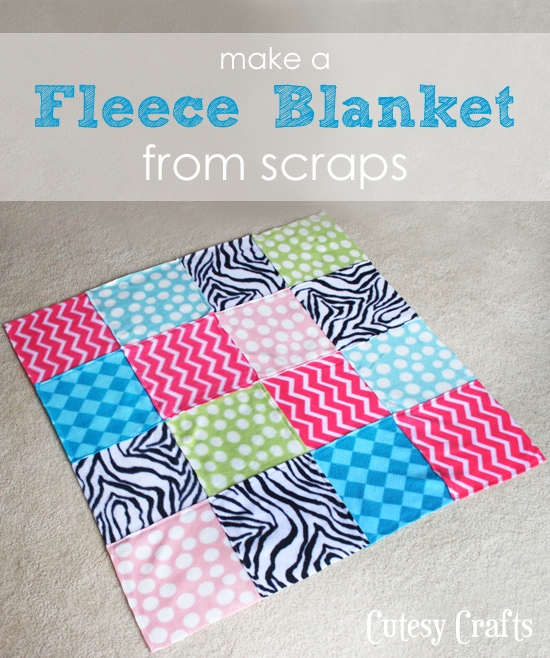
How to Make Fleece Blankets from Scraps
Our women’s group at church just participated in a little service project for the local children’s home. When the kids leave the children’s home, they get a drawstring bag with a blanket, a stuffed animal, a book, and a hygiene kit. We got together about a week ago to sew the bags and some blankets. One of the women from church makes and sells fleece blankets, so she donated a huge bag of scraps for us to use. My challenge: figure out how to make fleece blankets from just the scraps. So if you’ve got a bunch of fleece scraps laying around, here’s something that you can do with it! Also take a look at these easy homemade blanket tutorials.
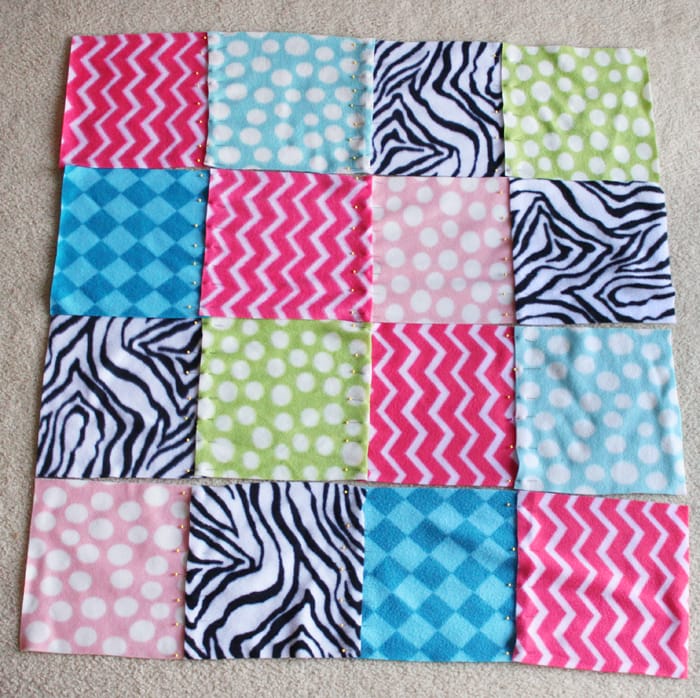
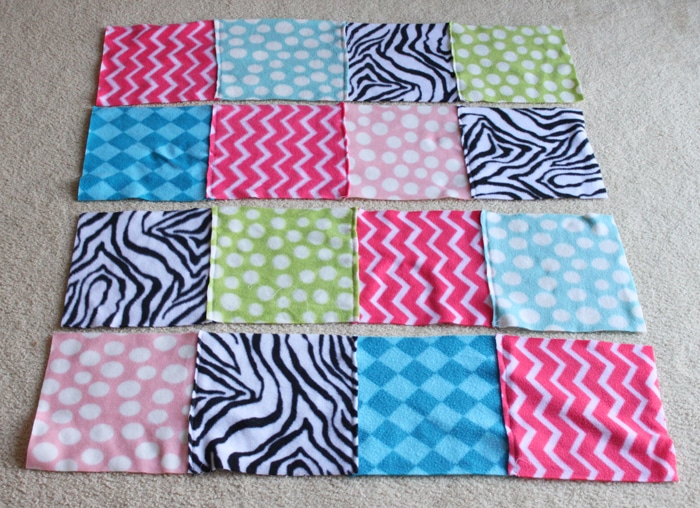
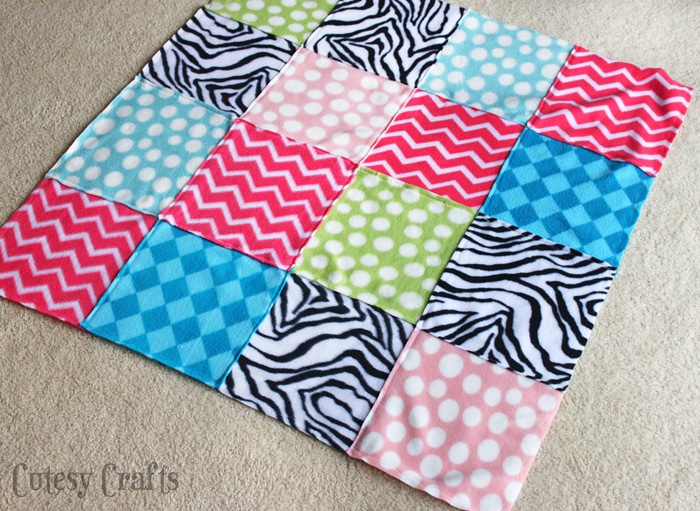
Cut the fleece into 16 10 x 10 inch squares. You can make them any size you want, you’ll just end up with a different size blanket or need to cut more or less squares. This makes a blanket that would be a good size for a baby or toddler. Just cut more if you want it to be bigger. Lay the squares out in an arrangement that looks nice. I’m a little OCD, so I always try to make a pattern. I’ve already done some of the pinning here, but you get the idea.
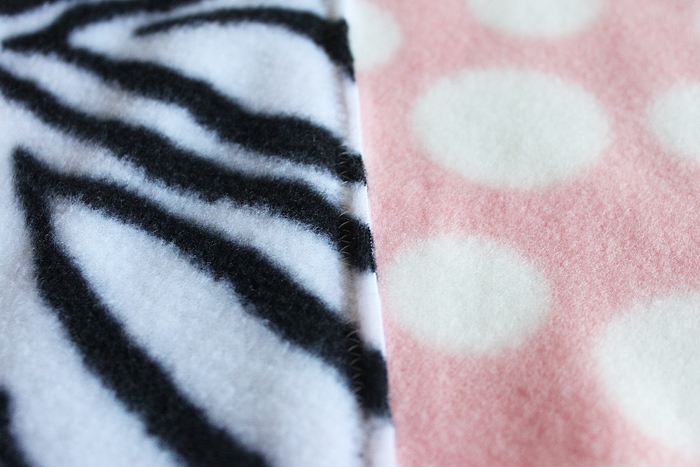
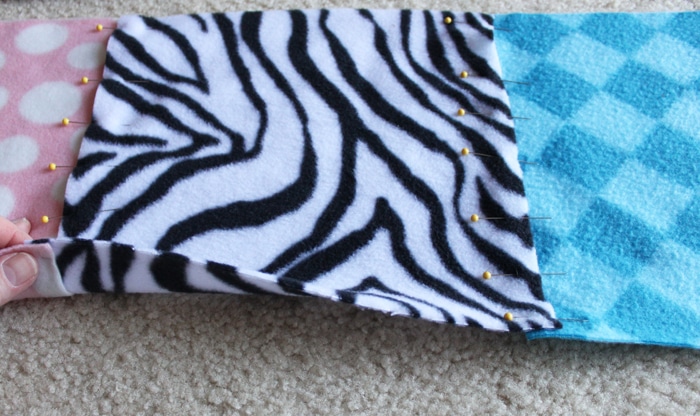
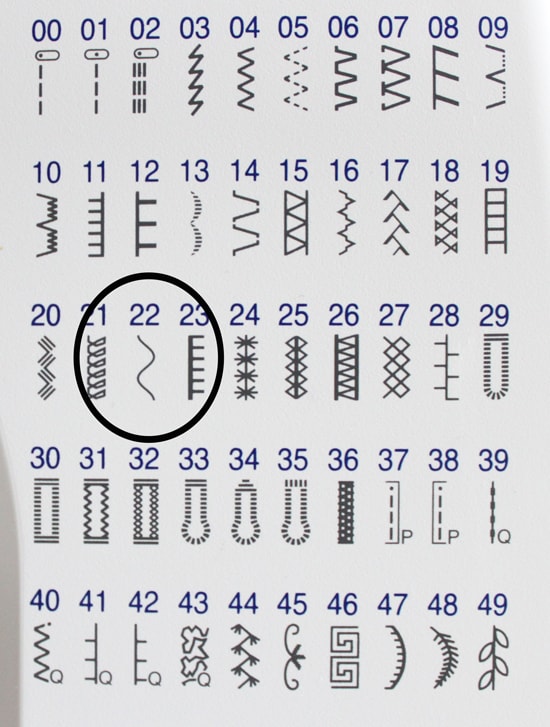
We didn’t have any pieces that were big enough for a backing, and I didn’t want to have to piece together a front AND back of each blanket. I could have sewn the pieces together like to you would a quilt, but then you would have a pretty front and an ugly back. Instead, I decided to overlap the pieces about 1/2-inch and zig-zag stitch down the middle. Keep reading to see what I mean.
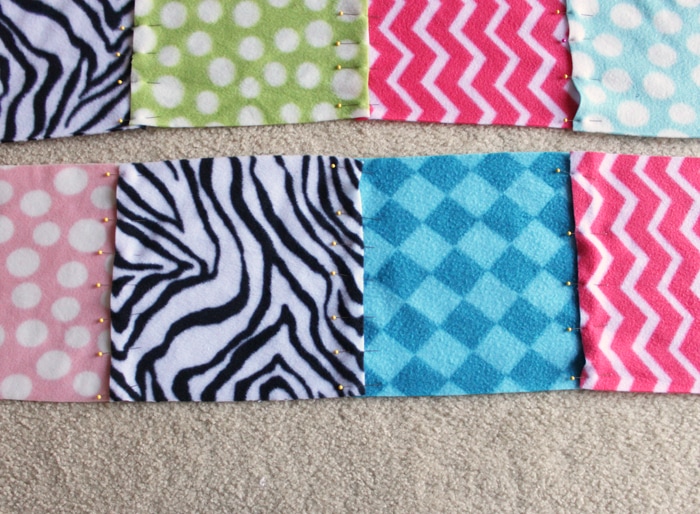
Start by pinning and sewing each of the rows together first.
I did the overlapping in a pattern so that one square was on the bottom, and the next square was on top. Take a look at the photos to see what I mean. I didn’t really even measure. Just try to be consistent and overlap about 1/2-inch each time.
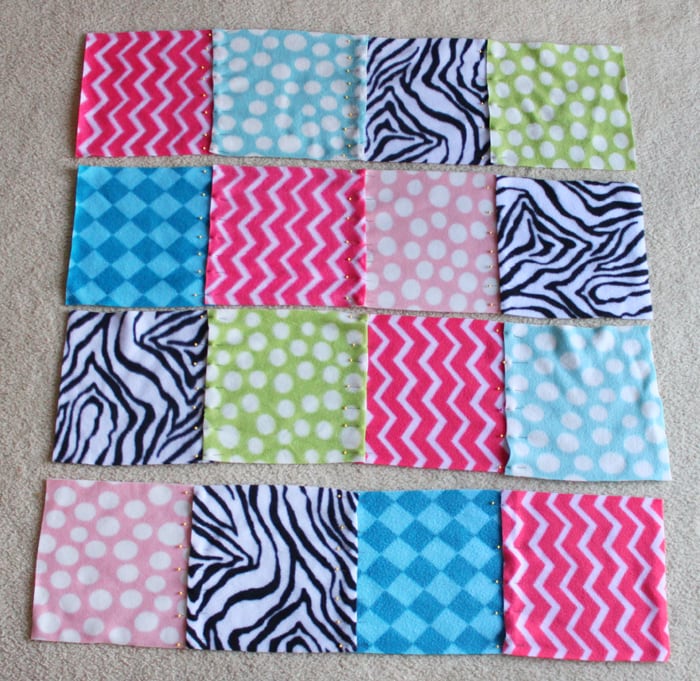
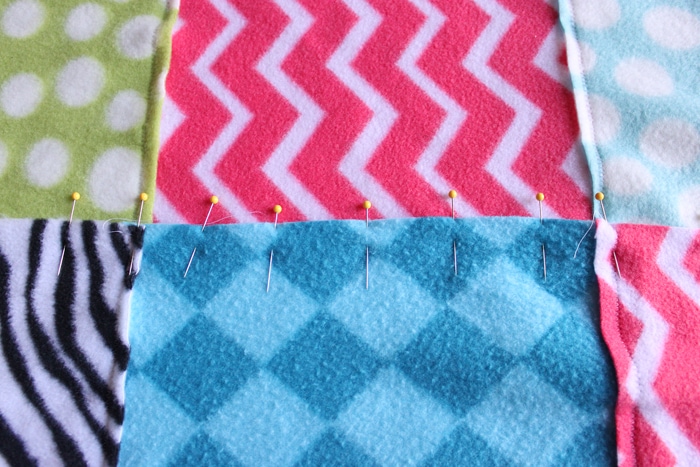
I find it very helpful to use a walking presser foot if you have one. It helps the thick, stretchy fabric get through the machine more evenly. After all of the rows are done, you can pin and sew the rows to each other.

Make sure that the seams from all of the squares line up with each other. The nice thing about the fleece being stretchy is that you can make the seams line up by giving the fabric a little tug before pinning. Again, just a zig-zag stitch here, and I used the same pattern of overlapping that I did with the squares.
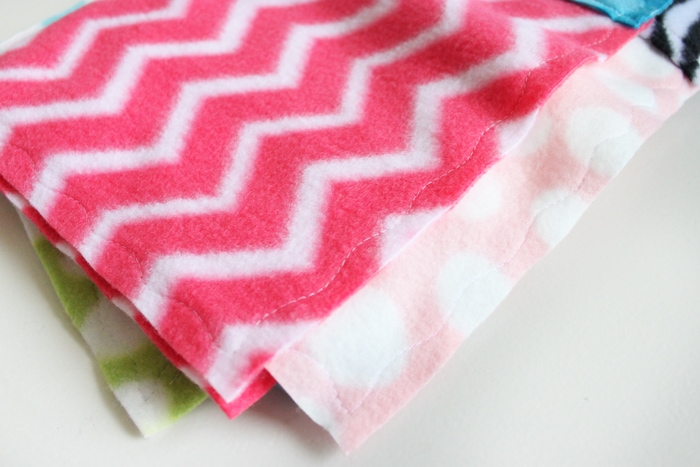
When all of the rows are sewn together, you’ve got your blanket. The edges seemed to be lacking something, so I went around the outside with this curvy, decorative stitch. You could also put some kind of binding on it. Fleece doesn’t fray, so you could just leave it as-is if you want.
I was a little worried how my “method” would work out, but I think the blankets we made turned out really cute. What do you think?
Need more things to makewith fleece scraps? Check out this post:

Also learn how to make no-sew fleece blankets with a braided edge.

Also take a look at How to Make a Blanket for a Baby.

You might also enjoy these other projects from Cutesy Crafts:


Such great ideas….I am involved with the Linus Project here in Bakersfield and had our church…womens night…make several for it.
I save my scraps from the blankets I make from all the blankets I make do the scraps have to be all the same size?
You can make it with any size scraps. You’ll just have to figure out how to piece it together so it ends up blanket shaped. 🙂
Hi, I run a chapter of Project Linus and we receive donations of stuff all the time. I have 2 tubs of 5″ fleece squares and was trying to figure out what to make with them. Rag quilts won’t work the squares are too small. This type of blanket seems to be perfect to use them for infant size blankets. Can’t wait to get started. Thank you for the tutorial.
So glad this was helpful!!
I’ve been thinking of this idea for a while now. I’ve made a ton of those tie blankets where you cut out a square on each corner, and was trying to think of how I could them to make a quilt. Thanks for the reminder and sewing suggestion.
Using this pattern how would I line it?
You could make two identical blankets and sew them together. You could also get a solid piece of fleece and sew it on the other side.
Our cancer center accepts single-size quilts for people when they are there for chemo treatments. I’m going to get out all the leftover fleece I have and turn them onto colorful cozy blankets and donate to them. Great idea for overlapping the squares.
What a great thing to do to make blankets for the cancer center! I’m so glad my tutorial was helpful!
Do you have instructions that can be downloaded?
I don’t have that built into my site at this time. Sorry.
how about pin cushions or bean bags?
Ooh, yes those are good ideas for scraps!
Thank you so much for this amazing idea. I make items for Walter Reed Medical Center and have some scraps of fleece I wanted to use for a blanket. Been looking for ideas on how and so thankful to have stumbled up on this.
So glad you found it useful! 😀
Jessica, did you line or back this blanket or just do the decorative stitch and leave it as it was? This is a great idea for my church youth department to do for some local children and/or adults who will be in need of this type of item over the coming (getting colder) months.
No lining. Just left it as-is since we only had scraps. You could line them if you wanted to, but they were fine without.
Thinking of trying a Barbie Doll sleeping bag with some scraps. Any idea or comments. I do like your blanket! Thanks for all your great ideas!???
Oh, that’s a good idea!
I really like your method. It seems simply and easy enough for a beginning sewer like me to try. I have saved all of my kids (worn-out footed) fleece pjs from when they were little. We are thinking about using them to make a keepsake blanket. It should be a great project for us to do together! Thanks for sharing!
Oh, what a GREAT idea! I’m over here wishing I would have saved all the jammies now! 🙁
Thank you for sharing, just what I was looking for. I have fleece left over from making pajamas and want to make a blanket for a child. I was going to “fagot” the pieces together but thought it may come apart too easily when I did a little test. This method should stand a child test. The edging is a great idea.
Thanks! So glad it’s going to work for you! The blankets definitely seemed nice and strong after I made them like this.
I did one but I used the
decorative wavering stitch (the same one as you did on the edge) to attach the squares to one another. Very pretty and stable.
What a good idea! I love the wavy stitch. Much prettier than the zig-zag.
Jessica, Love the blanket! Was wondering how you got the corners of each block right? Your rows are sewn and it’s time to join the rows. These are the corners I am confused about. Thanks very much for the help!
Not sure I really understand what you mean. I know it’s difficult on the internet. After the rows are joined, I just made sure that all of the seams from each row lined up. If they were a little “off” I just kinda stretched the fabric a little. Usually it wasn’t off by much. If there is a little bit hanging over on the ends, you can just trim off the extra fabric. Just as long as it’s not too much, it still looks ok. Hope that helps.
so cute! i love how easy that was to sew together..no wrong side or right side… would be a great beginner sewing project!
Thanks Emily!
I love it! What a great idea to make it so the seams aren’t sticking out on one side!
Thanks Tara!