
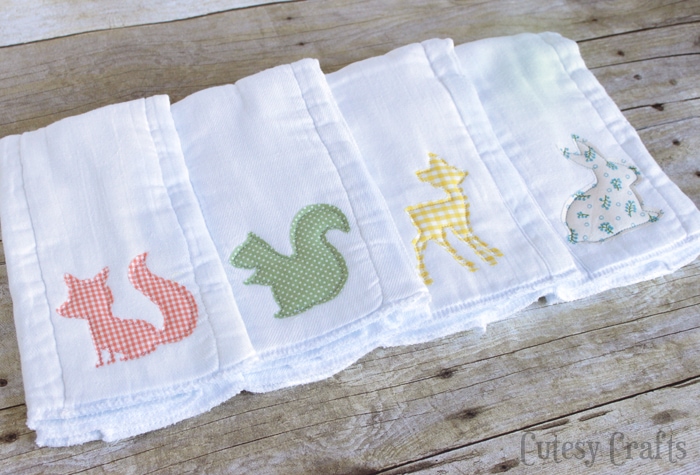
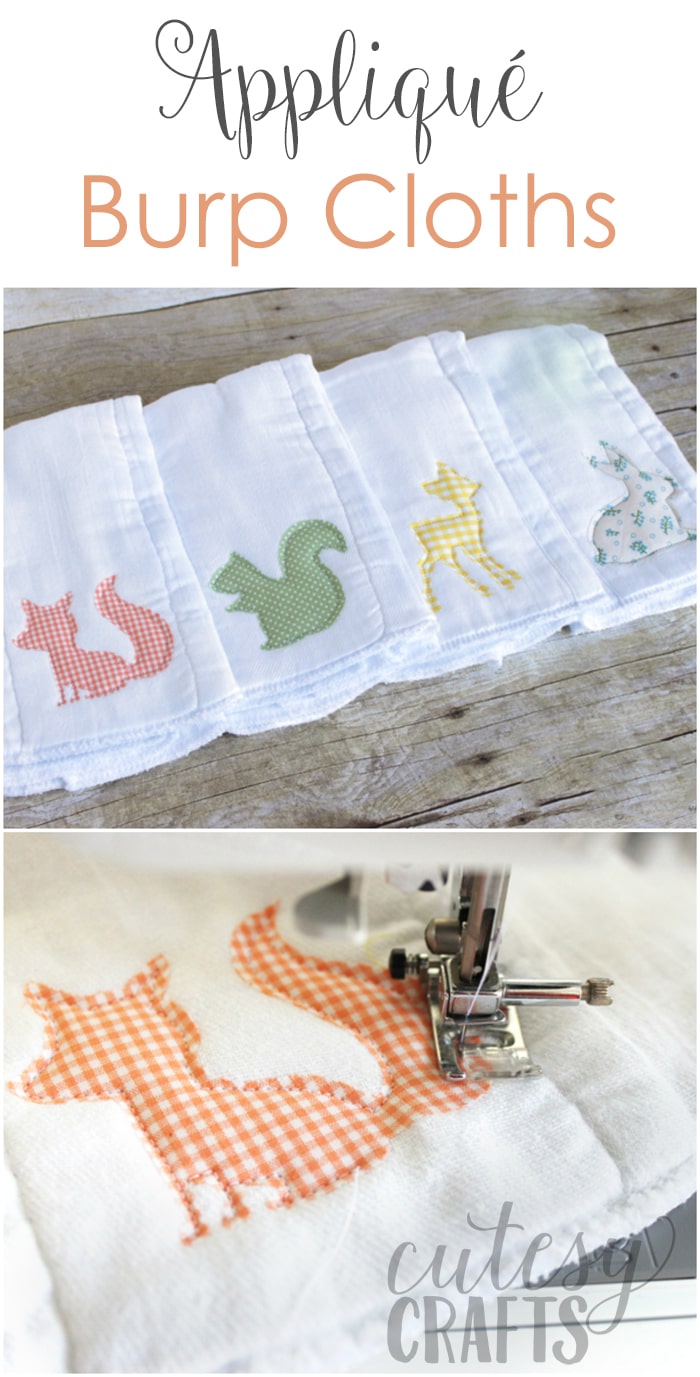
DIY Burp Cloths with Appliques
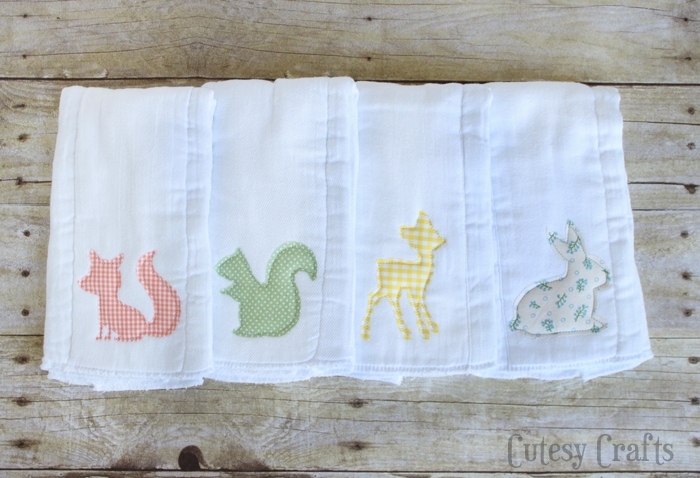
I love to use cloth diapers as burp cloths for my babies. They are so absorbent, and a lot cheaper than buying regular burp cloths at the store! I wanted to dress mine up a little, so I added some woodland animal appliques to match the muslin swaddling blankets that I made. I used my Silhouette Cameo to cut the appliques, but you can definitely make some of your own DIY burp cloths without one. My Silhouette just makes it a lot easier/faster to cut the detailed parts of the designs. If you like this post, be sure to check out my other baby crafts as well.
(This post may contain affiliate links, which means I may receive a commission, at no extra cost to you, if you click a link and purchase something that I have recommended.)
To make these appliqued burp cloths, you’ll need:
- prefold cloth diapers – make sure to get at least the 6-ply ones
- fabric scraps
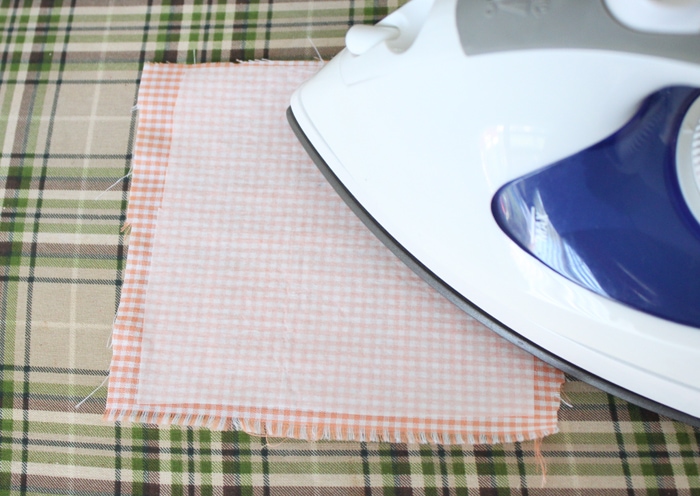
- paper-backed fusible interfacing (Heat’n Bond Lite or Pellon 805)
- thread
- Silhouette machine (optional)
- free patterns (available as a PDF or Silhouette cut file)
I’ve written up a full tutorial on how to do this below, but this video that I made a while back might also help. It shows how to cut an applique using the Silhouette.
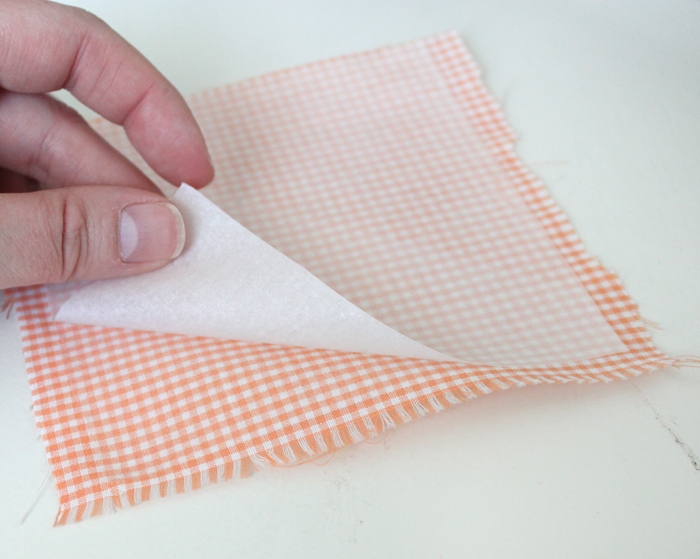
Peel off the paper backing.
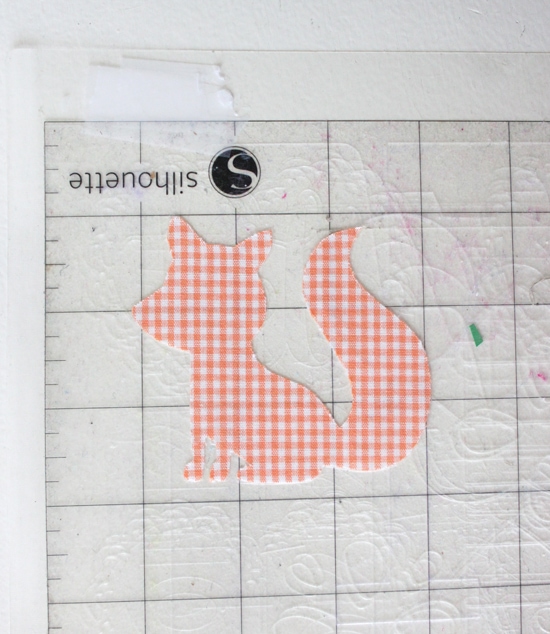
Put the fabric face-up on your cutting mat and cut your applique design. (If you aren’t using a Silhouette, you can trace the pattern onto the paper side of the interfacing before you iron it on, and just cut it out with scissors.)
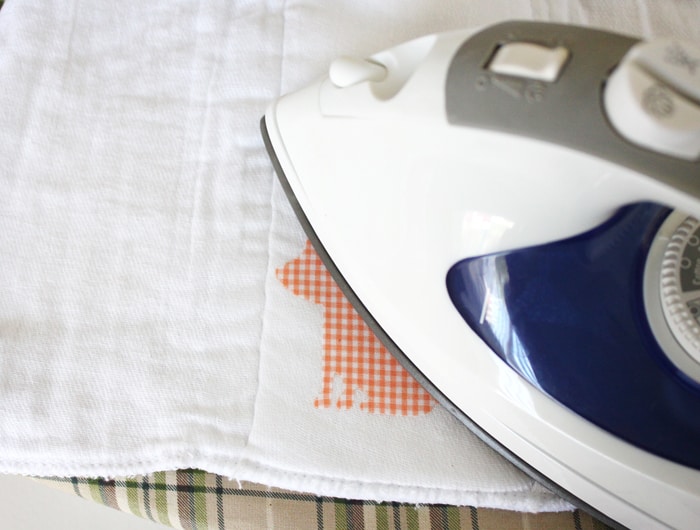
Put the applique on the bottom, middle of your cloth diaper/burp cloth and iron it down.
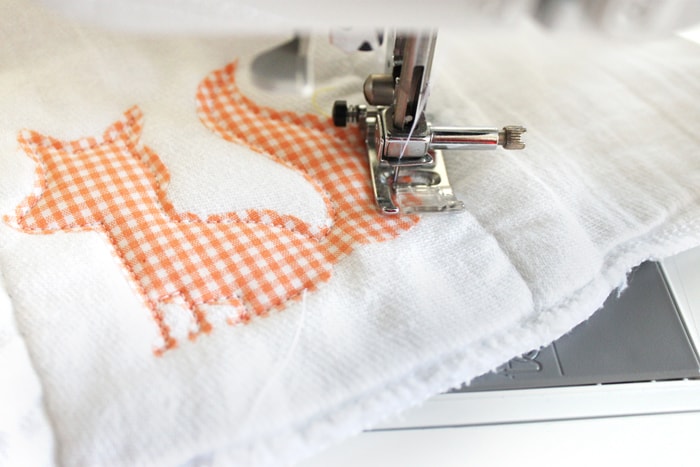
To make sure it doesn’t come off during washing, sew around the design. Get as close as you can to the edges without going off.
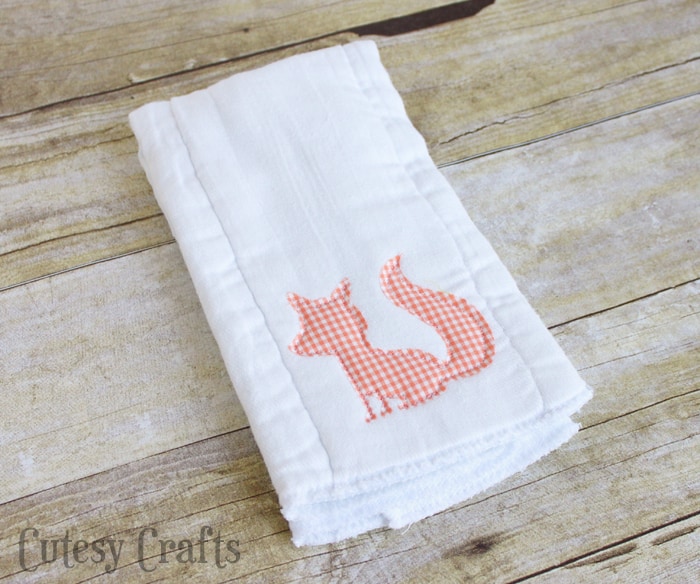
And you’re done! Much cuter than a plain white cloth diaper for a burp cloth!
Want to Check Out More Silhouette Projects?
My Silhouette Challenge buddies and I are all sharing projects on our blogs today, so peruse the projects below for a wealth of Silhouette inspiration!

1. unOriginal Mom // 2. Architecture of a Mom // 3. Crafty Bonds // 4. Simply Kelly Designs // 5. Weekend Craft // 6. Cutesy Crafts // 7. DIYJustCuz // 8. My Paper Craze // 9. Where The Smiles Have Been // 10. From Whine to Whine
Also take a look at How to Make a Blanket for a Baby.

Cutesy Crafts is a participant in the Amazon Services LLC Associates Program, an affiliate advertising program designed to provide a means for sites to earn advertising fees by advertising and linking to amazon.com. This post contains affiliate links.


am wanting to try this as babies coming. Is a silhouette only machine you can use.
You can also use a Cricut if you know how to turn the PDF patterns into a cut file by uploading them. I actually prefer using my Cricut for projects now. The Cricut Maker has a rotary blade that cuts fabric really well.
Cute, simple, and unique – love it! Was looking for ways to use my baby blanket scraps – I think this is it! Thanks for sharing your ideas!
May I ask where you bought the diapers, I’m new at this and I want to start doing fun baby stuff, your animals r so cute
I believe I bought them at Walmart (Gerber brand), but they are hard to find like this now. Make sure they say 6 ply on the package.
thyank you
Do you mind if I ask how often you have to replace the blade with your Silhouette for fabric cutting? I am pretty certain I want the Silhouette rather than a Cricut because I think I can scan in my colorbook images and then use them in the Silhouette software if I am reading correctly. I use colorbooks a lot for my images for decorating onesies. Any info on blade replacement or general Silhouette usage with fabric would be greatly appreciated. I loaded a couple of my burp cloth sets and onesies on Pinterest the other day in my One a Onesie board (janadoran) Again, thanks
It’s all going to depend on how often you use your blade. You’ll definitely want a separate one for cutting fabric vs paper, that will keep it sharper. They sell a blue one so you can separate the two. I’ve only ever bought one fabric blade, and it still seems to be working ok. With both the Silhouette and the new Cricut, you can design your own shapes to cut out. I believe the Silhouette has a special thing you can use to scan and cut directly, so that would be good with your colorbook images. I don’t recommend buying the Silhouette brand interfacing. It’s the same as Heat N Bond, but Heat N Bond is cheaper and you can buy it at the fabric store. Just looked at your oneseies on that pinterest board. SO CUTE!
I’ve been doing the diaper burp cloths as gifts for a while now Coordinate w flannel blankets and use a strip of flannel with an appliqué on the fabric. Huge hit. If I could figure out how to attach a picture of a set I would! I wandered over here to this wonderful post because I am wanting to make the plunge & get a Silhouette Portrait and wanted to make sure it will cut fabric. I also decorate onesies Just did a onesie station at a shower. Fueling my desire for a Silhouette!!! Darling burp cloths
Thank you! If you like to make appliques, you would definitely love having a Silhouette! You can get so much more detail and save so much time using it for the cutting. I’ve always wanted to do a onesie station at a shower. Maybe someday.
Love your burp cloths. Does using the iron interfacing prevent your fabric from
raveling?
Yes, it helps to keep the edges from fraying.
These are just too adorable! This definitely makes me want to test out fabric on my Cameo….and makes me even more envious that I can’t sew! It’s on the bucket list, so maybe I’ll eventually get around to picking up another skill. 🙂 Thanks so much for sharing!
I just watched your videos on you tube – very helpful – thanks 🙂
Glad they were helpful!
Oh my goodness! These are adorable! Now I need friends that are having babies so I can make some!
Thanks, Mackenzie! I think I might start making them for baby shower gifts. 🙂
I can’t explain how adorable these are to me! I love the way they look after you sewed them on. Precious!
–Brittany
http://www.diyjustcuz.com
Thanks, Brittany! 😀
These are just adorable…as are the rest of the little woodland creature baby items you’ve been crafting! Your little one is going to have his own little line of super cute baby products!
Thanks, Meredith! Haha! YES!
I love these–I really have to try out the applique thing–I’m intimidated by it!
It’s SO easy! You definitely need to try it!
What settings do you use on your Silhouette to cut these pieces of fabric with the heat n bond on them??
I just use the fabric settings that are pre-programmed into the software. Heat n Bond is basically the same as the Silhouette brand interfacing.
My friend made us a bunch of these cloth diaper burp cloths and they were amazing! I love how you chose an animal theme. I haven’t cut fabric with my Silhouette yet but I do have a fabric blade all ready to go. Pinning for future reference. Thanks for sharing your tips.
Thanks, Kelly! You definitely need to try fabric. I love it!