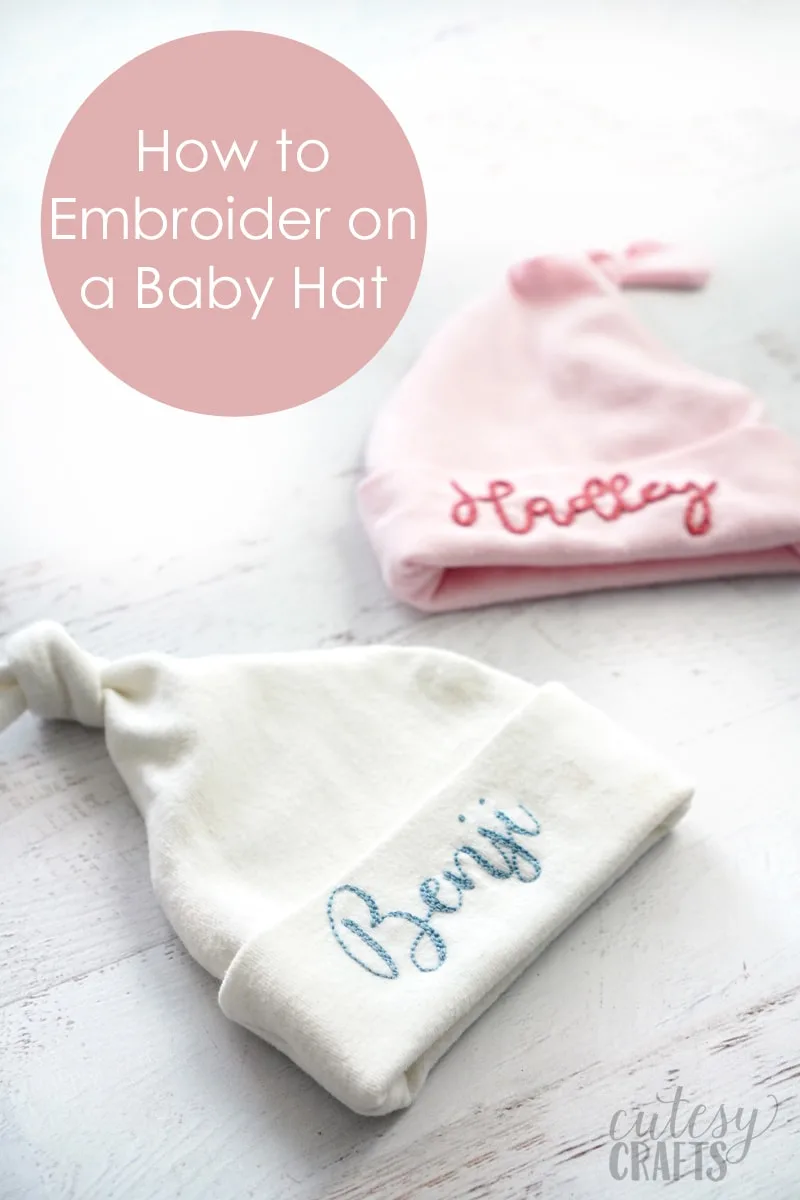
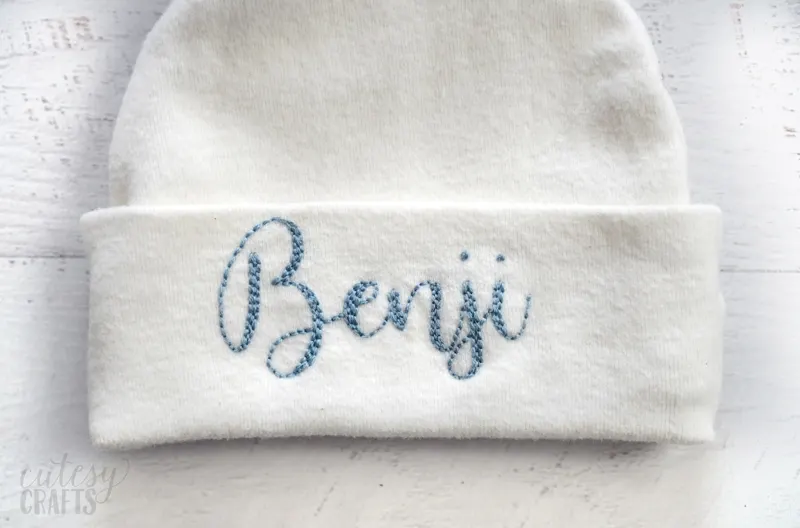
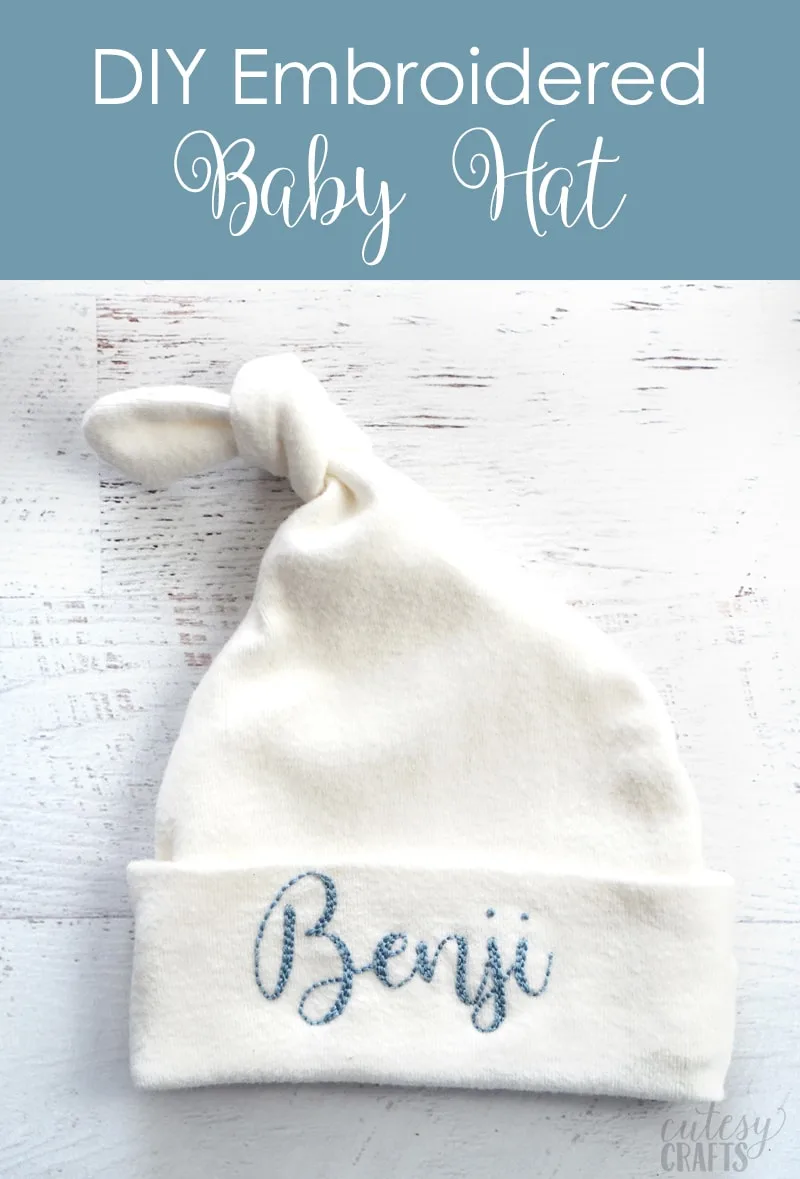
I’m always looking for new DIY baby shower gifts to make. My go-to is usually a DIY flannel baby blanket, but I thought it would be cute to personalize a baby hat with embroidery. Just imagine the adorable newborn photos that could be taken with a gift like this! So today, I’m going to show you how to make this hand embroidered baby gift for someone special.
 (This post may contain affiliate links, which means I may receive a commission, at no extra cost to you, if you click a link and purchase something that I have recommended. As an Amazon Associate I earn from qualifying purchases.)
To make this hand embroidered baby gift, you’ll need:
- template that you create yourself (instructions below)
- baby hat with a cuff (washed and dried)
- Fabri-Sovly
- embroidery floss – I used DMC 932 for the blue and DMC 3712 for the pink
- embroidery needle
- 4 safety pins
- iron-on backing (optional)
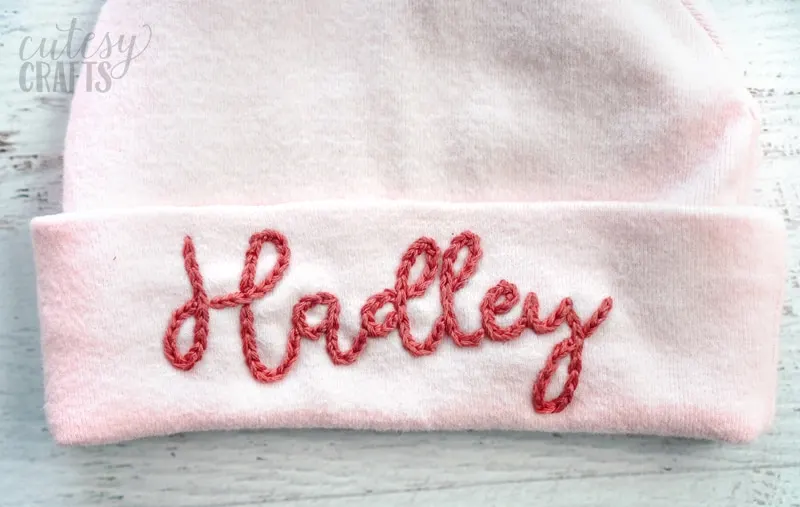
First you’ll need to create your own pattern. Measure the cuff of your hat and decide how big you want the baby’s name to be. I decided to make my names a little over 1.5 inches tall. Download a font you want to use. I used Bulandari for both of these, and just changed the way I stitched them. The program I typed them in is telling me that “Benji” was font size 171, and “Hadley” was 155. It might be different depending on what program you use. You’ll have to do some experimenting and print a few test copies before you get it just right.
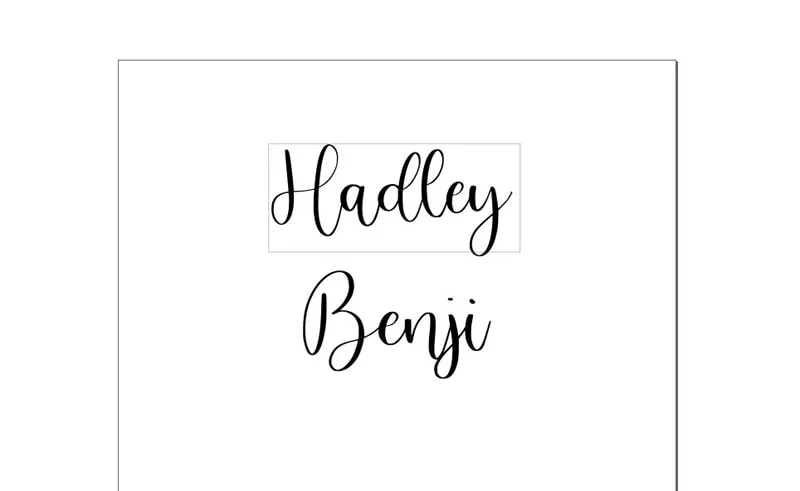
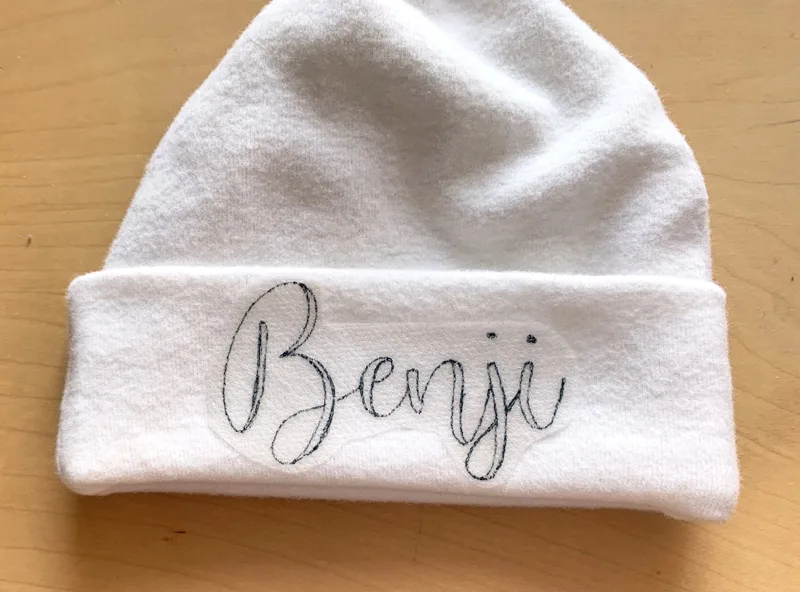
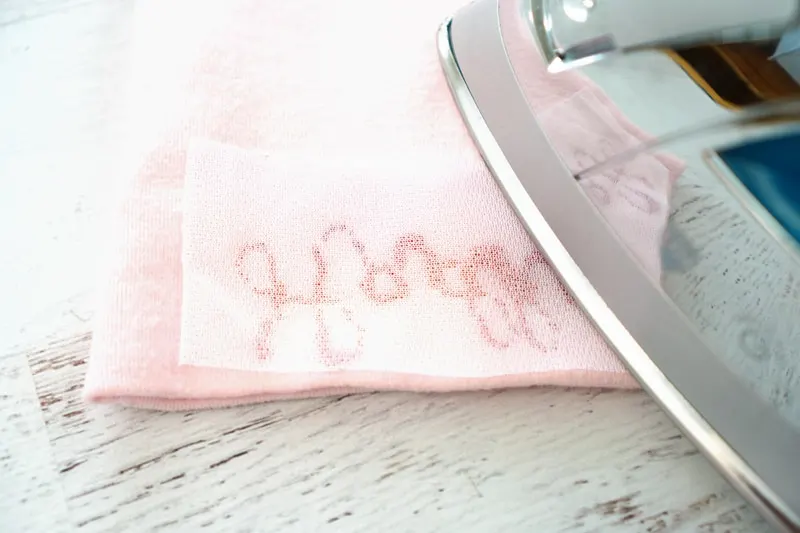
Next, trace the pattern onto some Fabri-Solvy and stick it onto the hat. If you’re unfamiliar with this process, take a look at my video on transferring patterns with Fabri-Solvy.
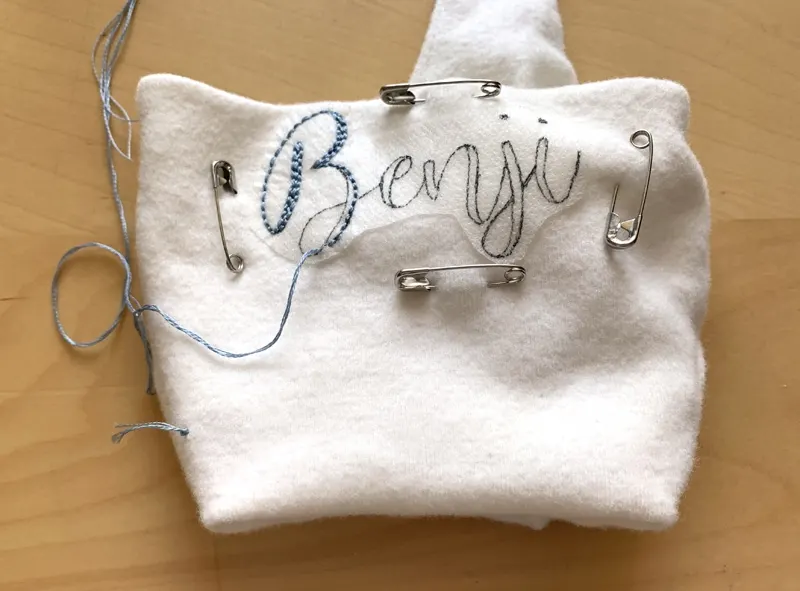
If your hat is lined (2 layers thick), you’ll want to pin around the area you’re stitching. Make sure the pins go just through the two layers on the cuff. This helps keep the front and back fabric aligned. Pull the cuff up enough that you’ll be able to easily embroider on it and start embroidering. Try to keep the back tidy by using the methods in my how to start embroidery with no knots.
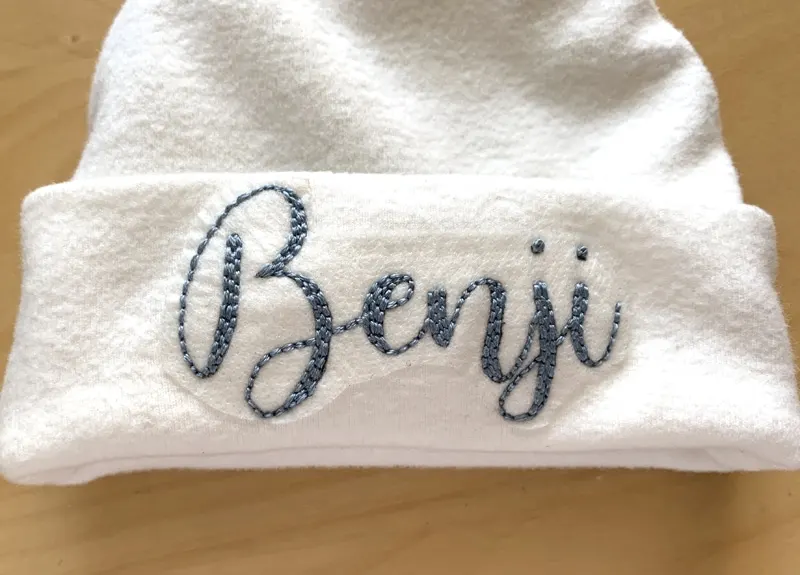
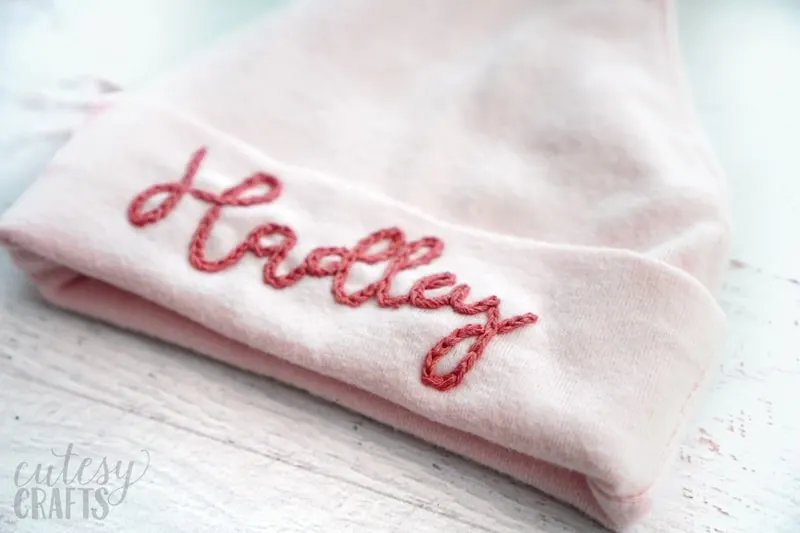
If you need help knowing how to embroider letters like this, watch the video below. (If you’re using an ad blocker, you may need to turn it off to see the video.) If you want to know how to do the chain stitch letters, I’ve got a video on the chain stitch here. I used 3 strands of embroidery floss for both hats.
When you’re done with the embroidery, soak the hat to remove the Fabri-Sovly.
Gently squeeze it to remove the excess water. Be careful not to pull or twist. Let it air dry.
This last part is optional, but I like to iron some backing on the back of the stitches when they’re on clothing. I feel like it helps keep the stitches more secure on the back and hides any messiness.
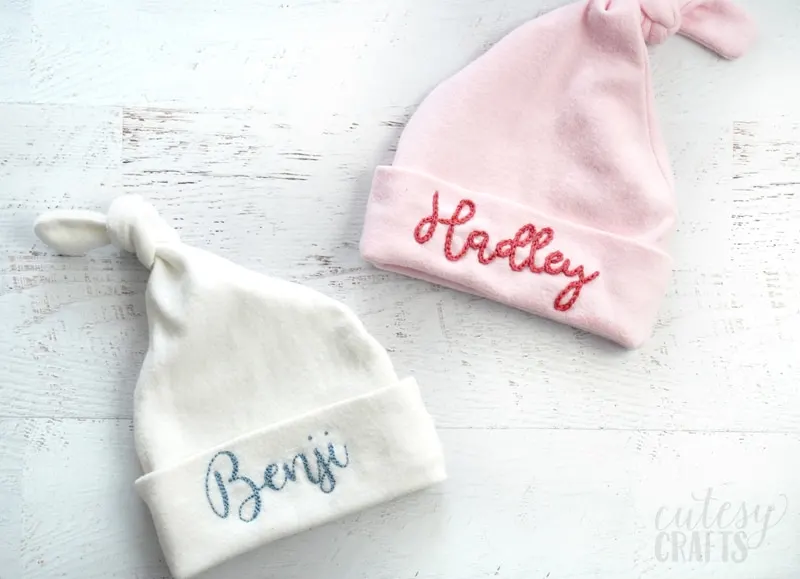
If I had to do it over, I might have only use 2 strands for the chain stitch, but I still think it looks cute.
Which one is your favorite?
Make sure to check out all of my other baby crafts and free embroidery patterns.
Claudia
Tuesday 3rd of November 2020
Los dos son preciosos.