
Beginner Embroidery Tips
When learning to embroider, there are several beginner embroidery tips that you will need to know before you start. Some of this can be a bit difficult to explain in words, so watching this video on my YouTube channel will help. It goes over some basic tips, supplies, and tracing methods. If you find this post useful, make sure to take a look at my How to Embroider for Beginners series.
Embroidery Floss
Embroidery floss is one strand that is made up of six smaller strands. You can separate those strands to make your stitches thinner. Each of my hand embroidery designs will list the amount of strands you need for each stitch. You want to cut off a piece of embroidery floss about the length from your hand to your shoulder (unless you are doing something like a woven wheel flower that takes a lot of floss). After you cut it, then you separate out the amount of strands you need. I like to work in two, three, and six strands usually, and sometimes a single strand if I want a very thin line. Check out my video on how to separate embroidery floss without tangles.
Securing Thread
When you begin a new thread, you need a way to secure it in the back. Generally speaking, if you can do it without a knot, your work will be much neater in the back. However, I always recommend that beginners keep things simple by just tying a small knot at the end of your thread. You can learn the other fancy stuff later. When you are done with a thread, you’ll need to secure it in the back again. Run your needle under some of the other stitches in the back. Leave it like that if it’s secure or tie a knot if it needs more. Cut off the excess thread and you are good. Take a look at my videos on how to tie knots in the end of embroidery floss with a quilter’s knot and how to start embroidery without knots.
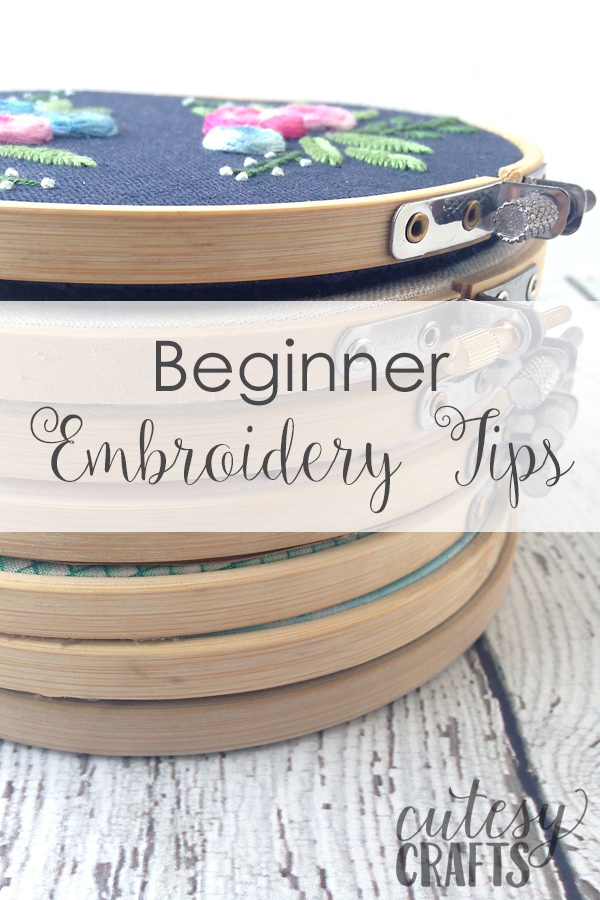
Embroidery Hoop Size
When I’m working on a project, I like to use a hoop one size larger than the one I ultimately need to finish it. For example, if I’m making a project that is going to be framed in a 6 inch hoop, I stitch it in a 7 inch hoop. That way the edges of my hoop don’t get in the way of my stitching.
Traveling Thread
When you are working on one area of your piece and you need to start on another part, you need to make sure that any thread going across the back is covered by thread in the front. If you don’t, the thread in the back can show through the fabric on the front. You’ll need to secure your thread in the back and then restart the thread again on the other part. You can also hide your stitches by using the backs of other stitches and travel along those lines. It’s hard to explain in words, but watching the video should help.


Beautiful work and a BIG help!
I have been looking for a place for embroidery. This is fantastic!
Been embroiderying for many years love it always love new ideas
Thank you, this is great!
Great for beginners.
Thank you for this tutorial…..I’m going to do it. You make it look simple and easy to follow.
I have designed a pattern that I want to embroider. I am so excited but hesitant because I am afraid to fail. So I hope this helps.
I just started but I’m so excited to be learning all these new techniques. My aunt taught me differently of some of the stitches so seeing it done is pretty cool here too!
what about the excess fabric on hoops after you’re done embroidering? how do i secure them and make them look presentable
I like to do it like this: https://cutesycrafts.com/2017/10/back-embroidery-hoop-felt.html
My 5 year old got an embroidery kit for Christmas yesterday. Today we started trying to figure it out. your tutorials and tips are so helpful. she’s starting with your bunny and rainbow template. For a 5 year old she’s doing amazing so far!
thanks for sharing!
I’m so glad it’s helping! I’m impressed your 5 year old is able to do it!!
What kind of needle do you suggest using? I started working on a kit and I wasn’t able to use six thread.
Here’s a post where I talk about needle sizes: https://cutesycrafts.com/2018/08/5-essential-hand-embroidery-supplies.html. You need a size 3 needle for 6 strands.
Thank you for stating that when you are working on one area of your embroidery piece and you need to start on another part, you need to make sure that any thread going across the back is covered by a thread in the front. I think embroidery is so cute, and I really want to learn how so I can do it to my daughter’s bookbag and lunchbox. I will definitely utilize all of your great tips and information when trying to learn how to embroider.
So glad the information was helpful!