
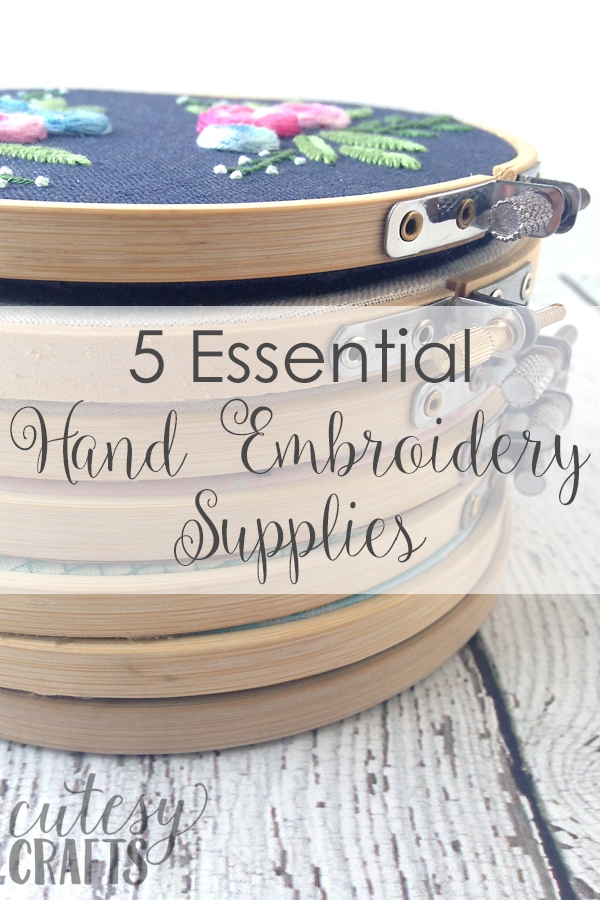
5 Essential Hand Embroidery Supplies
One of the reasons I love embroidery is that it doesn’t require many supplies. Anyone can get started with just a few essential embroidery supplies and not have to spend a lot of money. I thought I’d write up a little post so you’ll know exactly what hand embroidery supplies you need, plus some extras that are nice to have. If you find this post useful, make sure to take a look at my How to Embroider for Beginners series.
(This post may contain affiliate links, which means I may receive a commission, at no extra cost to you, if you click a link and purchase something that I have recommended.)
Essential Hand Embroidery Supplies
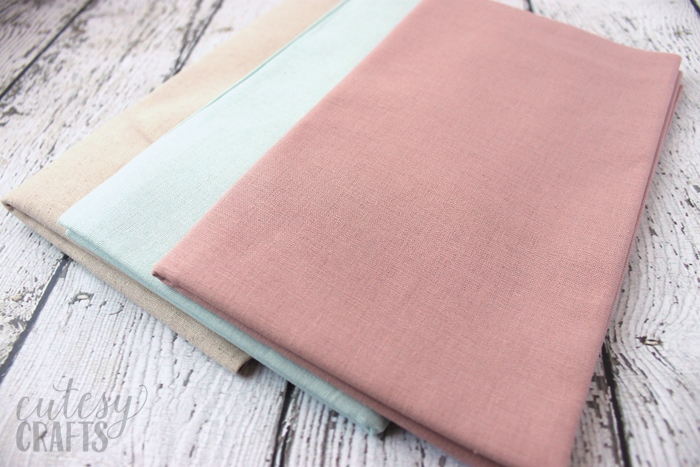
Fabric – The first of the hand embroidery supplies you’ll need is something to embroider on. Talking fabric can get a bit complex, so I actually have an entire post on it. Head over to my post about the best embroidery fabric so you can get started with some hand embroidery.
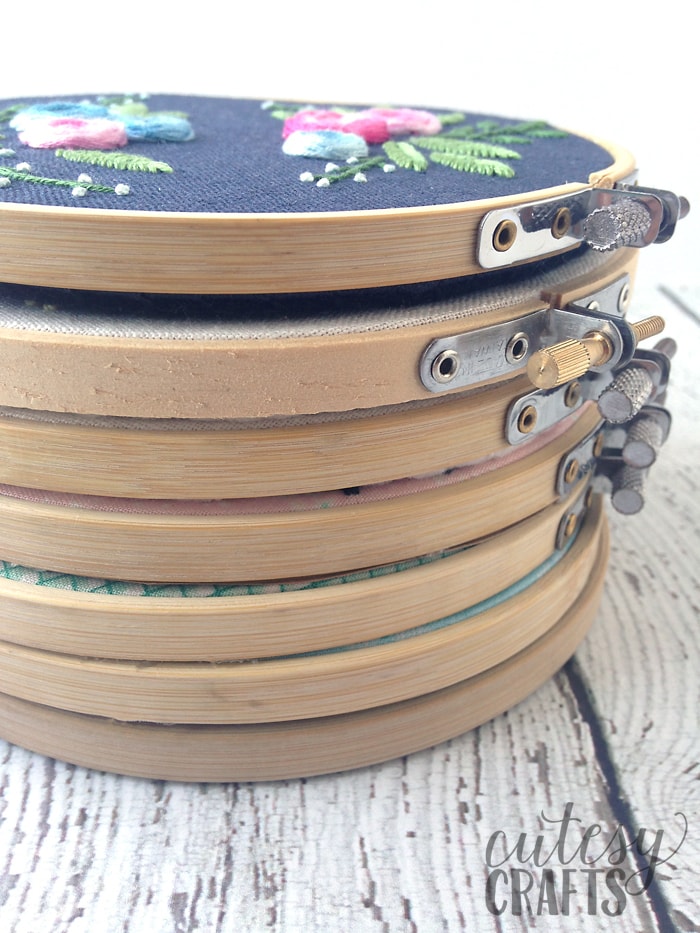
Embroidery Hoop – Embroidery hoops come in all kinds of materials, shapes, and sizes. I like to keep things simple and just use the wooden ones that you can get at any craft store. They are inexpensive, and you can use them to frame your project when you finish. Most of my hand embroidery designs give a final hoop size for framing. When I am stitching, I like to use one size up from that to make sure the hoop doesn’t get in the way of my stitches. I move it to the smaller hoop when I am done.
Embroidery Floss – When it comes to embroidery floss, DMC is the gold standard that most people use. Most of my hand embroidery designs will include a list of the DMC colors that I use. Feel free to experiment and try new colors though! I always love seeing how creative people get with my patterns.
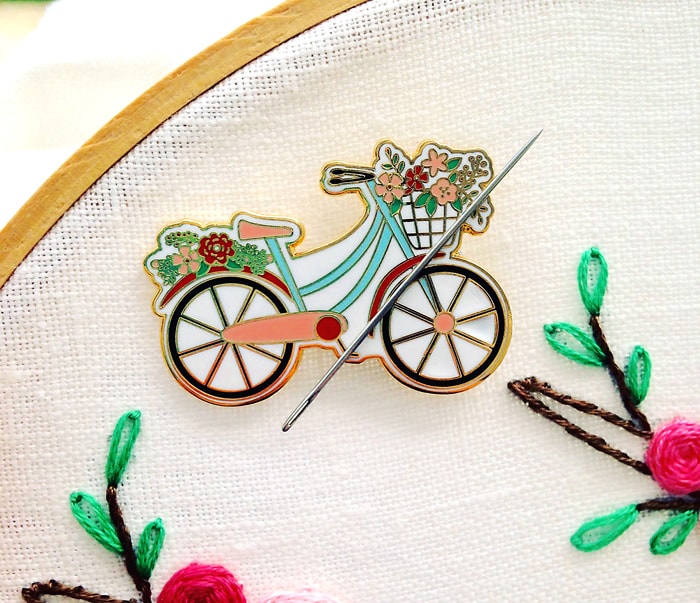
Embroidery Needles – Embroidery needles come in all different sizes. This is somewhere that preferences start to play a role. The goal in choosing a needle size is to make a hole that is big enough for your thread to glide through easily, but not so big that you see the hole when the project is done. The size needle you use will be determined by the amount of floss you are using. I usually just use my size 3 needle for six strands and my size 8 needle for everything else. A smaller number equals a bigger needle. The following embroidery needle sizes are recommended: one strand=size 10 needle, two strands=size 9 needle, three strands=size 8 needle, 6 strands=size 3 needle. So a package of sizes 3-9 would be a good option.

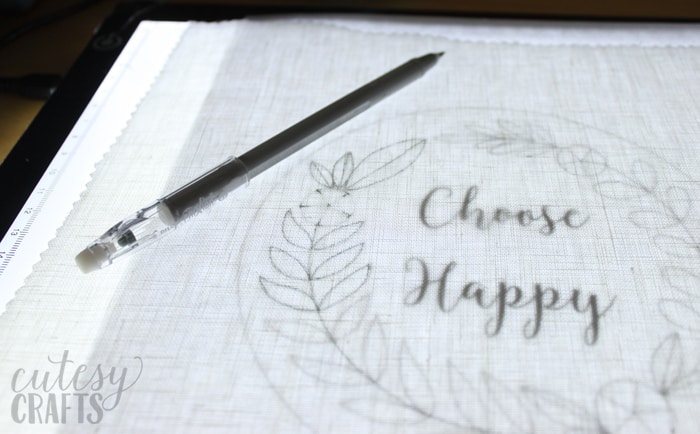
Tracing Supplies – Tracing is another thing that can get a bit complicated to explain. You will need some supplies for this, and I explain all of them in my post on how to trace an embroidery pattern.

Other Optional Hand Embroidery Supplies
Embroidery Scissors – Embroidery scissors aren’t something that are 100% necessary, but I really like to have them. They help you get in there and clip off the ends of your threads. Also, it’s nice to not have a giant pair of scissors sitting around.

Needle Threader – I haven’t had a lot of luck with needle threaders. The wire ones that I have tried always tend to break after the first few times using them. If you have poor eyesight or shaky hands, it might be worth some time to find a needle threader that works for you. Let me know in the comments if you have one that you love.
Needle Minder – I just got my very first needle minder, and I am in love! I am constantly dropping my needle and loosing it in the couch. Not a good thing, especially with little ones running around. My needle minder has been a game changer. It’s got two magnets that stick together to hold onto your project. Drop your needle on it when you aren’t using it, and it stays there until you are ready to stitch again. Of course, you can always just push the needle through some of the excess fabric to keep it secure, but I like the magnet so much more.
Needle Book – I like to have a place to keep all of my needles. My friend made me a really cute needle book out of felt and ribbon, and I love it. You can make your own or find really cute ones that other people made on Etsy.
Floss Organizers – Once you have a good amount of floss, you’re going to want some way to organize all of it. If you use floss as it comes (on a skein), it can get tangled pretty easily. I like to wind my floss on floss bobbins to keep that from happening. From there you can put the bobbins on rings or put them in cases like this one. Just make sure you write the number of the color on each bobbin for future reference. I use an ultra fine tip Sharpie on the plastic ones.

Light Table – A light table like this one that I have helps with tracing patterns. You can also just tape the pattern in a sunny window, but that makes my arm really tired. A light table is much easier to use, so you’ll want to get one if you find yourself tracing a lot of patterns using light. Read more in my post on how to trace an embroidery pattern.
Lamp – The best lighting for embroidery is always going to be daylight. There are times when I like to work on my projects at night, and my lamp helps a little. Even with the really nice crafting floor lamp that I have, it’s still pretty hard to see. I usually try to just wait it out, but the light helps in a pinch. I have a really “nice” light that I paid a lot of money for, but the base of it actually disintegrated after using it sparingly for only a year an a half. They were unwilling to do anything about it, so I can’t recommend their products. Leave a comment if you have a light that you love, as I’m searching for a new one.
Embroidery Stand – I prefer to hold my embroidery hoop and just use my stand to hold my work steady for videos. If your hands get tired or shaky, you might find it helpful to use an embroidery stand.

Those are all of the hand embroidery supplies that I like to use. Let me know in the comments if you use something that makes embroidery easier for you.
Cutesy Crafts is a participant in the Amazon Services LLC Associates Program, an affiliate advertising program designed to provide a means for sites to earn advertising fees by advertising and linking to amazon.com.


Fritz has some needle threaders that are completely flat metal with two different sized hooks on each end. Very sturdy so they won’t break like the wire ones!
I am an artist as well as budding embroidery enthusiast, I use Ott lights for painting, there amazing! I’ll be using my smaller light for embroidery.
Thank you for this supply list. Getting back into hand work and this list is great !
Hi! Is there a specific “kit” you’ve seen online that would include all of your basic needs? Thanks for the great article!
I’d probably start with a beginner embroidery kit. I have a post that has lot’s of beginner kits in it: https://cutesycrafts.com/2020/03/best-embroidery-kits-for-beginners.html. I’d check the supply lists to see what they come with before purchasing. Some don’t come with hoops for example.
Hi Jessica, thank you for your great tips and trick, advice, tutorials and patterns and links. Everything is so helpful and makes the process so much more enjoyable!
I have a tip for needle threading as I’ve had the same experience with the store bought ones with the really weak wire that breaks after a couple of uses, especially when you are using 6 strands of floss. I discovered this one day when I was desperate to get going but didn’t have a needle threader. So I asked myself how to “make one” myself ang this is what I came up with…
What I do is start by threading my needle with normal sewing machine cotton. Then, instead of pulling it through, I leave a loop, pretty much the same as a needle threader. Then I thread my floss through the loop. Once I’ve done that I pull the loop tight, taking the floss with it* until it’s up against the eye of the needle. *Here you need to make sure to hold both the end of the floss and both ends of the cotton. Then I pull it through. Usually, if you have several strands of floss, you might need to pull a little harder on the cotton thread to encourage all the strands of floss through the needle’s eye. It’s worked every time for me and, unlike needle threaders, the cotton has never broken no matter how hard I’ve pulled!!
This lamp is one I love using as it’s affordable, bright, adjustable, and portable. I got it in the office desk section of Walmart a while back and it’s really good imo for working on projects in a dim or dark room.
A few downsides though are that it doesn’t have a wireless charger or anything like that on it and it only lasts around 1.5-2 hours per full charge, but it lets you know when it’s getting low by getting dimmer and you can just plug it in with any universal usb plug and it’ll light back up and be as bright as ever.
http://www.walmart.com/ip/Bostitch-Konnect-Battery-Powered-LED-Foldable-Desk-Lamp-Black/506609439
@Daniel, Hi Daniel, I’m a hand quilter and getting into hand embroidery. I like the idea that the lamp goes out in 1.5-2 hours so I can get up and stretch and do something standing. Thanks you.
Returning to embroidery, something I enjoyed during my childhood, as something to help me pass the time during “shelter in place” orders for COVID-19. This web page and its suggestions and links are helpful to me in refreshing my memory and buying new supplies. Thank you!
Bought a head lamp after reading the comment. THANK YOU!!! Price has increased a bit – doubled – but well worth it..
Fantastic idea about the light! Sadly it has doubled in price. I ordered it anyway. Need all the lighting I can get! I also had a few decades away from stitching.
Thanks for the tip!
I have started embroidering again after a 40+ year hiatus, lol. My grandmother taught me how when i was a child but as i married, had children, worked full time, well life got in the way. I am retired now and am the grandmother of 14 grandchildern i was looking for something to do after surgery on my left shoulder, that i could do one handed and i remembered enjoying embroidery when I was young. It has proven to be a god send for me.
Sites like yours have helped refresh my memory on the how to as well as spurred the interest of a few of my granddaughters who have joined my in my refreshed hobby. They are learning along side me as I recall my old skills.
Lighting has been an issue for me in the evenings when i have the most free time to spend embroidering. I have a light next to my chair but it just wasn’t enough when i was doing tiny little stitches or blending in long and short stitches. My husband bought me a headlamp and it was just what I needed. We did try a few types. The expensive one for “serious” crafters was too heavey, irritated the skin on my forhead and didn’t last long on a charge. A cheap 7 dollar rechargeable one my daughter found on Amazon was great. Light wieght, comfortable, 3 brightness levels, directionable angles, long lasting (8 hours on a charge) and did I mention cheap? Lol. Now I can embroider any time night or day I wish to.
That’s such a smart idea! I’ll have to grab one of those for myself. I have a hard time seeing at night, even with my expensive light.
was glad to find this blog on beginner embroiderers. And as the other commenters, I too found the needle size reference quite informative. Thank tou
I’m so glad you found it helpful!
I have been embroidering from age twelve. After so many years I found your note on needle sizes v helpful. Thank you.
I always just guessed about needle sizes until I did some research. So glad I could help!
My mother taught me to embroidery when I was young. I loved it but have not attempted embroidery for years but as a young adult started cross stitching. I have wanted to embroidery again, so with your instructions I think I will start again (once I finish my other projects. Thank you so much for the wonderful instructions/ideas you have given for embroidery.
Oh, I love that! Makes me so happy to hear that you want to take it up again!
Good info, especially the recommended needle sizes. Pinning this for future reference. Thanks!
So glad it was helpful!
Very helpful. I signed up for your blog so I could learn to embroider. This is the 1st info I’ve seen anywhere on needle sizes.