
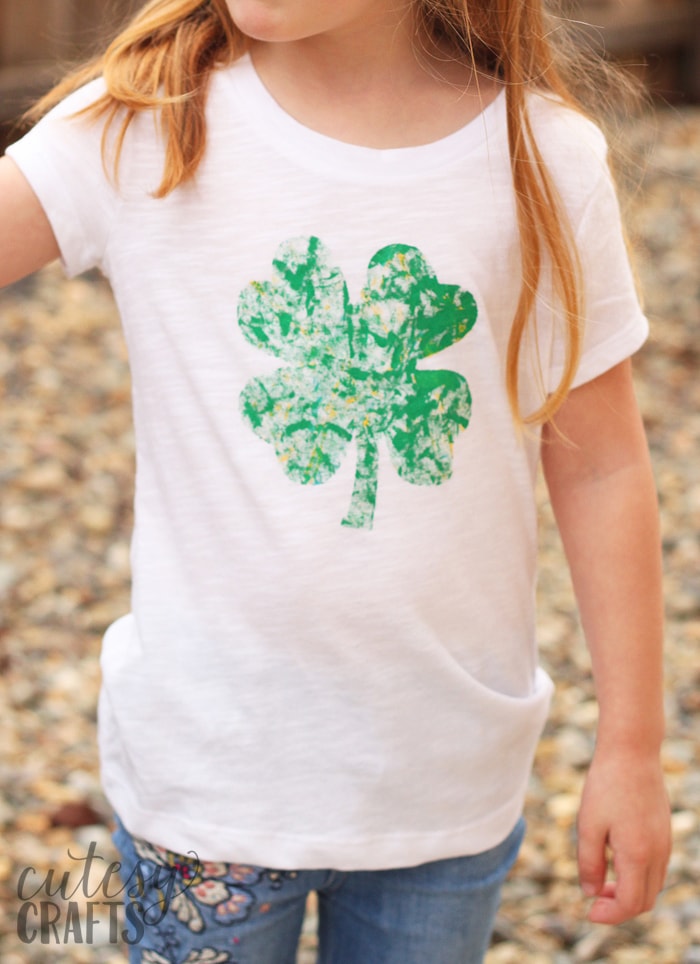
Marble Painted DIY St. Patrick’s Day Shirt
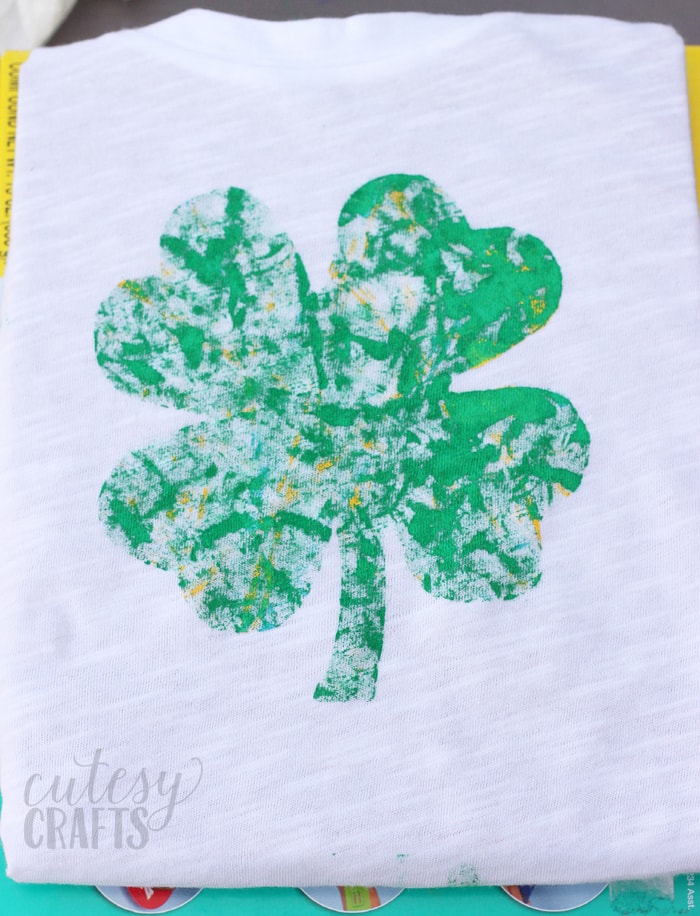
A couple years ago we made these eraser-stamped St. Patrick’s Day shirts, and my kids loved them. They’ve grown a bit since then, so it’s time for some new ones. Rather than make them the same way, I thought of something new to do. Remember painting with marbles as a kid? Well, I thought it would be fun to try that on their shirts. Marble painting on fabric gives a different effect than it does on paper, but I really like how it turned out.
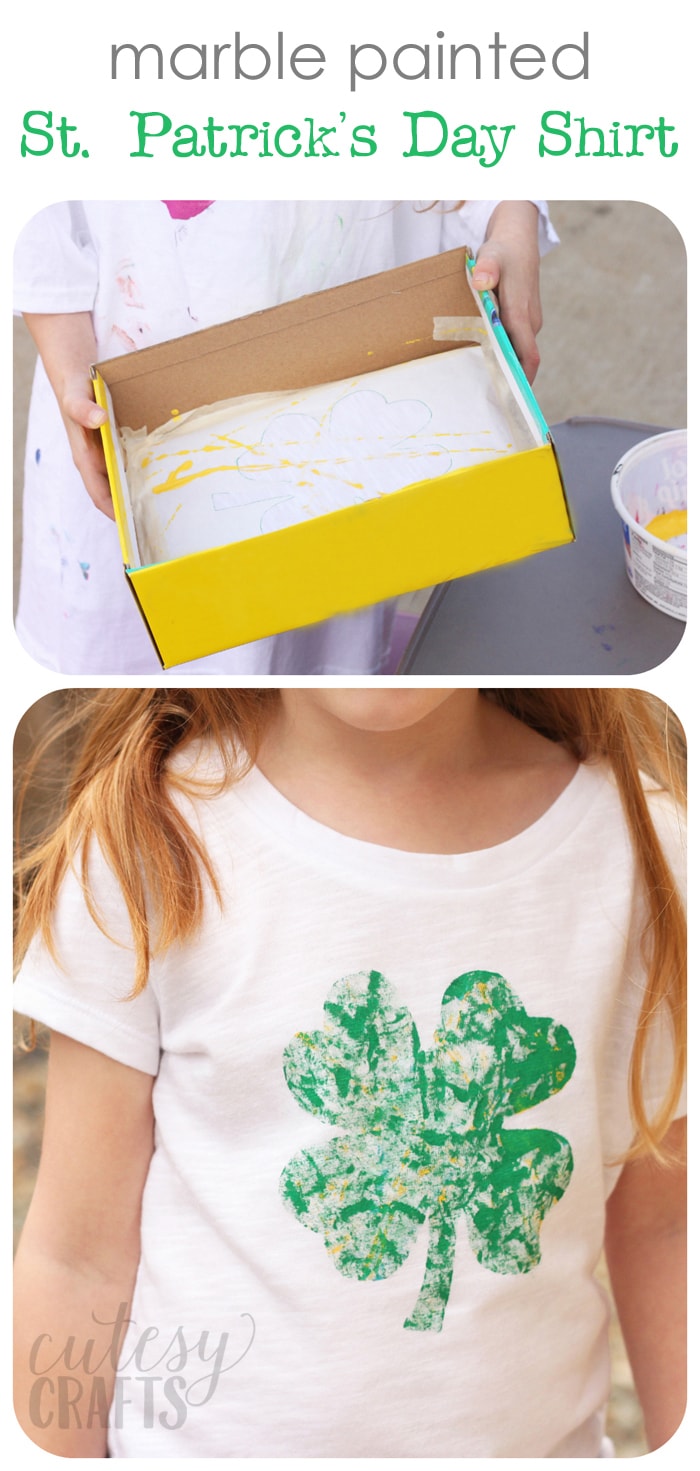
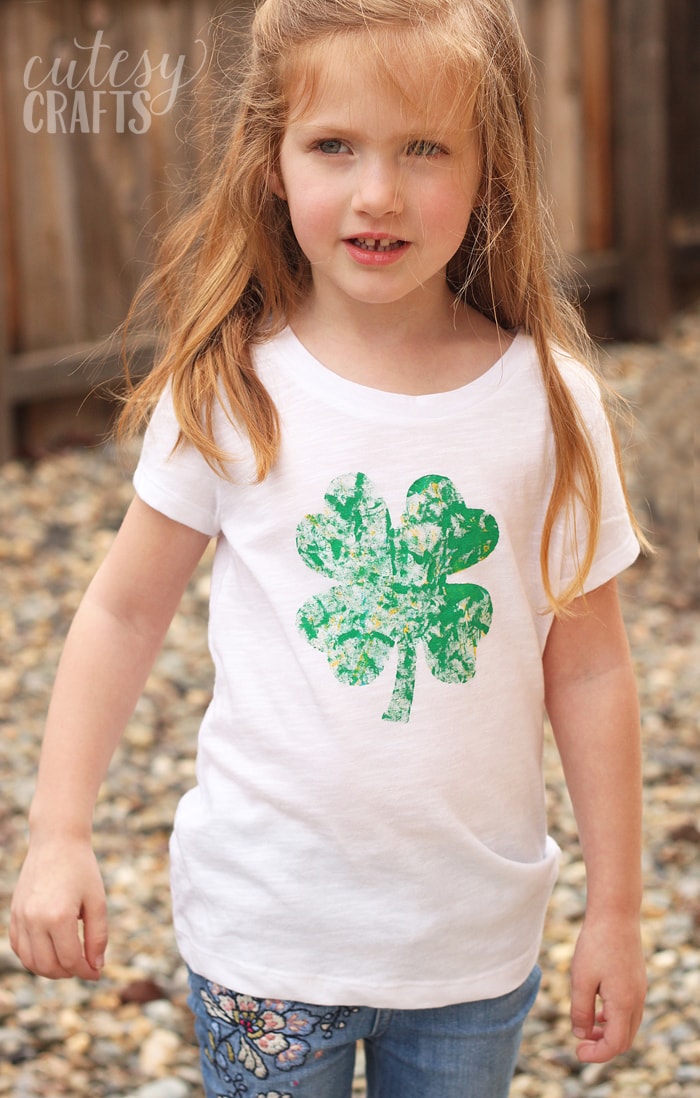
The kids are so proud to wear things that they made themselves!
(This post may contain affiliate links, which means I may receive a commission, at no extra cost to you, if you click a link and purchase something that I have recommended.)
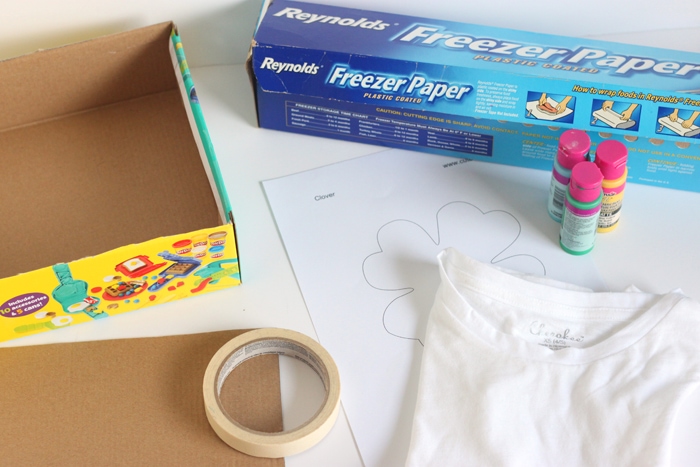
To make these DIY St. Patrick’s Day shirts, you’ll need:
- clover pattern
- t-shirt
- cardboard box
- freezer paper
- fabric paint – green and other colors
- masking tape
- marbles
Get a box that is at least the size of the clover pattern and cut off one of the sides. A shoe box would probably work well too. Take the side that you cut off (or the lid of your shoe box), and trim it so that it easily fits in the inside of the box.

Cut a piece of freezer paper the same size as that piece of cardboard.

Trace the clover pattern onto the non-shiny side of the freezer paper.

Cut out the inside of the clover to make your stencil.

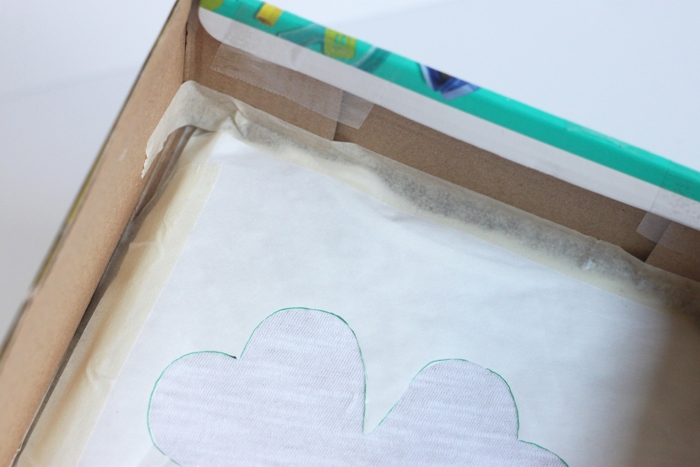
Center your clover stencil on the shirt, shiny side down, and iron it with a hot, dry iron.

Slide the piece of cardboard into the inside of the shirt and position it behind the freezer paper. This will keep the paint from bleeding through to the back.

Fold the shirt toward the back, around the cardboard, and tape it to keep everything in place.

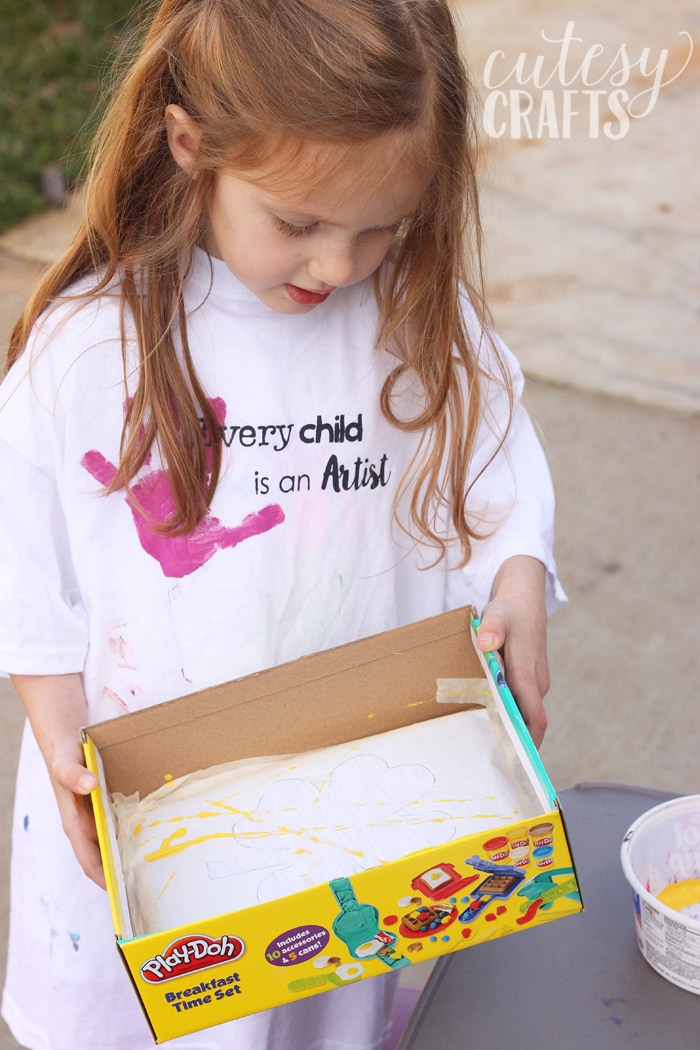
Put the shirt inside of the box.

Tape the edge of the freezer paper to the sides of the box like in the photo below. Make sure none of the fabric is exposed on the edges.
Put some fabric paint in a container and put a marble in the paint. You can use whatever colors you want. We started with a little bit of yellow and then did green paint for the rest.
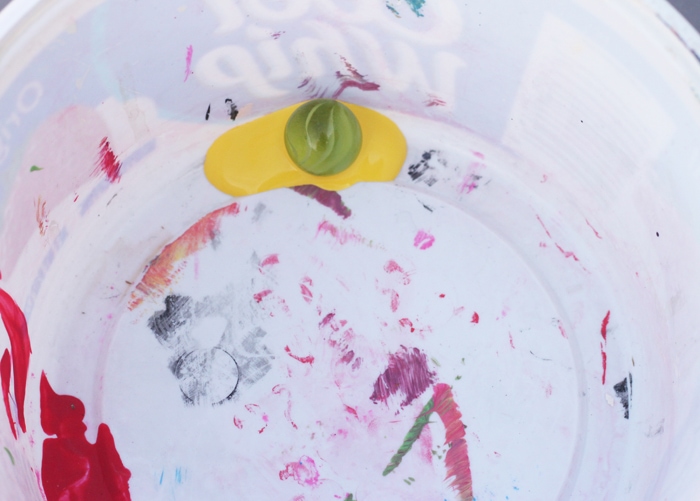
Throw the marbles in the box and roll them around. If you don’t want messy fingers you can use plastic spoons to pick up the marbles. I recommend doing this project outside or on hard floor in case any marbles escape, and make sure to protect your clothes!
You want to get as much of the clover covered as possible. If you find that the paint is a little thick, you can thin it down with a teeny tiny bit of water. When we got to the green paint, we had three marbles going at once to make it faster. The darker spots on the fabric are from when we put the marble directly onto the fabric first.
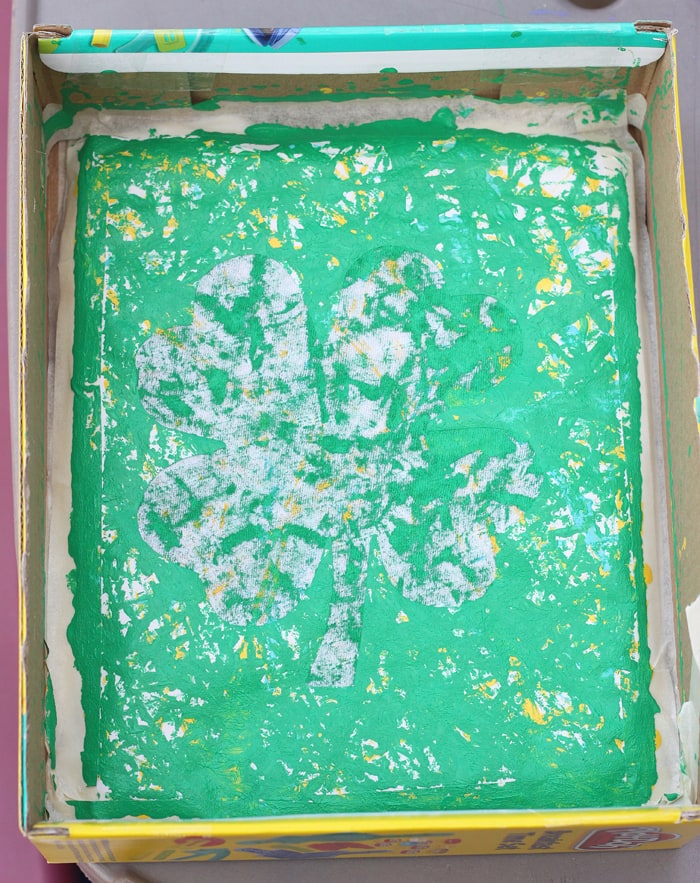
Wait for the paint to dry completely so you don’t get any paint on the other parts of the shirt. Peel off the tape and stencil. Follow the instructions on your paint to heat set it. This usually involves ironing it or putting it in the dryer.
I can’t wait for St. Patrick’s Day so the kids can show off their new shirts!
You might also like these other fun crafts:


Cutesy Crafts is a participant in the Amazon Services LLC Associates Program, an affiliate advertising program designed to provide a means for sites to earn advertising fees by advertising and linking to amazon.com. This post contains affiliate links


Definitely going to try this! My daughter is obsessed with her marble coaster right now, so this would be a fun twist!
Question – any advice where to get inexpensive plain shirts in older girls sizes? I got some boys undershirts to use for your eraser stamp idea when my daughter was in 5T. I made a number “3” shirt for her birthday! However, the shirt in this post is a cuter girly cut. I’d love to know where to get some like that and for how much. I haven’t had much luck hunting on my own.
My go-to places for girly, plain shirts are Target and Walmart! I think they are like $5.00 usually.