One of the things I’ve be wanting to learn for a while is how to embroider a t-shirt by hand. I’ve embroidered a lot of decorative hoops and tea towels, but never a t-shirt that will get a lot of wear and washing. Well, I finally figured out the best way to do it, and I’m sharing a tutorial with you today. Thank you to Threadsy for sponsoring this post!
The first thing you’ll need to do is choose a t-shirt. Pretty colors in nice, women’s cuts can be difficult to find, but thankfully Threadsy has a lovely selection of men’s, women’s, and unisex shirts to use. They carry tees, sweatshirts, totes, caps, and more from trusted brands like Gildan, Hanes, Fruit of the Loom, Alternative Apparel, Bella+Canvas, Next Level, and many more!
They are all about delivering high-quality apparel at a fantastic value with super-simple bulk savings discounts. They have no order minimums and offer fast, free shipping for all orders $50+ and free returns for 30 days! Because there are no wholesale requirements, they’re a great option for crafters, creators, and small businesses who want wholesale pricing without the wholesale hassle for projects of any size.
They’re committed to empowering others to do what they truly love and explore their creativity. So keep on being inspired. Keep on creating. Making. Expressing. Connecting. Styling. Sharing. They’ll supply the blank canvas (or t-shirt or tote bag), the rest is up to you.
To make this shirt, you’ll need:
- flower outline embroidery pattern (instructions to download are at the bottom of this post)
- a t-shirt from Threadsy – I used this beautiful mauve one.
- adhesive water soluble stabilizer
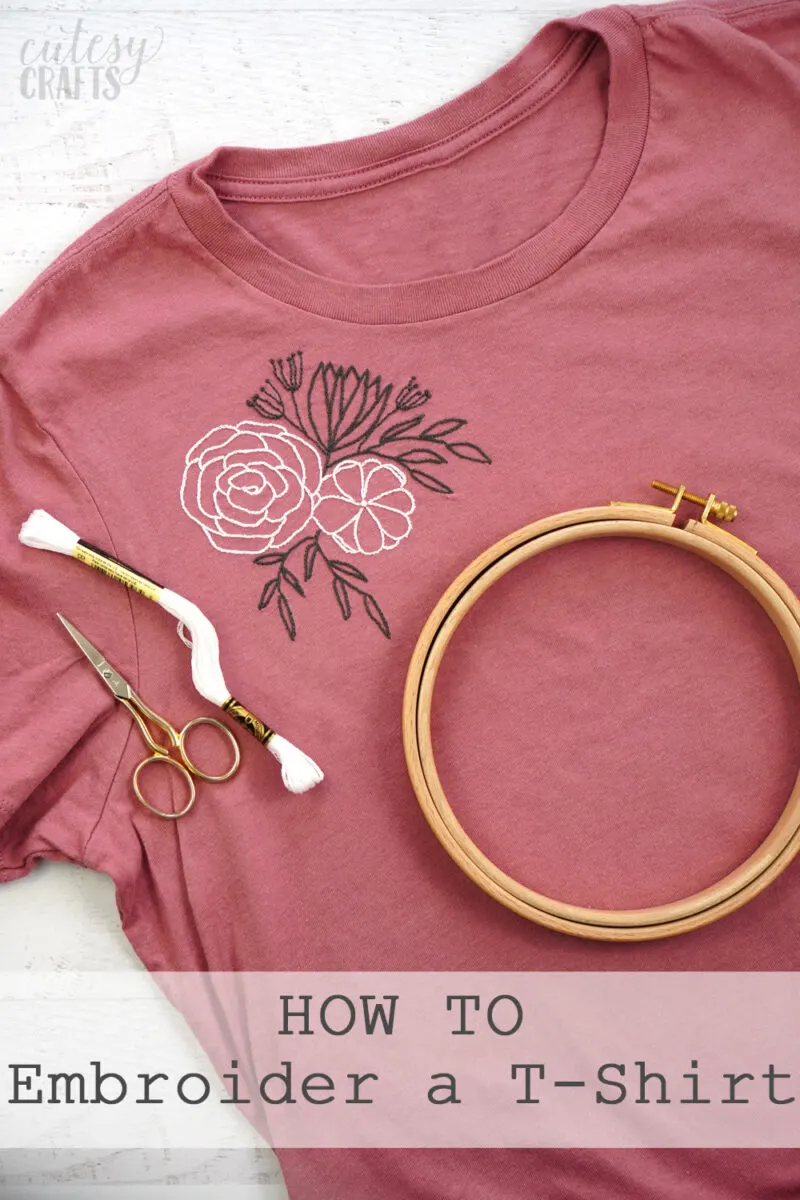
- embroidery floss (colors listed on the pattern)
- embroidery hoop
- embroidery needles
- scissors
- iron and ironing board (optional)
- iron-on embroidery backing (optional)
- parchment paper (optional)
How to Embroider a T-Shirt by Hand
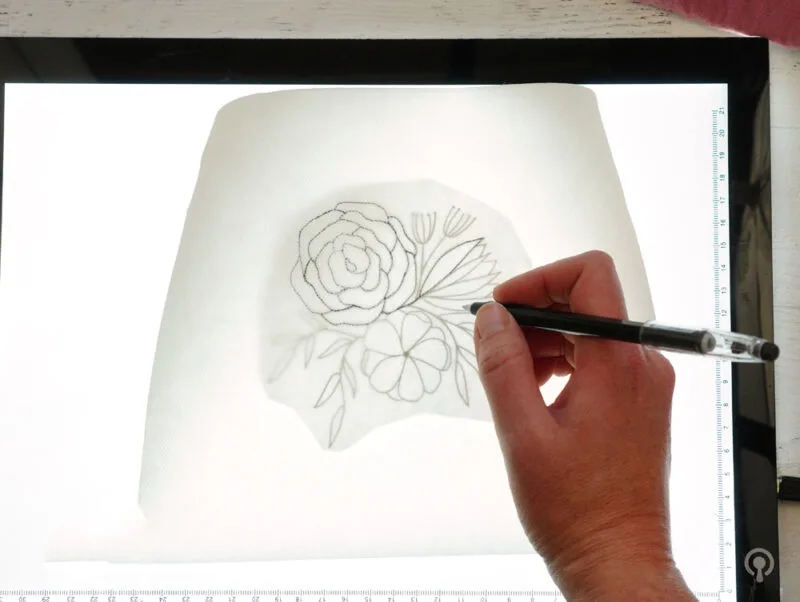
Step 1: Cut a piece of adhesive, water soluble stabilizer slightly larger than your embroidery hoop and trace your pattern onto the fabric side. You can use a light table or tape the pattern into a sunny window. The stabilizer serves two purposes here: to transfer your design, and to stabilize the fabric so it doesn’t stretch and distort. (Also, a note about patterns here. You want a pattern that has short, simple stitches. No woven wheels or long stitches that will distort in the wash. French knots and lazy daisies should be fine, but the simpler the better.)
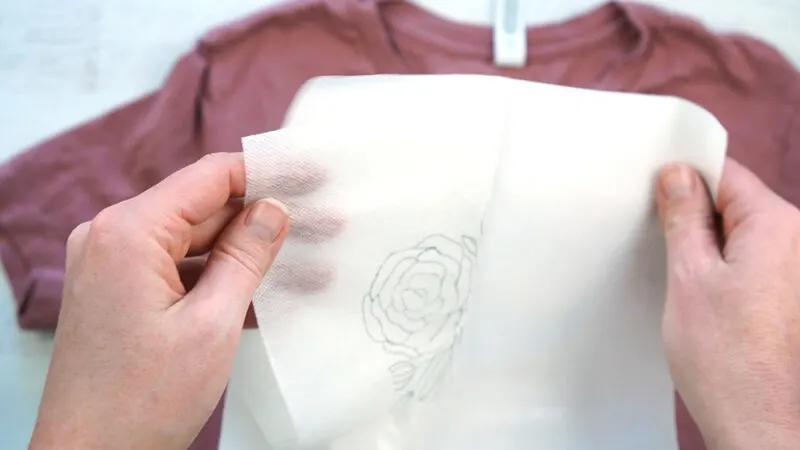
Step 2: Peel the paper backing off the stabilizer to reveal the adhesive.
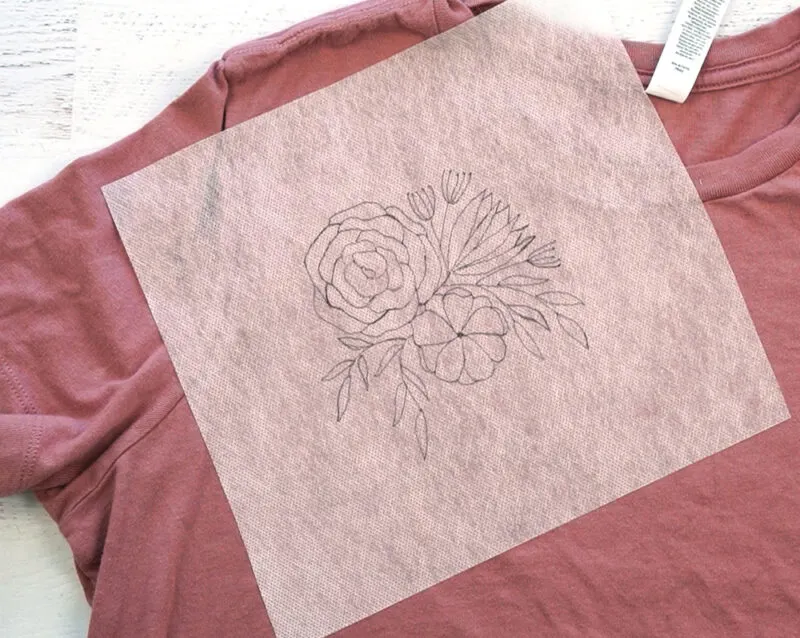
Step 3: Stick the stabilizer onto the front of your t-shirt, where you would like the pattern to be.
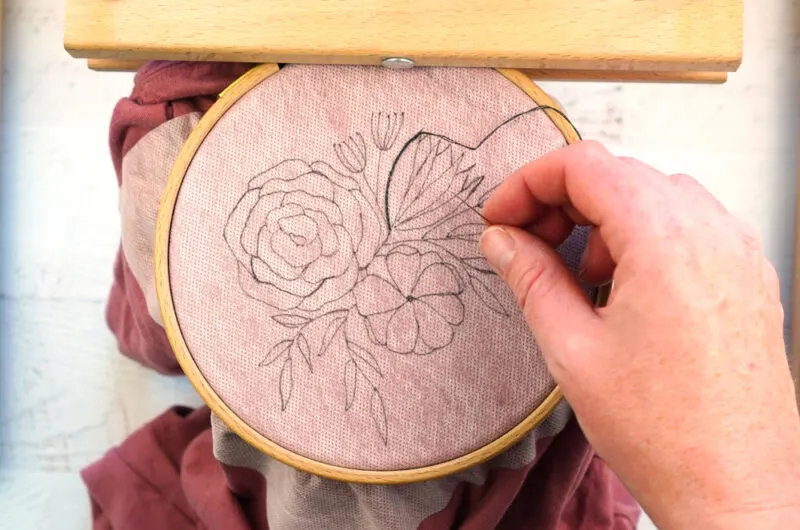
Step 4: Without stretching the fabric, put the top layer of your t-shirt into an embroidery hoop and tighten the screw.
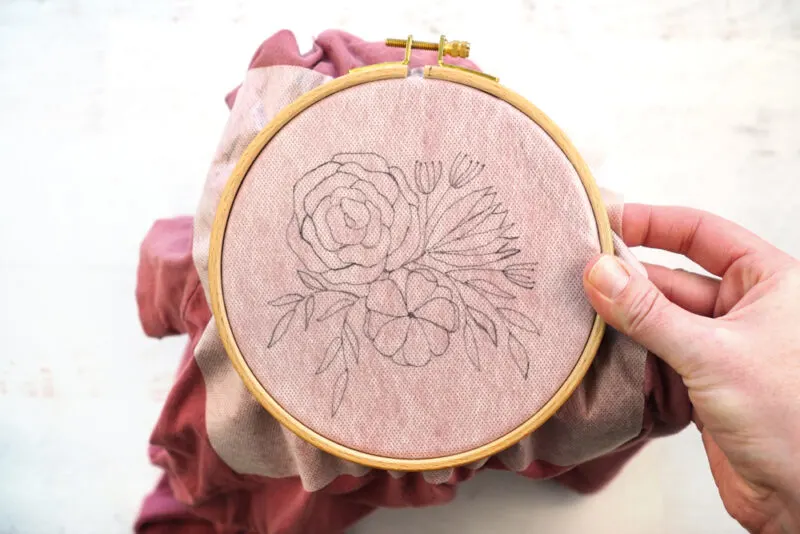
Step 5: Embroider your design through the stabilizer and fabric. Try to keep your work as neat as possible and use no-knot methods if you can. I have a video tutorial of how to do that here.
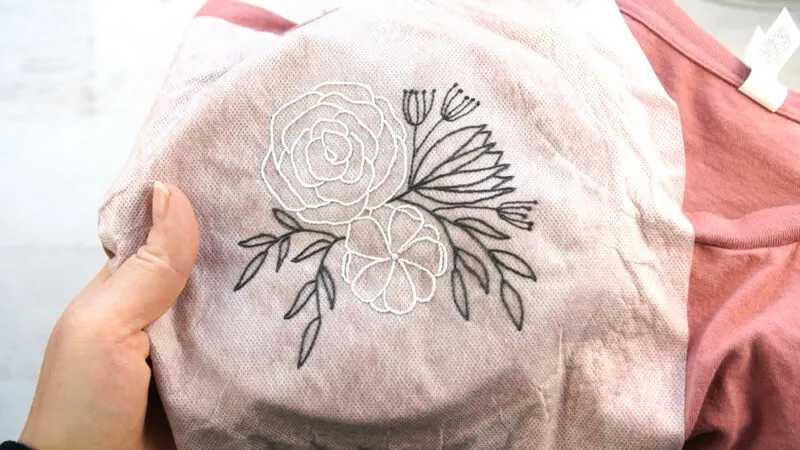
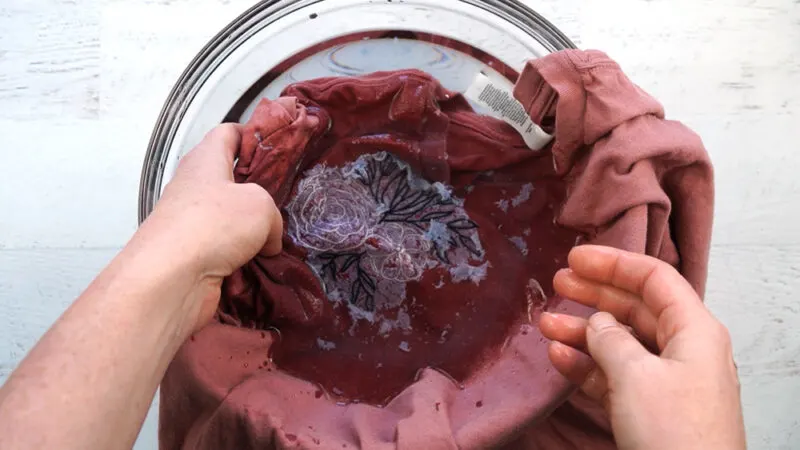
Step 6: Remove the shirt from the hoop and soak it in water. I like to do this under running water to get the stabilizer out from under all of the stitches. Once all of the stabilizer is removed, lay the shirt flat to dry.
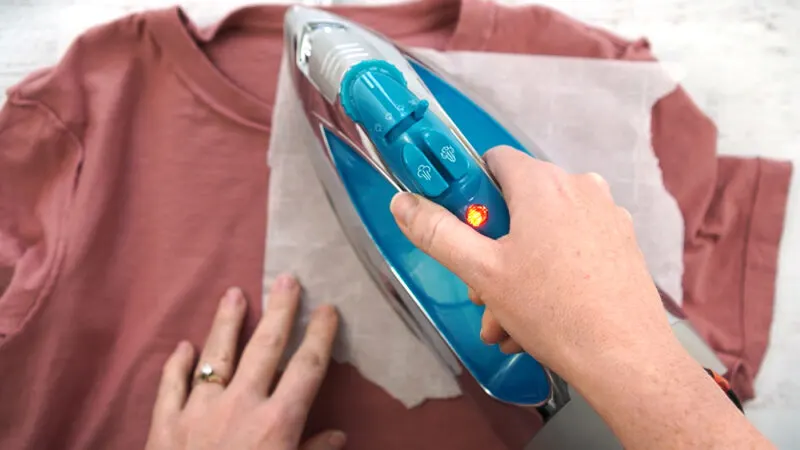
Step 7: Cut a piece of embroidery backing slightly larger than your design and iron it onto the back of the stitches (inside the shirt). Cover the backing with parchment paper while ironing to keep your iron clean. Adding a backing is optional, but it helps the wearer feel more comfortable in the shirt.
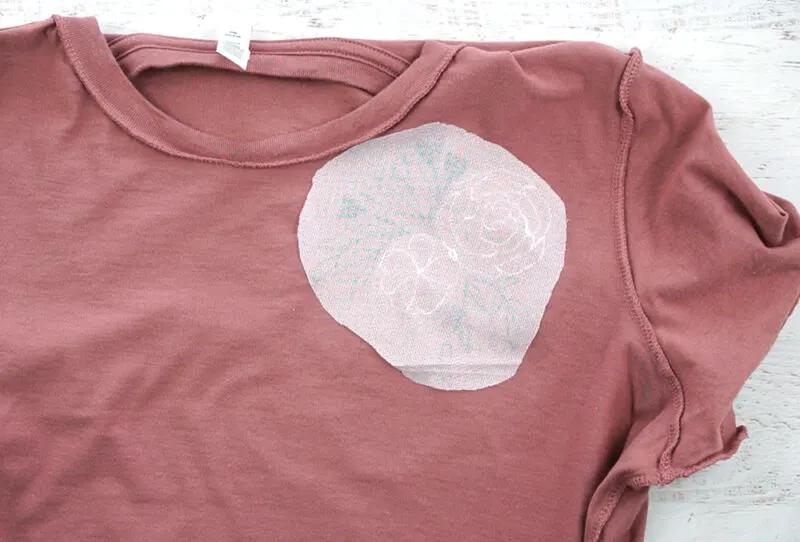
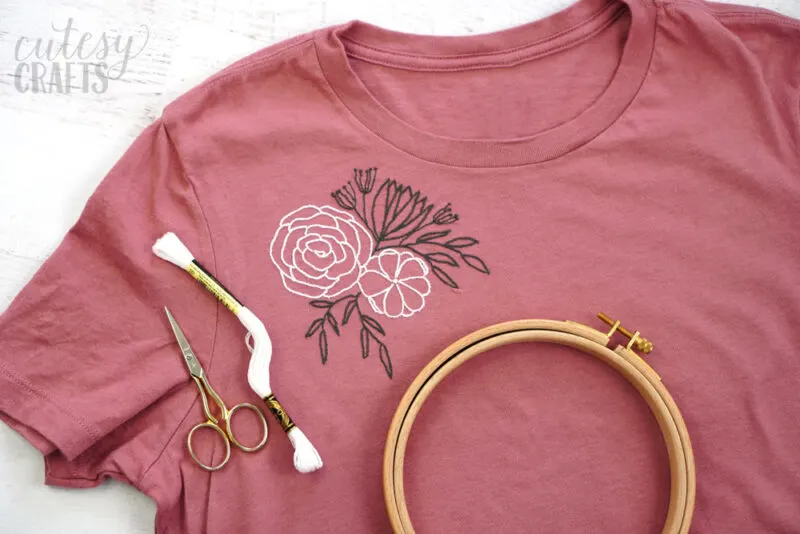
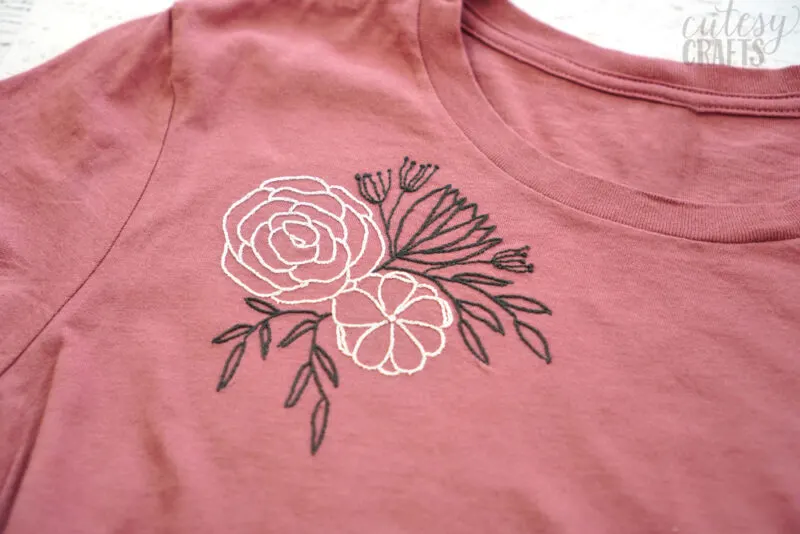
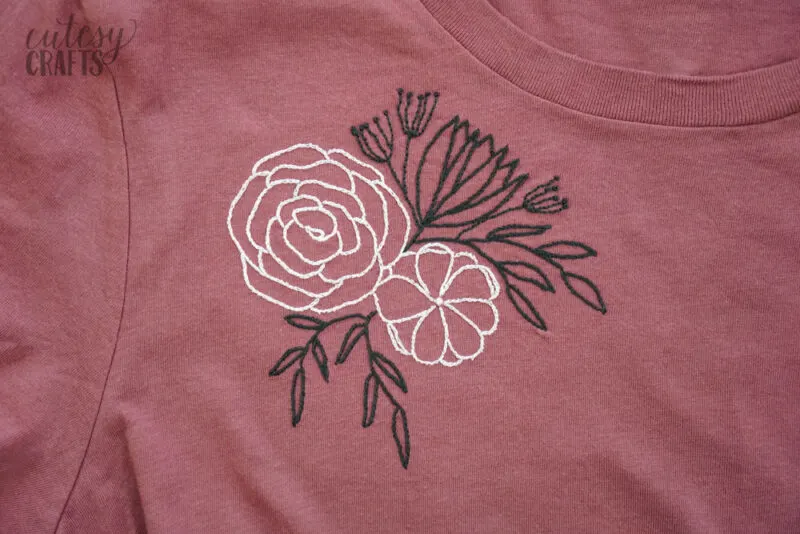
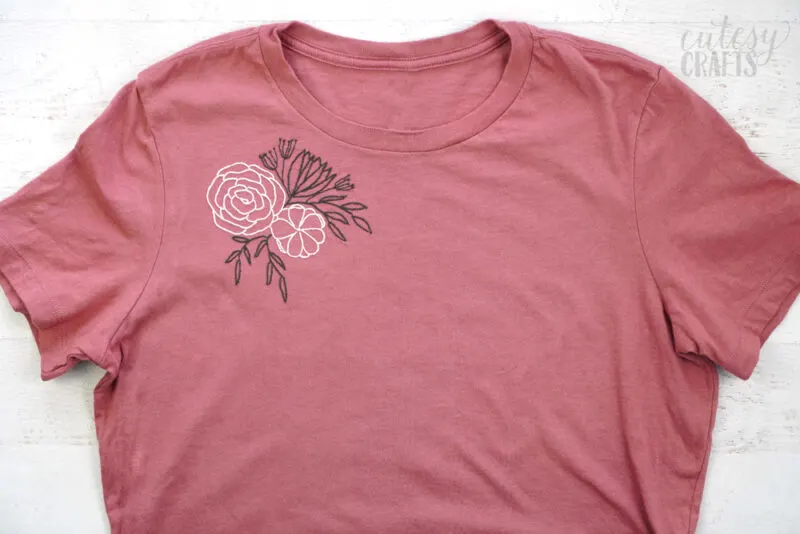
That’s it! I really love the way this shirt turned out with the outline of the flowers on the mauve shirt from Threadsy!
Be sure to check out Threadsy’s website for great prices on embroidery blanks and keep up with the latest from them on Facebook, Instagram, and Twitter.
Get the free floral outline embroidery pattern!
To get the password, enter your information in the form below to sign up for my free email newsletter. You will get an email with the password. Already subscribed but forgot the password? No need to subscribe again! Every email newsletter I send has the password in it, so check the latest one.

R. Storozyszyn
Friday 13th of June 2025
What size and type of needle did you use for this project?
Nancy Sims
Saturday 3rd of June 2023
Love it. Thank you for posting
Rita
Wednesday 15th of December 2021
I have been wanting to embroider on t shirts for a while now. so thanks for this tutorial. I am having a hard time finding the flower pattern you used.
Jessica @ Cutesy Crafts
Wednesday 15th of December 2021
I forgot to upload it to the embroidery pattern library. It should be there now. Email me if you still can't get it jessica@cutesycrafts.com
Annie
Wednesday 15th of December 2021
What type of embroidery backing do you prefer?
Jessica @ Cutesy Crafts
Wednesday 15th of December 2021
Sulky tender touch.
aswathy prasannan
Wednesday 15th of December 2021
From where do you buy adhesive water soluble stabilizer? Which brand?
Jessica @ Cutesy Crafts
Wednesday 15th of December 2021
Sulky Fabri-Solvy is what I have used. Make sure it's the adhesive one. You can get it at Joanns or online. I've heard of people selling knock-off product on Amazon though, so I'd be careful there.