
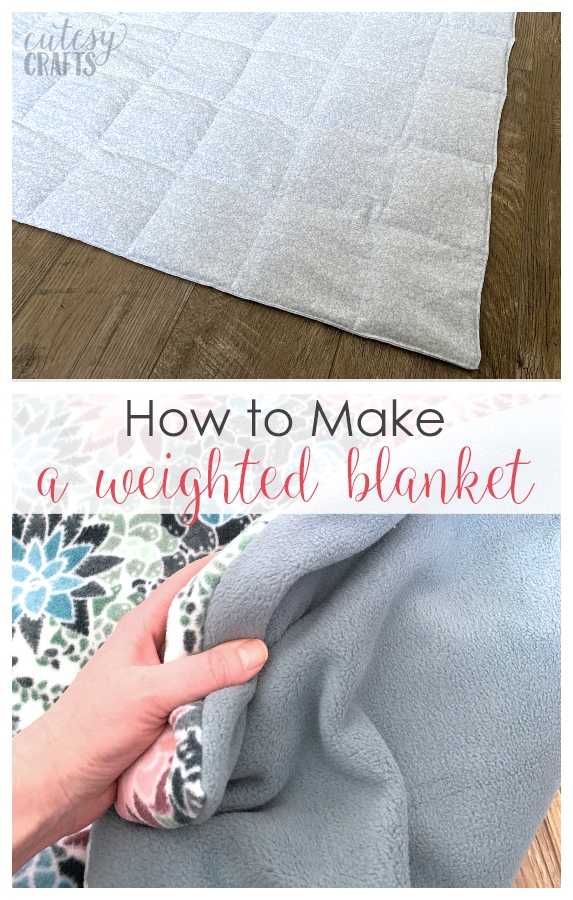
How to Make a Weighted Blanket
My aunt has been suffering with sleep issues for a while now. She posted something about weighted blankets on Facebook, and I decided to try and figure out how to make a weighted blanket for an adult. I’ve read so many things about how great they are for people with autism, anxiety, or trouble sleeping, but they can be really expensive! I gave my aunt the DIY weighted blanket a couple weeks ago, and she said she had the best night sleep she’d had in over a year! I thought I’d show you how to make one yourself. Also take a look at these other easy homemade blanket tutorials.
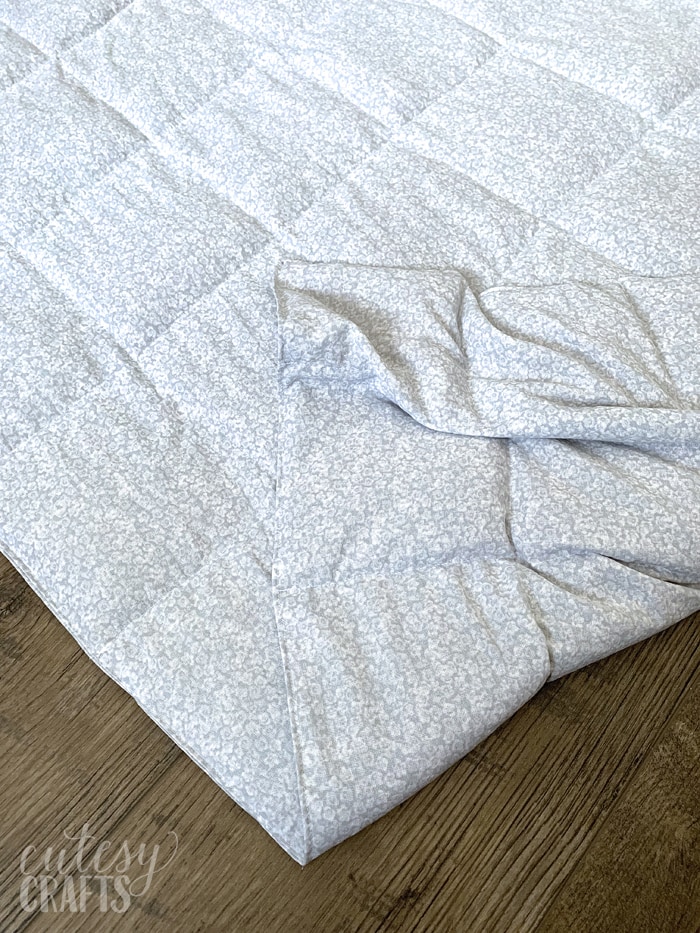
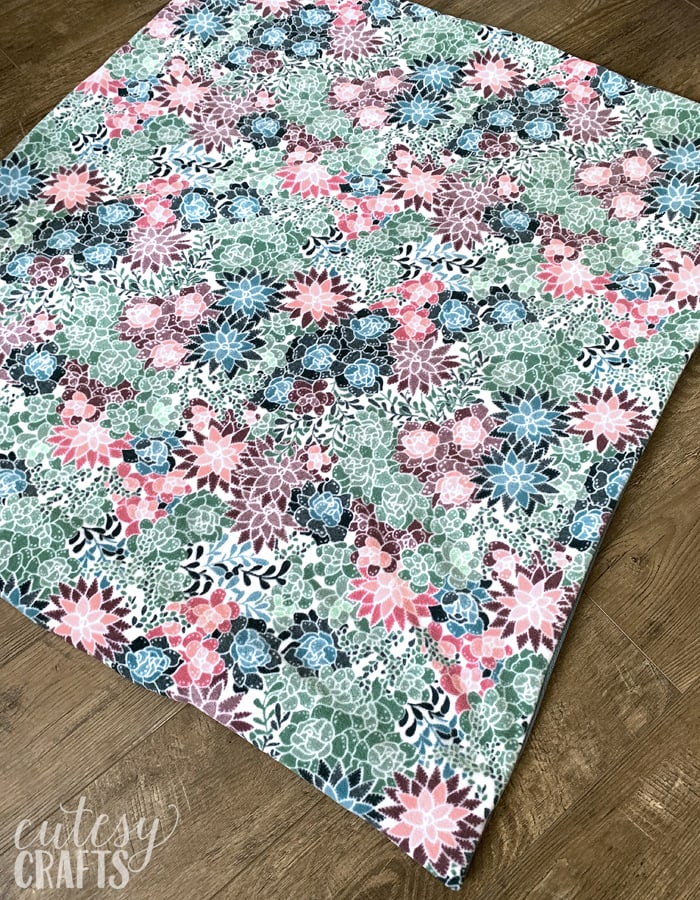
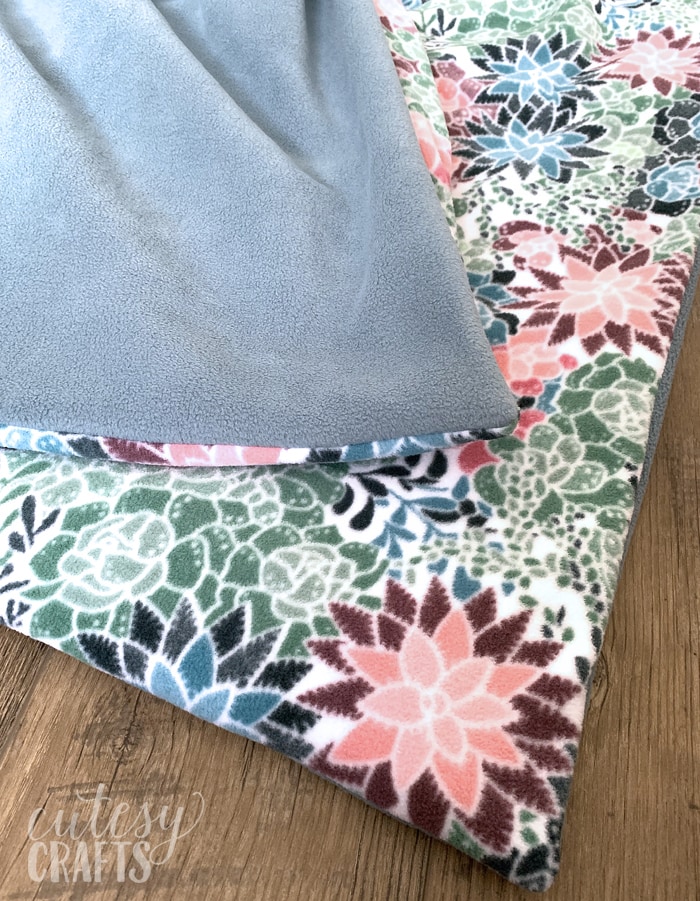
We live in California, so the summers can get very hot. I decided to make the weighted blanket with a removable cover and without batting. The inside is just a regular quilter’s cotton filled with poly pellets, and I made the cover out of a nice cushy fleece. If I could do it over again, I think I might have used a thicker fabric for the inside. The cotton is nice and cool, but it seemed a little fragile. The blanket gets REALLY heavy with all of the pellets. It almost feels like if you picked it up the wrong way, it might rip. Or maybe cotton is stronger than I think it is? Anyway, if you have suggestions for a different fabric, I’m all ears!
 (This post may contain affiliate links, which means I may receive a commission, at no extra cost to you, if you click a link and purchase something that I have recommended.)
Supplies:
- 1.5 yards of wide cotton fabric (Make sure you get WIDE fabric, not the regular bolts of cotton. You need enough to cut a 49 x 67 inch rectangle.)
- 2 yards of fleece OR 1.5 yards of extra wide fleece
- poly pellets – These are the ones I used. (They have since changed the main photo on the listing, and the product looks different. I’d double check the weight if you use the same ones.)
- thread
- pins
- scissors
- kitchen or postage scale
- disappearing pen (optional)
Calculations
Before we get to the how to make a weighted blanket tutorial, we have to do a little math. Don’t worry, I’ll do my best to walk you through it. If you are making it for an adult, you can mostly just copy what did.
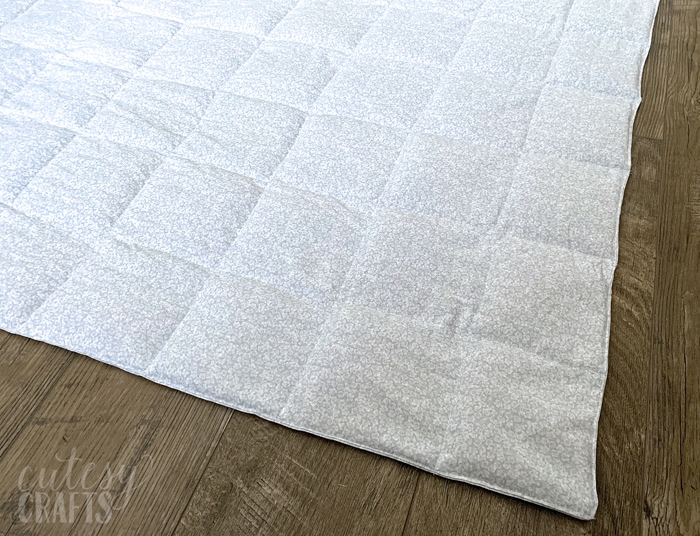
Size: My adult size blanket had a finished size of 48 x 66 inches. When it’s done, it ends up being a bunch of 6 x 6 inch squares with pellets in each one. Imagine a bunch of bean bags sewn together, but it’s all one piece of fabric. Whatever size you make the blanket, make sure it’s divisible by 6 or make the small squares a different size. Add an inch to the total length and width measurements to allow for 1/2 inch seams. So I started with fabric cut to be 49 x 67 inches for my blanket with a final size of 48 x 66. Whatever size you make it, remember that you want most of the blanket to be on the person’s body.
Total Weight: You want the blanket to be about 10% of the person’s body weight. So a 100 lb person would have a 10 lb blanket, a 150 lb person would have a 15 lb blanket, and a 200 lb would have a 20 lb blanket, etc.
Weight of Each Square: You also need to calculate the amount of poly pellets that go in each square. Different brands of pellets will weigh different amounts, so you should use a kitchen or postage scale to figure out how much yours weigh. Here’s how much the ones I used weigh: 1/4 cup=1.5oz, 1/2 cup=3oz, 1/3 cup=1.8oz, 2/3 cup=3.6oz. (They have since changed the main photo on the listing, and the product looks different. I’d double check the weight if you use the same ones.)
To calculate the amount of pellets for each square, here’s the equation:
weight of the blanket (in pounds) x 16 ÷ number of squares = ounces for each square
For my 20 lb blanket with 88 squares, I calculated 20 x 16 ÷ 88 = 3.64 ounces. 2/3 of a cup is 3.6 ounces, so that’s how much I put in each square.
How to Make a Weighted Blanket
Cut two pieces of fabric 49 x 67 inches. Pin and sew them, right sides together with a 1/2 in seam, leaving one 49 inch side completely open. Use the opening to turn the blanket right side out. Poke out all of the corners and iron the seams flat. Top stitch around the three sewn sides of the blanket, getting as close to the edge as you can.
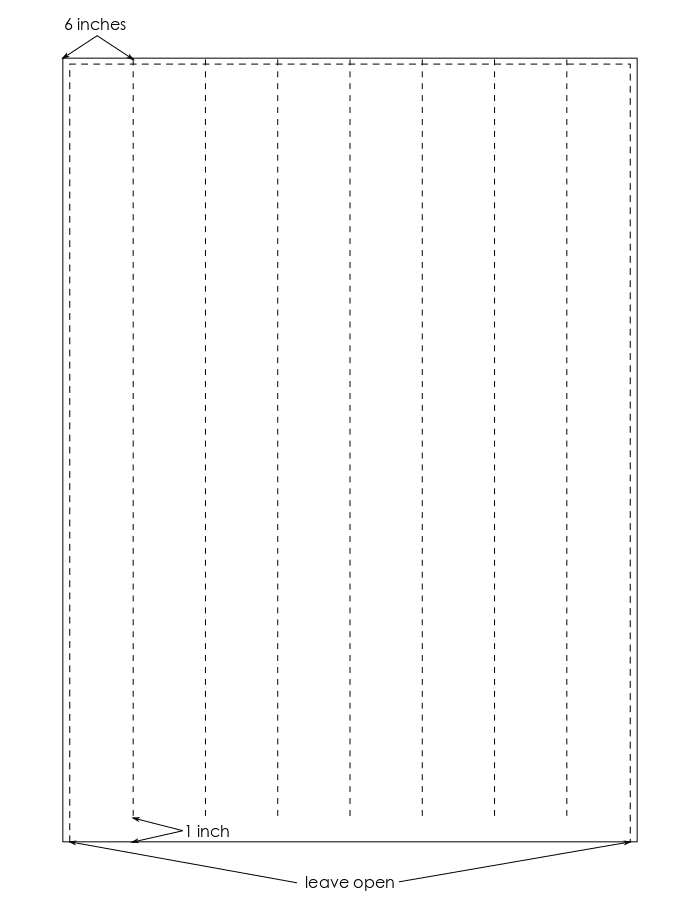
Measure 6 inches from one long side, and mark with a disappearing pen or pin along that line. Starting at the short, sewn edge, sew along the line. Stop 1 inch before reaching the open edge. Repeat, sewing a vertical line every 6 inches.

Here’s a little diagram to show you how everything should look.
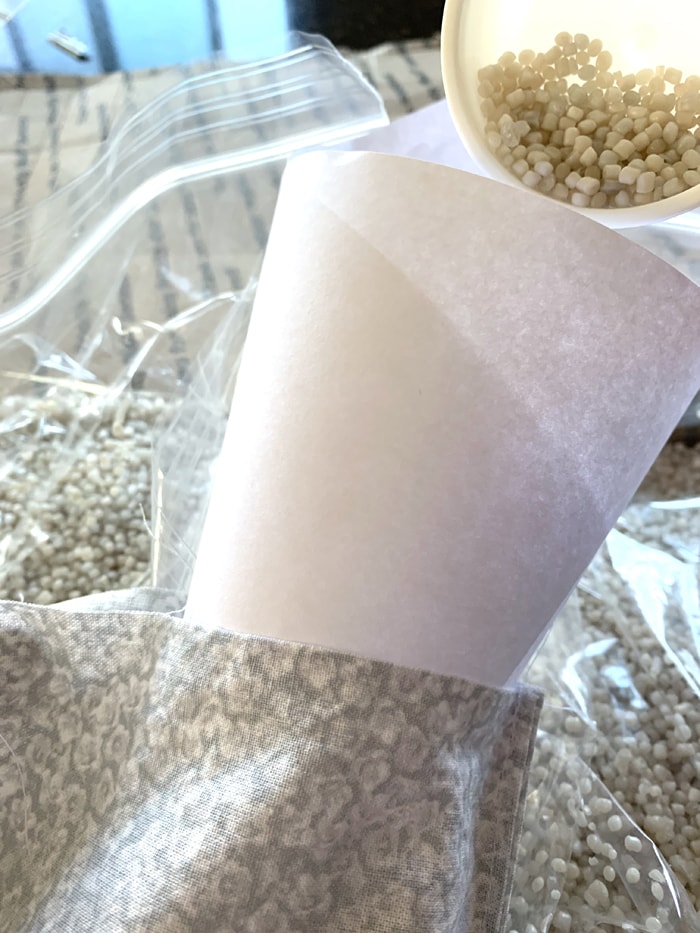
Now for the fun part! Add the amount of pellets that goes in a single square down each row. Make sure they go all the way to the other end of the blanket. I made a funnel out of a piece of paper to make this part easier.
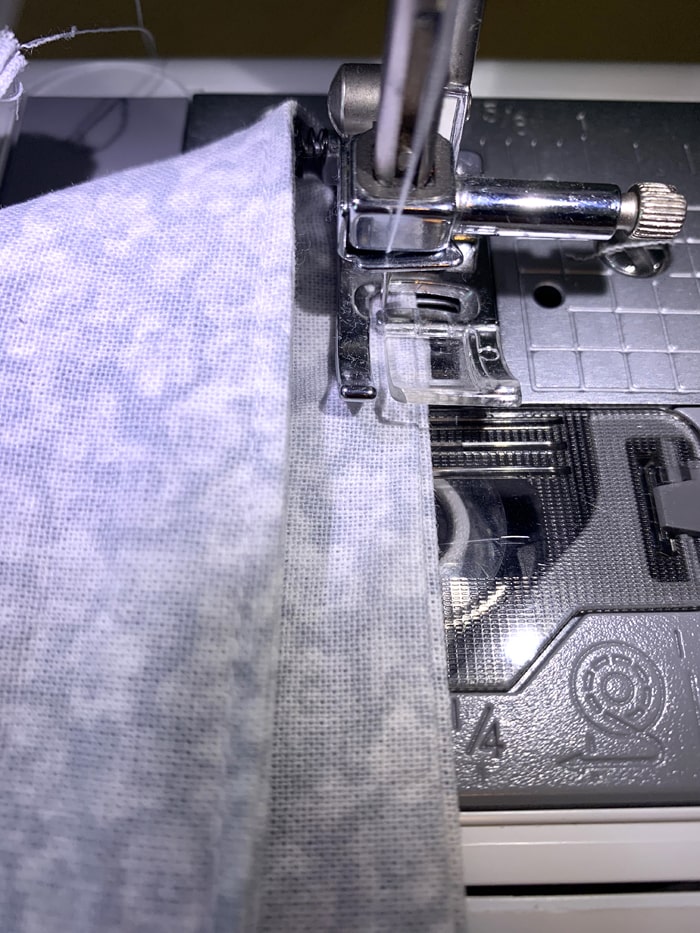
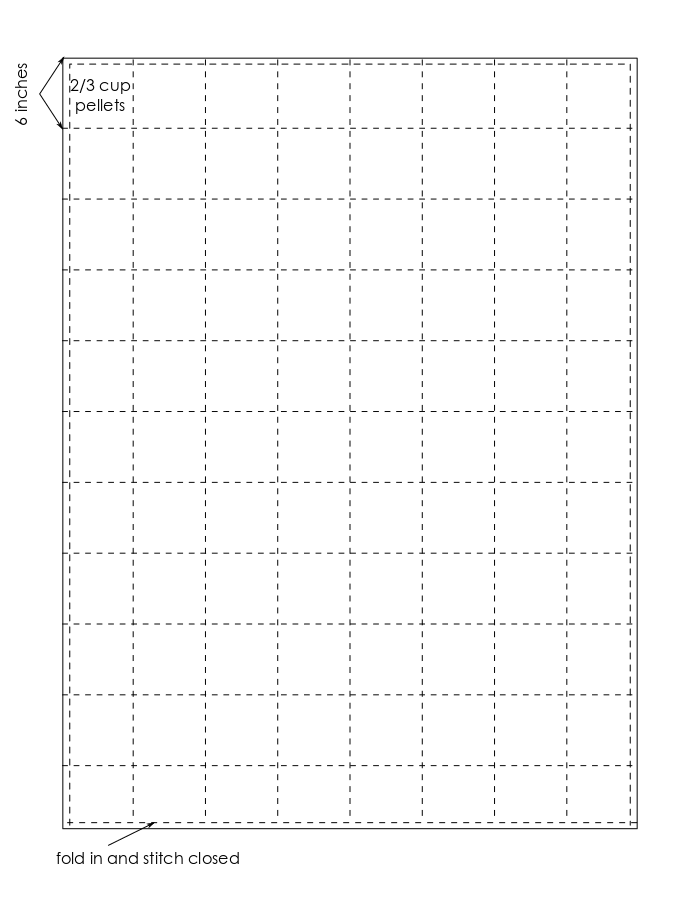
Next, measure 6 inches from the sewn short edge of the blanket and mark a horizontal line to sew. Make 100% sure that those pesky little pellets don’t get under your needle. I broke my needle sewing the first row, and learned to be more careful. You can see in the photo below, I’ve already sewn the first row. After you fill the row with pellets, scoot them all the way down and use LOTS of pins to keep them away from where you need to sew.

Sew along the horizontal line at the 6 inch mark. You can see here how I did the sewing. The pellets are all safely away from my needle on the left, and I’m following the line that I made with more needles on the right. Remove the guide needles as you go, and remove the needles holding the pellets back when you finish sewing the line.
![]()
Once you have filled the final row with pellets, turn the raw edges in and pin it shut. Sew a top stitch along the open side, close to the edge. Here’s another diagram:
![]()
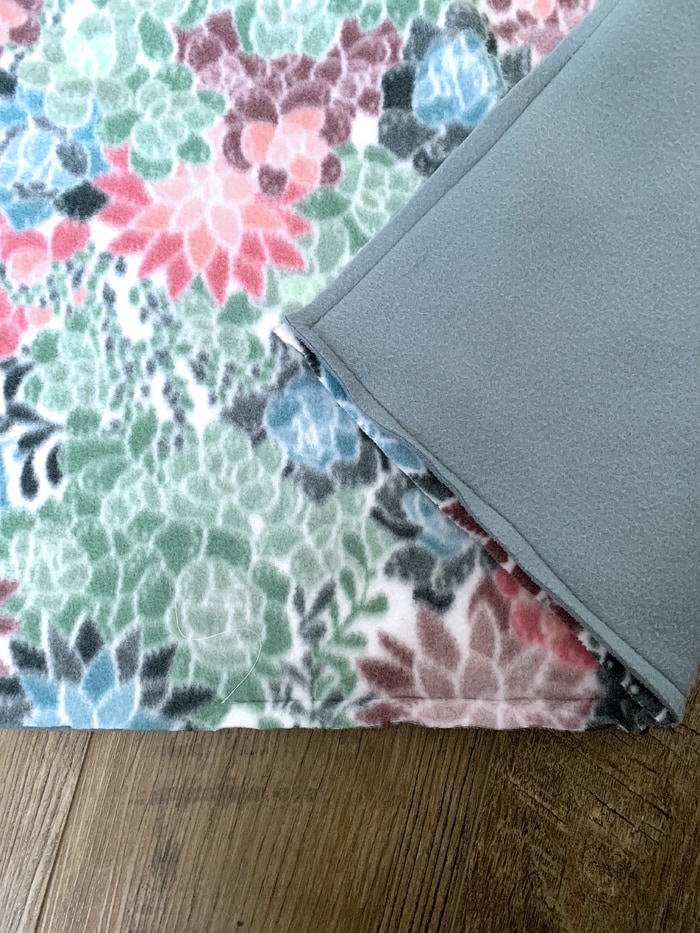
To make the cover, cut two pieces of fleece 49 x 67 inches. Pin and sew them, right sides together with a 1/2 in seam, leaving about an 18 inch opening in the middle of one of the short sides. Use the opening to turn the blanket right side out.
Put the weighted blanket inside the cover. It might be kind of difficult to get everything where you want it to be, especially with the weight and floppy-ness of the blanket. No need to sew the opening as the fleece fabric will not fray. You could add some snaps or something if you really wanted to.
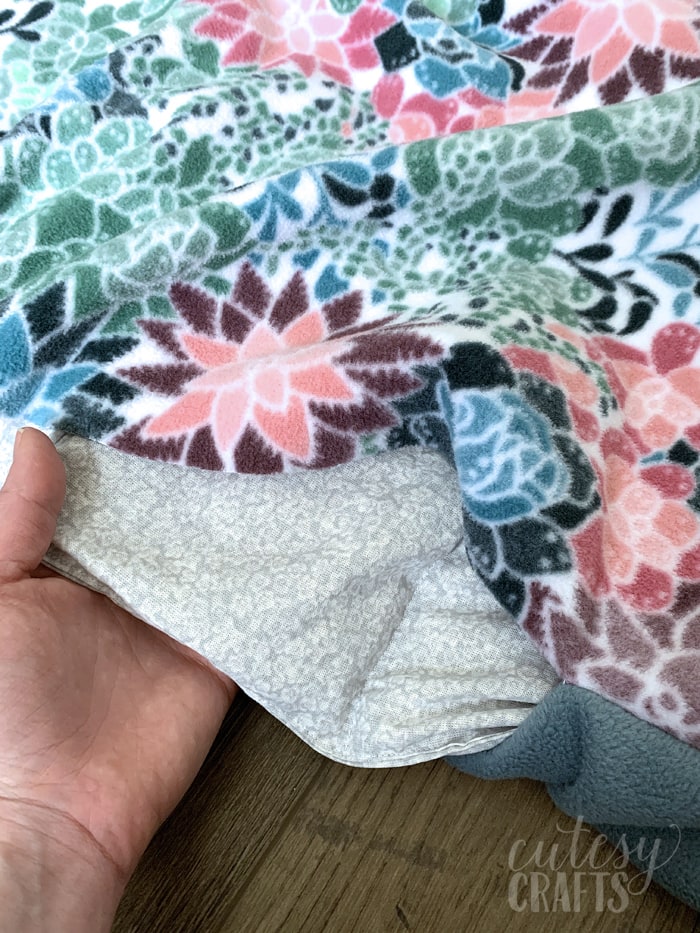
When picking up the blanket, I suggest scooping it up from the middle. That will help keep everything in place. It will definitely try to bunch up if picked up a lot, but I figure you won’t really be carrying it around much.
I’m amazed that something as simple as a DIY weighted blanket can make such a difference helping people sleep! Have you tried using a weighted blanket? I’d love to know your experience with it.
If you liked this tutorial, also take a look at my no-sew fleece blankets with a braided edge and my tutorial on how to make a tie blanket from fleece. Want to use up your fleece scraps? Here are 20 adorable things to make with fleece scraps.
Cutesy Crafts is a participant in the Amazon Services LLC Associates Program, an affiliate advertising program designed to provide a means for sites to earn advertising fees by advertising and linking to amazon.com.


What about using ticking material? It’s a sturdier fabric made of tightly woven cotton or linen. It usually has stripes on it. If you use this sort of material I’d think you could do grommets in it for loop ties to hold the cover in place. Of course, I don’t know what width it’s available in.
Thank you!
Just a thought for the inexperienced sewer. Make sure that they know you need two cuts of fabric for the inner part with the pockets and two cuts for the cover. Great tutorial.
Our local nursing home has requested washable weighted shawls. Do you have any ideas how to make one?
Some info says don’t cover But this site seems to suggest that a some fleece cover is OK Am I reading this correctly
That’s what I did. I don’t know why it wouldn’t be okay, as long as weather permits. In the summer, my aunt takes off the fleece cover and just uses a sheet between her and the blanket to keep it clean.
Thank you so much for sharing instruction on how to make this blanket. I want to make aroma lap blankets for my aunts.
This is an exceptional tutorial! Thank you for sharing your talent!
Thanks Taya! So glad you like it!
Just a question…. do people get really hot under these blankets? I’d love to try one.
Thanks!
Hi Anne. That’s definitely a concern that I had as well. If you get hot with a sheet on in the summer, then you will probably get hot with this. You’d have to use it without the fleece cover, of course. I chose cotton fabric because I knew it stay cooler than other fabrics. The pellets in the middle make a sort of air cushion, which I noticed helps some air flow get through. There are some weighted blankets on the market that claim to be “cooling”. I’m not sure what they are made of that make them that way. Sorry I’m not more help.
Great blanket! I’ve made a couple (with lots of mistakes) and something I’ve found helpful when filling the channels is a long tube, like wrapping paper or vacuum tube. The pellets get down to the bottom much faster and easier than trying to shake them down, when poured through the tube. I made a paper funnel too ?
Ooh, that’s a great tip! Thanks! I’ll have to save the tube next time I use up wrapping paper.
I have one boy with autism and one with anxiety. I need to make them blankets. I’ve wanted them for them for awhile but they are crazy expensive. We have 4 kids with autism just on our street and know several others in our school.
They are super expensive!!! They take a while to make, but definitely worth it if it helps them sleep. Good luck to you!
That is exactly how I make mine. I even do my pins just like you. I have made several for autistic children. The parents were amazed at the positive improvement in their child. I add loops to the corners of the weighted part then add ties to the inside corners of the cover, sometimes along the sides as well. This helps to keep the weighted inside piece from sliding around as much. I use a sturdy heavy weight quilter’s cotton for the pellets and a minky fleece for the cover. I don’t care for sleeping under one but my 13 year old granddaughter is asking for one. She’s loves it!
Good idea to add the loops. I was worried about the weight ripping any ties or loops off, so I’ll have to look for a heavier weight cotton if I make one again. I’m so amazed with the success my aunt had!
I know I can make this blanket. Now what types of fabric for the weights one and what type for the outside? I saw Amazon had pellets. Any certain kind? Loved yours!! Thank you!! Kendra
I used cotton for the inside and fleece for the cover. I added a link in the post to the pellets that I used. Those were the cheapest I found, and they sell them in different amounts.