
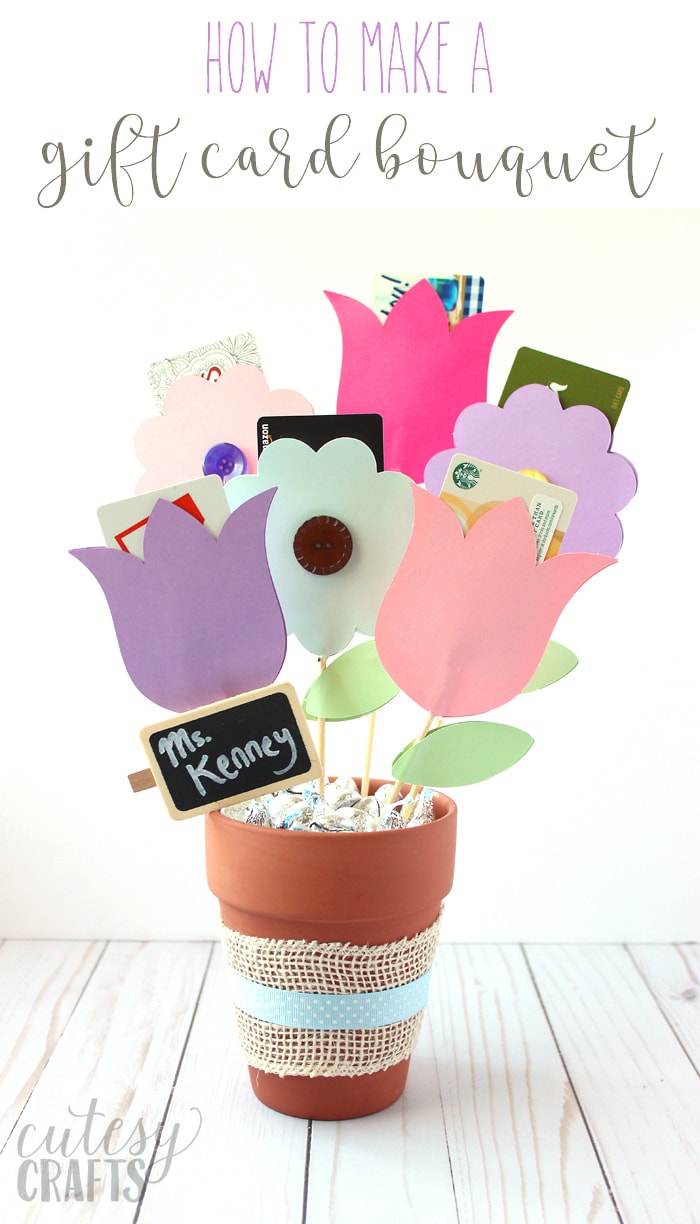
Gift Card Bouquet Tutorial
I decided last minute to put together a teacher appreciation gift for Leah’s teacher. Parents donated money so I could purchase a bunch of gift cards to make a gift card bouquet. It turned out really cute, so I made a free printable template to cut with scissors and a cut file for your electronic die cutting machine. This is also a really great group gift idea for a coworker or friend. A much more creative way to give gift cards than just handing them over in an envelope.
(This post may contain affiliate links, which means I may receive a commission, at no extra cost to you, if you click a link and purchase something that I have recommended.)
To make a gift card bouquet, you’ll need:
- flower template or svg cut file (free download at the bottom of this post)
- gift cards
- flower pot
- wooden skewers
- floral foam
- card stock
- adhesive
- hot glue gun and glue sticks
- candy or other filler
- buttons (optional)
- ribbon (optional)
- chalkboard tag (optional)
- paint pen (optional)
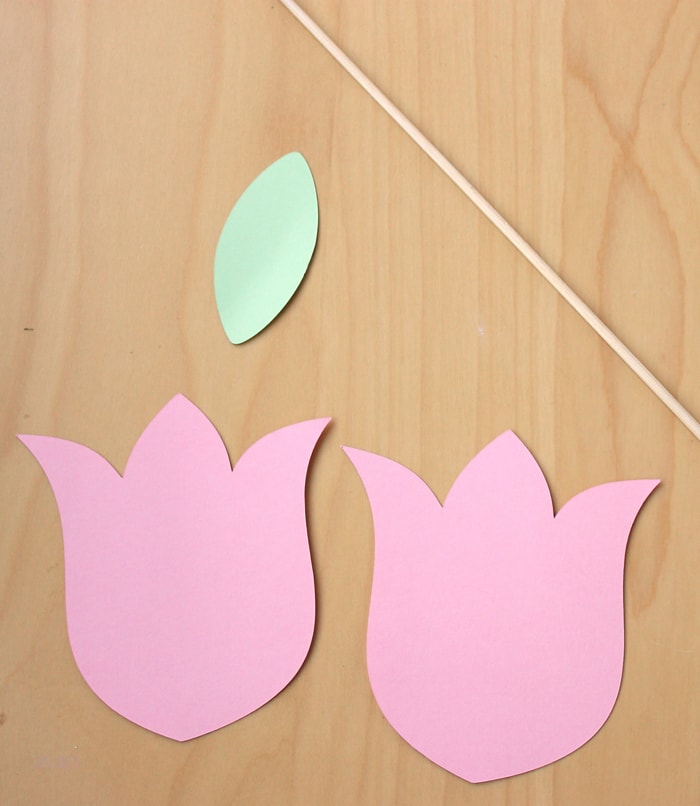
Start out by cutting all of your flower shapes. You’ll need two flower shapes and two leaf shapes for each flower. I have two versions of my flower template provided at the end of this post. Use the PDF to trace and cut with scissors and use the svg for a Silhouette or other electronic die cutting machine.
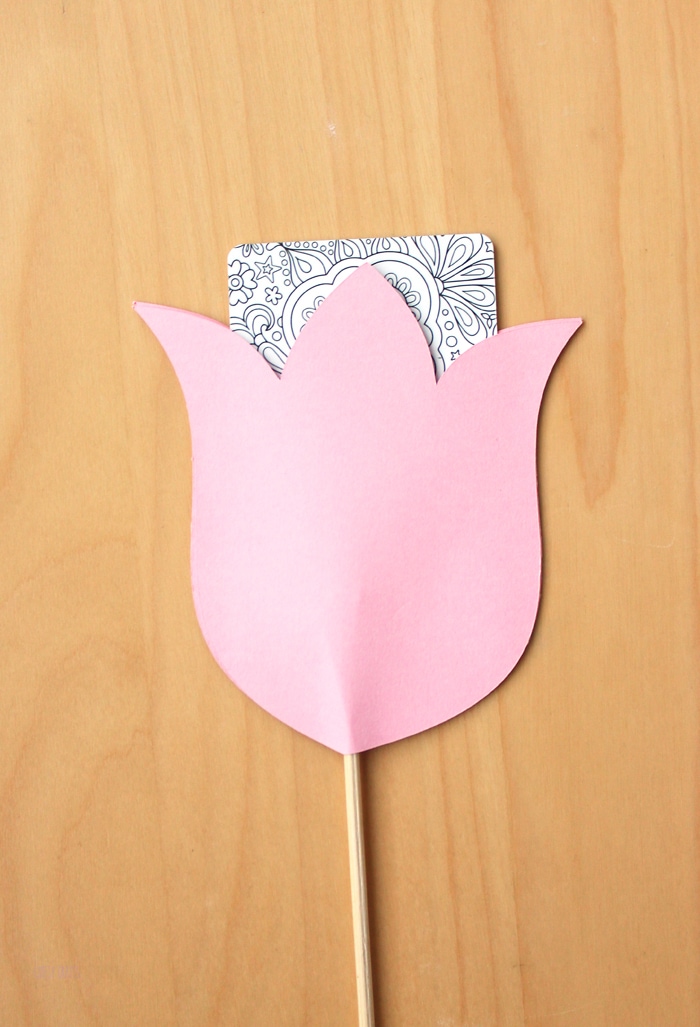
Hot glue the skewer to the bottom of one flower. Make sure you don’t put the skewer too high, or it will get in the way of your gift card. Put a different adhesive all around the edge of the flower, skipping the top edge. I like to use this Sticky Thumb Adhesive for paper, but you will definitely need hot glue for the skewer.
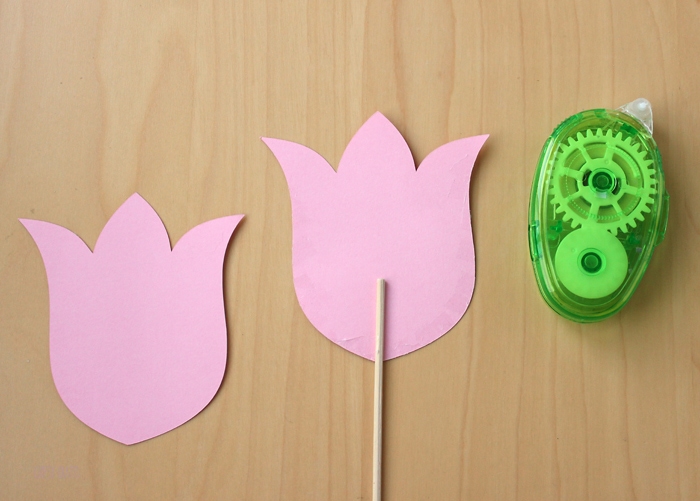
Place a second flower shape on top and press together. If you are adding a button, glue that on here.

You should be left with a little pocket that is the perfect size to slide in a gift card.
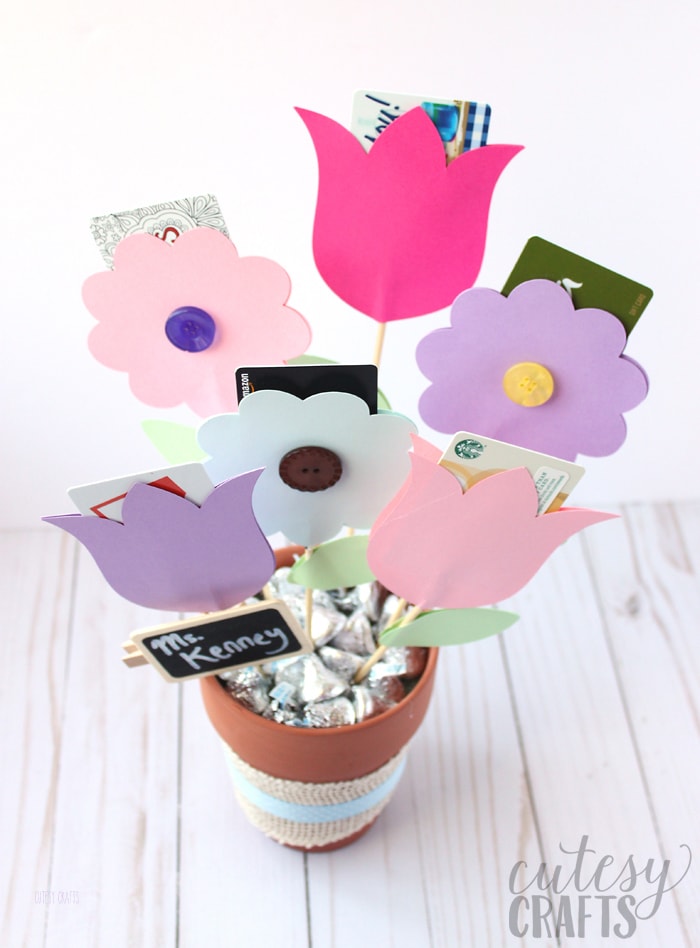
Put a piece of floral foam inside your pot. Arrange the flowers by sticking the skewers through the foam. You might want to cut some shorter to give them different heights. Once you have them how you like them, add two leaf shapes to each one. Do this the same as you did for the flowers, using hot glue and adhesive to sandwich them around the skewers.

Add some candy or filler to cover the foam. This isn’t 100% necessary, but I also added some cute ribbon and a chalkboard tag. I wrote the teacher’s name with a paint pen, and it was ready to go. She loved the gift card bouquet, and I’m sure she’s going to have a great time using the cards.
To get the free flower templates and cut files, click here.
Cutesy Crafts is a participant in the Amazon Services LLC Associates Program, an affiliate advertising program designed to provide a means for sites to earn advertising fees by advertising and linking to amazon.com. This post contains affiliate links.


Thank you for the free giftcard flower holder instructions and templates! I love it!!!
I downloaded this but when I try to get it on my cricut a error message keeps coming up. Can you help me?
I just uploaded a new version without text, and I also emailed you. Let me know if that helps.
Do you have a picture or the information on the floral foam? What I purchased didn’t fit my pot.
I used a small pool noodle and cut it to size
What size pot did you use?
Do you have the svg without the text? Cricut gives me an error message when I try to upload the svg because of the text. Any ideas?
Yes, email me at jessica@cutesycrafts.com and I’ll send it to you.
Do you have any recommendations on how to make a flower gift card bouquet I would be shipping? Have you done something similar with the flowers not in a pot?
Hmmm… maybe you could put them on some cardstock or something instead? Make a pot out of paper to glue on? I’ve only ever made one like this.
Hi! Love this idea but when I tried to download the .svg files, I keep getting error messages. Looks like I better start cutting with my scissors!
Oh no! If you send me and email, I can try to troubleshoot with you. cutesycrafts@hotmail.com
Thank you for this wonderful tutorial and the templates! I appreciate it.
You’re welcome! So glad they were useful! 🙂