
How to do a Split Stitch
Learning how to do a split stitch is very easy. It’s one of my favorite stitches to outline shapes and embroider letters. I especially like to use this when I am stitching a design that has a lot of small curves.
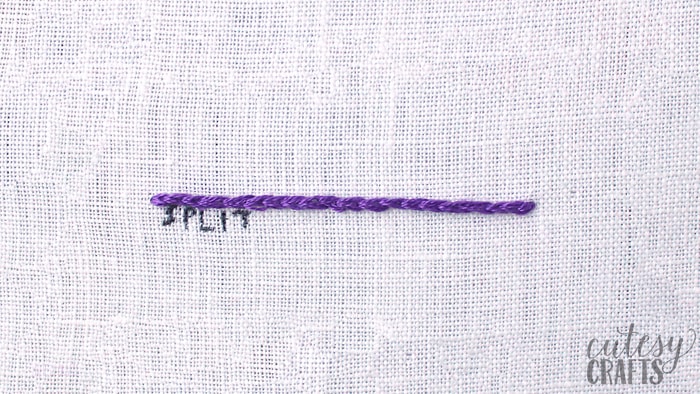
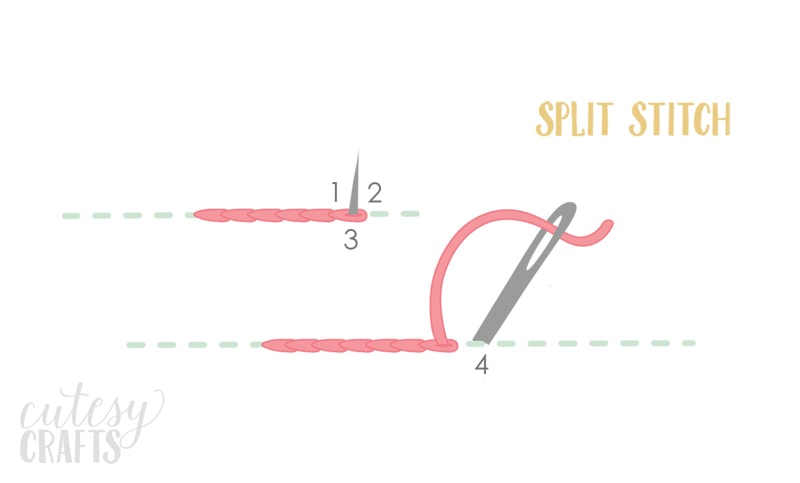
To do a split stitch, you just move one stitch length forward, bring your needle back up in the middle of that stitch, and then move another stitch forward. When you are working on smaller curves, be sure to shorten your stitch length to make the curves more smooth. Bring needle up at 1 and down at 2. Bring needle up at 3, splitting the thread from the previous stitch in half. Bring needle down at 4.
Of course it’s easier to actually see a split stitch being done. Watch my video below or on my YouTube channel to see how to do a split stitch.
If you are using an ad blocker, you may need to disable it to see the video.
Learn all of these other embroidery stitches by making this stitch guide sampler with me. It’s a great way to practice and a nice reference to have while you are reading other embroidery patterns.

Get the free pattern!
To download this free pattern, enter your information in the form below or click here to subscribe to my newsletter. It’s free, and I’ll keep your email address safe. You can also unsubscribe at any time.
To watch all of the videos in this series, including some basic embroidery tips, go to my YouTube channel here. I’ll walk you through the entire process and make it super easy for yo


Per my last comment – I tried it again and all was fine. I am now subscribed.
Oh, glad you got it figured out. You can email me at jessica@cutesycrafts.com if you have any trouble with the downloads.
I got to the point where it told me to watch for an email but I never got the email. It’s not in spam folder either. Where do I go from here?