
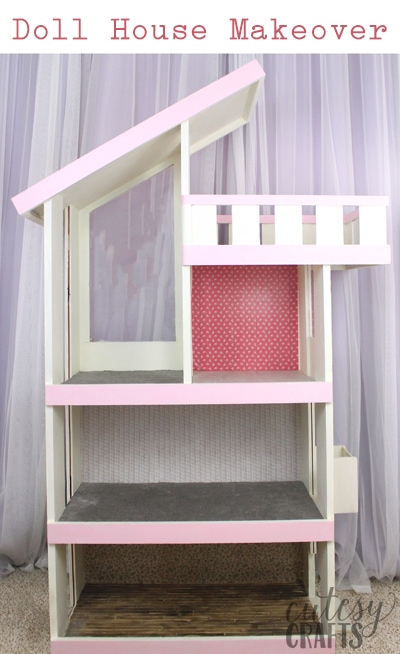
Doll House Makeover
This is a project that has been twenty years in the making, and I’m so excited to show it to you. I gave my childhood Barbie house a doll house makeover. If you have a doll house that you want to fix up, take a look at what I did. My favorite part is the hardwood flooring!
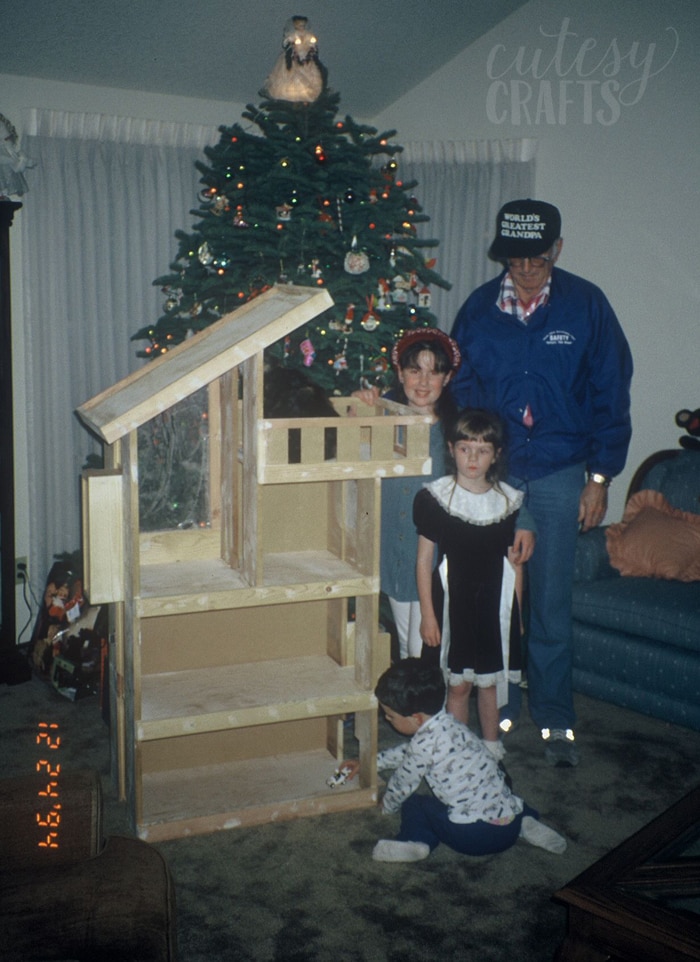
When I was a little girl, I LOVED Barbies. I loved them so much that I played with them well into 6th grade. I’m pretty sure that was a little bit longer than was socially acceptable, but I didn’t care. My friend had this huge, wooden Barbie house that I loved to play with. She had more Barbies than anyone I knew. The whole top shelf of her closet was full of Barbies, still in their boxes, and I remember being so jealous. When I was 10 years old, I got the best Christmas gift I could have imagined. Santa left wood and plans for my grandpa to make me a giant Barbie house of my own! I was thrilled! In case you’re wondering, I’m the one in the back, wearing a beret (another Christmas gift). I thought I was so cool! Hahaha! Read more about my Papa in this post about his memory ornament that I made.
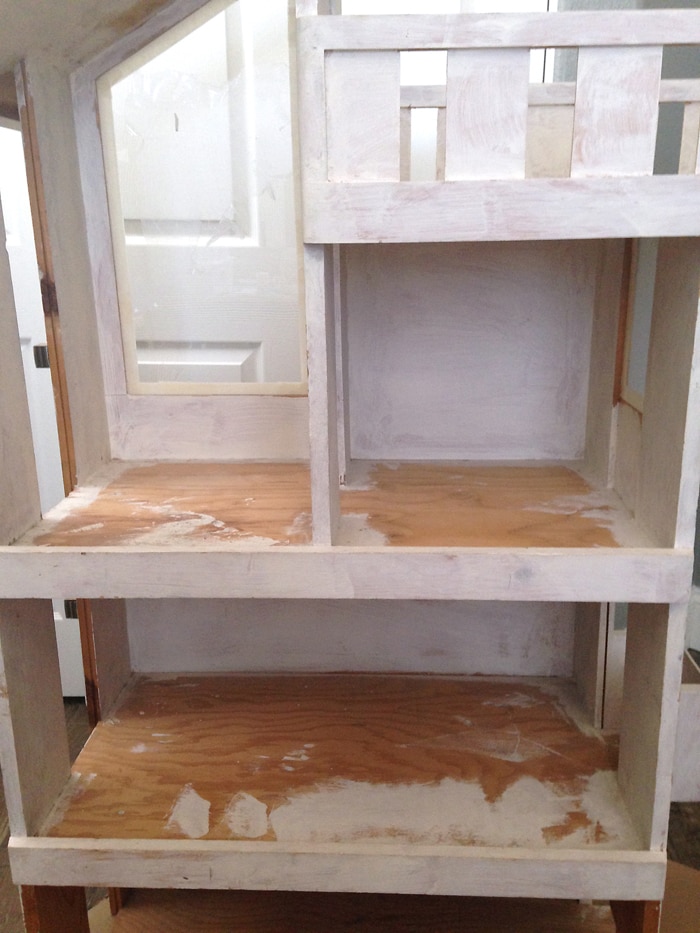
I had dreams of putting carpet in the doll house and painting all the rooms a different color. Unfortunately, the only thing that ever got done was a bad coat of primer. That didn’t stop me from getting lots and lots of playtime with the house though! So much of my childhood was spent sitting in front of it. It was seriously the best! You can’t see it in my photos because I still need to repair it, but it even has an elevator that goes on the side!
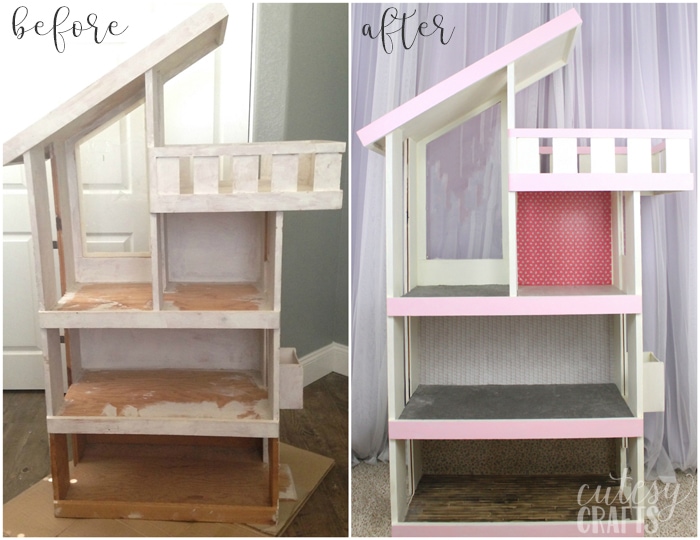
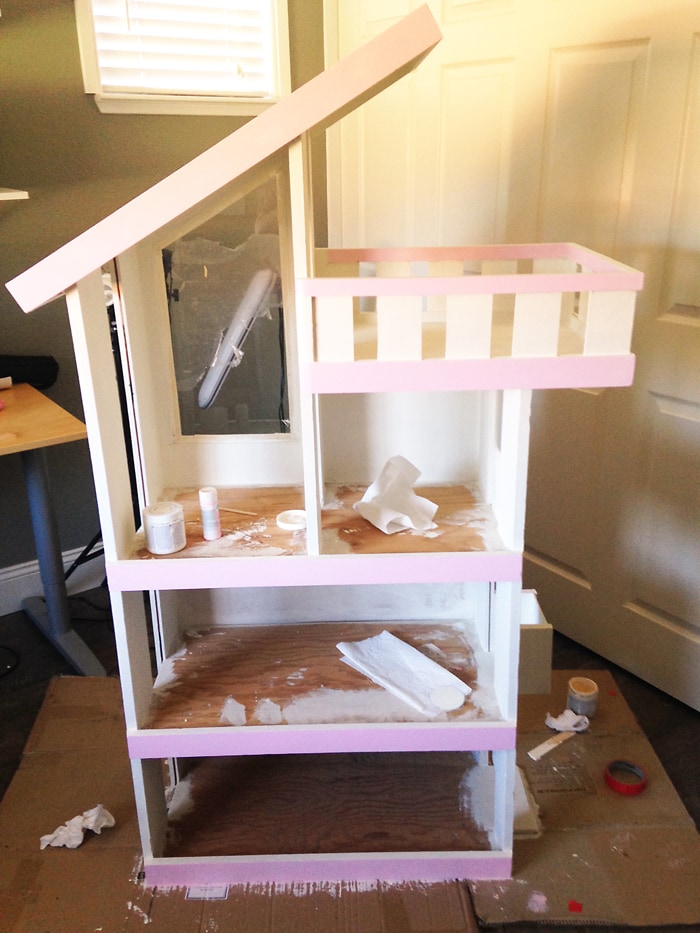
Twenty years later, my childhood dream has finally come true! I finally broke out the paint and gave it a doll house makeover. I painted it white with a light pink trim. Perfect for Barbie.
It looks so much better now!
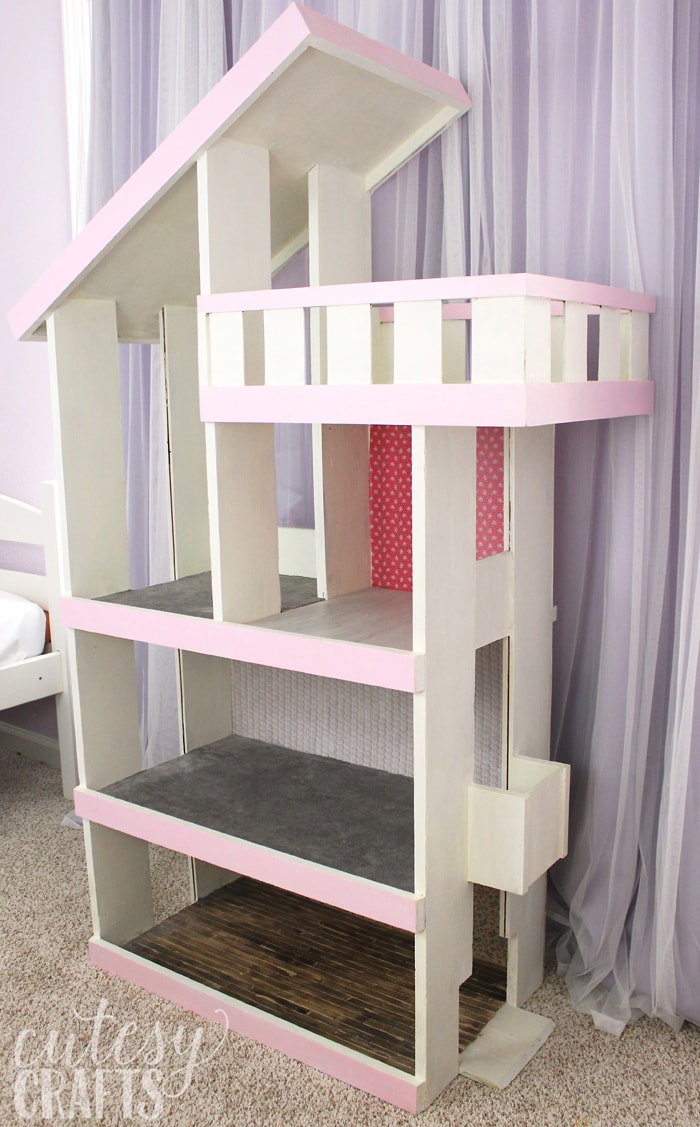
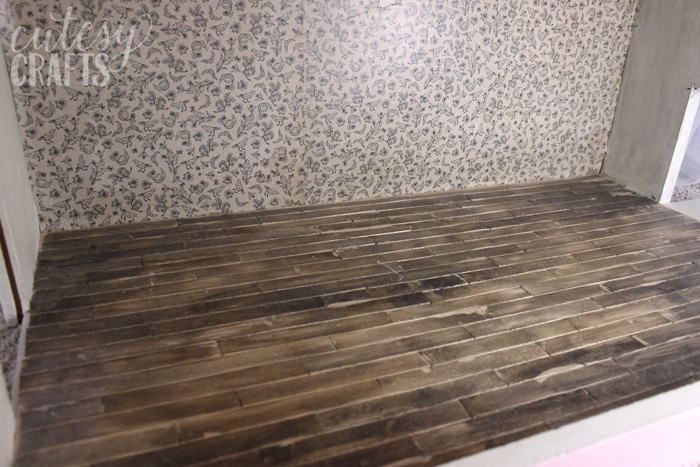
The bottom floor is actually supposed to be the garage. You know, the one for my pink Barbie Corvette. Don’t even worry, I still have it. I never used that floor for the garage though because my Barbies needed more living space. I gave that room some hardwood flooring made from popsicle sticks! Yes, you read that right. It was a lot of work, but totally worth it. I used some wider-than-normal popsicle sticks and cut off the rounded edges. I staggered the length just like you would a real hardwood floor. It’s glued down with wood glue, and I used cans of vegetables to weigh down the sticks. The moisture will make the sticks warp a little, but weighing them down helps. I stained the floor after it was installed. There are some streaks because I got some glue on the top. I actually like the look though. Your other option is to stain the popsicle sticks first.
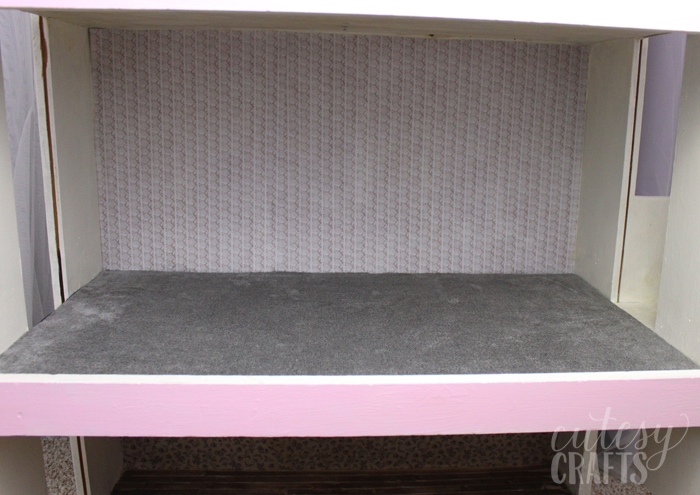
The second floor and the upstairs bedroom have carpet. Actual dollhouse carpet is super expensive for what it is. When I was at the craft store, I came upon some home decor fabric that looked just like it. Much cheaper to buy it this way! Just cut it to size and glue it down with some tacky glue. I did purchase some doll house wallpaper, but I should have just used some scrapbook paper. I Mod Podged it onto the walls. I had some issues with wrinkles in the paper, but it was difficult to do from the angle I was trying to get at it from. This was probably the most frustrating part of this doll house makeover.
I even had enough fabric left over to make some rugs!
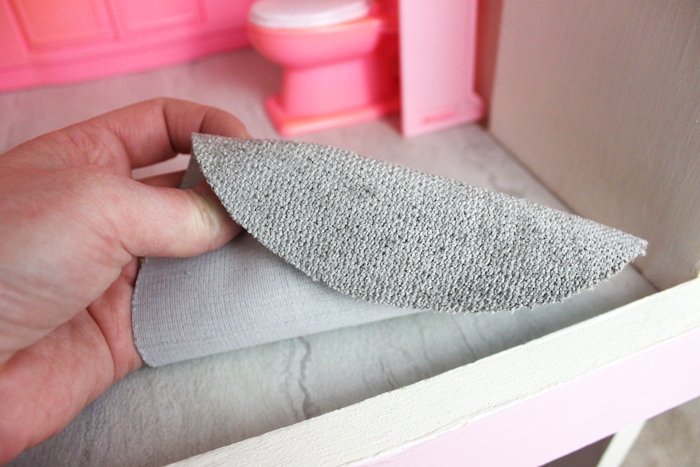
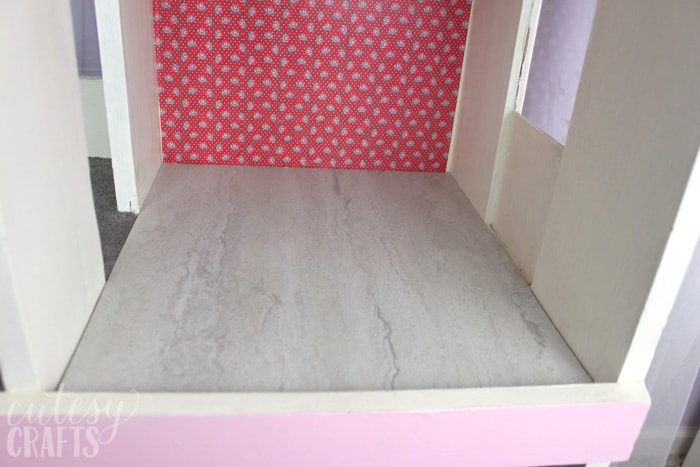
Originally I was going to try and use some small tiles for the bathroom floor. My husband found a large peel and stick “tile” that was much cheaper. I think it only cost a dollar. It’s pretty much just a piece of vinyl flooring with adhesive on the back. I just cut it to size, peeled off the paper backing, and stuck it to the floor. So easy!
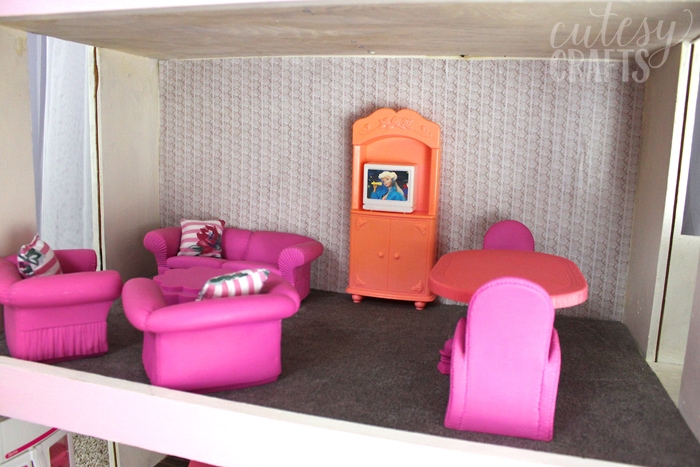
Here it is with all of my old Barbie furniture. This stuff brought back some major nostalgia, and I’m not ashamed to admit that I very much enjoyed decorating the house. I set it up just like I did when I was a kid.
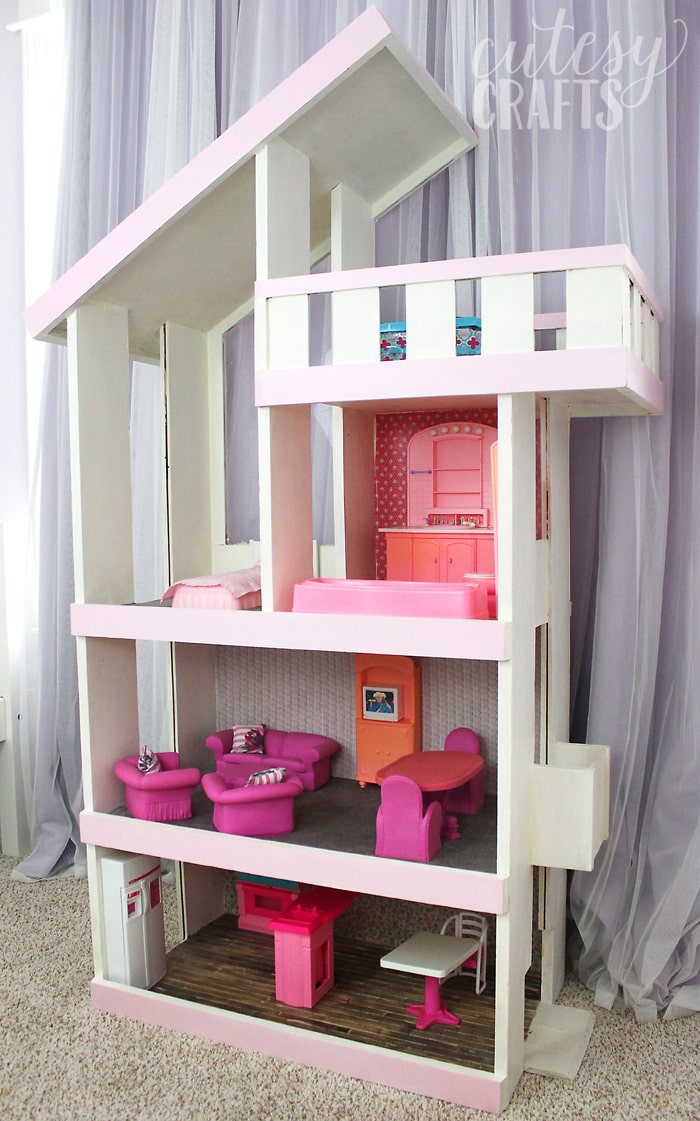
My favorite part is the TV. Haha! I think eventually I will add some picture frames or something to the walls.
My girls are having so much fun with their new/old Barbie house. It makes me so happy to see them playing with the toys that meant so much to me as a child. I’m so glad I decided to finally do this doll house makeover!


My dad also made this same house for me in the 1980’s and I’d love to find a plan/ instructions for it , if anyone knows where they may be on the web or elsewhere … so many hours of play ! Ken & Barbie had an amazing life in their home .
Ohhh I’ve never found anyone that had one like mine!! Did your have stairs? My Barbies just had to jump to the top deck. Haha!
My father made my sister and me this barbie house when we were girls in the 60s. How can I get the instructions for this house? Is it available online?
I would love to find it now and build it again.
Thank you
Anne
Oh how neat! Unfortunately I don’t know where to get the plans. My grandpa made it for me when I was a kid in the 90s. A quick google search didn’t turn up anything for me. 🙁
So glad I found this! Our grandfather made one for my sister and me. Sadly, it got ruined in the rain when we did a remodel.
Sorry to hear about your doll house! I’m sure you had lots of fun playing with it as a child though.
I just pulled out my barbie kitchen for my kids to play with. Brings back so many memories!
You know what’s a fun easy option for the walls/floor?
My mom would go get samples of wallpaper from stores (free!) and then just glue those on for the walls and floor. You could also do drawer liners cause they peel and stick too
Oh, that’s a great idea! That probably would have worked a lot better than the paper. I thought about getting carpet samples for the floor too, but this was easier. Next time! 😉