
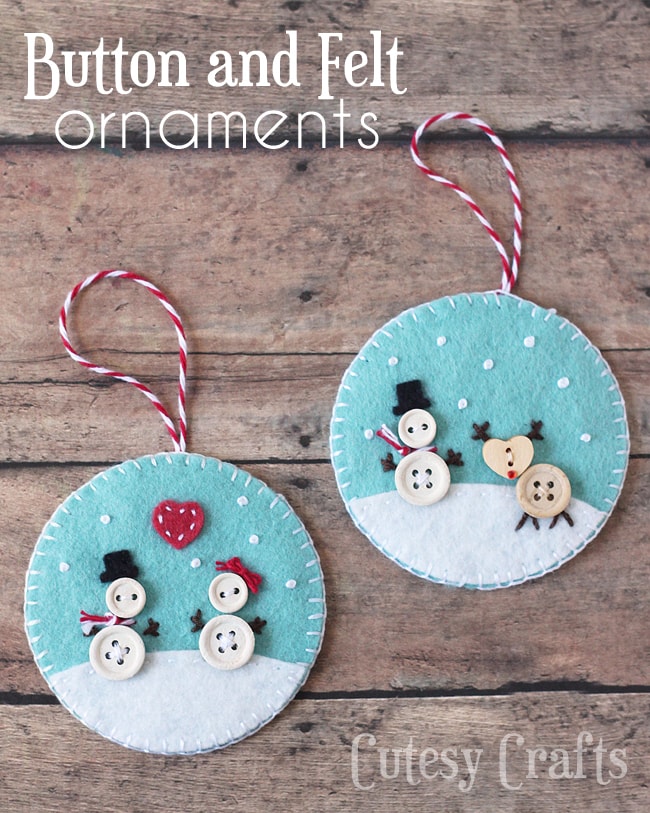
Button and Felt DIY Christmas Ornaments
I couldn’t let Christmas go by without making some fun DIY Christmas ornaments. So naturally I went overboard and made a bunch of different ornaments. You’ll see the rest of those in the next few weeks, but let’s start with these. They’re made of felt and cute little buttons, so they are my favorites of the bunch. Make sure you also look at all of my other homemade Christmas ornament tutorials and free felt Christmas ornament patterns!
Supplies needed:
- free DIY Christmas ornament patterns – Instructions to download are at the bottom of this post.
- felt (type and colors listed on the pattern)
- buttons
- white paint (optional)
- embroidery floss (white, brown, and black)
- baker’s twine
- small red rhinestone (optional for Rudolph)
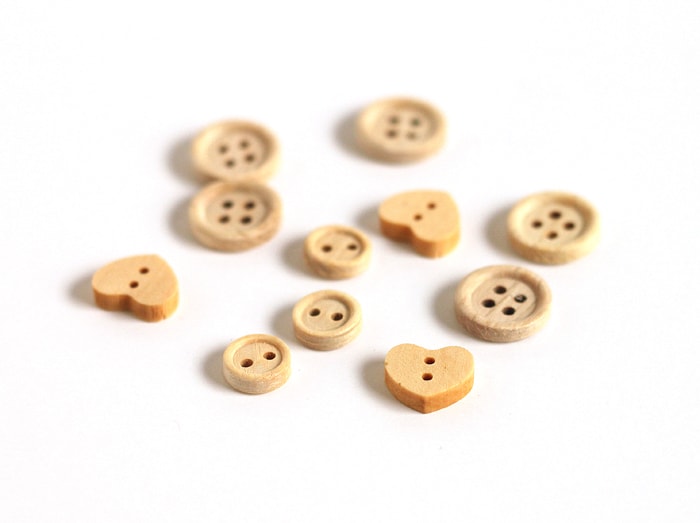
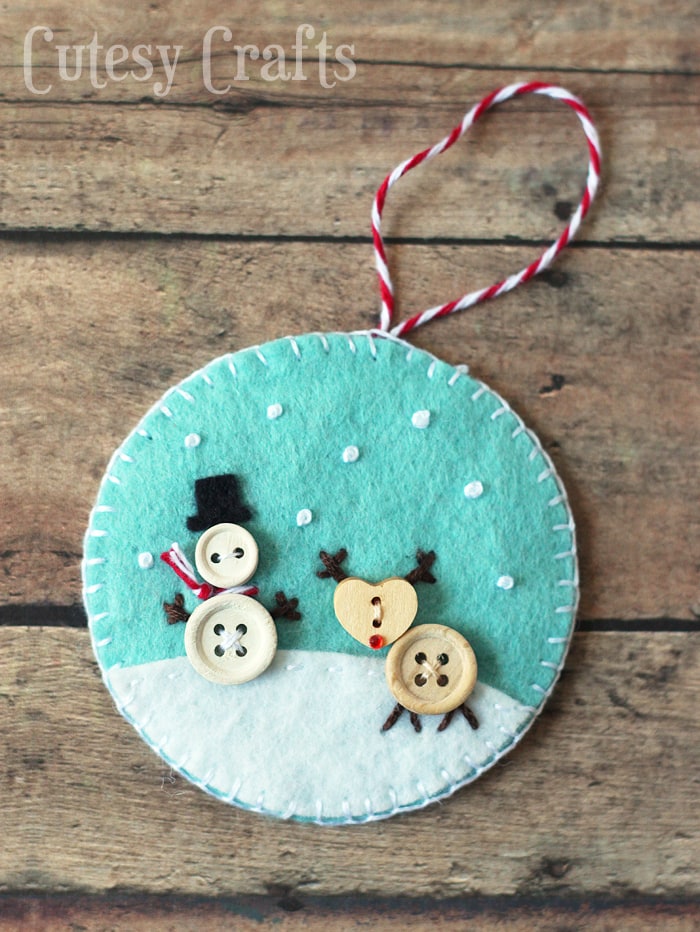
You can use any kind of buttons. I liked the more rustic look of these wooden buttons that Oriental Trading Company sent to me a while ago, so I used them. There were a few heart ones in the package, and those worked perfectly for the deer head. Looking at the preview on their website, I don’t see the exact heart buttons that I used, so I don’t know if they are included anymore. They might be, but I don’t know for sure. The larger circles are 1/2-inch in diameter and the smaller ones are 3/8-inch. The hearts are 1/2-inch at their widest part and 1/2-inch tall.
I used some white chalky finish paint to paint the snowman buttons white. You could also just use some acrylic paint. Dip your brush in a little water if you still want to see the wood grain on the buttons.

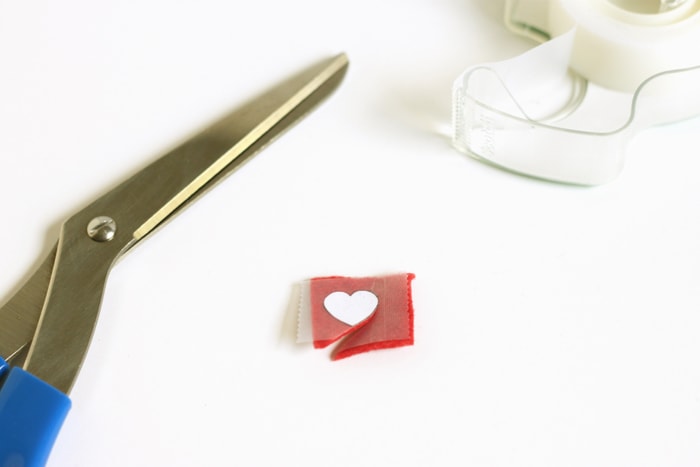
Cut out the pattern pieces. I find it helpful to cut small pieces with tape rather than pins.
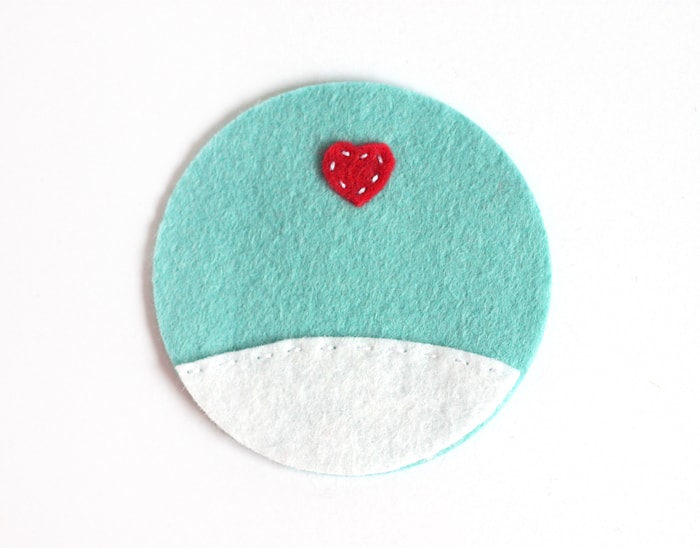
Sew the background pieces on first, using a running stitch and two strands of embroidery floss. (Embroidery floss is made of 6 smaller strands, so you pull those apart to make it smaller.)
Sew the buttons on and add the embroidery. The hands are sewn with four strands of floss and the hat with two. The snow is made using french knots and four strands of floss. I love french knots!
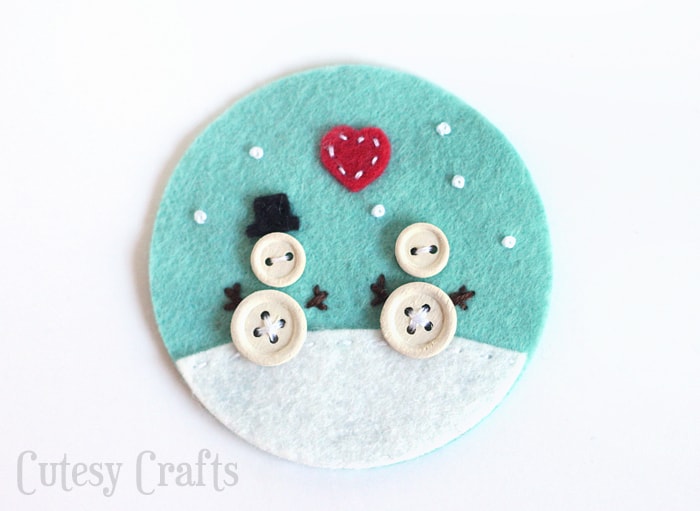
The snowman’s scarf is made from some red and white baker’s twine. String it on a large embroidery needle and tie a knot in the end. Bring it through from the back on the left of the snowman’s head. Cross over to the other side of the snowman and push the needle through to the back. Bring it up through the first spot again and tie the twine in a knot. Cut off the excess, and he’s got a little scarf.
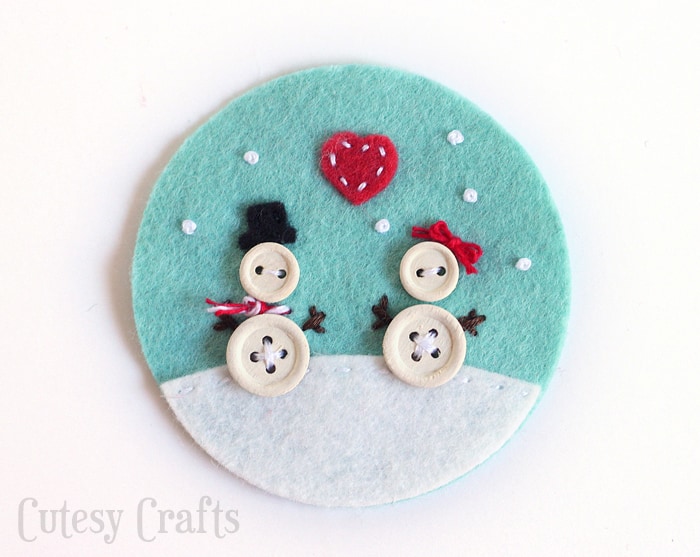
For the girl snowman (would that be a snow-woman?) I separated the baker’s twine and used the red part. Thread it through the embroidery needle and stitch it though next to her head like the photo below.

Finish off the snow-woman by tying the twine into a little bow, and cut off the excess. Isn’t she cute?
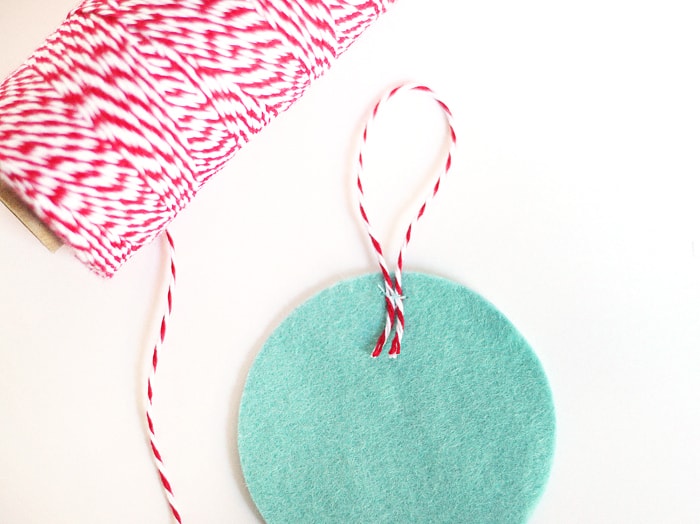
Now take a piece of the twine (or some ribbon) and sew it in a loop on the second circle that you cut for the ornament. I used a sewing machine to make sure it would be secure.
Do a blanket stitch around the ornament (two strands of floss) to sew the two circles together, sandwiching the hanging loop in between the two felt circles.
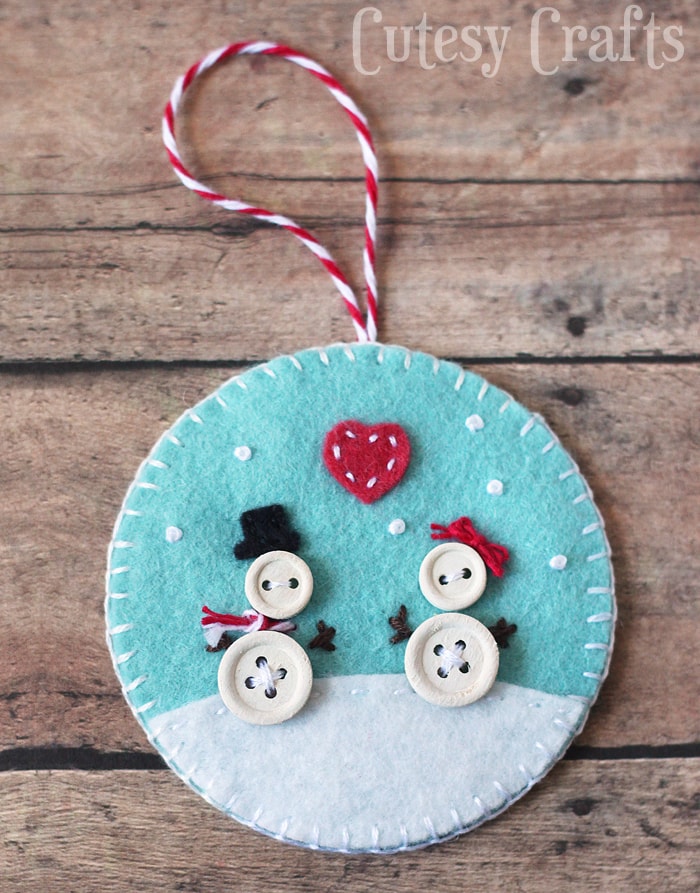
The reindeer on this ornament got a little rhinestone glued on to make him Rudolph. That’s optional, but oh so cute!
What do you think? Do you love the little button snowmen as much as I do? I’m so excited to show you the rest of the ornaments that I made for the tree this year. Until then, go check out the 12 days of Handmade Christmas Ornaments series that I did a couple years ago. Lots of good stuff there.

Get the free button ornaments pattern!
To get the password, enter your information in the form below to sign up for my free email newsletter. You will get an email with the password. Already subscribed but forgot the password? No need to subscribe again! Every email newsletter I send has the password in it, so check the latest one.


Hello I just found your felt Christmas ornaments. I am particularly interested in the button snowmen and snowman as well as your Gingerbread House. Could I please direct me to the templates and directions? I would be very grateful.
Hello! Just found your snowman/woman felt ornaments. I submitted my email for the pattern but haven’t received the password. Could you email me the directions please? I’m really interested in the size of the circle and where do you find the nicer felt you recommend?
Send me an email at jessica@cutesycrafts.com, and I can help you get it. Joann Fabric used to sell wool/rayon blend felt, but I’m not sure if they still do. It’s on smaller bolts than the acrylic felt. If not, you can get it online. I have purchased from Prairie Point Junction and been happy.
Is there a way that I can get or pay for the instructions for the 13 days of felt Christmas ornaments and decorations. I am very new to working with felt so any tips would be greatly appreciated. I have subscribed to your site, but have yet to receive a code to download or print the instructions. Your help would be greatly appreciated. I am in love with these ornaments. I think that you are extremely creative and I can only hope to start out slow and work myself up to your incredible gingerbread house with the removable roof. Too cute! I know my daughter would love, love, love, it. Thank you for your time.
Love the way the buntings are done. So neat and simple.
These are really cute!! What is the thickness of the felt used? I did check the pattern but it doesn’t say anything about thickness. Really want to make these 🙂
I’m not sure about thickness. I use National Nonwovens wool/rayon blends, but I don’t see thickness listed on their site. They are pretty standard felt thickness. I would definitely use wool or a wool blend.
Thanks a lot! I couldn’t find any info on thickness either. Thought I might have missed something.
Any felt that is about the thickness of normal, craft store sheets should work. Just don’t use the cheap-y acrylic felt. 🙂
These are adorable. Thank you.
Thanks Kate!
These are precious. Thank you for sharing.
Do you have the tutorial part for a blanket stitch? Thank you. These are cute.
I don’t, but there are some really good YouTube videos that you can search for.
Love your ideas! Always looking for things to share with kids to sew.
Thanks, Tammy! So glad you like them! 🙂
These are so creative and adorable! And oh my gosh, I love Rudolph. And I love the snowpeople-in-love. They’re both so cute!!
Thank you! I had a lot of fun making them.
I make cards and I hope to incorporate your adorable ornaments in my carda
Love, love, love them!!!
Thanks Rachel! 🙂