
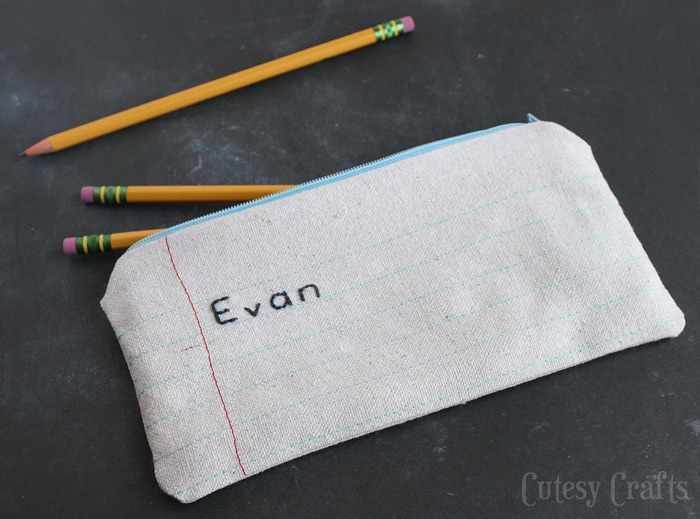
I made this zipper pouch a couple years ago and never got around to sharing it. Since the kiddos are heading back to school, I figured now would be a good time.
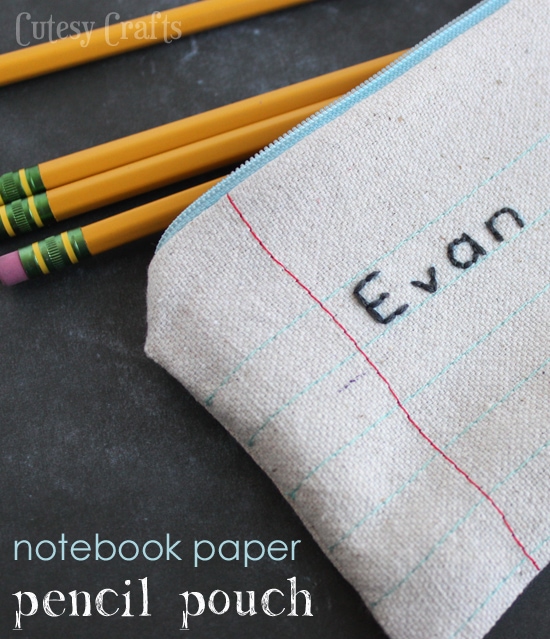
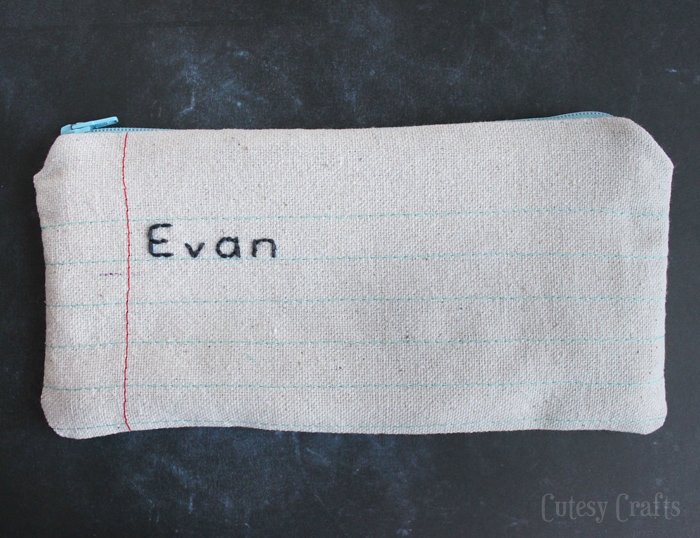
Isn’t it cute?! Evan loves to take it to school to hold his pencils, and he doesn’t have to worry about it getting lost.
Supplies needed:
- fabric (I used canvas)
- blue and red thread
- dark gray embroidery floss
- embroidery needle
- 9 inch zipper
Cut your fabric into four 9 1/2 by 5 inch rectangles. Two will be the outside of your zipper pouch, and two will be the lining. You can make the lining a different color/fabric if you want. This fabric is actually part of a big canvas drop cloth that I’ve been using to make things.

Take one of the rectangles and mark lines on the back as shown below. Since it’s the back, it will be reversed.
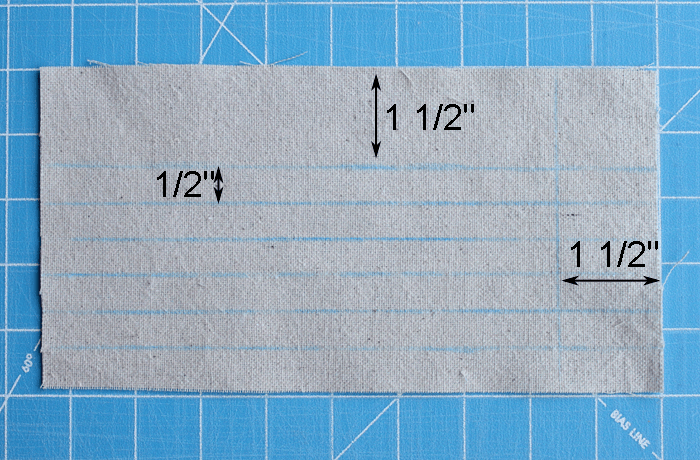
Machine sew along the lines using a long top stitch. Turn your fabric over and the bobbin thread stitches become the front. Iron the fabric to get rid of any puckering.


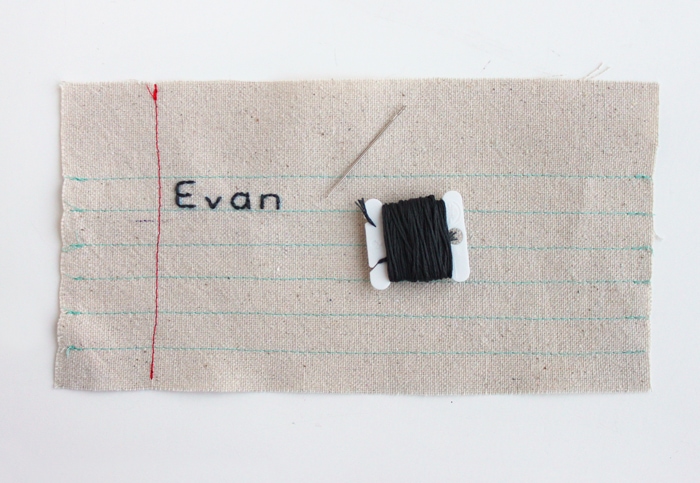
Embroider a name or whatever you want on the front. You could write a phrase or draw some doodles, anything goes.
To sew the pouch together, I used this zipper pouch tutorial from Noodlehead. She makes sewing a zipper pouch super easy! The measurements are different since she was making smaller pouches, but the steps are all the same. Just don’t include the key ring loop.
This was such a fun zipper pouch to make! I really should make a couple more for my girls. They would love them! For more sewing tutorials, go here.