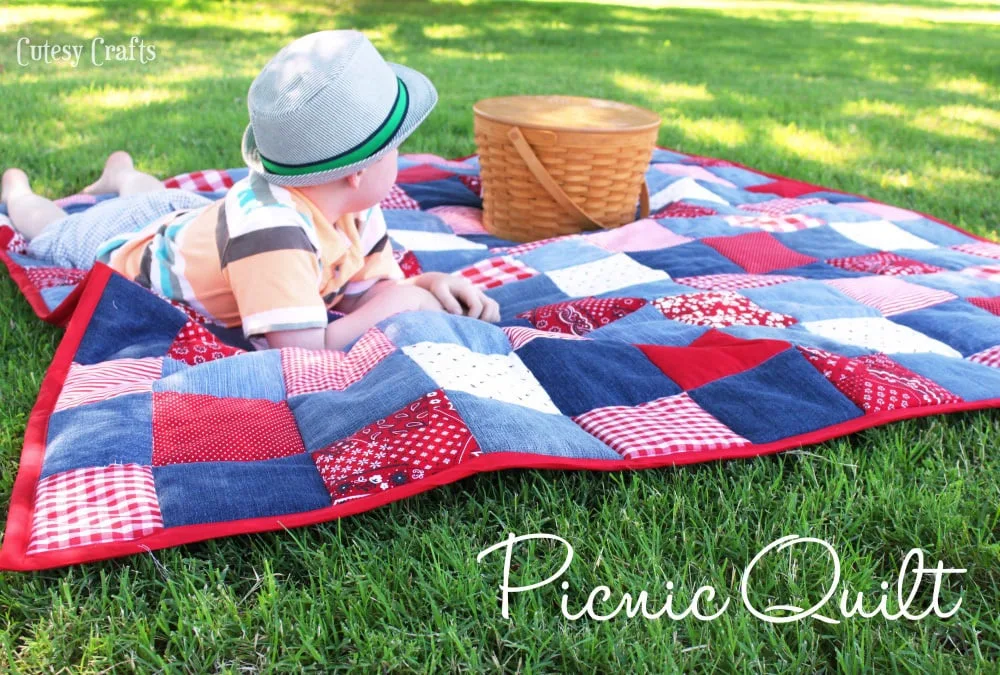
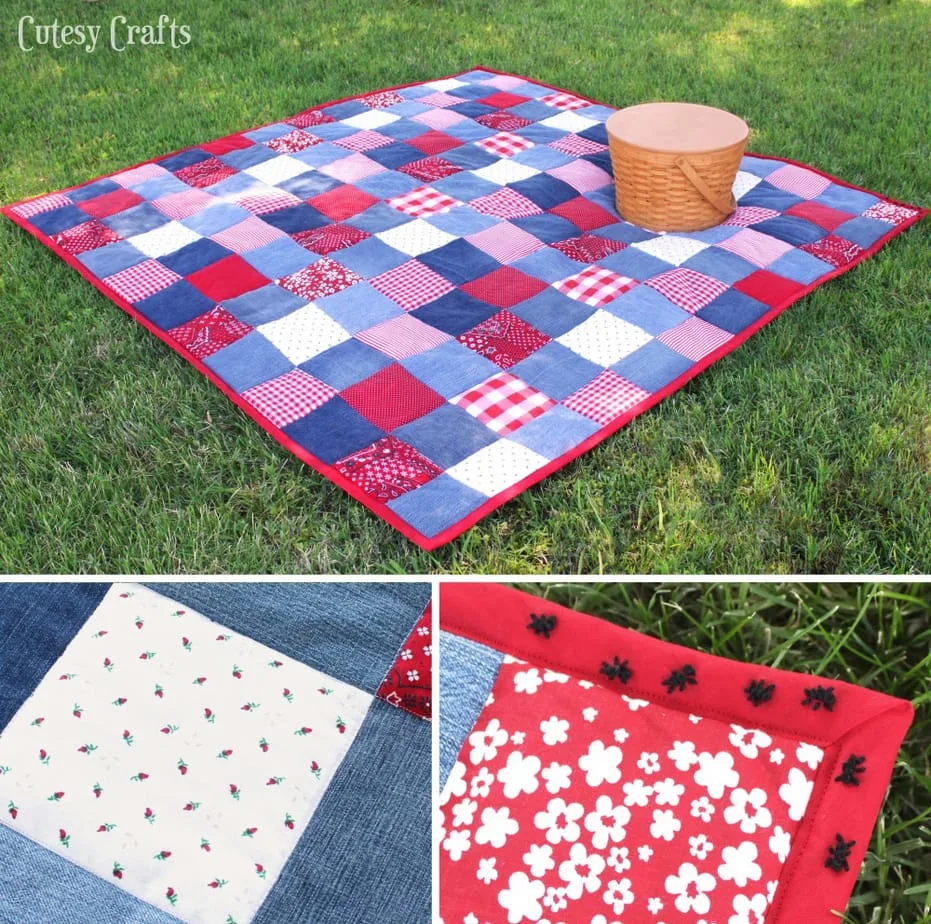
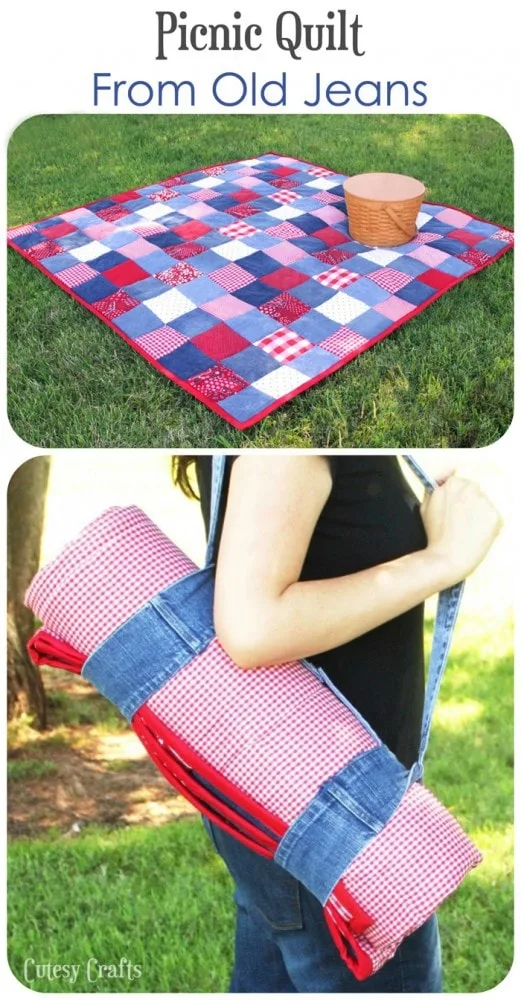
I decided to make a quilt out of some old jeans that were beyond repair and some red and white fabric. Not just any quilt, but a picnic quilt, complete with a strap for easy carrying. I chose a nice, lofty batting so it would be comfortable to sit on, and the jeans make it heavy and durable. Normally I don’t like jean fabric on anything but jeans, but I think it looks perfect as a picnic blanket! It measures about 5½ feet square. Nice and big so everyone has a place to sit! Also take a look at these other easy homemade blanket tutorials.
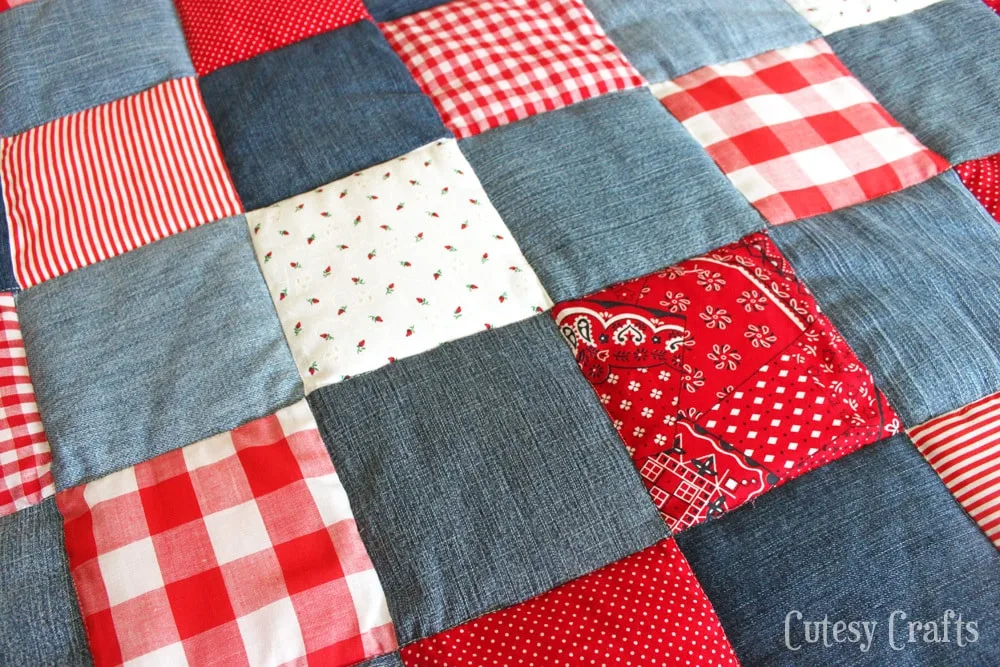
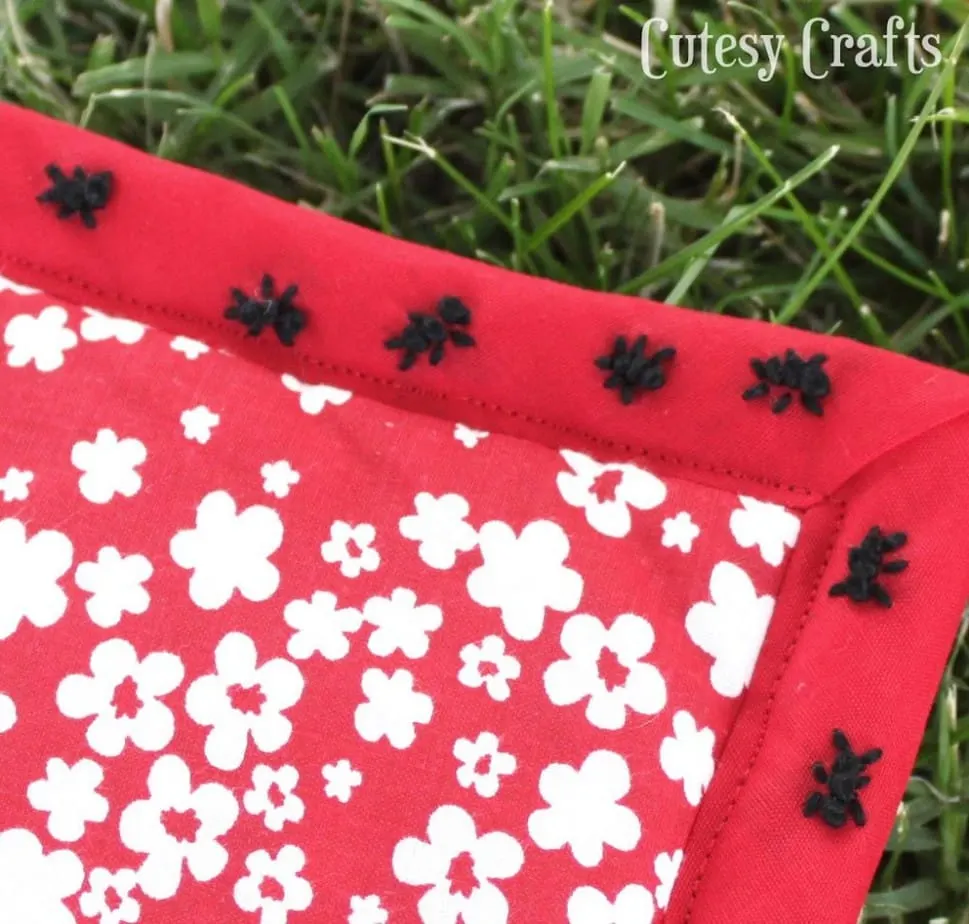
Of course, you can’t have a picnic blanket without ants, so I embroidered a few around the binding. So cute! The fabric was given to me, and I think most of it is vintage (thanks grandma). My favorite is the white with tiny red flowers.
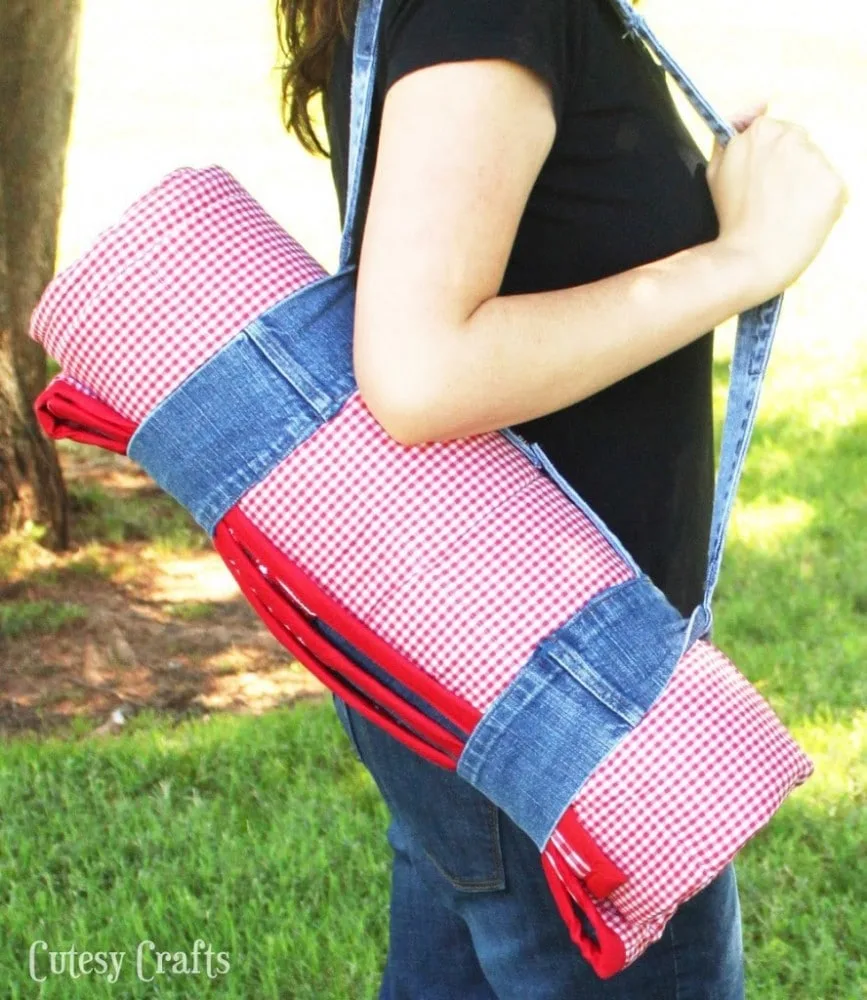
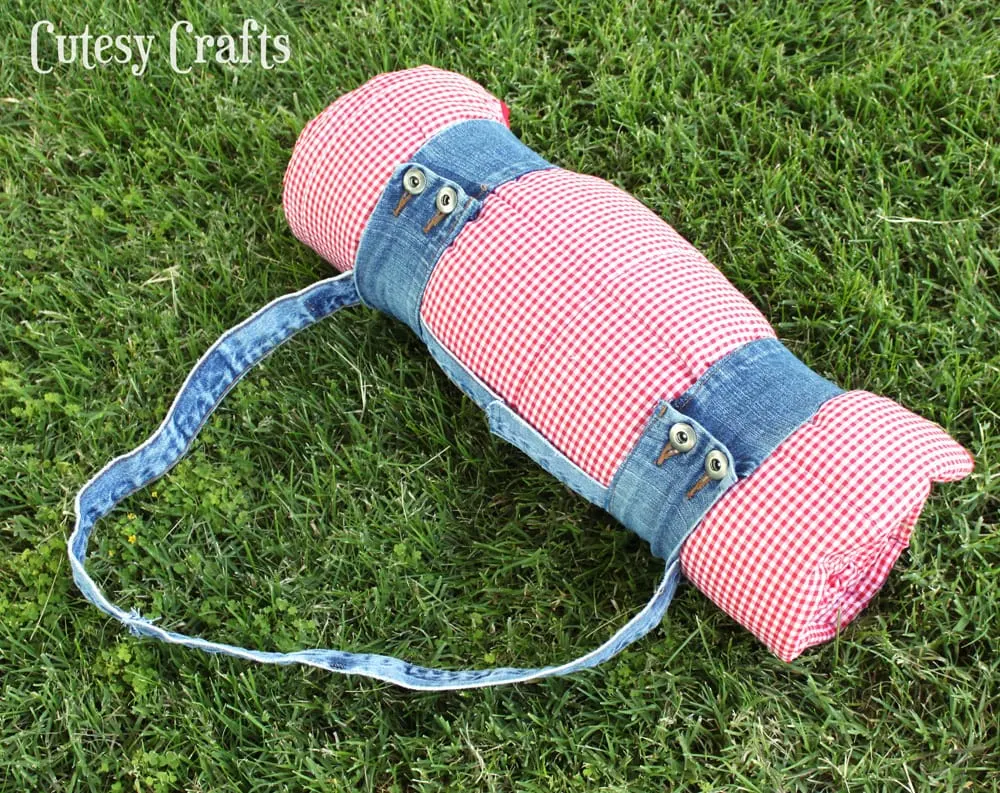
I made the strap using the bottom cuffs of some capris that I had, and the handle is the waist of a couple pairs of jeans. Nice and durable! You could even use this idea for a yoga mat strap.
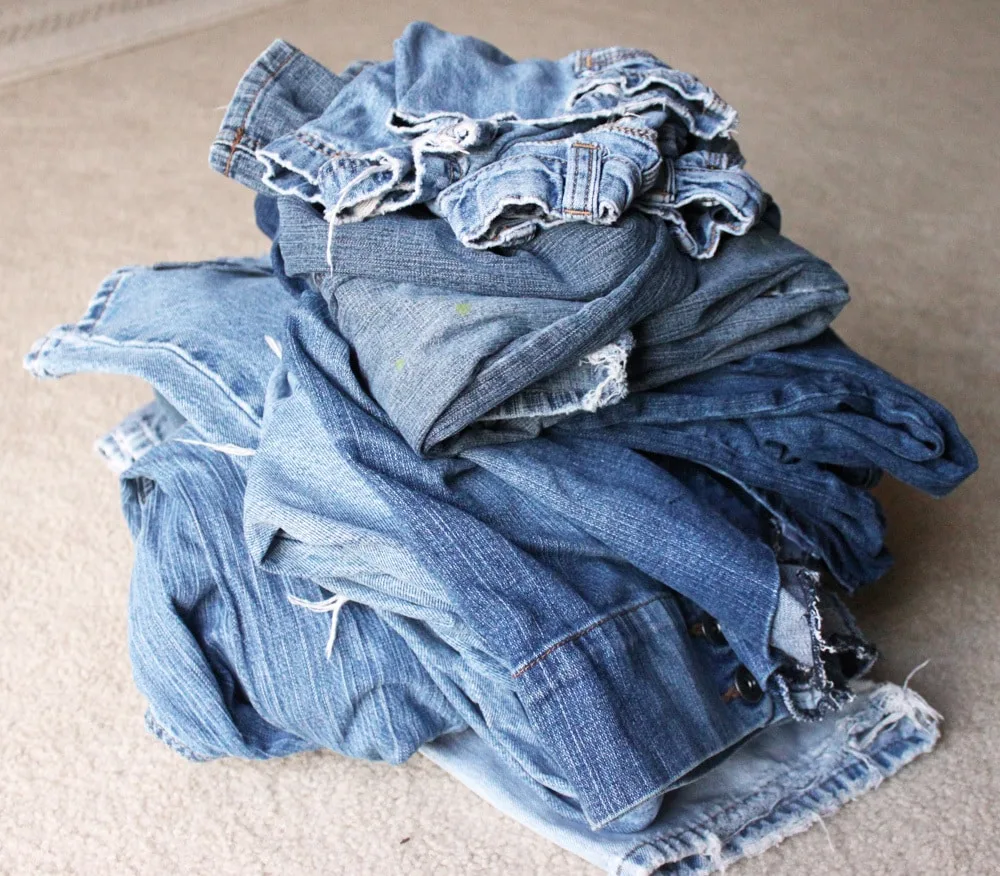
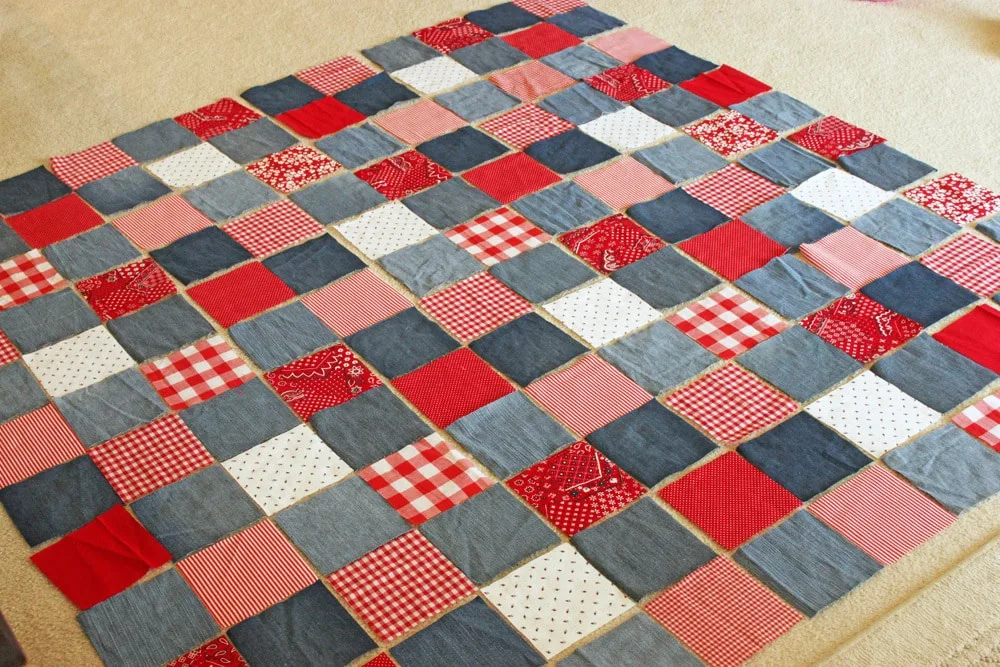
Tutorial time! First get a pile of old jeans. Yikes! These things have seen better days! Cut them up into 6 inch squares. You want 6 piles of 12 squares for a total of 72. I separated them out by color/shade to make a pattern.
Next cut 6 different cotton fabrics into 6 inch squares. Cut out 12 of each. Lay them out 12 squares x 12 squares. You can lay them out randomly or try to create a pattern like I did. Since I was using scraps, I didn’t have enough of some fabrics to do 12, so I improvised by adding in a couple random ones.
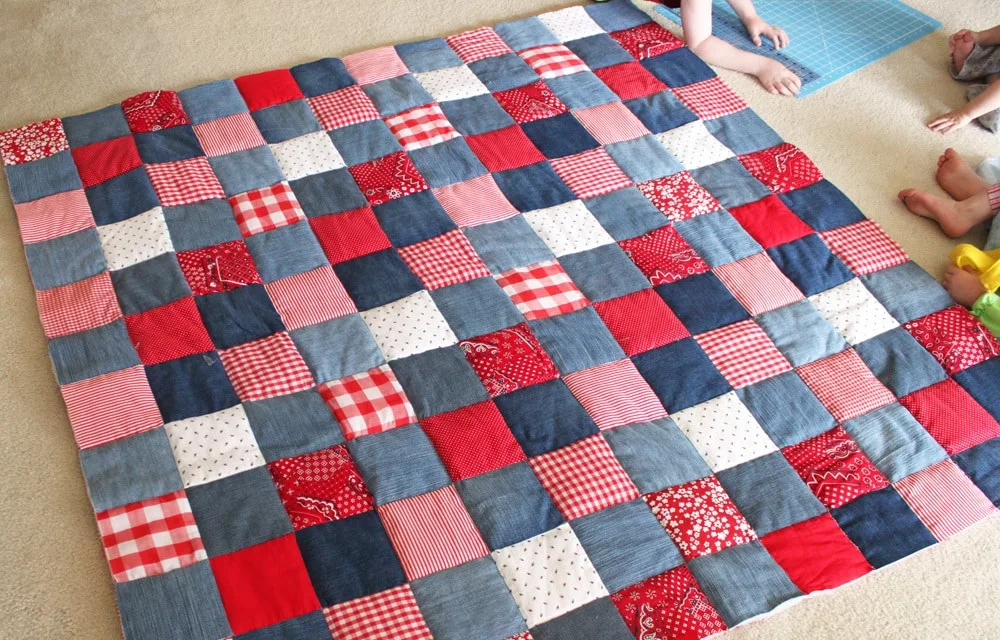
Piece your quilt top together using 1/4 inch seams. Sandwich your backing, batting and top together and machine quilt down all of the seams to hold everything in place. I used a double fold quilt binding that I got at the fabric store to bind the edges. See my little helpers there, waiting to test it out!
Now, I’m not going to give you a tutorial on how to make a quilt because that would require like 10 separate tutorials or one really long one. And… in the words of Sweet Brown, “Ain’t nobody got time for dat!” Instead, I will direct you to a couple videos that helped me out. Click here for the one I used to chain piece it together and click here for the video on how to do the corners on the binding. Note that on that second video, they used a smaller binding, so you will have to change your measurements accordingly. If you have never made a quilt, you will need to find a few more tutorials.
The ants are simply 3 little french knots with 4 little leggies and 2 little antennae. I used a full strand of embroidery floss and stitched them on before doing the final stitching on the binding. And yes, I sewed through the top of the binding to attach it. Quilters, look away! “Stitching in the ditch” was not working for me, and my only other option was to hand stitch the back… I know I don’t need to quote Sweet Brown again…
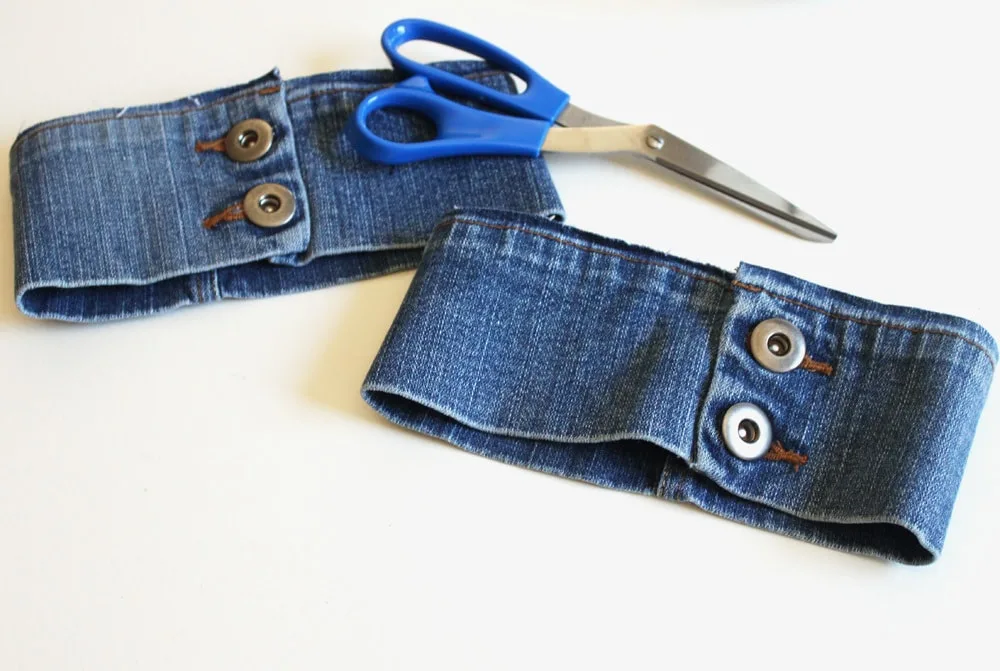
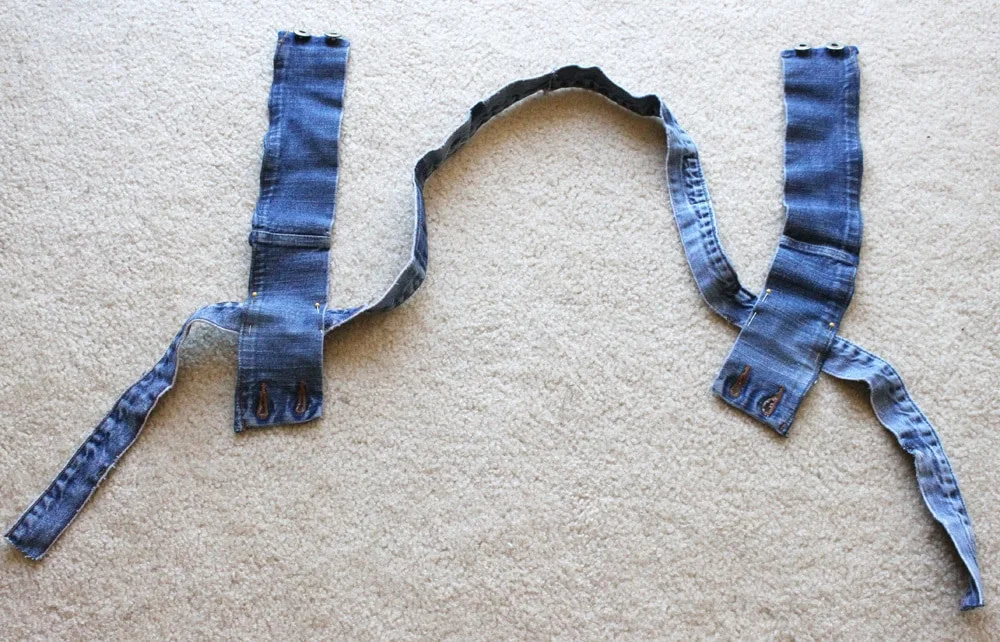
To make the straps that go around the blanket, I cut the bottom cuffs off of some stretchy capri pants that I had. They had these handy buttons on them that are perfect to wrap around the blanket. Unless you have these exact capris (they were actually some Maternity ones) then you will have to come up with something else.
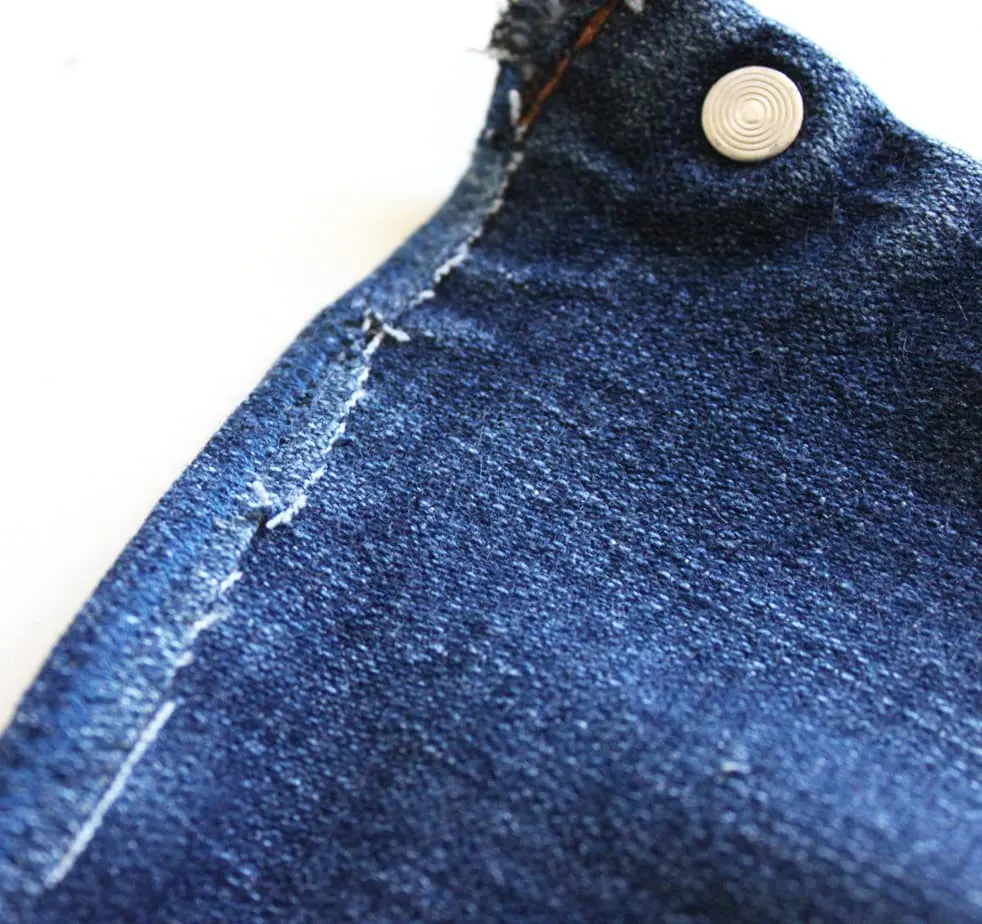
I shouldn’t have cut them so close to the edge because it would have been easier to hem… oh well. I just rolled the raw edge over and zigzagged it to prevent fraying.
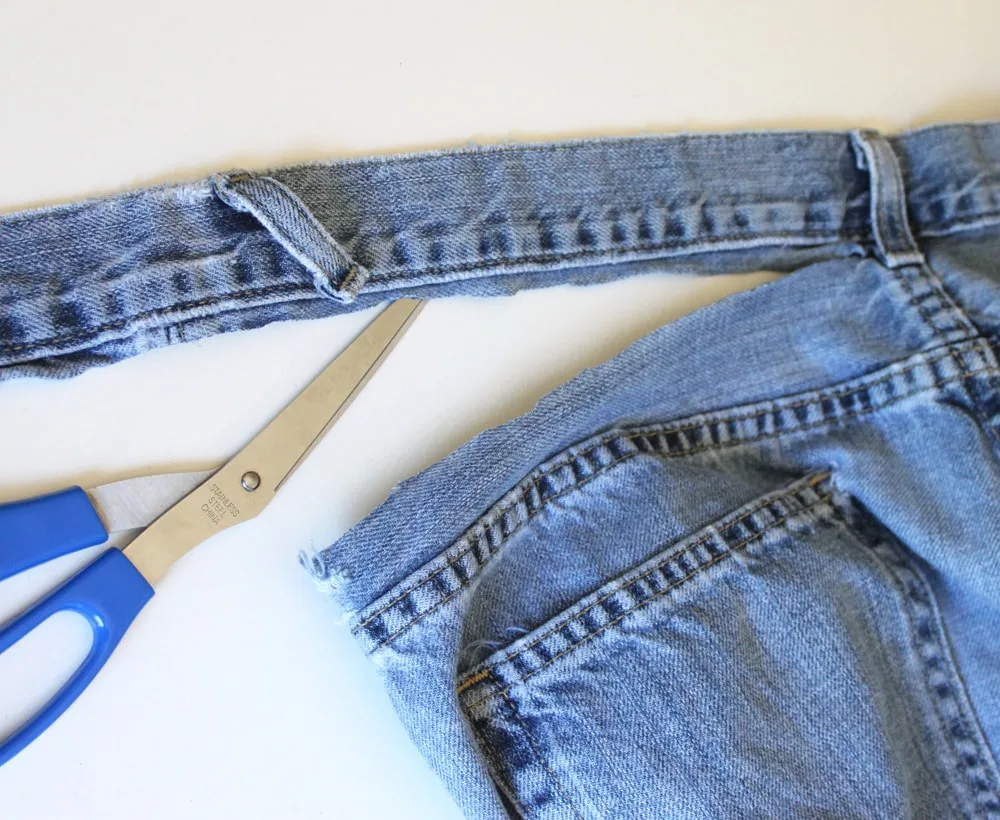
The handle is from the waist of two pairs of my husband’s jeans. His aren’t stretchy like mine, better for a handle. For these, I just cut REALLY close to the edge since the waist is already hemmed on both sides. I cut them again after this photo to get closer.
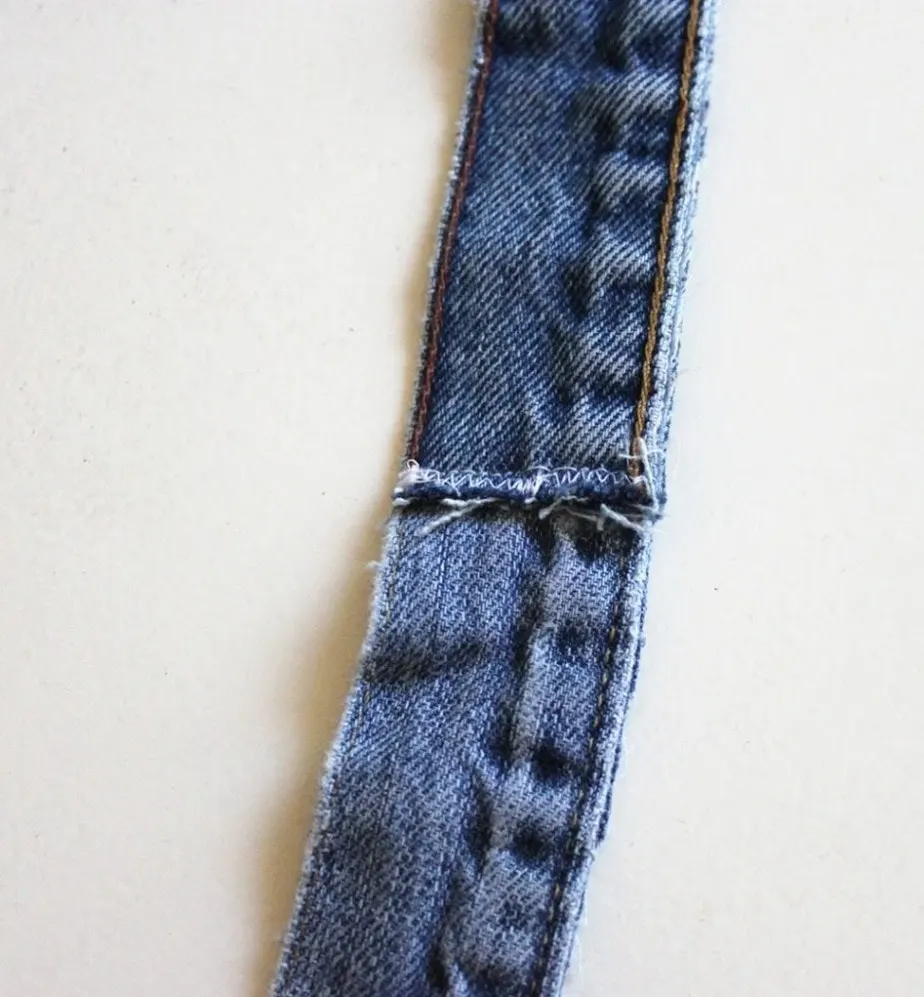
Remove all of the belt loops and tags and sew the two pieces together to form a long strap. I just put one end on top of the other and sewed them with a zigzag to keep it flat.
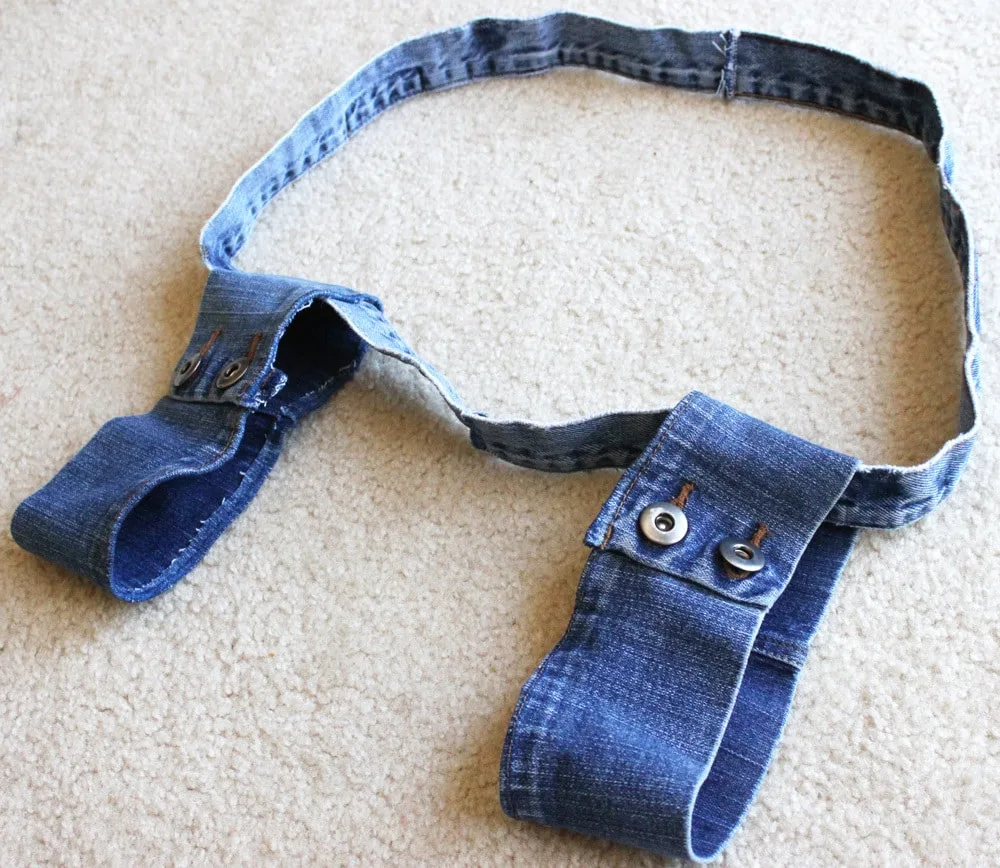
At this point, I rolled up the blanket to get everything where I wanted. Fold in thirds and roll tightly. When I got everything where I wanted it, the two cuffs were 8 inches apart from each other.
Cut the strap to your desired length and sew the other ends together to form a circle. If it looks like some kind of weird dog leash/harness, you have done it right! 🙂
That’s it! Hope you are having a wonderful Summer! We are loving our new picnic quilt!

Pam long
Saturday 28th of April 2018
Love your picnic quilt. I have my son’s jeans he passed away,20yrs ago I have been waiting for a quilt to make finally I found it. Thank you so much it is perfect.
Jessica @ Cutesy Crafts
Tuesday 1st of May 2018
Oh thank you so much. I'm sorry to hear about your son's passing. What a beautiful way to remember him! I made Christmas ornaments out of my grandpa's clothing, and my family treasures them. So glad you are able to use this tutorial for such a special purpose!
Noreen-Ann
Friday 7th of July 2017
I'm in the process of making a denim quilt...using red's and white's....I found some awesome fabric that has some stars and stripes in whites, reds and some blues! I'm calling it my America quilt. This will be a gift to my son who was born on July 4th! He loves things made from the heart.
My question to you is did you use cotton for the backing (red check) or is it a little heavy like a light-weight canvas?
Jessica @ Cutesy Crafts
Tuesday 18th of July 2017
How fun! It was just a regular cotton fabric.
Jacy
Wednesday 15th of June 2016
I'm getting ready to make my first Jean quilt, and after scouring Pinterest, I've decided yours is my favorite!!!! My question is this... I was thinking I'd use flannel pieces, but your tutorial says cotton. Why cotton? I'm a beginner. Thanks :)
Jessica @ Cutesy Crafts
Tuesday 21st of June 2016
So glad you like it! I think you'd be perfectly fine using flannel. Cotton is just what I had and is what is traditionally used to make quilts. Good luck with your first quilt!
Patricia Jackson
Wednesday 30th of March 2016
Gorgeous idea! The best project for recycling jeans I've seen. My girls will fall in love with this idea too. We have a stack of old jeans in the basement that will be perfect for this project. Thank you for sharing this inspiration!
Jessica @ Cutesy Crafts
Wednesday 30th of March 2016
Thanks so much, Patrica! So glad you like it. Our blanket has gotten so much use. We love it!
Anna
Wednesday 28th of May 2014
Adorable quilt and strap. I think the strap would be great for my yoga mat!!!
cutesycrafts
Monday 2nd of June 2014
Thanks, Anna! Yep, that's where I got the idea... from our yoga mat strap! :)