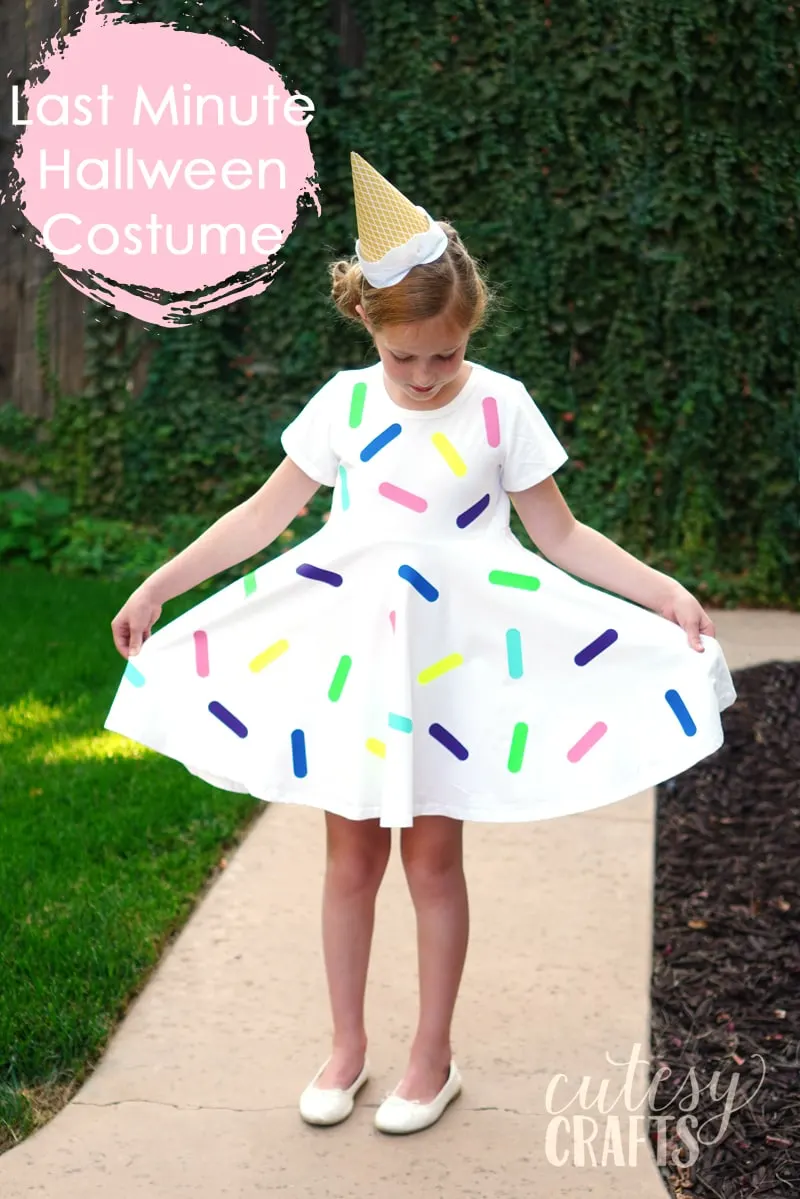
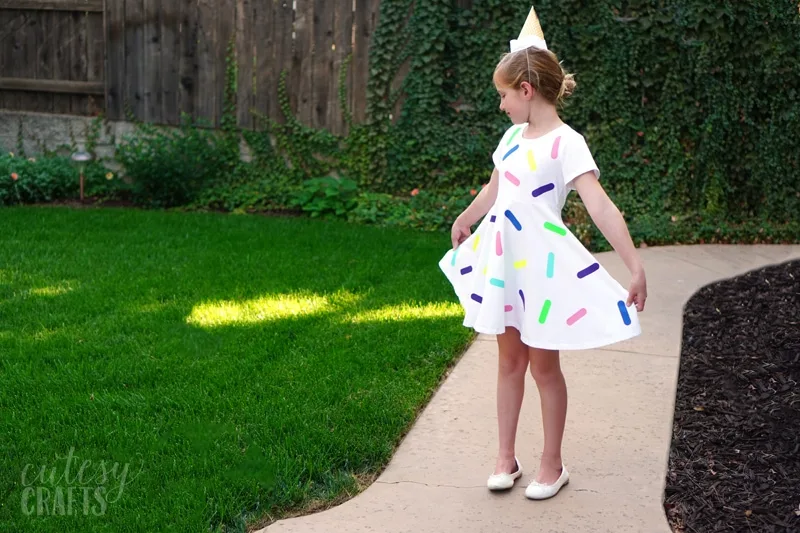
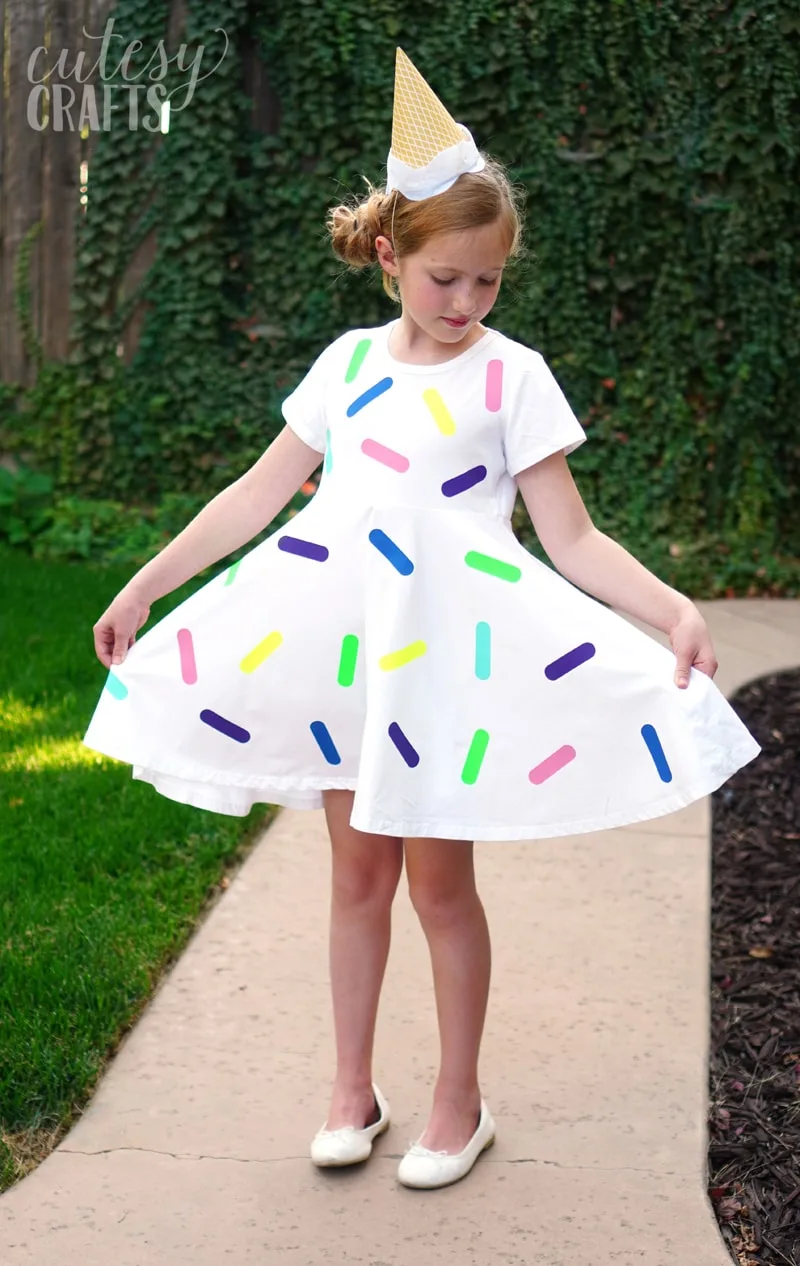
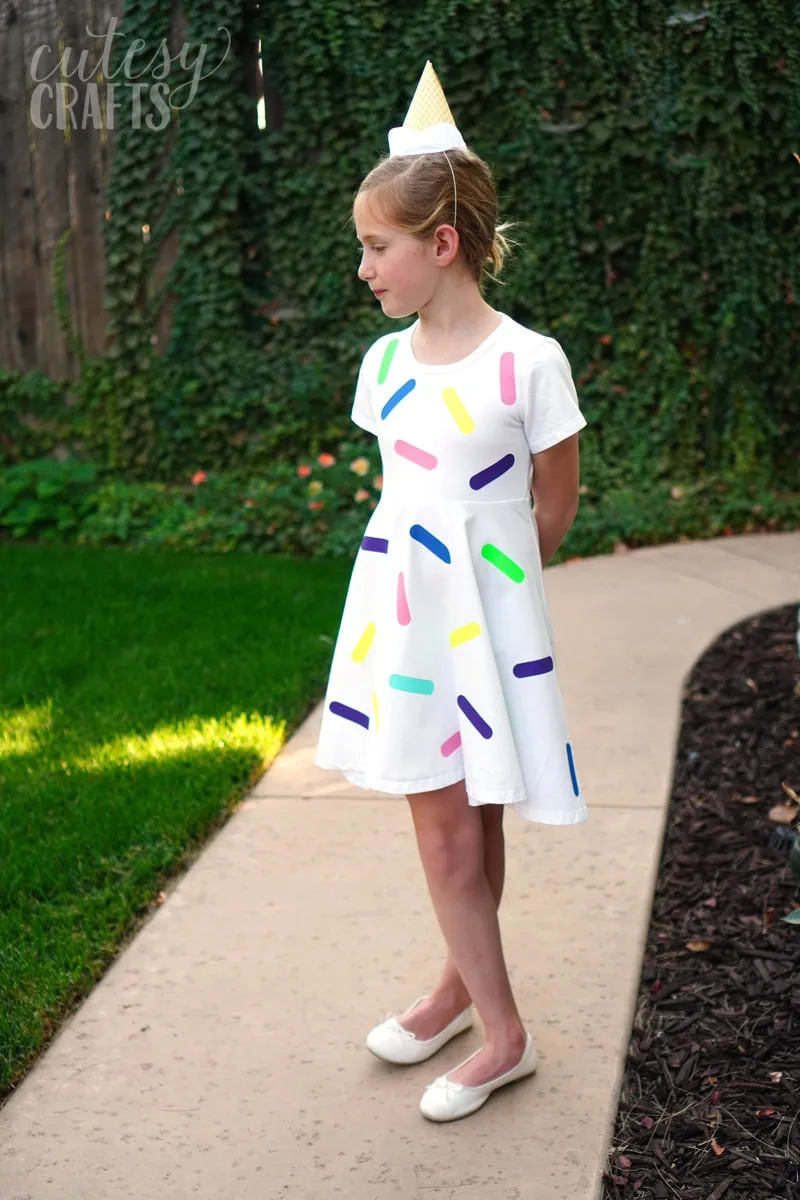
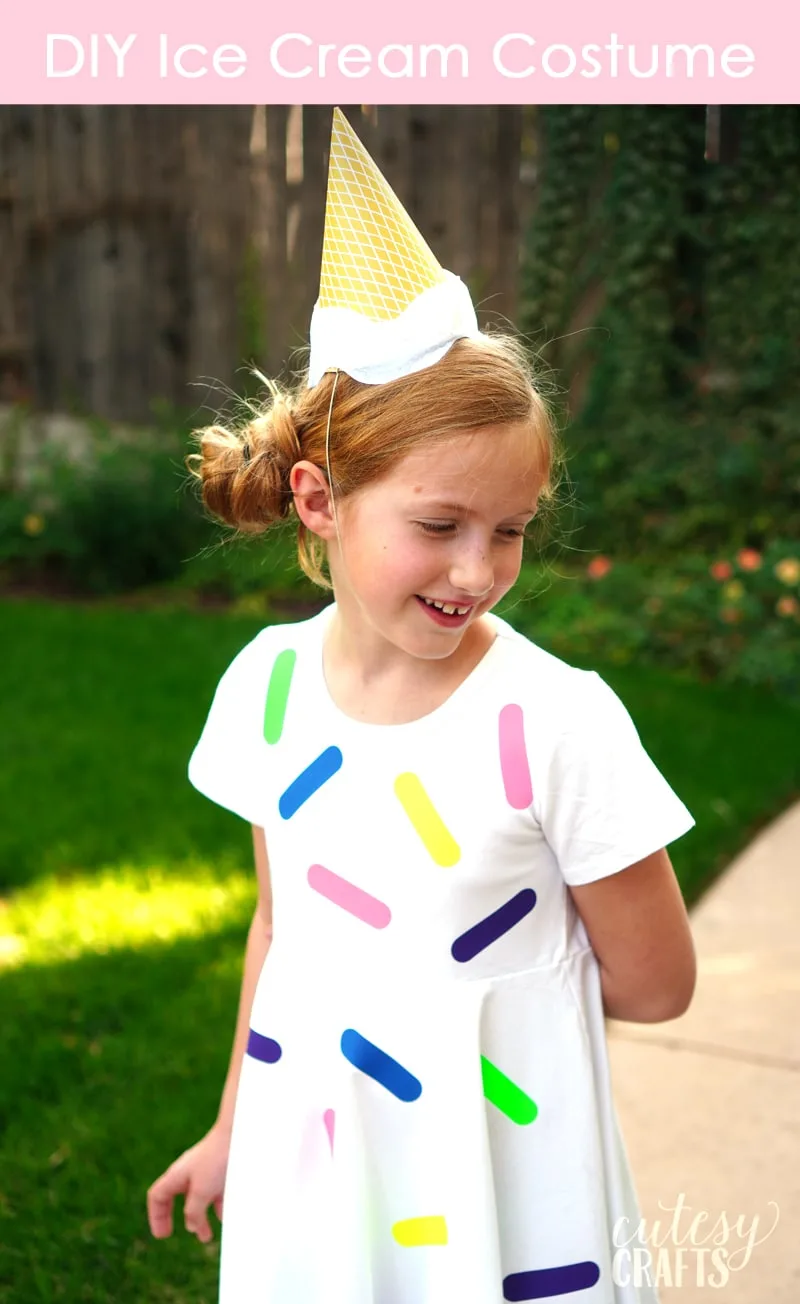
If you’re looking for a last minute Halloween costume, I’ve got a super cute idea for you! This DIY ice-cream costume wasn’t too hard to make, and it looks so ADORABLE on my daughter. I made hers with a white dress, but you can make things even simpler by using a t-shirt. And since it’s iron-on vinyl, it will last well past Halloween, so she can wear it for play time. A big “thank you” to Cricut for sponsoring this project and video.
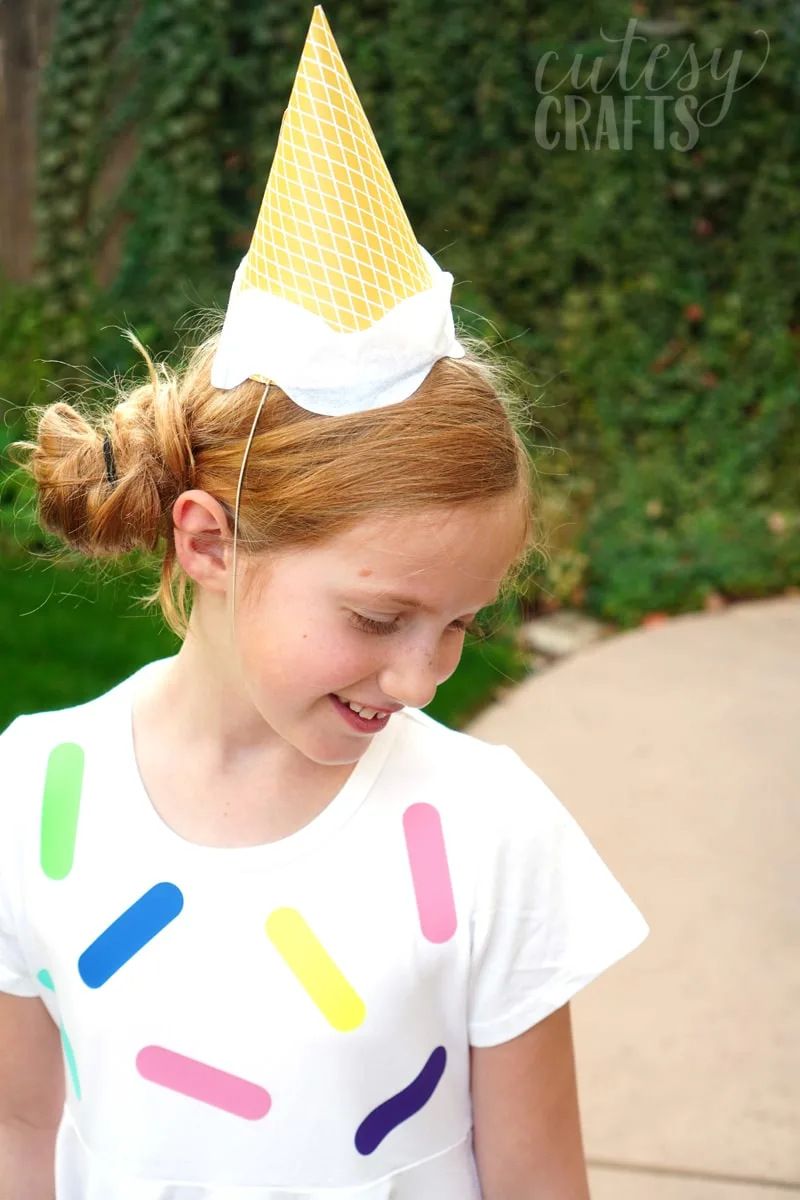
Of course, the DIY Halloween costume wouldn’t be complete without an ice-cream cone hat!
(This post may contain affiliate links, which means I may receive a commission, at no extra cost to you, if you click a link and purchase something that I have recommended. As an Amazon Associate I earn from qualifying purchases.)
To make this last minute Halloween Costume, you’ll need:
- White Dress or T-Shirt
- Cricut Machine
- Cricut Easy Press (optional)
- Easy Press Mat (optional)
- Everyday Iron-On – Coastal
- Everyday Iron-On – Neon Explosion
- Everyday Iron-On – Sunkissed
- Deluxe Paper – Mosaic Floral
- Felt Sampler – Carousel
- Hot Glue Gun
- Elastic Cord
- Designs from Cricut Access
I made a video that shows you step-by-step how to make this last minute Halloween costume. You can watch it below. (If you’re using ad ad blocker, you may need to turn it off to watch the video.)
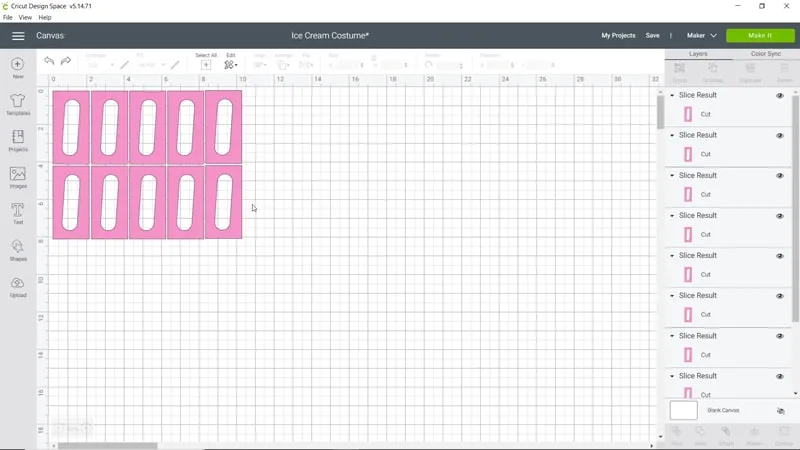
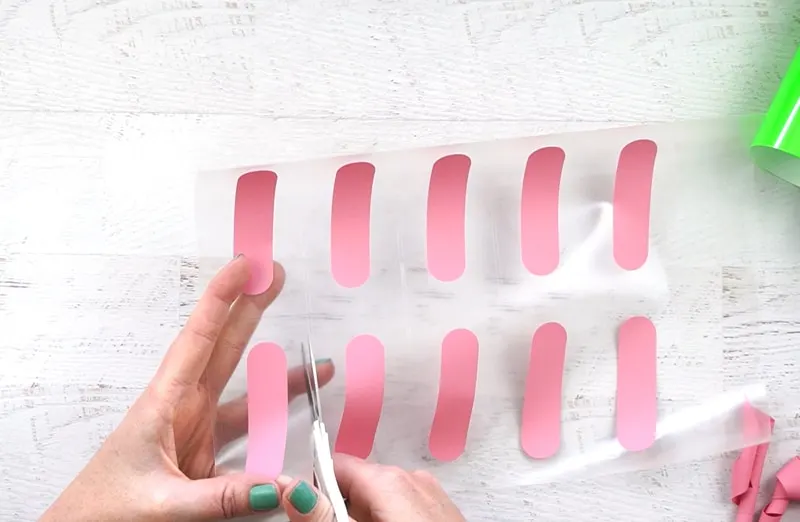
First we’ll cut the sprinkles out of iron-on vinyl. I used 6 colors: teal, dark blue, purple, pink, yellow and green. I cut 10 of each sprinkle, but you may need more or less depending on the size dress/shirt you are using. You can create your own sprinkle or use one from Cricut. I got this one from Cricut Access. It was originally a bunch of sprinkles together, but I isolated just one to cut them individually. Watch the video above if you don’t know how to do that.
Cut out each sprinkle, leaving some of the plastic backing around it.
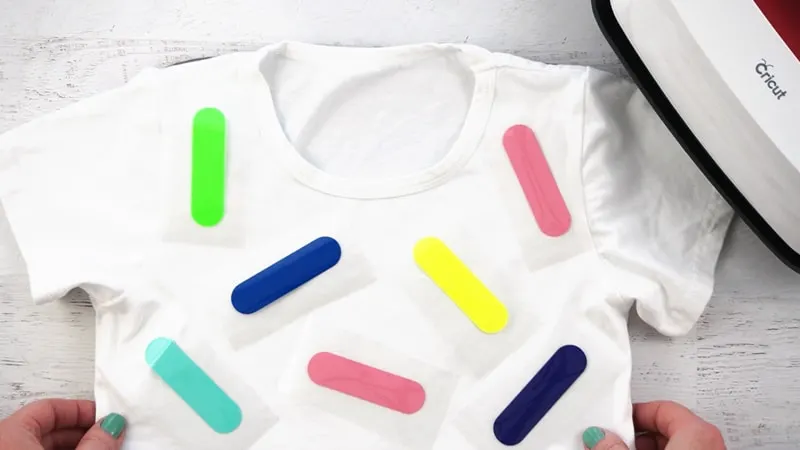
Next, lay out all of the sprinkles and iron them onto the dress. Using my Cricut Easy Press made things a lot easier, but you can also use an iron.
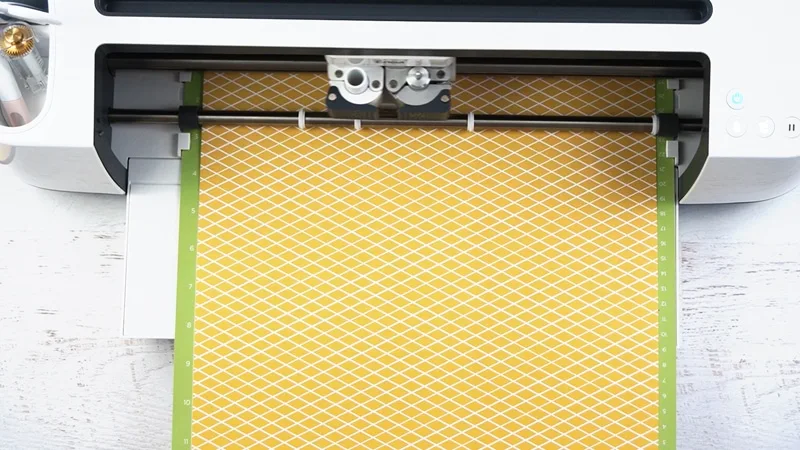
Next, it’s time to cut out the cone hat. This was a party hat cut file from Cricut Access. The paper pack I used had this diamond print that was perfect for an ice-cream cone. If it’s no longer available, you can just use some tan paper.
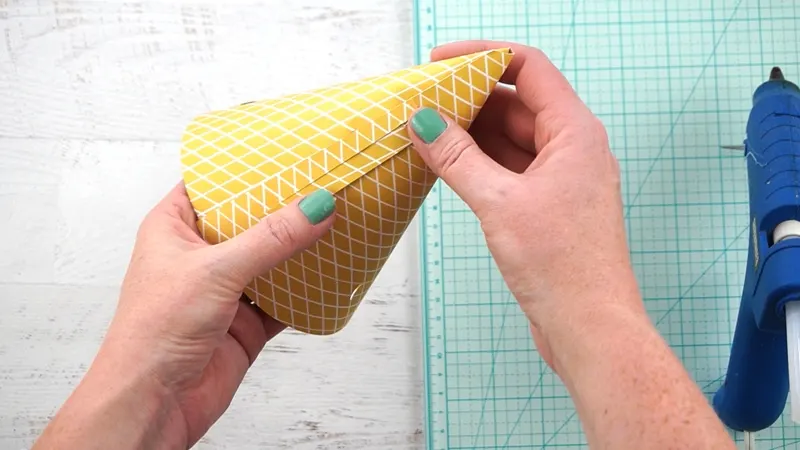
Roll up the cone and hot glue it shut.
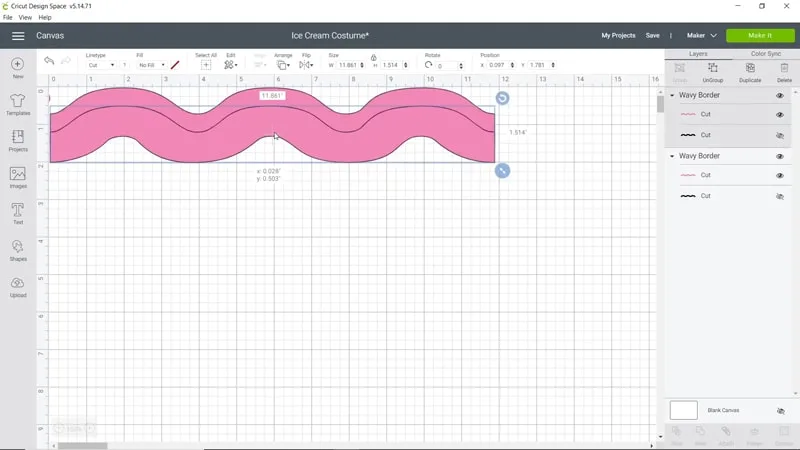
Now, you can cut out the felt for the bottom of the hat. I found this wavy border design on Access, but it wasn’t exactly what I wanted. I stretched it out, layered one on top of the other, and welded it together.
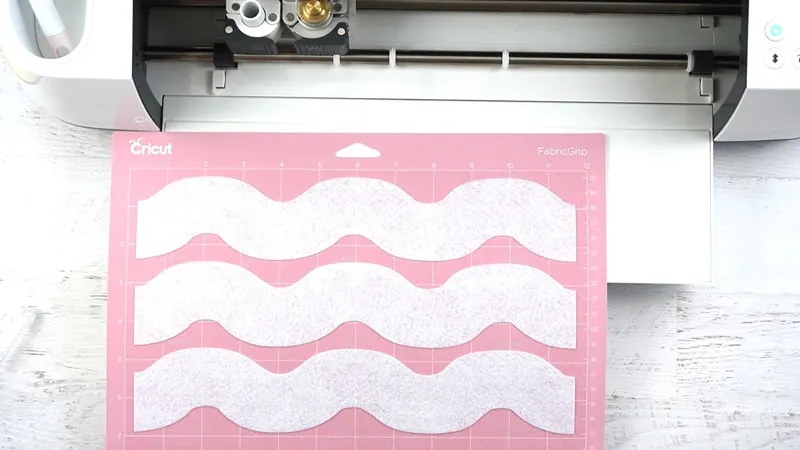
Use your rotary cutting blade to cut the felt. I ended up only using two pieces. If you have a longer mat, just make one, really long one.
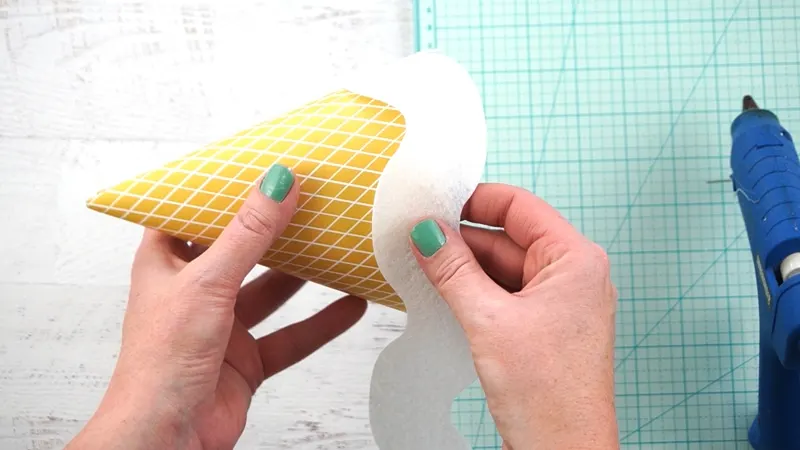
Hot glue the felt around the base of the cone.
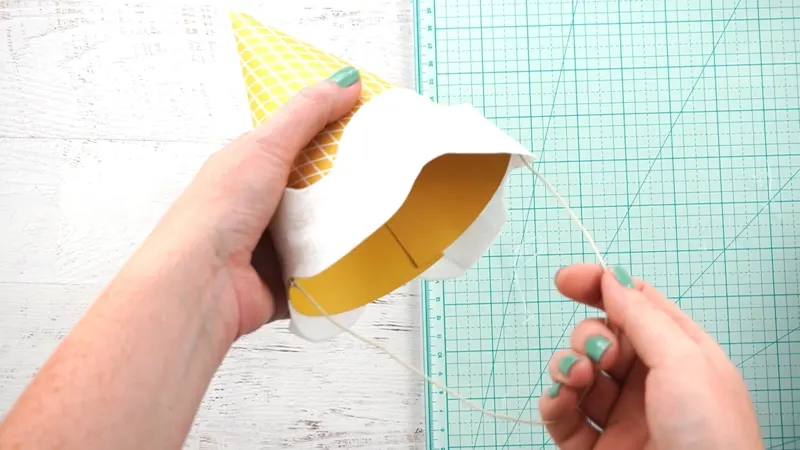
Measure and tie some elastic cord on the hat, and you’re done!
I really can’t get over how cute this turned out!
What are your little ones being for Halloween?

