
How to do the Herringbone Stitch
Learning how to do the herringbone stitch can produce some very pretty results. It’s a nice decorative stitch to add to borders and can even be combined with a second row of herringbone stitches to make a double herringbone. With a second color of thread, this can produce some very pretty results.
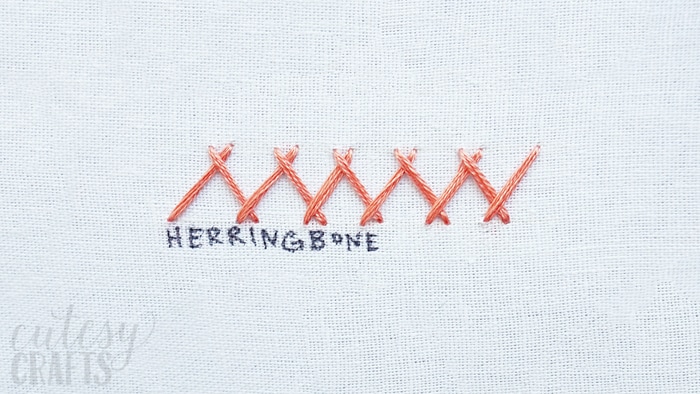
To do a herringbone stitch, you start with two parallel lines. Bring your needle across to the top line and take your needle back down. Bring your needle a stitch length to the left and bring it back up through the fabric. Then take the needle down across to the other line. It’s best to learn watching my video tutorial below.
If you are using an ad blocker, you may need to disable it to see the video.
Learn all of these other embroidery stitches by making this embroidery stitch sampler 2 with me. It’s a great way to practice and a nice reference to have while you are reading other embroidery patterns.
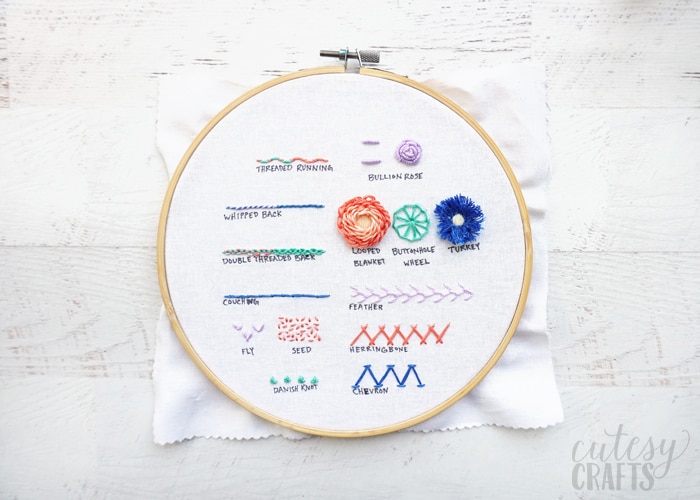
Get the free pattern!
To download this free pattern, enter your information in the form below or click here to subscribe to my newsletter. It’s free, and I’ll keep your email address safe. You can also unsubscribe at any time.
To watch all of the videos in this series, including some basic embroidery tips, go to my YouTube channel here. I’ll walk you through the entire process and make it super easy for you.


