
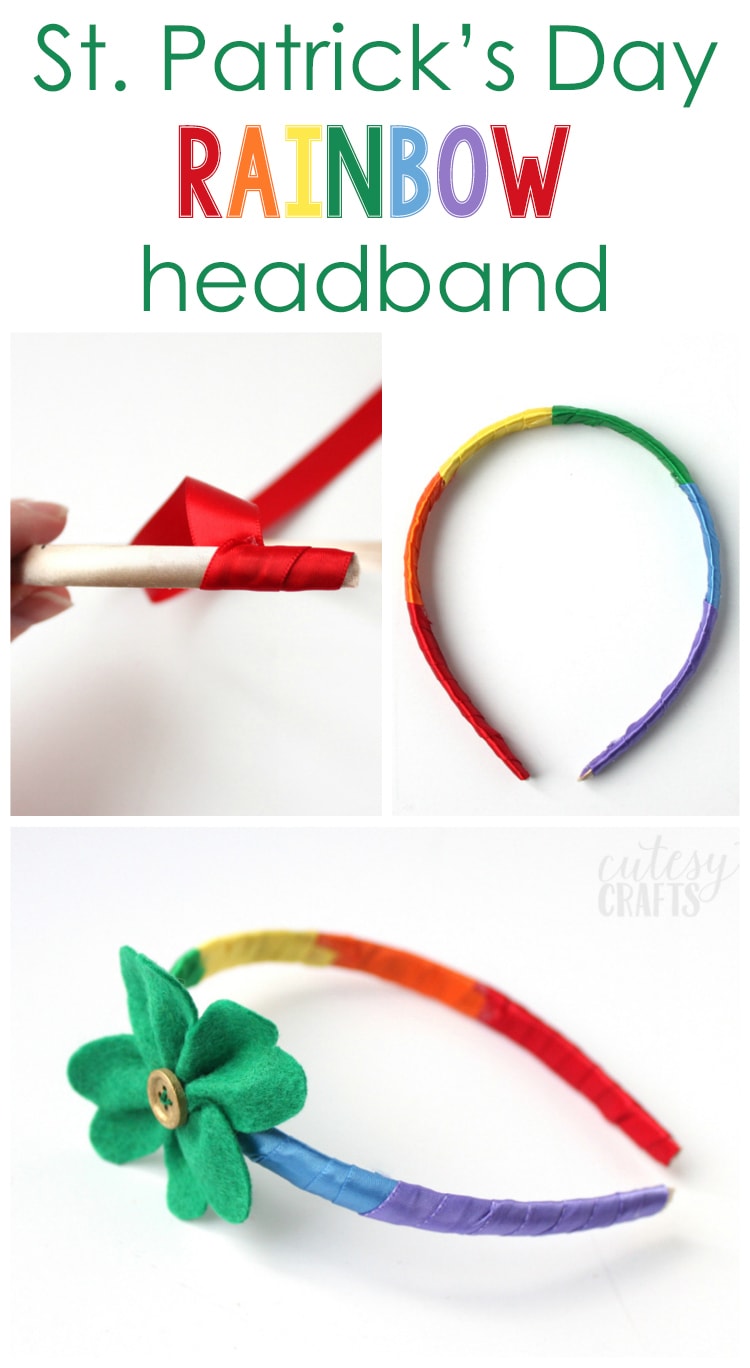
St. Patrick’s Day Craft – Rainbow Headband
My kids have officially outgrown the St. Patrick’s Day shirts that we made a few years ago, so it’s time for something new. Sure, we could make another set, but there’s something in me that absolutely hates making the same thing more than once. It’s the reason I stopped making things to sell. I’d much rather create new things! I’ve got the girls covered this year with these adorable rainbow headbands. This is such a fun St. Patrick’s Day craft, and they are pretty simple to make.
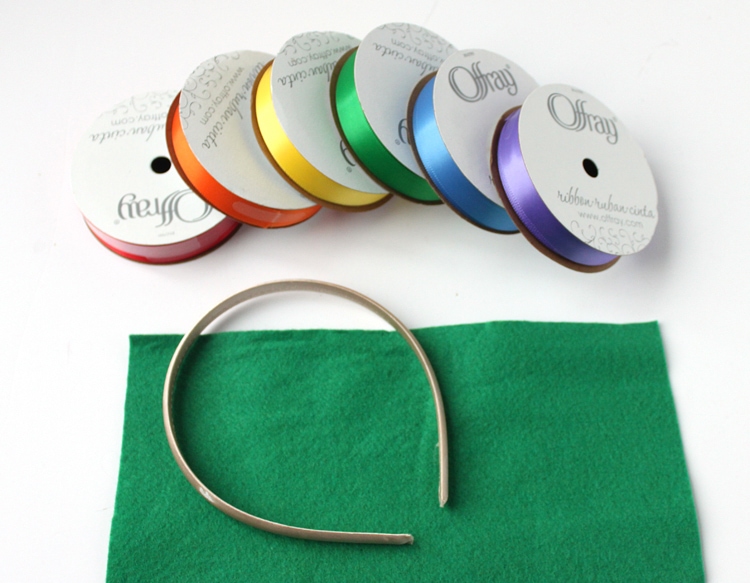
To make this St. Patrick’s Day craft, you’ll need:
- plain headband
- ribbon (red, orange, yellow, green, blue, purple)
- green felt
- gold button
- needle and thread
- hot glue gun and glue sticks
I’ve been toying with the idea of creating more YouTube content, so along with a written tutorial, I’ve got a quick video tutorial for you! Yay! Head over to my channel and give me a thumbs up and subscribe!
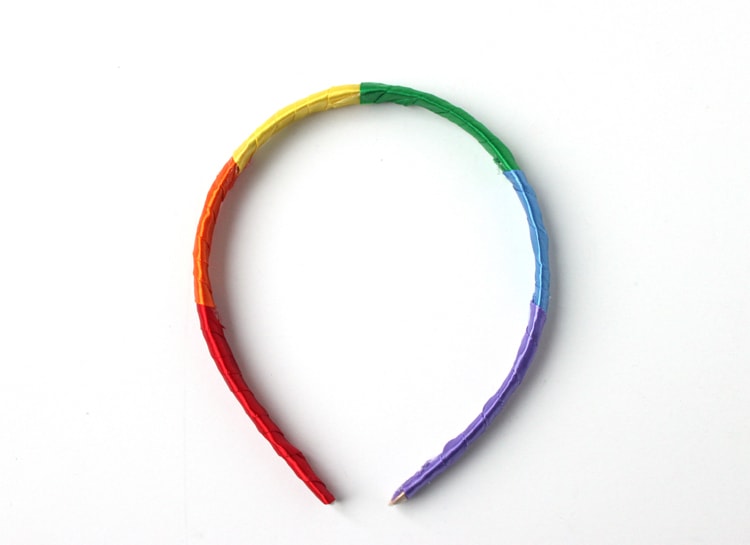
First thing you’ll need to do is mark the headband so you know where to stop each color. The bottom two sections will be longer since they go behind the ears. First mark the center of the headband arch. Then mark three inches up from one side, and then put another mark two inches up from that one. Repeat on the other side.

Cut a piece of red ribbon and hot glue one end of it to the end of the headband. Wrap the ribbon around the headband toward the first mark, hot gluing as you go. Stop when you get to the first mark and cut off the excess.

Repeat with the other colors until you get to the end.
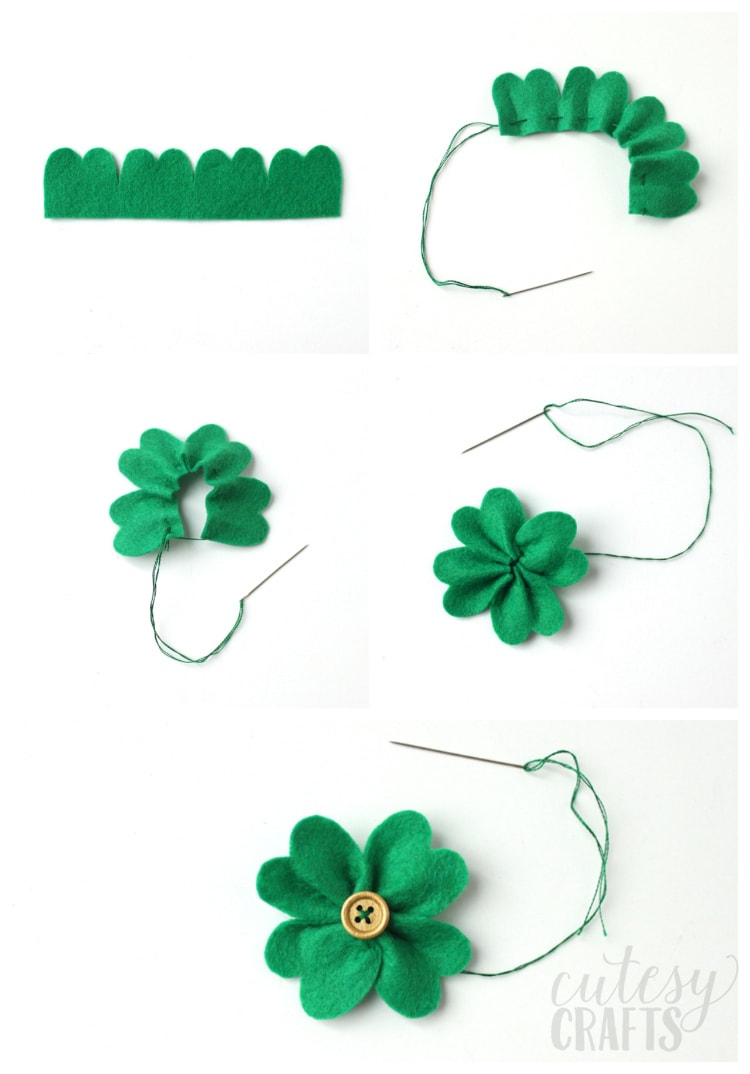
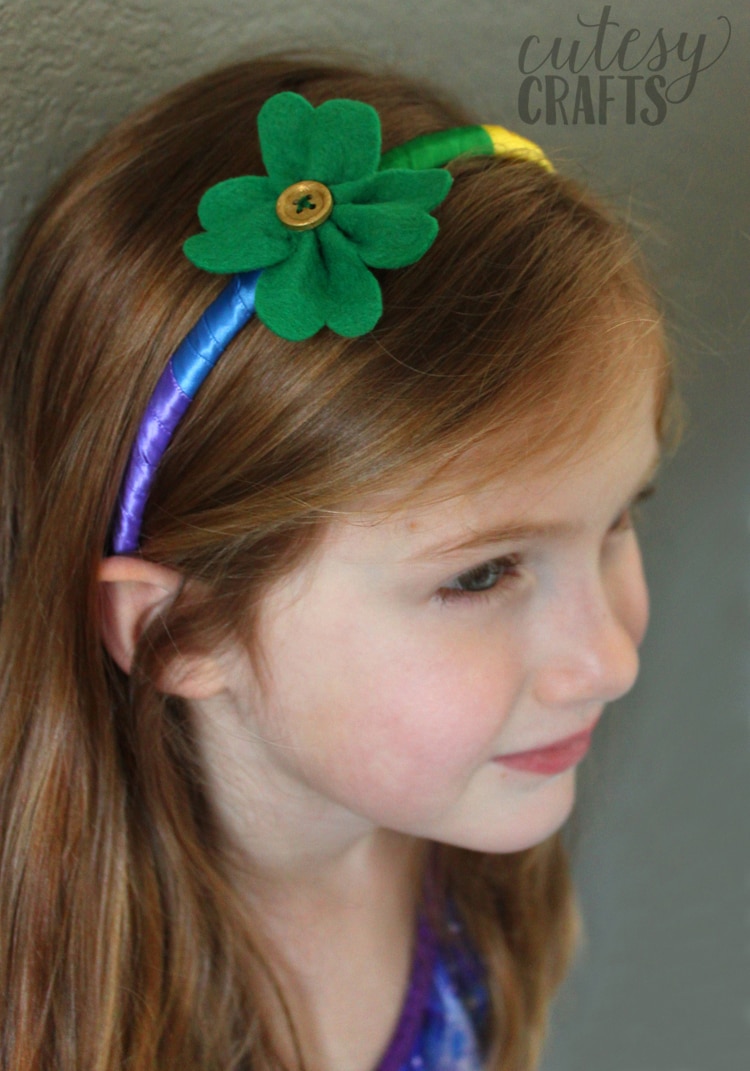
Time to make a felt clover! Cut out some green felt, using the template provided. Tie a knot in one end of some thread or embroidery floss and sew a large running stitch through the bottom of the felt. Pull the thread tight and push the needle back through the end that you started in. Stitch the back of the clover to secure it and sew a button on the front. Secure the thread with a knot on the back. P.S. – If you don’t have a gold button handy, you can paint one like I did!
 The girls can’t wait for St. Patrick’s Day so they can wear their new headbands! Now I just need to think of something to make for Evan to wear. He really wants one of those shirts that makes it look like you are a leprechaun when you wear it. I gotta say, that would be pretty perfect with his bright red hair! He might just end up with a felt clover pin or something instead. We’ll see.
Hope you liked this easy St. Patrick’s Day craft. I’d love to know if you make one!


Where is the shamrock template?
Do you have the measurements of the ribbon and also the shamrock template?
So cute.
Where can I find the felt pattern?