
DIY Fabric Dr Seuss Book
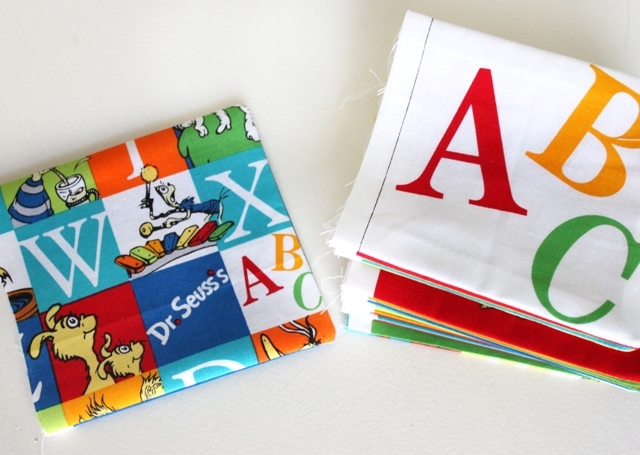
I had a little fun this past week creating something out of some Dr. Seuss fabric that The Fat Quarter Shop sent me. I love Dr. Seuss, and this fabric is adorable. It’s from Dr. Seuss’s ABC book, and showcases different characters and illustrations from the book. I decided to make a soft baby book out of my fat quarter bundle. I plan on giving it as a shower gift, along with some burp cloths made with the other coordinating fabrics. So cute!
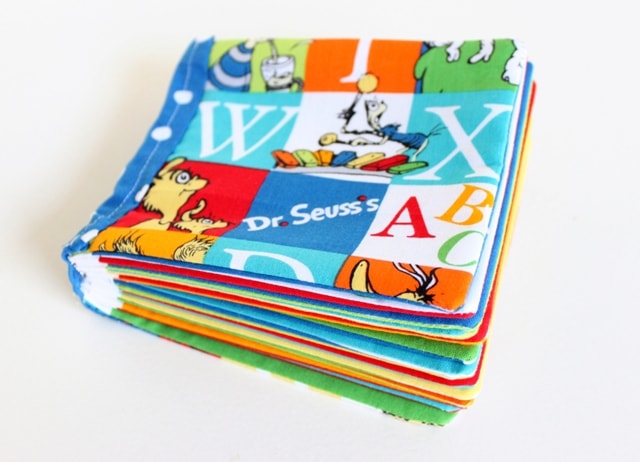
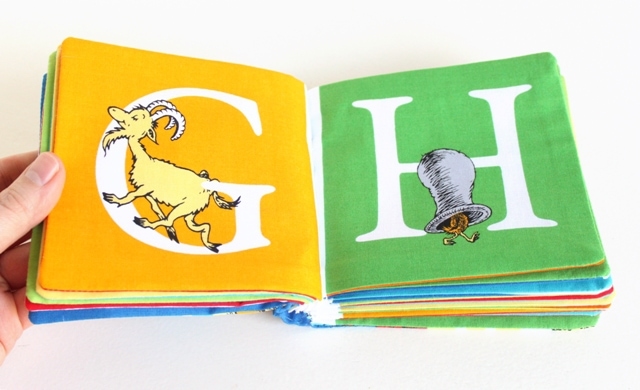
Each page has a different letter of the alphabet with a corresponding character from the Dr. Seuss book. I made the pages with the full panel that came in the bundle. It had a separate square for each letter.
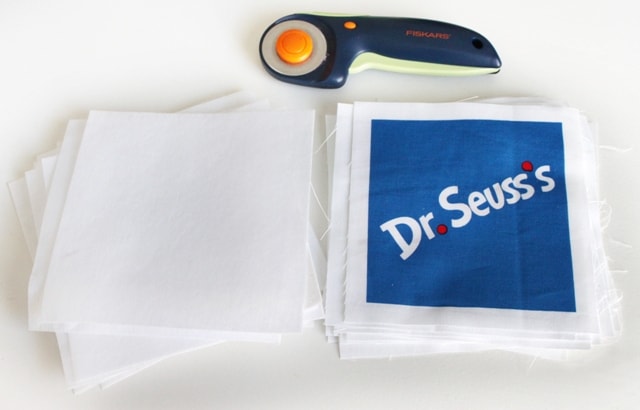
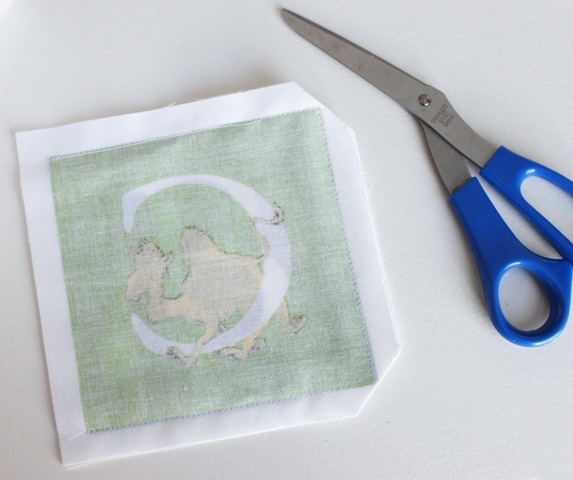
Start out by cutting out each square leaving 1/2 inch seam allowance around each one. Also cut some, 6 inch square, stiff interfacing to go in the middle of each page.
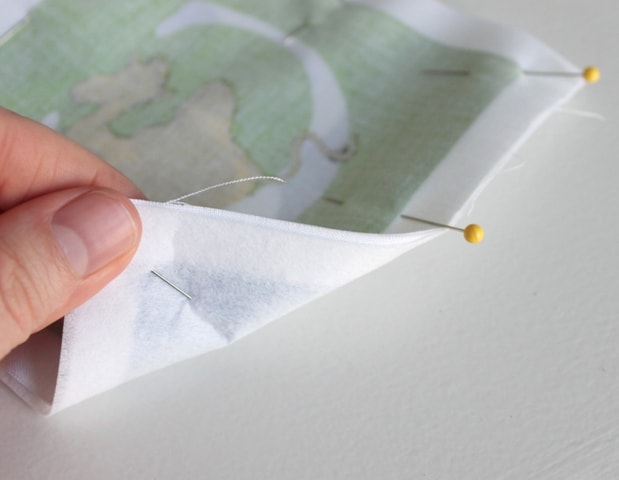
Arrange the pages of your book how you want them. Take the two pieces that will make up one page and put them right-sides-together. Put a square of interfacing at the bottom of the stack, and pin it.
Sew around the outside of the colored square. Don’t sew the side that will be facing the binding of the book. Trim any excess interfacing and trim the two corners that will be opposite your binding.
Turn the page right-side-out and iron it flat. I didn’t do this, but I recommend zig-zag stitching or serging the raw edges that will be in the binding to keep them from fraying. Repeat for each page. I made the cover using another one of the fat quarters that came in the bundle.
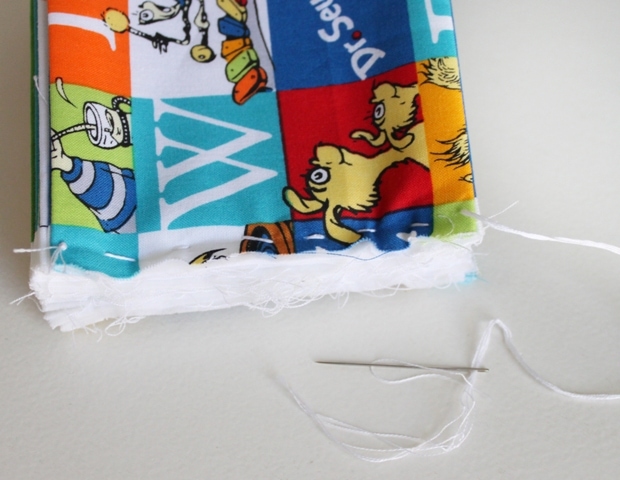
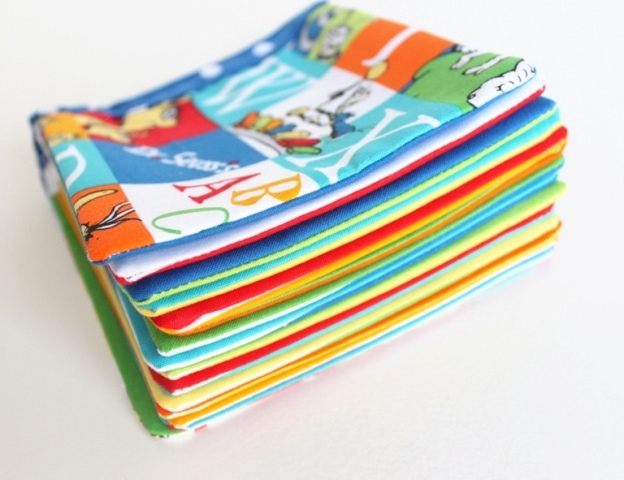
Stack your book together with all of the raw edges facing the same direction. This will be the book’s spine. Thread a needle with some embroidery floss and make large stitches down the side of the book. You’ll have to take it slow and go through only a few pages at a time here.
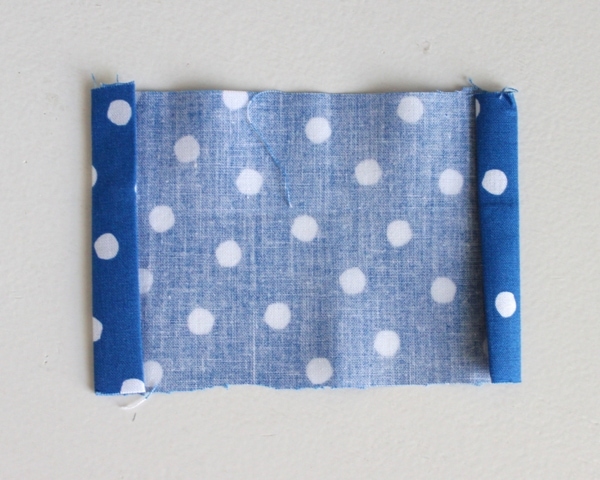
Now we’re going to make the binding. Cut a rectangle of fabric 7 x 3 1/4 inches. This was another cute fabric in the bundle.
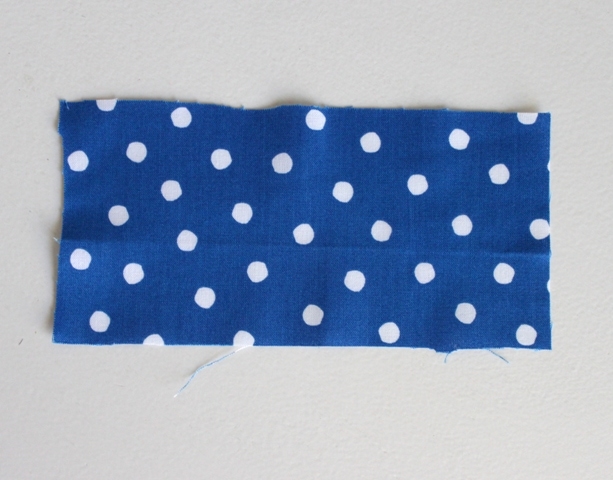
Fold the short sides in 1/2 inch and iron. Fold them in 1/2 inch and iron again.
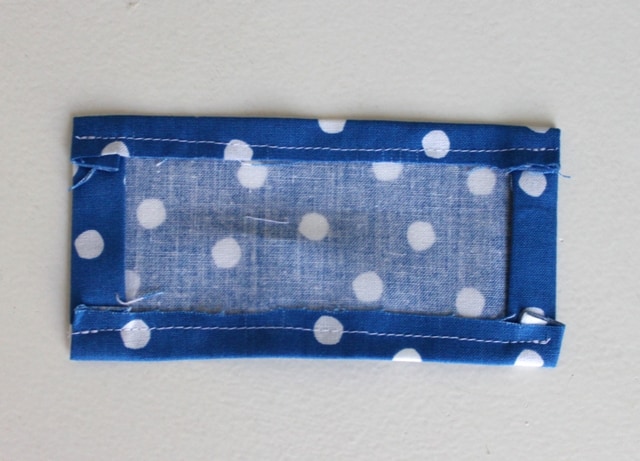
Now fold the long edges down 1/2 inch, iron, and sew.
Spread the binding out over the spine of your book and hand stitch it on. Just sew through the outermost layers for this part.
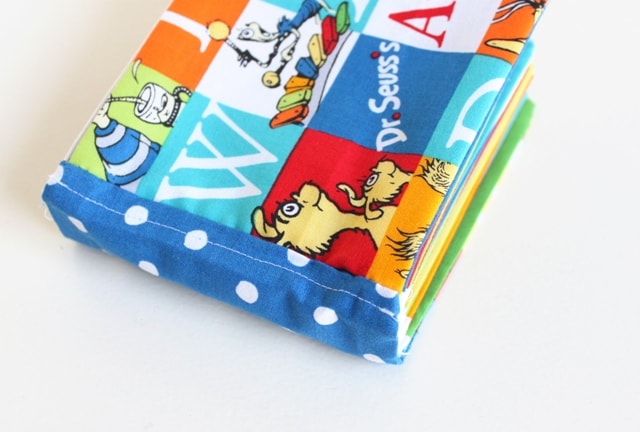
And it’s done! I love the way it turned out!
For more inspiration, go check out this video from the Fat Quarter Shop that shows how to make an adorable quilt from the fat quarter bundle.


I made this last year for my little grandson and he loves it! Even though he takes it everywhere it has remained in great condition!
This is so cute! I really love this idea and may need to try it for a couple baby gifts 🙂
that is such a fun idea!! perfect for Small bits of fabric and I love that it has the ABCs inside ;o)
I love the way this book turned out ~ So simple and SO VERY CUTE!!!!
This is so cute. Thanks for the tutorial, especially how to do the spine.
What a cute Doctor Seuss book! Thanks for sharing!
I’m so impressed!! Your dr Seuss book came out awesome!!
I just love your ABC Book. What a wonderful idea!