
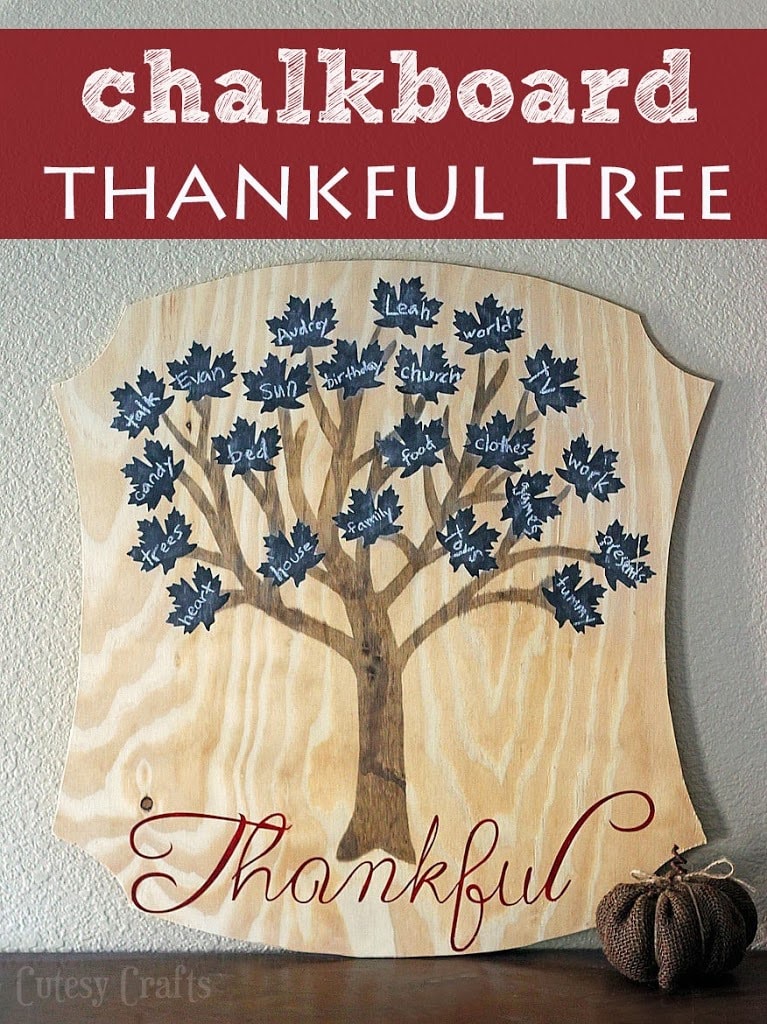
Chalkboard Thankful Tree
It’s become a tradition in our family to make a thankful tree every year in November. Usually this consists of a poorly drawn tree on a piece of paper. Everyone in the family takes turns saying what they are thankful for, it’s written on a paper leaf, and put up on the tree. This year, we are changing things up a bit, and I made a more permanent tree for our family tradition. Now we can just erase it and use the same one every year.
I struggled with this project A LOT. It didn’t turn out exactly as I had pictured in my head, but I think it still looks ok. So, I’m just going to tell you what I did, and then tell you what I would do differently the next time at the end. The first problem I ran into was trying to find a large enough surface to put the tree on. It had to be big so that we could write on the leaves with chalk. I settled for a pre-cut 24 x 24 inch piece of plywood that I found at the hardware store. I wanted the wood grain to show through on the tree, so I used the method that I found here on The Happier Homemaker to stain the tree instead of paint it.

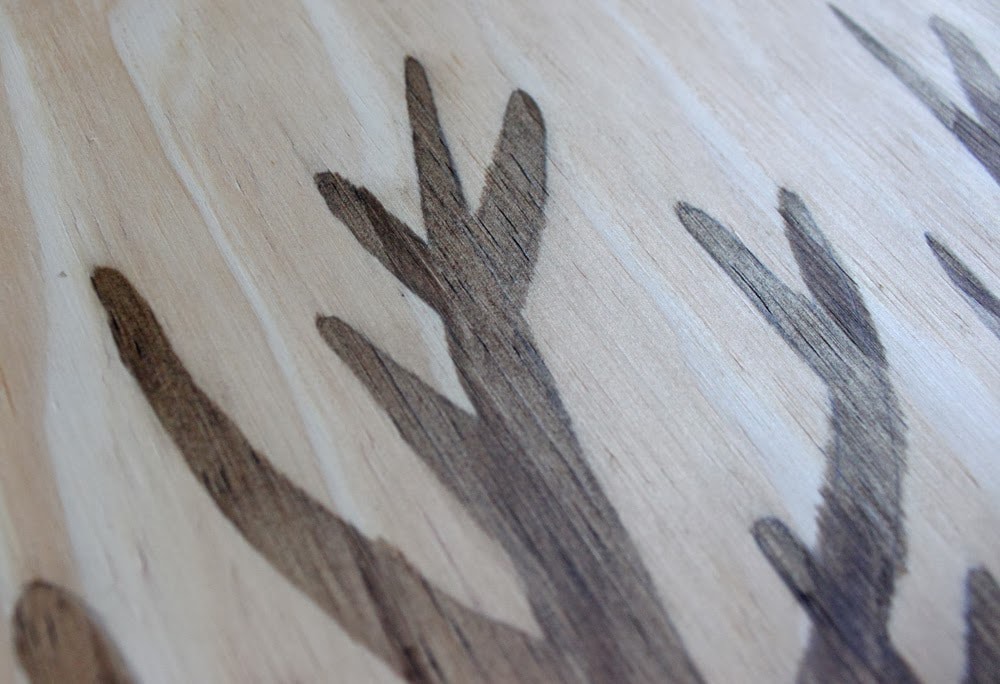
My original plan was to try and use a vinyl stencil with the wood stain. That was no good. Even without a stencil it still ran down the grain lines. Oh well, it’s one of those “no one’s really going to notice but me” things.
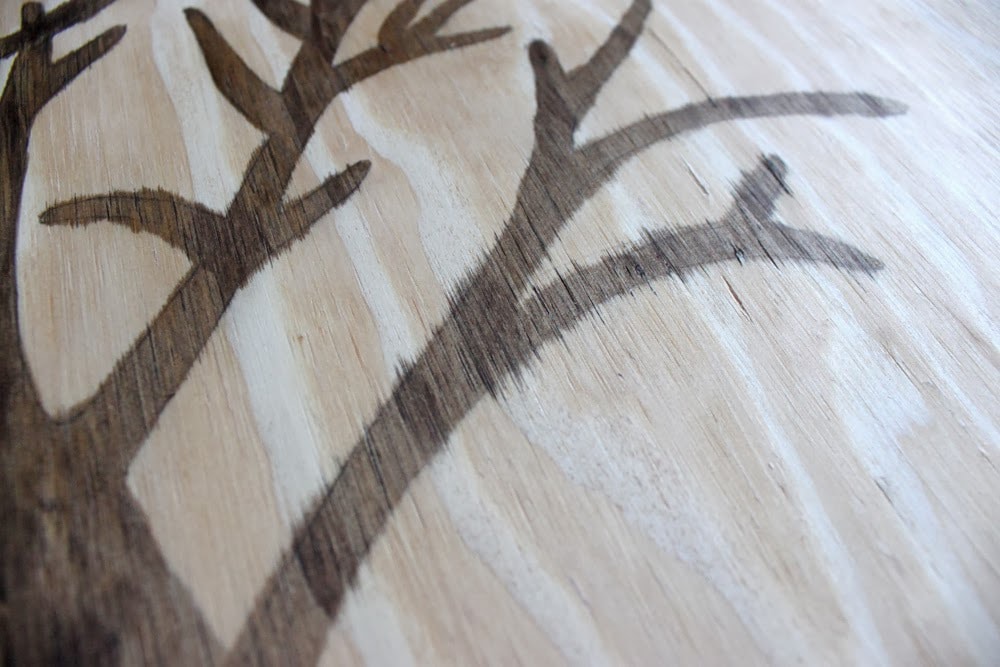
The branches that went with the grain line came out great though. Go figure. Oh, and the tree that I used was a shape from the Silhouette Online Store, leafless -bare tree. I printed it out on multiple pages and then taped them all together to make my template.
Next, I used my Silhouette to cut out the word “Thankful” in vinyl. You can get the free cut file for that here.
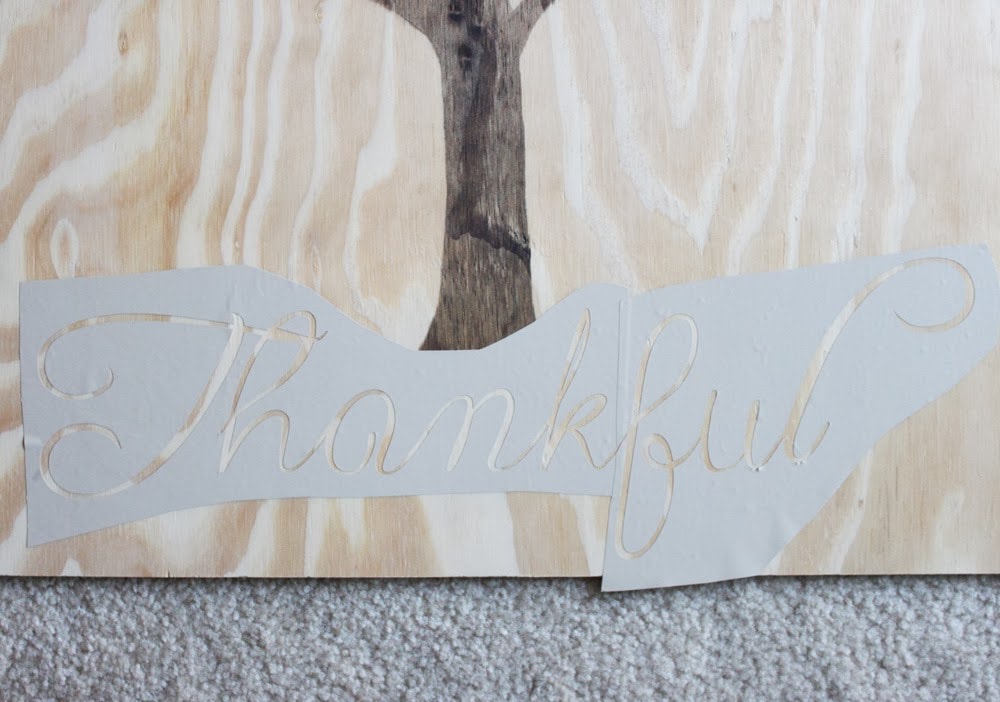
I used a combination of red, green, and orange acrylic paints to get this nice, cranberry color. I painted a coat of Mod Podge first just to seal the edges. It worked great to keep the paint from bleeding under the vinyl. You might even be able to use the varnish that we use in the next step.
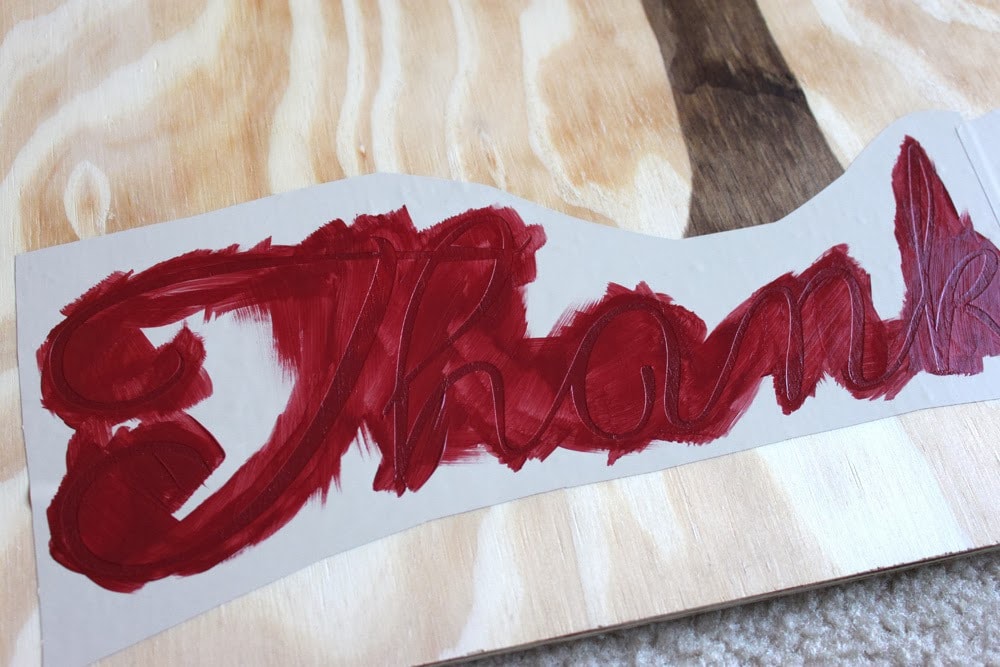
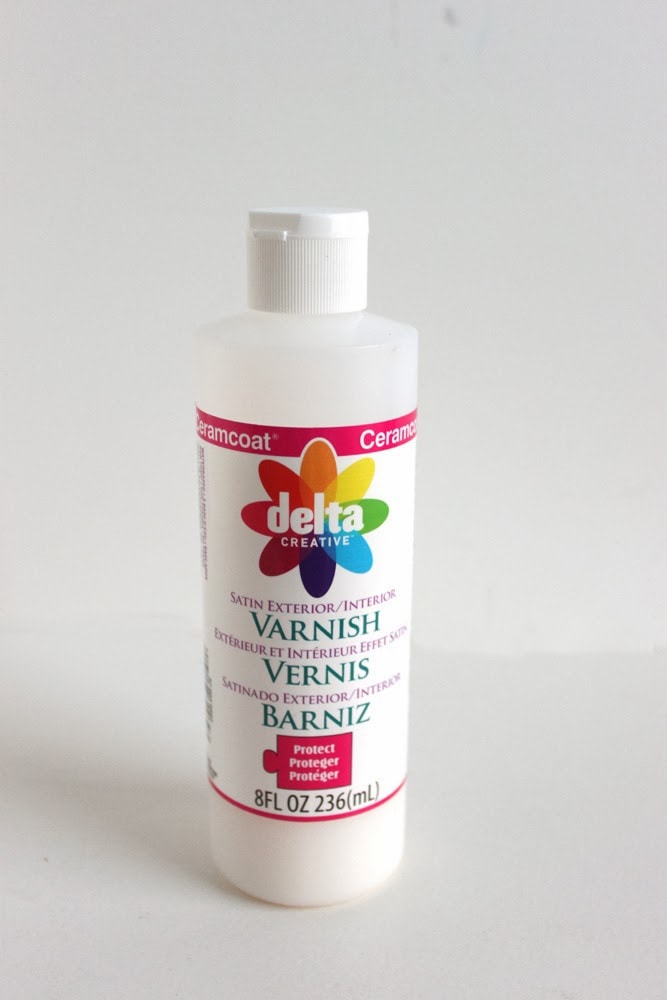
Once that was dry, I painted a coat of varnish all over the whole thing. I used this because it said it was meant to go over or under acrylic paint. Perfect! It gave everything a nice shine.
I arranged the leaves for my tree in my Silhouette software. I wanted them to be placed exactly, so I cut them out in two big groups. For the leaves I used the shape 8 fall leaves.
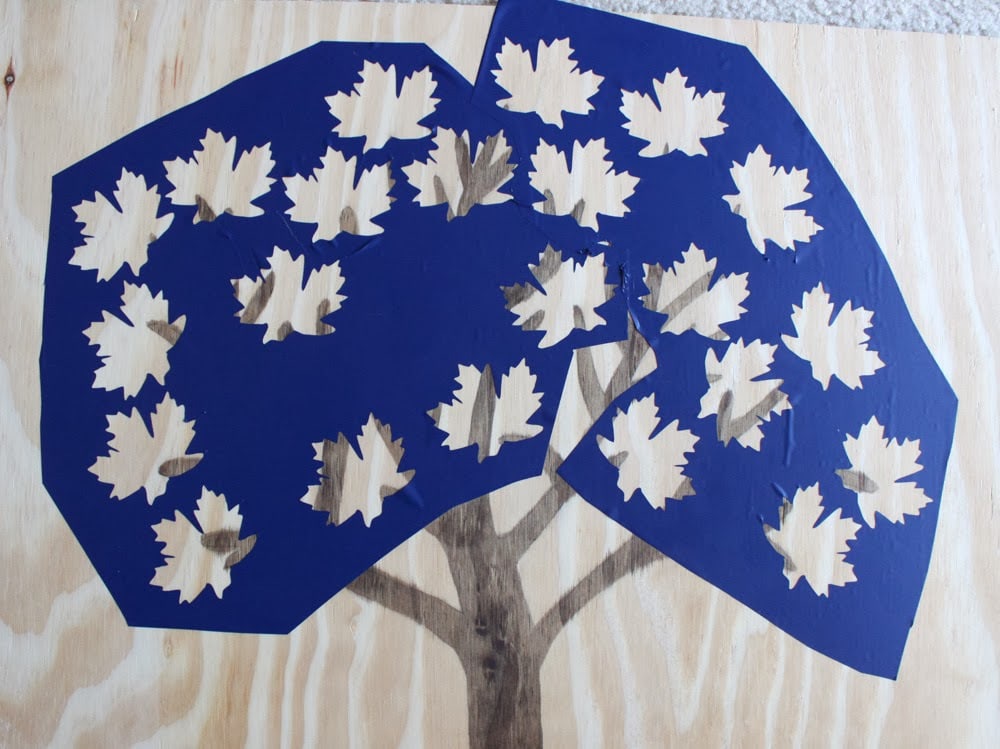
Follow the instructions on your chalkboard paint and paint each of the leaves. Just like the letters, I painted a coat of Mod Podge before painting the leaves.
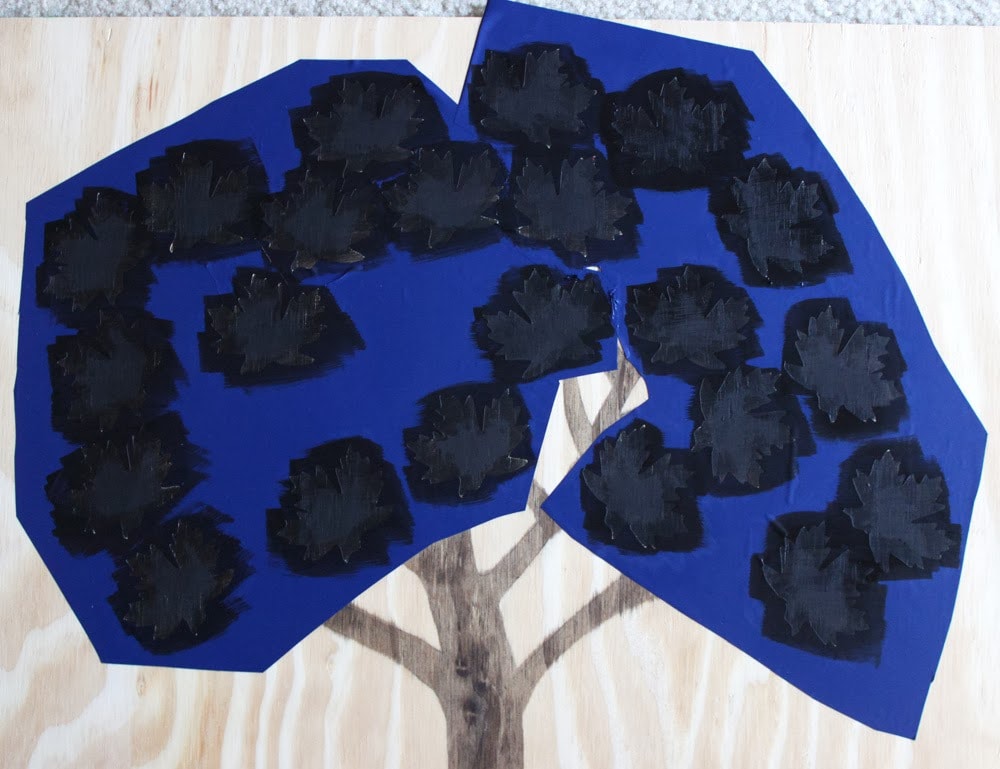
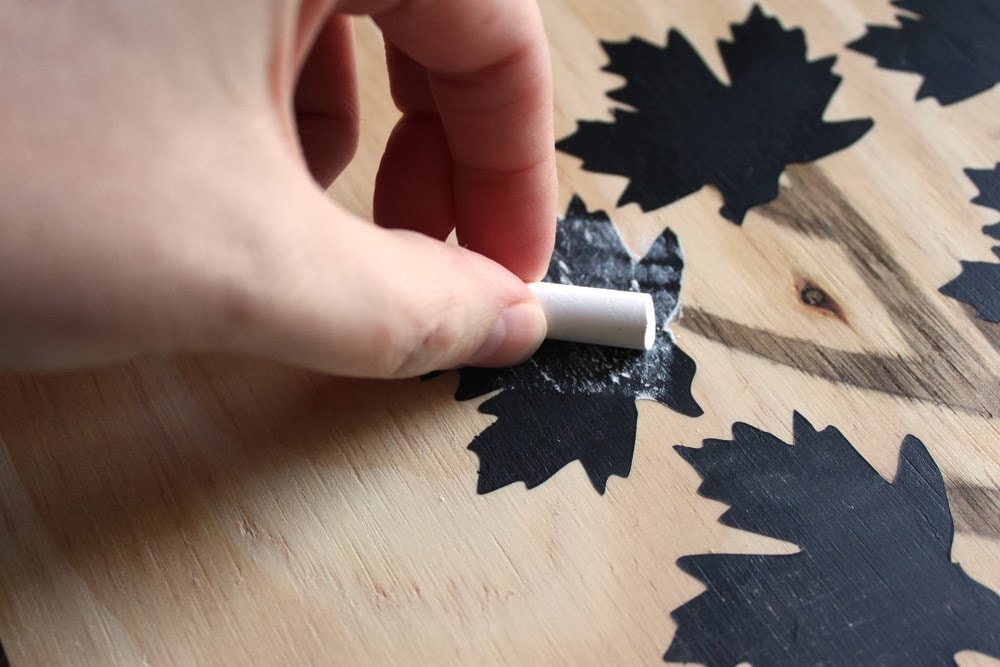
Once that dries, prime the chalkboard paint by rubbing chalk on it.
I was planning on just leaving it a square, but it just looked like a piece of plywood with a tree painted on it. Maybe because that’s what it was! I stared at it like this for a while, not knowing what to do about it. A frame? Start over? Give up?
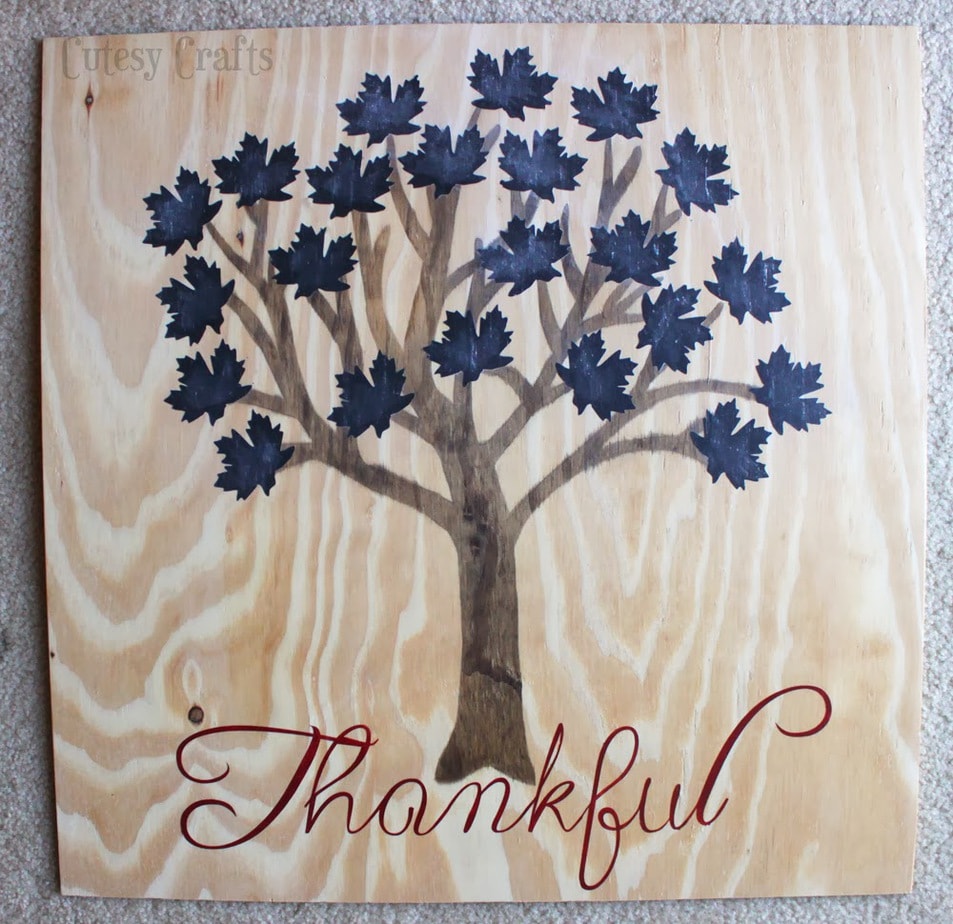
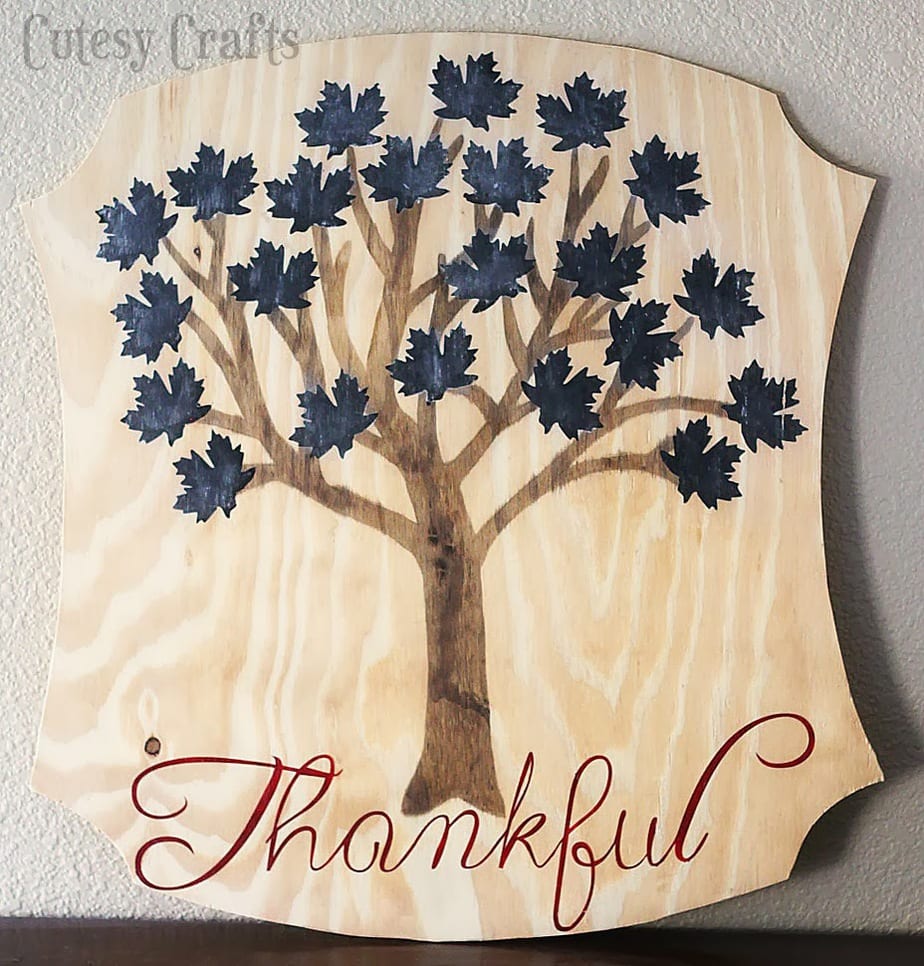
Finally I decided to cut it into this shape with a jigsaw. Much better! Still not exactly what I wanted, but better!
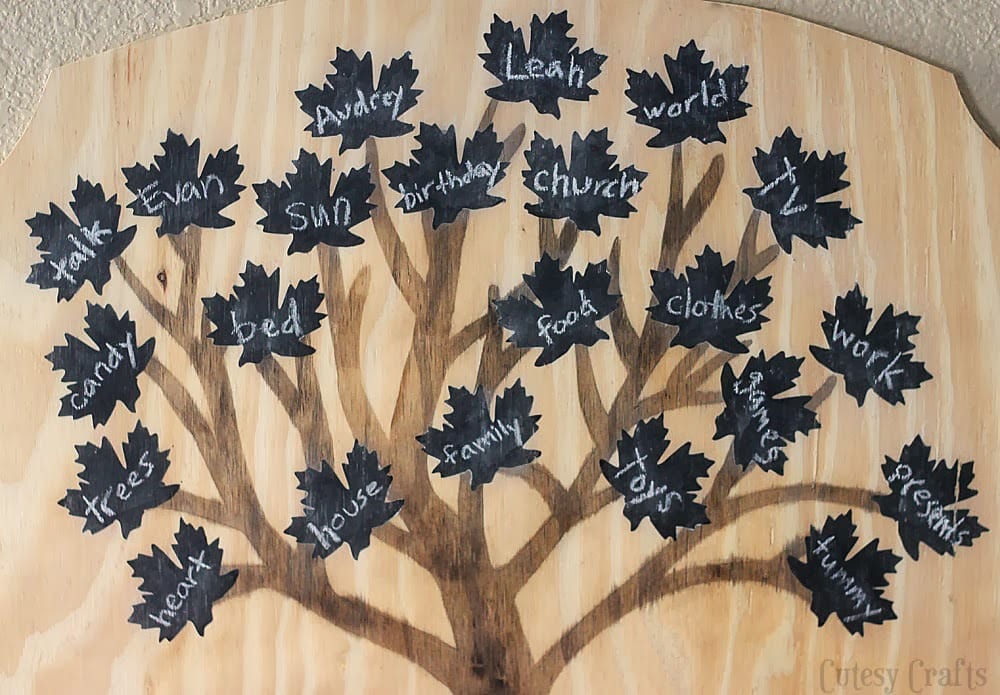
So what would I have done differently? For starters, I would have chosen something else besides plywood for the background. Maybe a nicer piece of wood or even some boards to make it more like pallet art. The edges just aren’t pretty, and I would have liked something that looked more finished. I also would have stained the background too. That plain pine just makes it look, again, like it’s not done. And finally, the original plan was to use chalkboard vinyl instead of chalkboard paint. I found out too late that I didn’t have enough of it for this project. I dunno… what do you think? What should I have done differently? Maybe I’ll make another one next year. Until then, this is what my family is thankful for. Such cute and simple answers!
And since we’re on the subject, I thought I’d take a minute to tell you what I’m thankful for at this very moment.
- I’m thankful for my sister and my friends who are constantly listening to my crazy craft ideas and helping me improve them. My sister got a lot of texts about this one. 🙂
- I’m thankful for my husband who puts up with all of my crafting and actually is the one who cut this board for me.
- I’m thankful for my kids who came up with these cute answers for me.
- I’m thankful for you, my awesome readers. Seriously, I am so amazed that all of you care enough about my crafty projects to subscribe. Thank you! It really means a lot!
- And finally, right now, I’m thankful for the amazing group of Silhouette users who answered all of my technical questions while I tried to work through this project! Go check out their amazing Silhouette projects here:
Silhouette Challenge: Time Zone Bathroom Art by Nearly Handmade
Santa’s Christmas Countdown by Tried & True
Nautical Anchor Pillow Tutorial by The Thinking Closet
Christmas Card Ornament with Free Cut File by unOriginalMom
Thanksgiving and Christmas Dual Sign by Architecture of a Mom
Itching to Etch by Get Silvered
Snowman Tag ~ Silhouette Challenge by Whats Next Ma
Thanksgiving Sign by Chicken Scratch NY
DIY Horse Silhouette Pillow by Rain on a Tin Roof
Sketching on Fabric by The Sensory Emporium
Paper Leaf Garland by Lil’ Mrs. Tori
DIY Blessing Board – Silhouette Challenge by One Tough Mother
Christmas Pillow by Create & Babble
Glass Painting with Reverse Stencils by Givemeapaintbrush
Bottoms Up! MYO Wine Tag by From Wine to Whine
‘Happy Holly-days’ Tags for the Swap by An Elegant Touch…
Thank You for Dinner (Card) by Everyday Paper
Advent Star Christmas Countdown by My Favorite Finds
Geometric Fabric Bowls by Please Excuse My Craftermath…
Paper Carnival by Home At Eight
Silhouette Cameo Tutorial: Dual Sided Business Cards by Black and White Obsession
In Case of Emergency Baby Bag Tags by Tossed Salad Life
Christmas On My Mind by Creative Turn
Jingle all the Way! by My Paper Craze
Christmas Lights Garland by Making Home Base
We Are Thankful by 4 You With Love
Seattle Skyline Silhouette by Sowdering About in Seattle
DIY Stenciled Mugs by Coley’s Corner
If you’d like to join the Silhouette Challenge Facebook group, you can fill out the form at The Thinking Closet here. Want to see more of what the Silhouette can do? Follow my group Silhouette Pinterest board!


I love this! I think I am going to try it out this year!!
Thanks Deanna! I need to find mine. It’s in the abyss (aka my garage) somewhere.
Love the project! Such a great addition to fall decor!
Mellisa at http://www.thelifeofacraftcrazedmom.com
Thanks Mellisa!
I love this!
Thanks, Megan!!!
I would never have thought to create a stencil using my Cameo, thank you for this great idea! Thanks for sharing on the weekend re-Treat link party!
Britni @ Play. Party. Pin.
That’s one of my favorite things to do with my Cameo! We need to talk! 😉 So many possibilities!
Thanks for linking up to Take-A-Look Tuesday over at Sugar Bee Crafts – you were featured today!
–Mandy, SugarBeeCrafts.com
Thanks Mandy! Love your link party!
Ah! You need to give yourself more credit! This project turned out great! I would have never thought to put the hubby to work with a jigsaw to give the edges a little sumtin-sumtin 😉 I wonder if you would have been happier if you would have done a very light white wash on the board first to make the background more “finished”? Even without anything, I think it looks great! You have a lot to be proud of, girly!
Oh thank you, Janice! Yes, I think if I would have done something different with the background I would have liked it more. A white wash would have been cute. Next time!
I am jealous of you ability to use power tools. My husband doesn’t let me in the garage, but probably for good reason. I can probably thank him for the fact that I still have all my extremities lol. Very cute!
I’m scared of power tools. I make my husband cut things for me usually. 🙂
Finally having a chance to go through all the Silhouette Challenge project inspiration– I’m like a [big] kid on Christmas but earlier!!
Your tree is so clever and festive and perfect! Is it weird that I love seeing how people distort their vinyl to fit their project. I mean its like beast then beauty!!
Keep on being fabulous!!
Haha. Thanks! My sister saw the tree when it had the vinyl on it, and she was like “what are you making!?” 🙂
I really think it turned out pretty too! I actually love the fact you painted on the chalkboard leaves instead of vinyl! You could always mount it to a stained pallet or something if you really feel like it is unfinished. I also totally text my sister crazy craft ideas, pictures of how things are turning out, and total fails. She helps me with like 90% of all my craft projects some how:) Got to love sisters:)
Thanks, Tori. That’s a good idea. I’m glad I’m not the only one who bugs people about craft projects. I feel like it’s all I talk about sometimes. 🙂
This is really cool! I love that you stained the tree instead of painting it. And I love that it’s re-usable!
Thanks, Elise! I love the wood grain that shows through on the tree!
Jessica, this thankful tree is awesome! I love how by using chalk board paint you can update it every year! You’re so clever!
Thanks Marilyn! I love to make things that can be used again and again.
This turned out great. The staining makes the tree look sooo good. I’t’s just such a lovely idea and so good that all the family got involved. I smiled when I saw someone was gratefull for their “Tummy”….. so cute.
Thanks Pam! I wanted the tree to have wood grain so it would look like… wood. 🙂
What a cute idea. I love the chalkboard paint so you can change it up.
Thanks Glenna!
What a unique idea this is. I think I need to try this one also.
Thanks! Glad you like it!
Oh you did an amazing job! I love the chalkboard paint idea, I love the tree, I love it all! Great job!
Thanks so much, Randi!
Aw! My favorite part of this project are the things you and your family are thankful for (whoever said they are thankful for their tummy knows where it’s at!). And I’m so thankful for YOU, Ms. Jessica. You have brought so much creativity and collaborative energy to our Silhouette Challenge group – – I seriously cannot imagine it without you!
Although it may not have turned out as you had dreamed, I still think this was a major success! And probably no one but you would notice the unfinished quality of the plywood. I think it’s fantabulous.
Thanks Lauren! You’re the best! It was my little Leah (about 20 months old) that said “tummy”. Love it!
really cute – great job!
Thank you, Mandy!
Beautiful! And don’t worry, no one is going to notice the problem spots!!
Thanks Rachel! I know, we always notice our own mistakes more than other people do.
Love! I see how you could’ve used the clear chalkboard coating for this. But it’s very very cute anyway. Good job!
Yes! Next time I’m getting that clear coating so I can make the leaves a different color. 🙂
I really like this idea, especially the use of chalk board paint to make it more permanent. Thanks so much for sharing this with us, it really is quite great!
Thanks Kristy! Glad you like it!
This is beautiful! I love that you used chalk so you can change it out every year.
Thanks Kirsten! I love things that can be reused!
Ok, I know you’re not thrilled with how it turned out, but I think it’s BEAUTIFUL!! I love that it’s still the bare wood…the simplicity of it just works so well for the whole “Thankful Tree” idea. The chalkboard paint leaves turned out great, too! The whole design is so creative! And what a special thing for your kids to do. Awesome job. Jessica!
Thanks Meredith! I’m starting to feel a little better about it with all of these nice comments!