
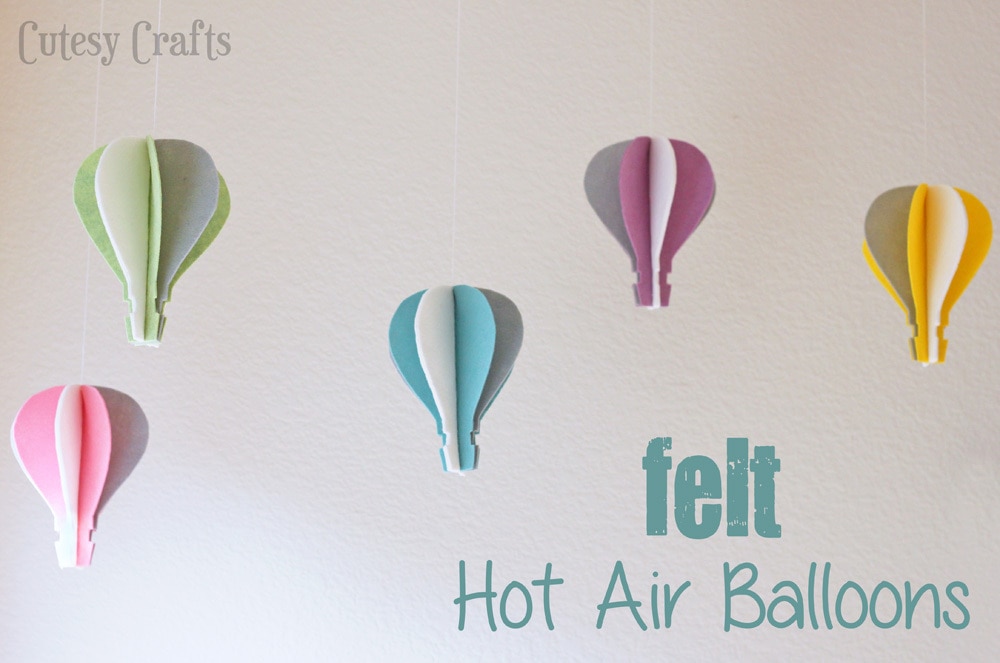
Oz Inspired Felt Hot Air Balloon Craft
This felt hot air balloon craft tutorial is a sponsored post written by me for Disney and The Blueprint Social. All opinions are my own. To read my full disclosure policy, click here.
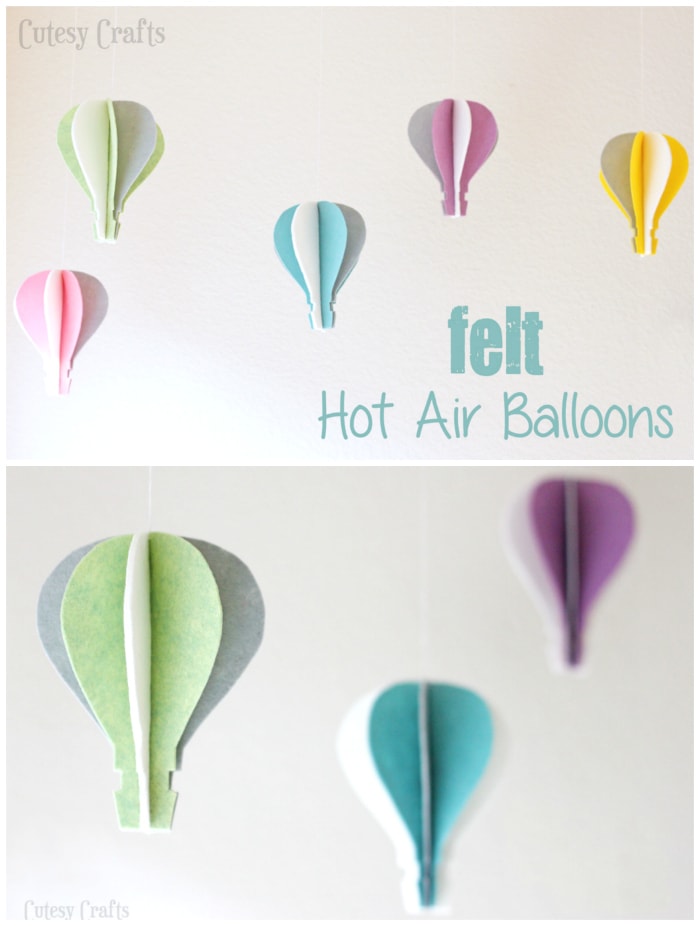
Growing up I was a huge fan of all things Oz. Naturally I was very excited to see that the Oz the Great and Powerful was coming out. When you have young children, you don’t get many chances to go out to the movies, so I have been waiting and waiting for it to be released on Blu-ray/DVD. My wait is finally over! I was sent the Blu-ray Combo Pack to preview and watched it right away. I really enjoyed it! The costumes and scenery were amazing. Definitely a must see for any Oz fan! The movie tells the story of how the wizard came to Oz in a hot air balloon, so I was inspired to create this adorable felt hot air balloon craft. Every time I look at them I want to take my own adventure to the land of Oz!

Oz the Great and Powerful is now available to purchase! To find out more about where to get the Blu-ray Combo Pack click here.

I’ve seen several examples of hot air balloon crafts made like this using paper, but I’m not much of a paper crafter. I’m a thrower awayer, so when I see something made of paper laying around, my first instinct is to toss it. I know… it’s a problem. 😉 Anyway, you can use these for your Oz the Great and Powerful party and then hang them up in the kid’s room for a decoration after!
To make this felt hot air balloon craft, you will need the following supplies:
- free hot air balloon template that I created just for you! (personal use only)
- stiffened felt – you can buy sheets of it already stiffened at the craft store or follow my tutorial for stiffening your own here.
- embroidery floss and embroidery needle
- hot glue gun
- scissors
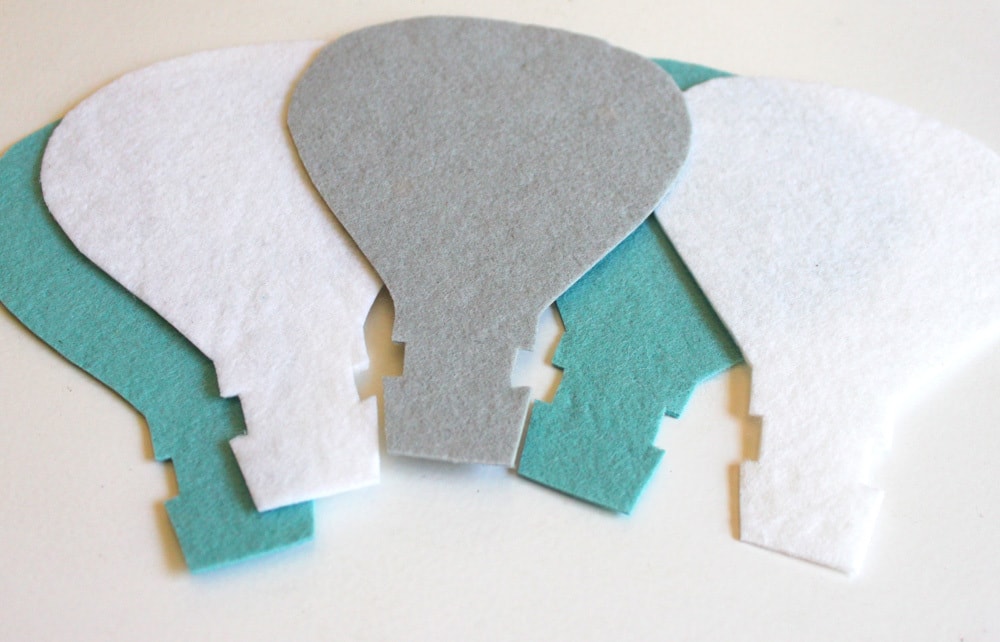
Cut out your felt using the hot air balloon template. You will need to cut out five for each balloon you want to make. I recommend using tape to hold down your template. Pins will create holes that will not go away.
Stack your shapes and line them up to match.
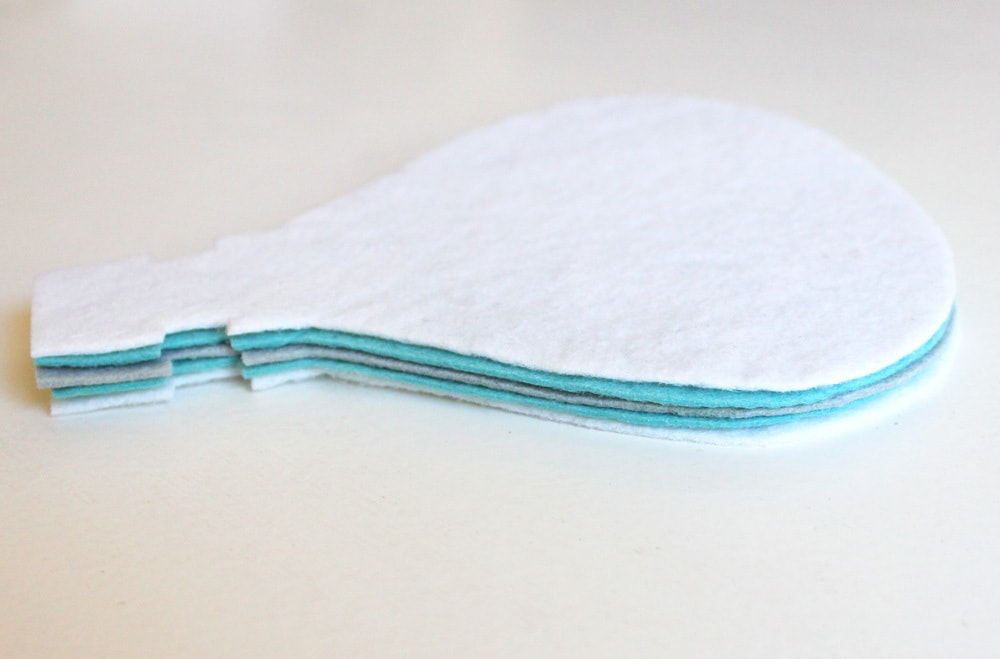
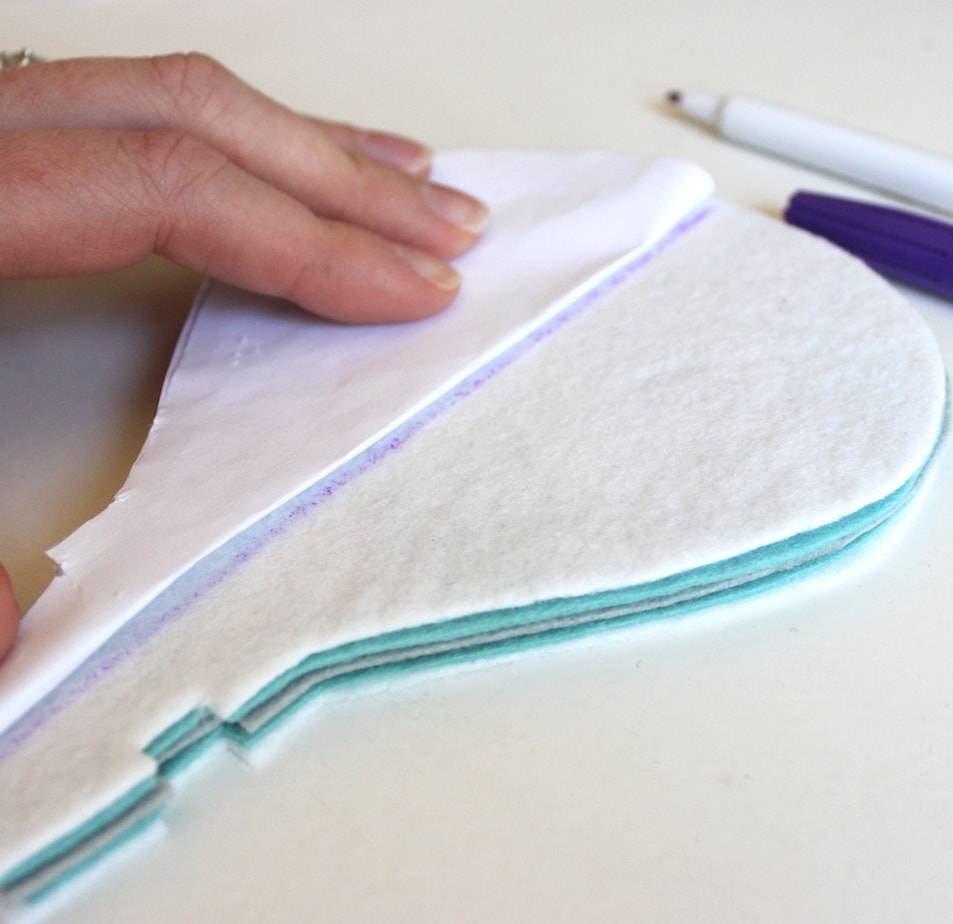
Fold your template in half and use it to draw a line down the middle of the top and bottom pieces of the stack.
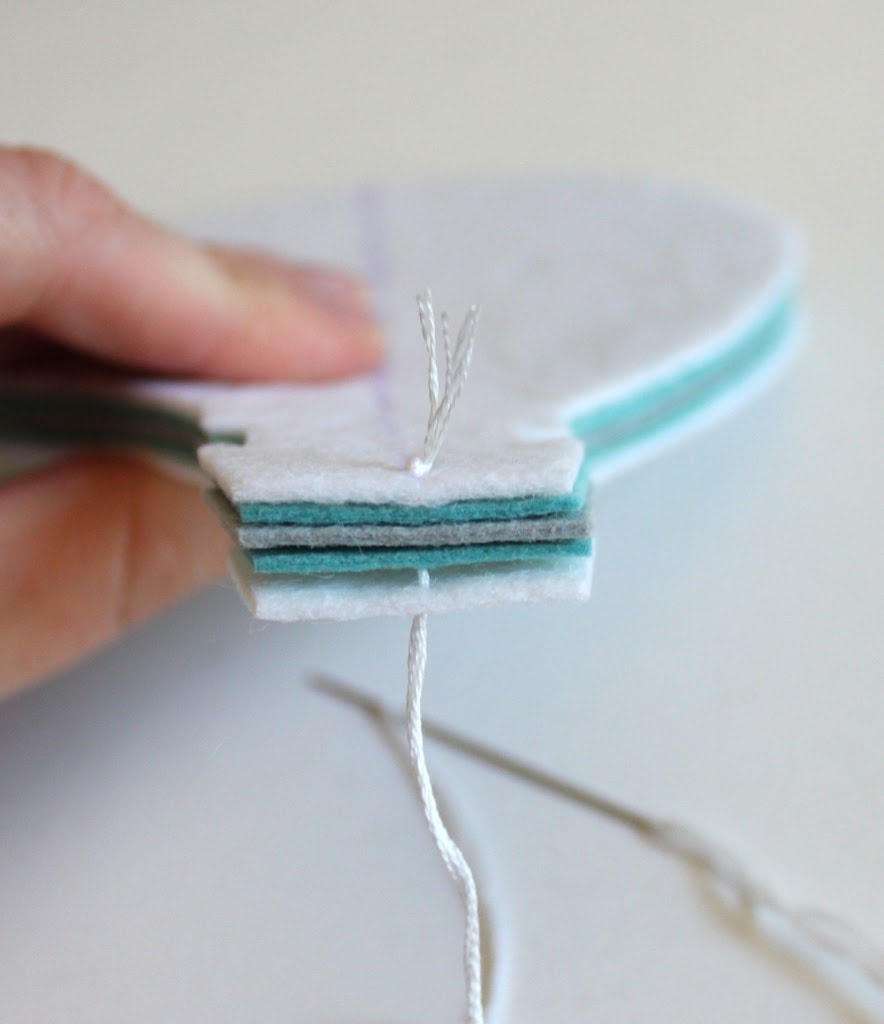
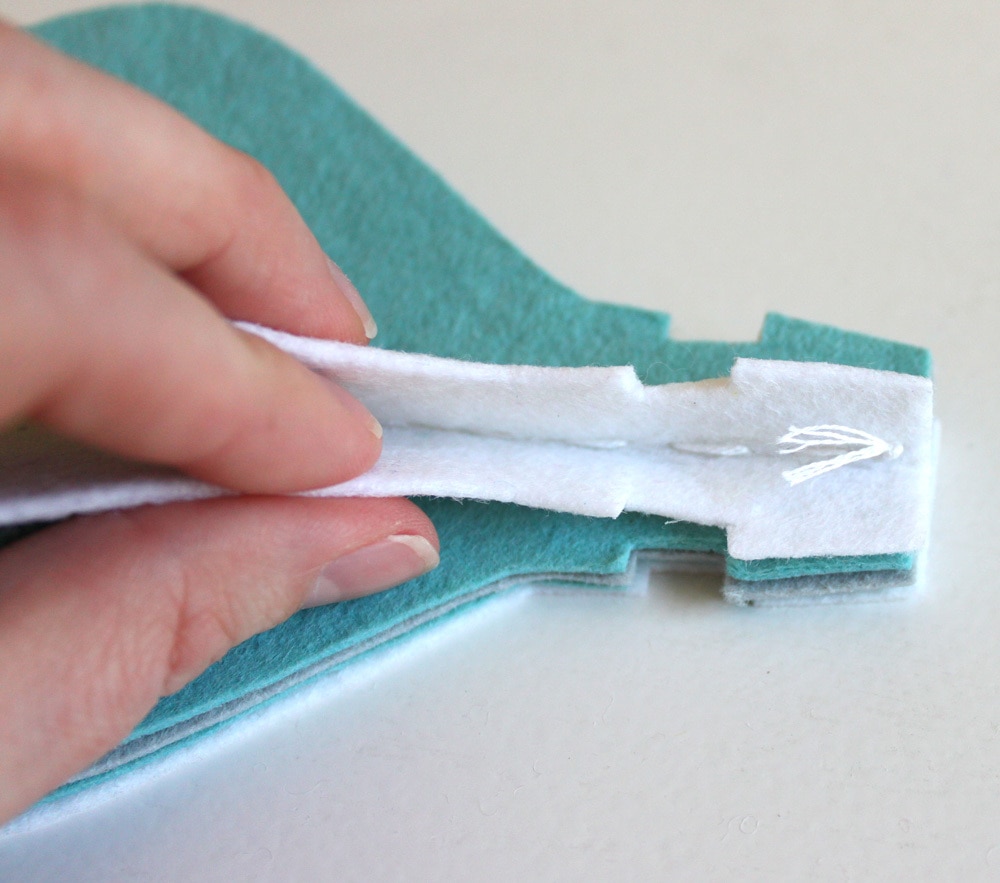
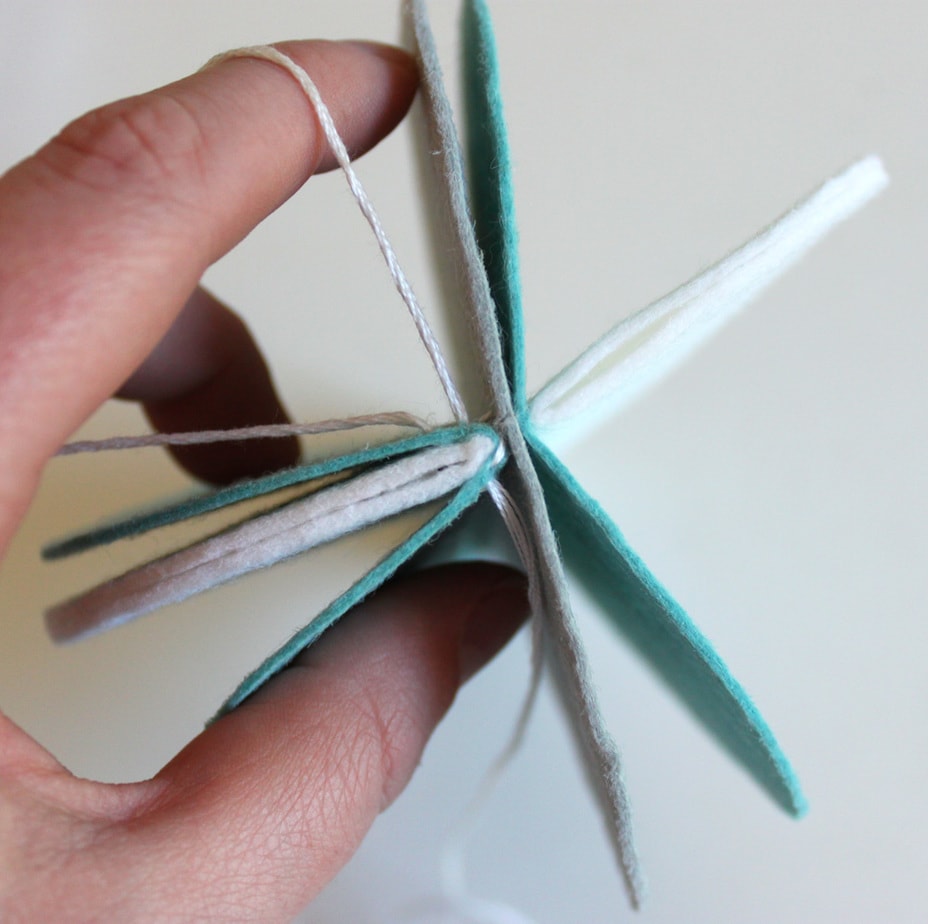
Thread an embroidery needle with all 6 strands of embroidery floss (don’t separate the floss, just use the whole strand). I used 45 inches for each balloon. You can change the length when you go to hang them up. Tie a knot at the end and push your needle through the top of the stack. Make sure you start at the bottom of the balloon.
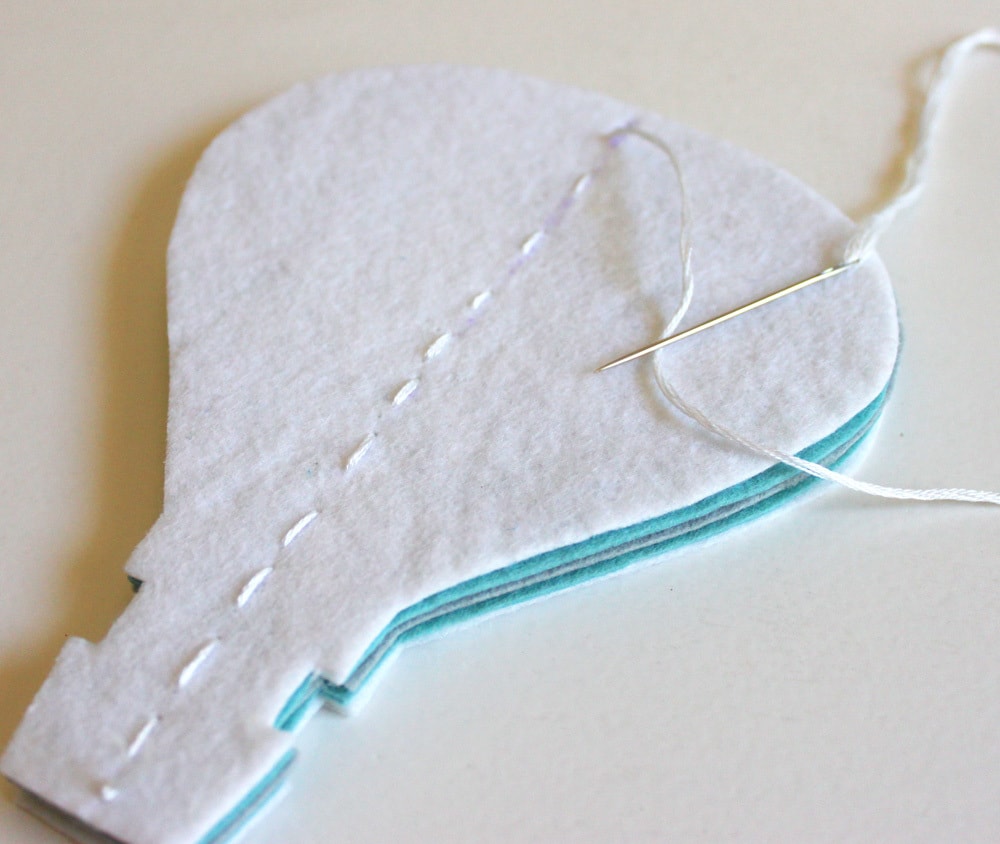
Following your lines, do a running stitch through the middle of the entire stack of felt. Don’t worry that there is “sewing” involved. If you can do a lacing card, you can do this. It doesn’t even matter how nice your stitches look because they won’t show!
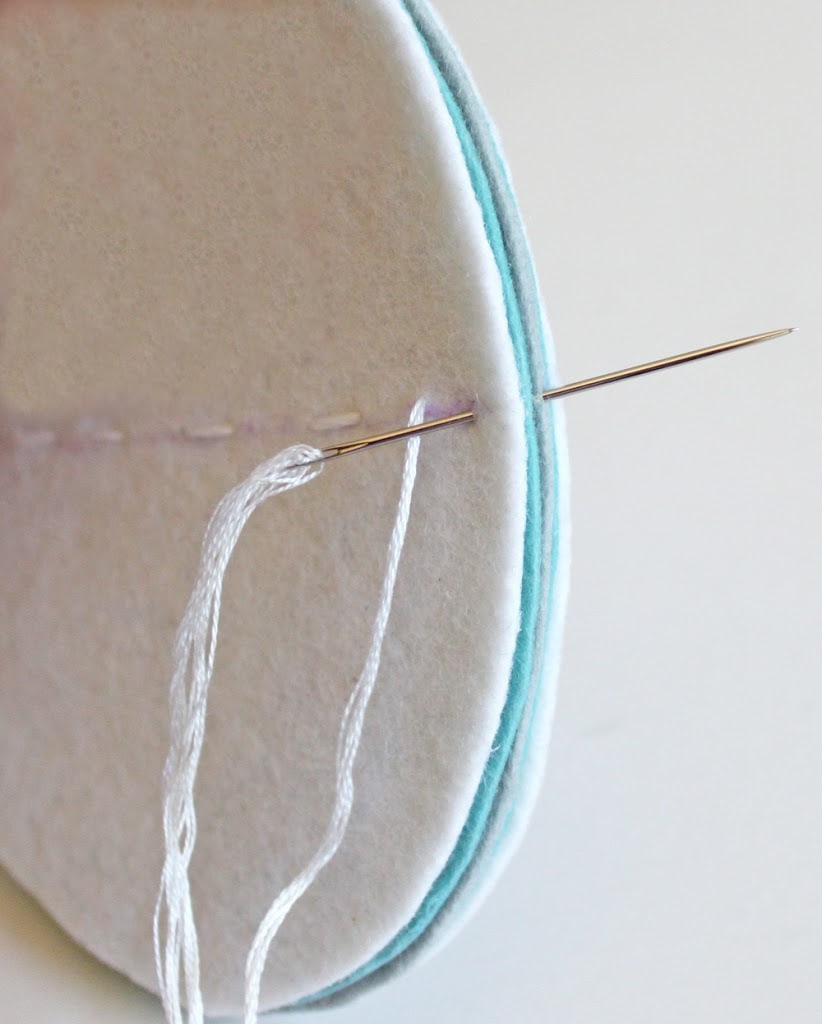
Once you get to the top, push the needle through to the middle of your stack and pull it though. We only have five pieces of felt, so just go though two or three of them. Take your needle off, and just let that string hang out for a while.
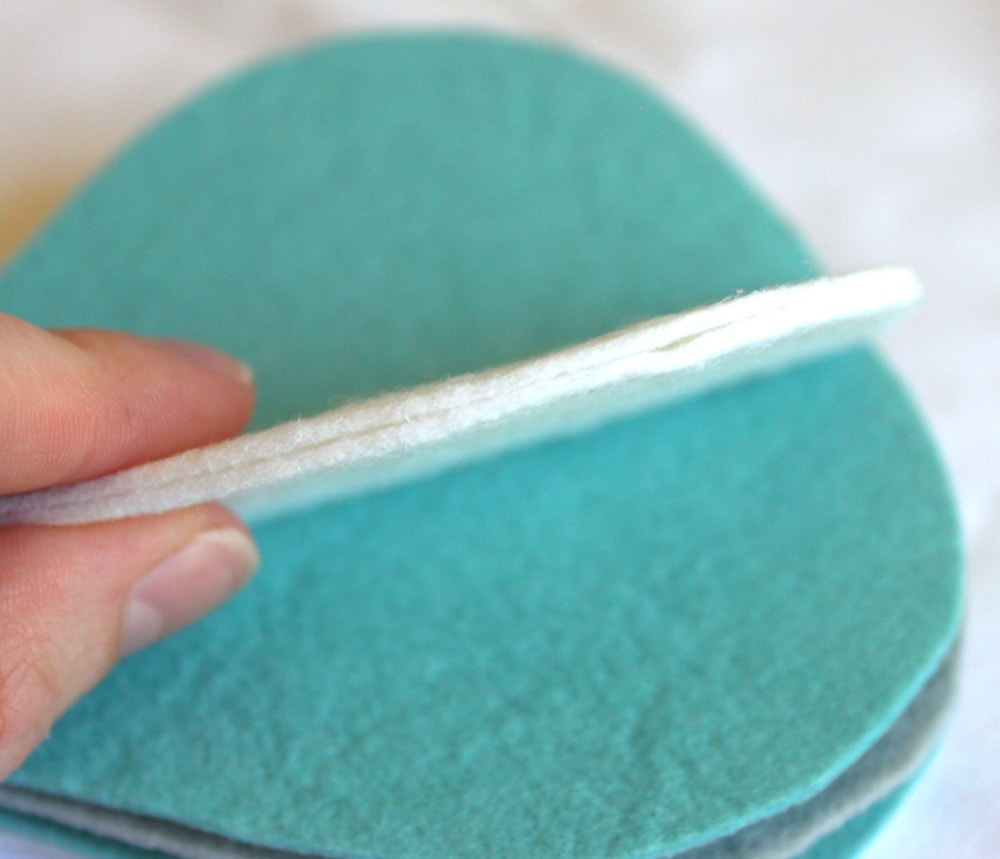
Fold the top and bottom pieces of your stack in half. This should hide the stitches that you just did.
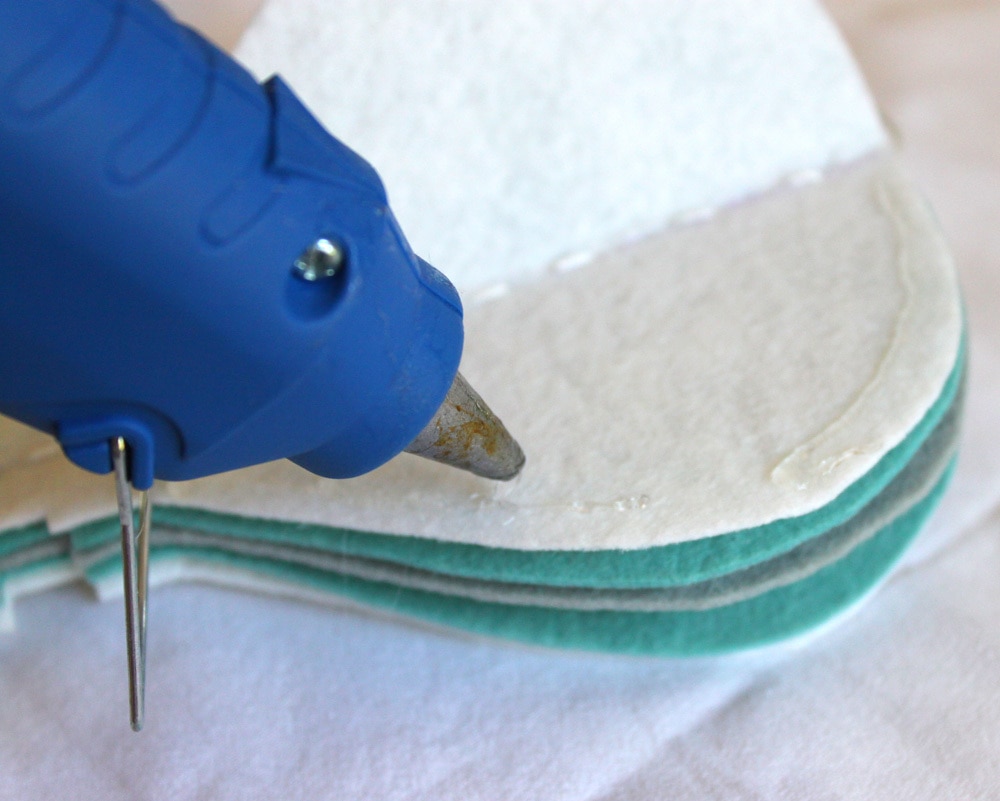
Trim any parts off that are not matching up, and hot glue the edges to close them.
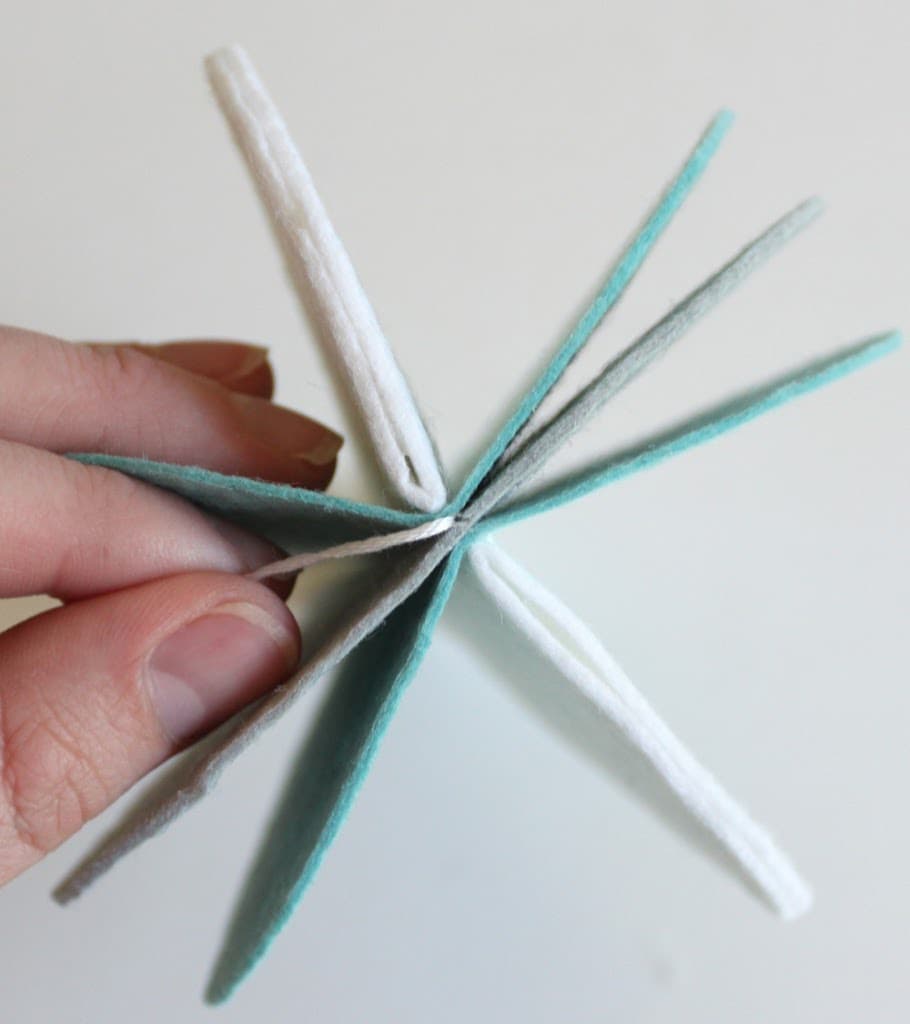
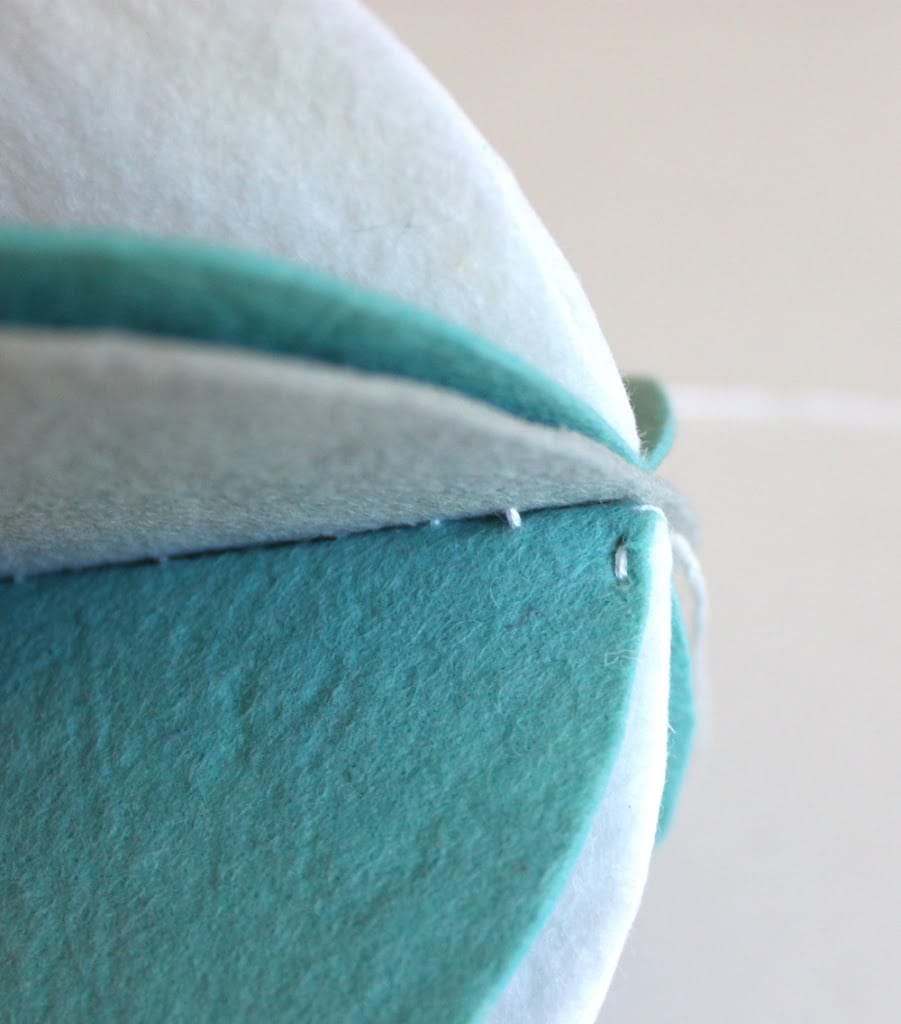
Fold the next two pieces in half to get them going in the right direction. Do NOT fold the center piece. Yours should look something like this now.
The felt will not want to stay folded, so you need to tack it down with some more stitches. Thread your needle with the embroidery floss that’s hanging out the top of your balloon. Stitch through the top of the pieces that you just folded and the part that you glued. Kind of hard to explain. Hopefully the photo helps.
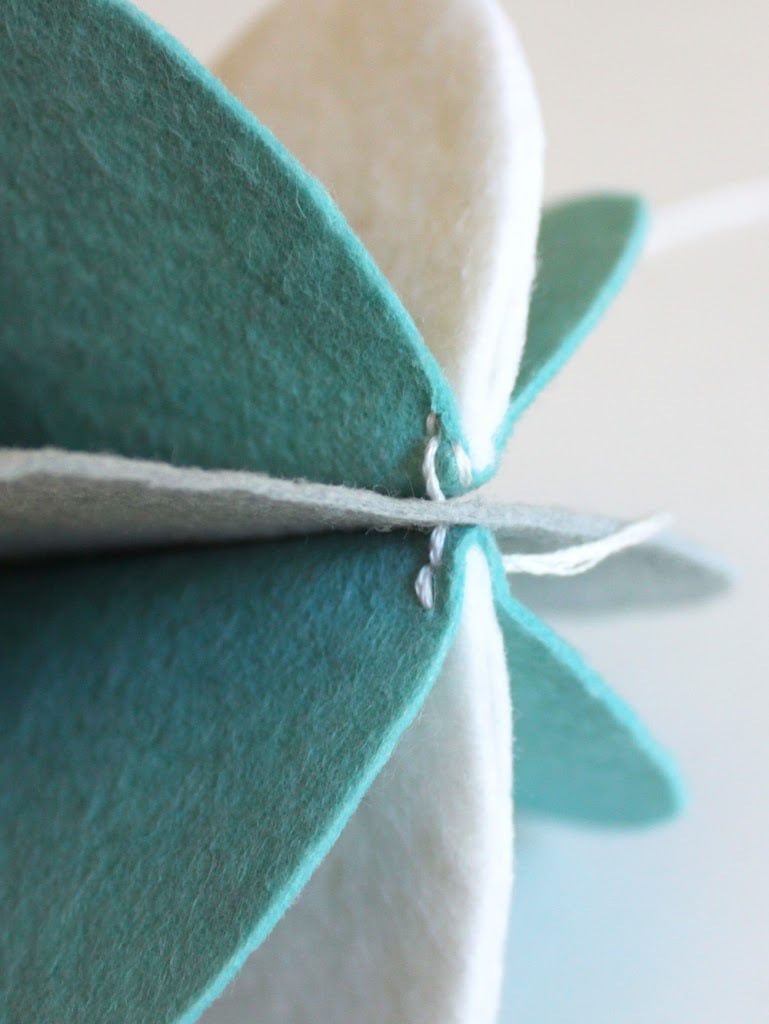
It will just make a little stitch like this.
Repeat on the other folded end and on the other side of the balloon to get all of those folds to stay down.
Take your string back to the middle of the balloon to hang. Now you can trim the embroidery floss to the length that you want and tie a knot in the end to keep it from unraveling.
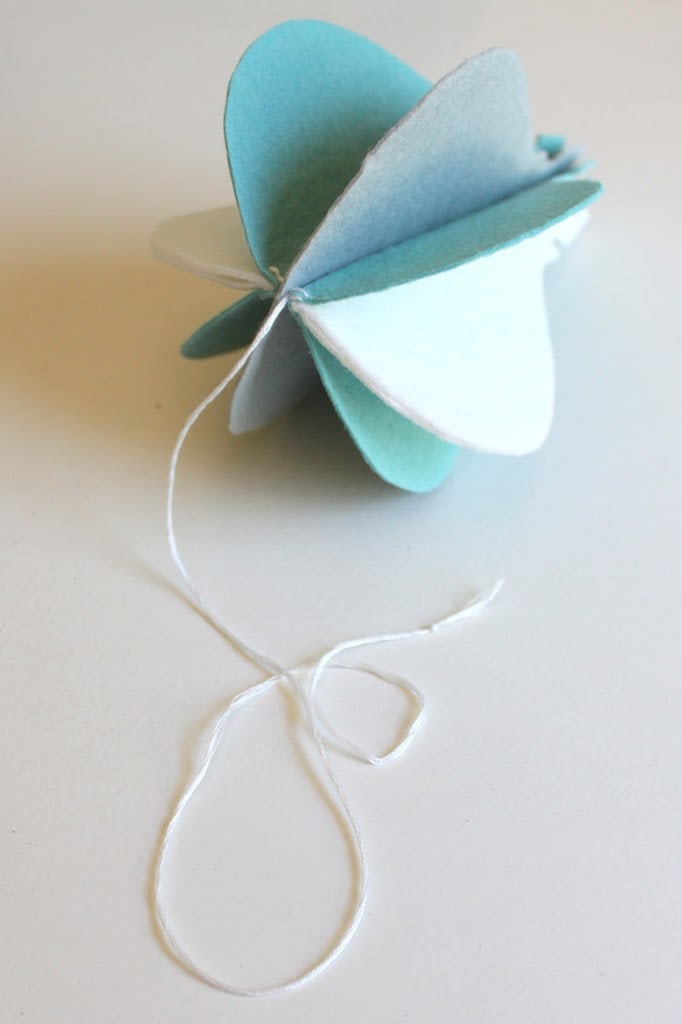
That’s it! They are ready to hang! Hope you enjoyed this felt hot air balloon craft. My favorite part is how they twirl around when the AC in on. So fun!
Click here and like the the film on Facebook for a chance to win an awesome prize pack!!!
Find the latest on Oz the Great and Powerful on these sites:
- Facebook: https://www.facebook.com/OzTheGreatAndPowerful
- Twitter: https://twitter.com/DisneyOzMovie
- Pinterest: http://pinterest.com/disneystudios/oz-the-great-and-powerful/
For more Oz inspired projects, check out these other awesome blogs:


hi how much felt of each color did you use and what was the thickness?
It’s been a while, so I don’t remember how much felt I used. Probably best to print the template and measure how much you will need. I use a wool/rayon blend manufactured by National Nonwovens. I like their 80/20 and 65/35 blends. I’m not sure exactly how thick they are, but probably about as thick as your average craft store acrylic felt.
This is so gorgeous! I love working with felt. Have you ever cut stiffen felt with die cut machine or Silhouette Cameo? Thanks!
Thanks, Helen! I’ve used it with my manual die cutting machine (Evolution), and it worked great! It helped keep the felt from ripping when I cut using a really detailed die. I haven’t tried it on my Silhouette yet, but I’m thinking I should probably experiment with it.
Hello! These are beautiful, just wondering if I could use the template? The link doesnt seem to work for me it says unavailable.
Hi Courtney. Send me an email at cutesycrafts (at) hotmail (dot) com and I will email it to you.
So cute & fun! Love them!
How funny! I don’t even remember seeing this post of yours before, but I was in this group too! Mine is the emerald glitter necklace 🙂
Love them! Pinned them and will try to make them for my daughters bedroom. Thanks for sharing!
Thanks Elisa!
We love these little felt balloons – felt is so much fun to work with and sew on – thanks for sharing the tutorial too!
So glad you linked up with us at the BeBetsy BRAG ABOUT IT Link and Hop.
We’d love it if you would link back to BeBetsy! Grab a Button.
Have a great weekend~xo
Sharon and Denise!
http://bebetsy.com
These are so cute! Thank you so much for linking up! Hope to see more from you.
Really really sweet – I’m wondering what other cute shapes you can make! Visiting from the “what I whipped up Wednesday” party at sugar and dots! Emma @ emmalilyallsorts.blogspot.com
Lovely – these would look so fun strung up in a nursery!
Following from the Sugar and Dots linky party.
These are adorable! Definitely great for many kinds of parties! Pinning this 🙂
Heidi @ handmadefrenzy.blogspot.com
These are so freaking cute! And totally easy looking!!!
I hope you link up with us this week!
http://www.sowderingabout.com/2013/06/on-display-monday-linkup-6.html
those are SOOO cute!! Pinned!!!