
Dry Erase Treasure Map
My kids love to go on treasure hunts! Usually our hunts consist of scrap pieces of paper with pictures or maps drawn on them. I thought it would be fun to make something a little more permanent that still had an erasable line to follow. It also needed to roll up like any good treasure map should.

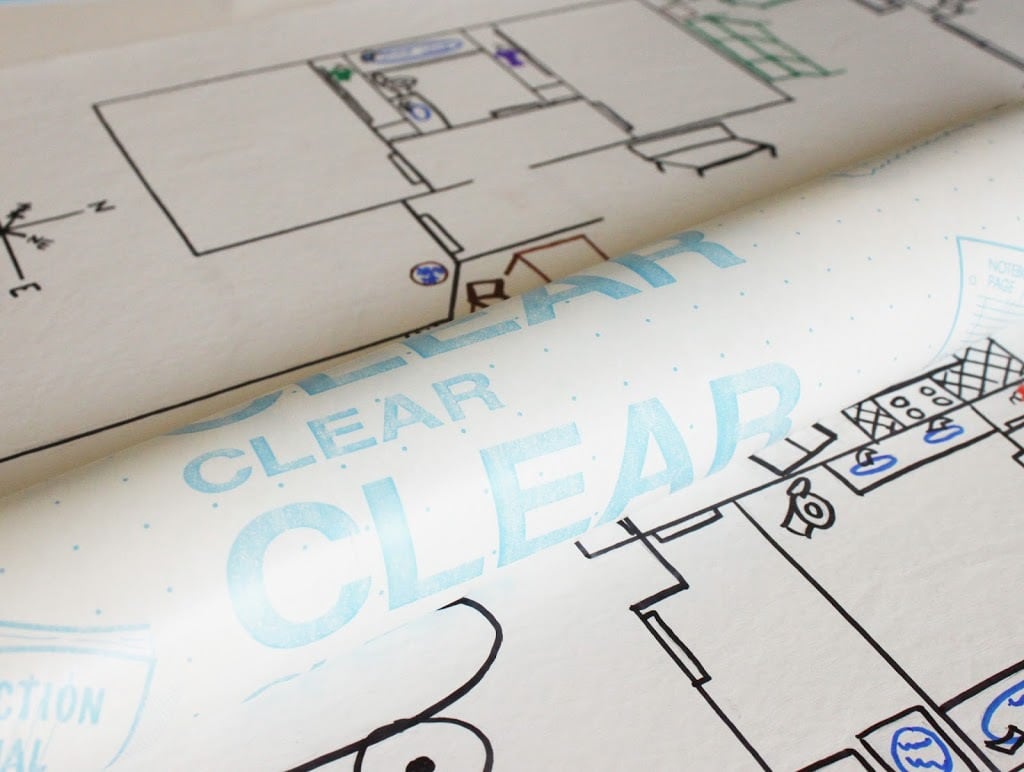
I made the map using white vinyl fabric (found in the home decor section) and clear contact paper. Mine is 16″ x 20″. No, the dry erase markers do not erase perfectly off of the contact paper, and you will need to use a little bit of soapy water, but I actually kind of prefer that. I don’t have to worry as much about the marker rubbing off onto the carpet or furniture when the kids are dragging it around the house. **edit: A reader suggested using “wet erase” or overhead markers. I might just try that!** First thing you do is draw your map (floor plan) onto the shiny side of your vinyl fabric with permanent markers. I only drew in the larger, permanent furniture. The kid’s rooms are empty since those will probably be moved around soon. And yes, I suck at drawing cars… and furniture… and pretty much everything on this map looks kinda scary. Oh well, the kids don’t care.

I even added a little compass to help the kids learn about directions.

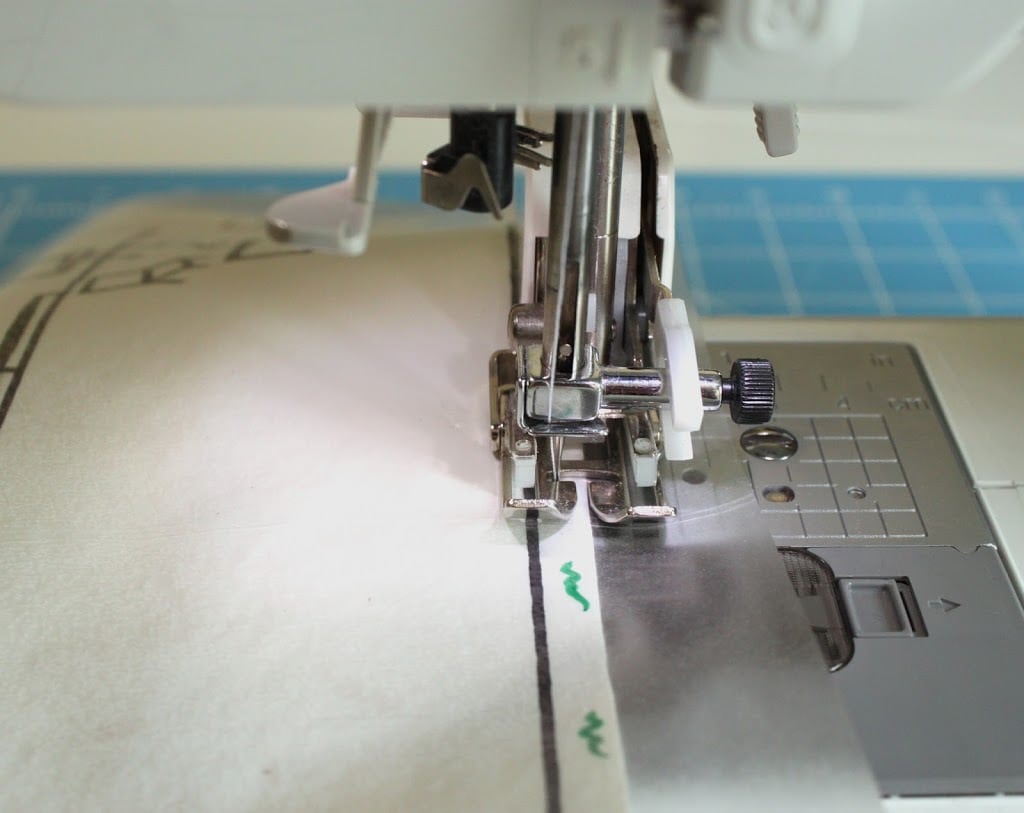
Once your map is drawn, cover it with the clear contact paper and smooth out all of the air bubbles.
To make sure that the contact paper doesn’t peel up, I sewed a 1/4″ seam around the edge.
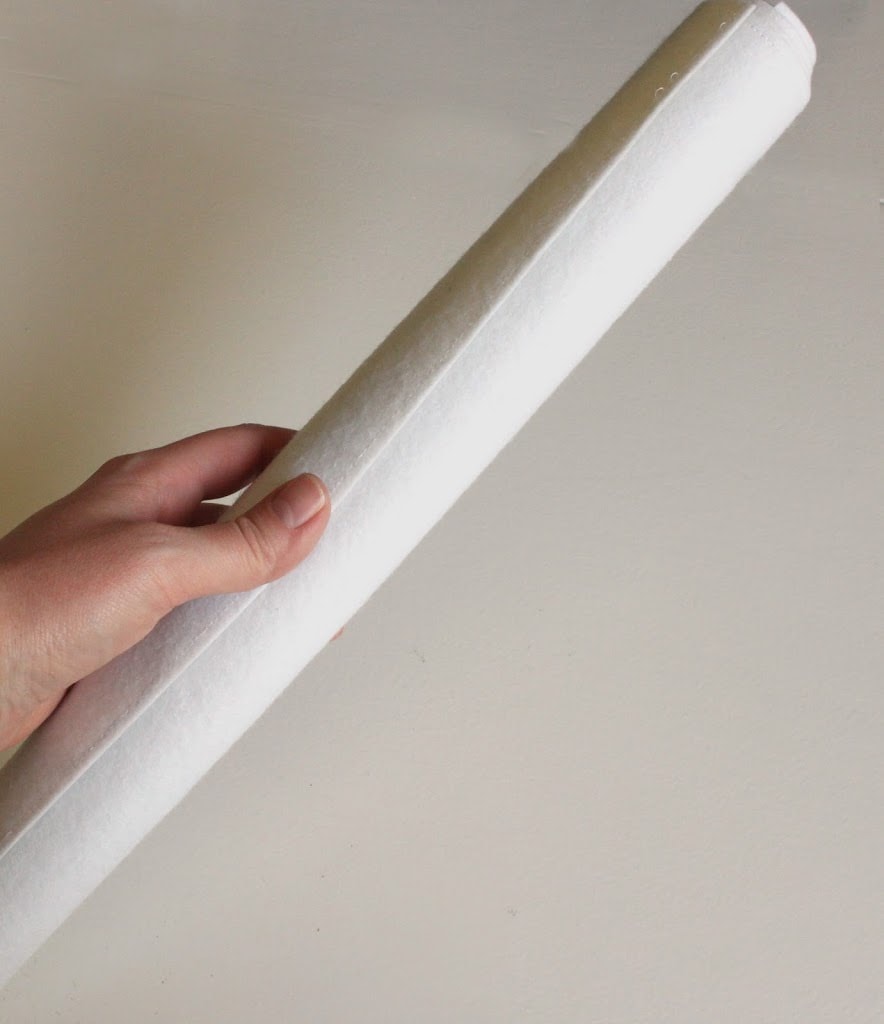
Trim off any excess contact paper.

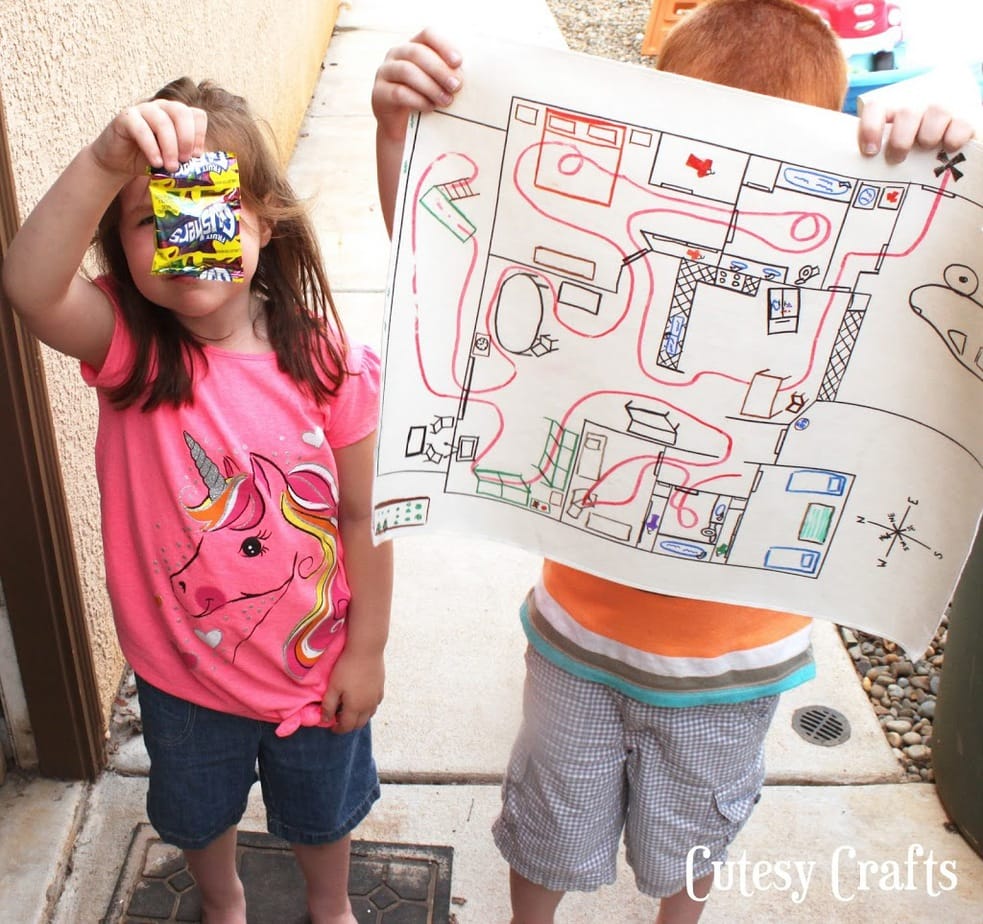
Now comes the fun part! Draw a line or whatever you want all around the map. I made sure to include lots of fun twists and turns and, of course, an X to mark the spot where the treasure is.

Roll it up and give it to the kids.
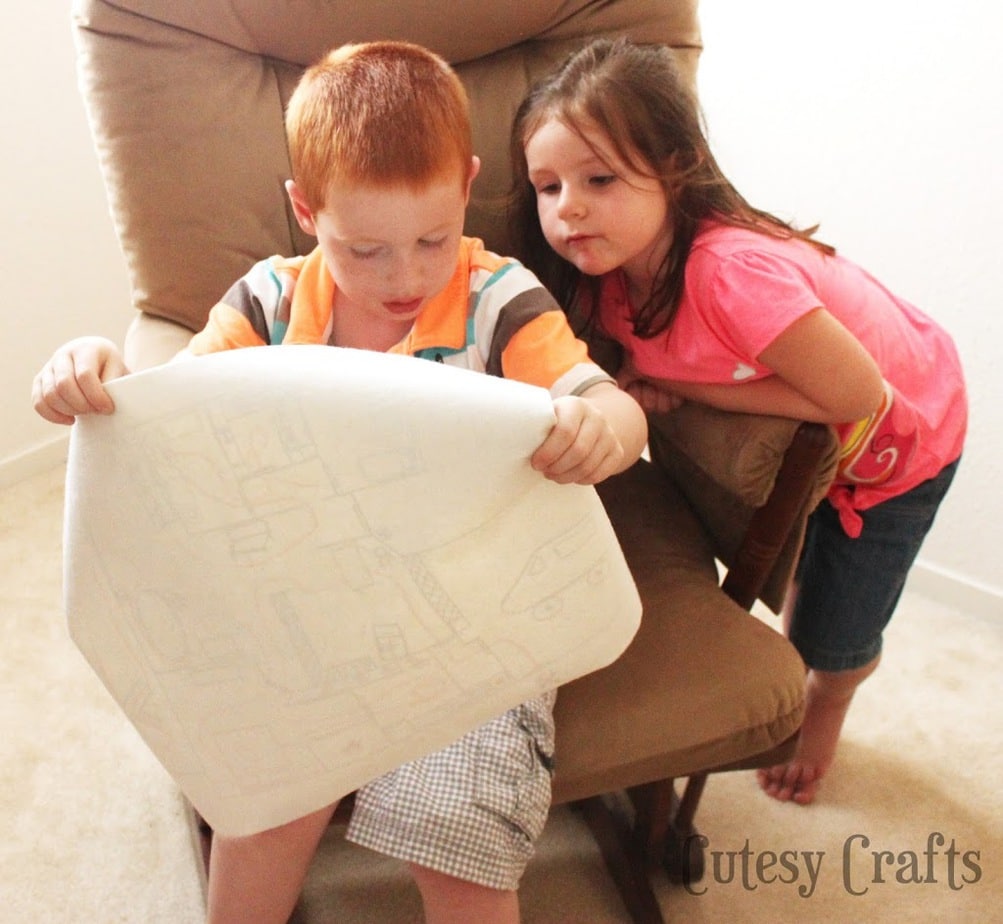
Surprisingly, Evan did a pretty good job reading the map and figuring out my horrible drawings.
You must follow the map exactly!

It’s always fun to make them go outside!

And the treasure at the end… fruit snacks of course!
So much fun!


I love this. I can see my kids “cheating” so I think I will add numbered squares to sprinkle on the trail. When they finish, they will have to count /show me the numbers/letters before they get their prize. 🙂 Fun idea!! Thx
Good idea!
I AM LOVING THIS! How fun you can re-use it over and over and over again over the summer and over the years! SO GREAT!
Thanks!
Thanks for linking up to my party! I wanted to let you know I picked your link to feature this week! See my post and grab my feature button here http://handmadecuddles.com/2013/05/create-inspire-picks-67.html
Thanks for linking up to Tasteful Tuesdays at Nap-Time Creations. You are being featured at the weekends round up! Hope you can come over and check it out. I would LOVE for you to add a featured button to this post…
http://www.nap-timecreations.com/2013/05/ideas-for-kids.html
Thanks for linking to Take-A-Look Tuesday over at Sugar Bee Crafts – you were featured on Wednesday!
–Mandy, http://www.SugarBeeCrafts.com
that is SOO much fun! I love the fact that you can change the route each time… Thanks for linking up to Tasteful Tuesdays! Emily @ Nap-Time Creations
I think if you use “wet erase” markers you’ll find that they stay until you wipe off with a wet paper towel. They’re easier to use as they have a finer point as well.
Yup, this is SERIOUSLY cool. I love it! My kids are still too young, but I will be doing this some day!
Nancy
http://www.dosmallthingswithlove.com
Holy cow! What a genius idea. This would save me so much time drawing the same map over and over!! We’ll be featuring this over at Someday Crafts tomorrow, so come on over and take a look!
Thanks Miranda! I will be over to take a look for sure!
Very cool idea! My kids are too young for this, but maybe in a few years they would enjoy this. I would have *LOVED* this when I was little!
Thanks Katie!
What a great idea! I love that they can use it over and over and over! Thank you for sharing! I’d love to have you visit me at Get Your Crap Together! We have a Pattern Party from the 1st of the month to the 10th and would love you to check it out. See you soon!
Wow, I love this idea, I’ll borrow it from you for sure, tx for sharing 🙂
MammaNene
SergerPepper.blogspot.it
Thanks! 🙂
This is absolutely fantastic!