We did it! We finally joined the 21st century and bought a flat screen! When we could no longer read the words at the bottom of news casts, we decided it was time.
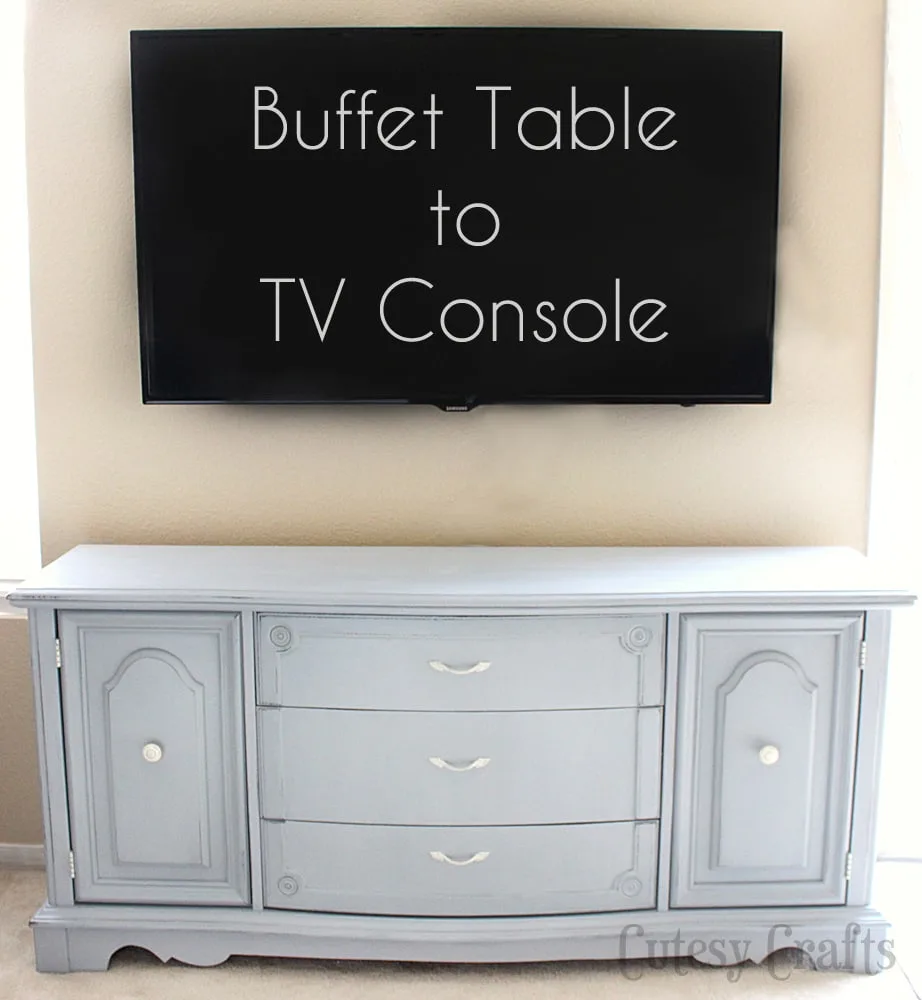
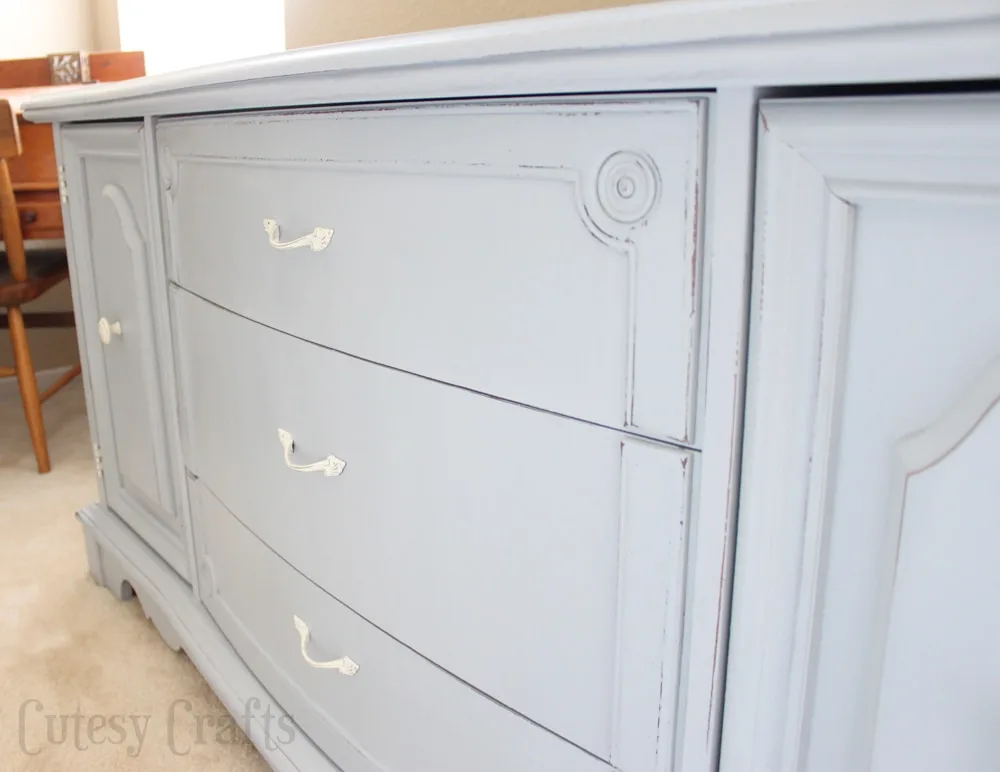
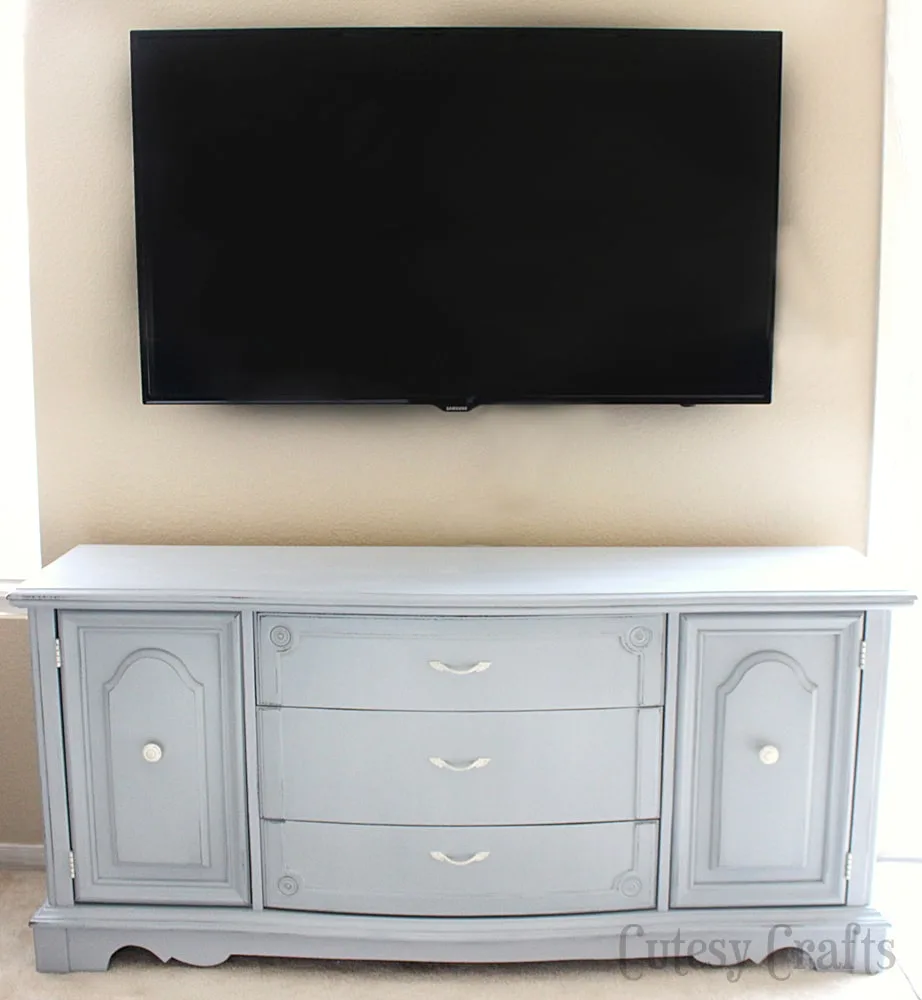
I knew I wanted the TV mounted on the wall with the cords hidden, but then the question of what to put under the TV arose. Eventually I decided that a buffet table would make the perfect TV console. Lots of storage, perfect length, and it doesn’t stick out too far from the wall.
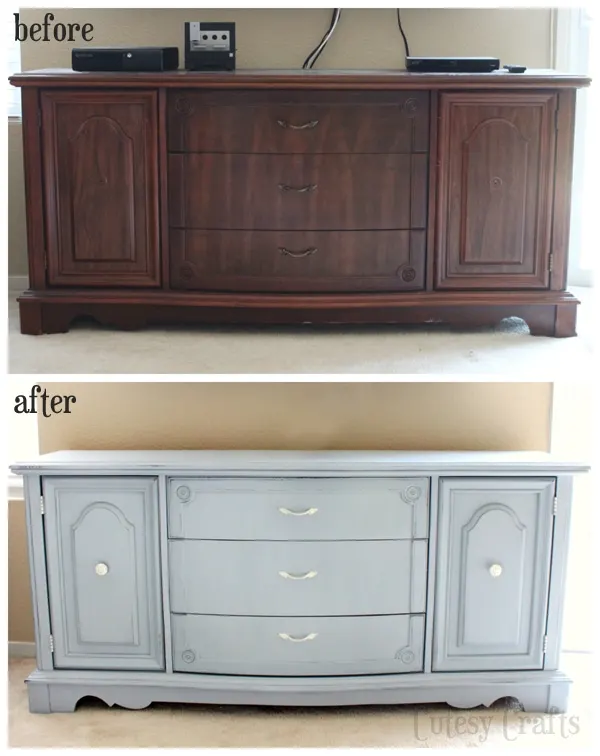
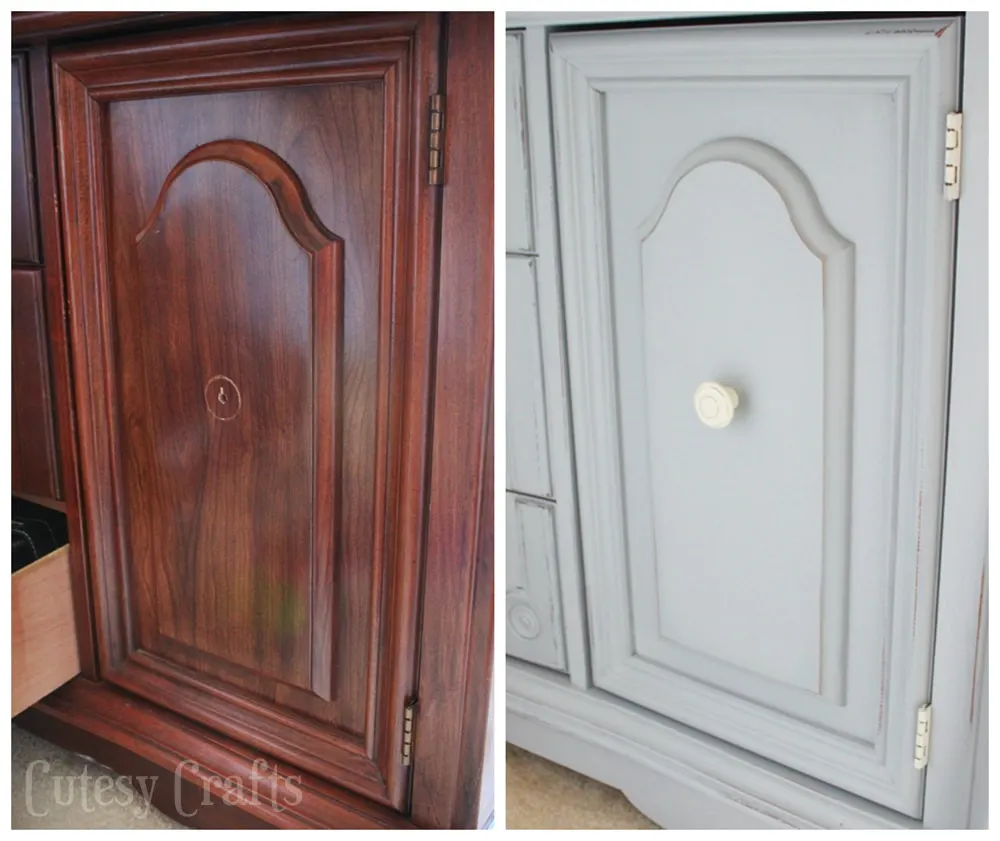
After searching craigslist for a couple of days, I came across this beauty and sent my husband, Joe, to go pick her up. Thanks Love! The previous owners said that there used to be a hutch on top of it, so keep that in mind when you are searching for your perfect buffet. Here’s a nice before and after. Huge difference, right?!
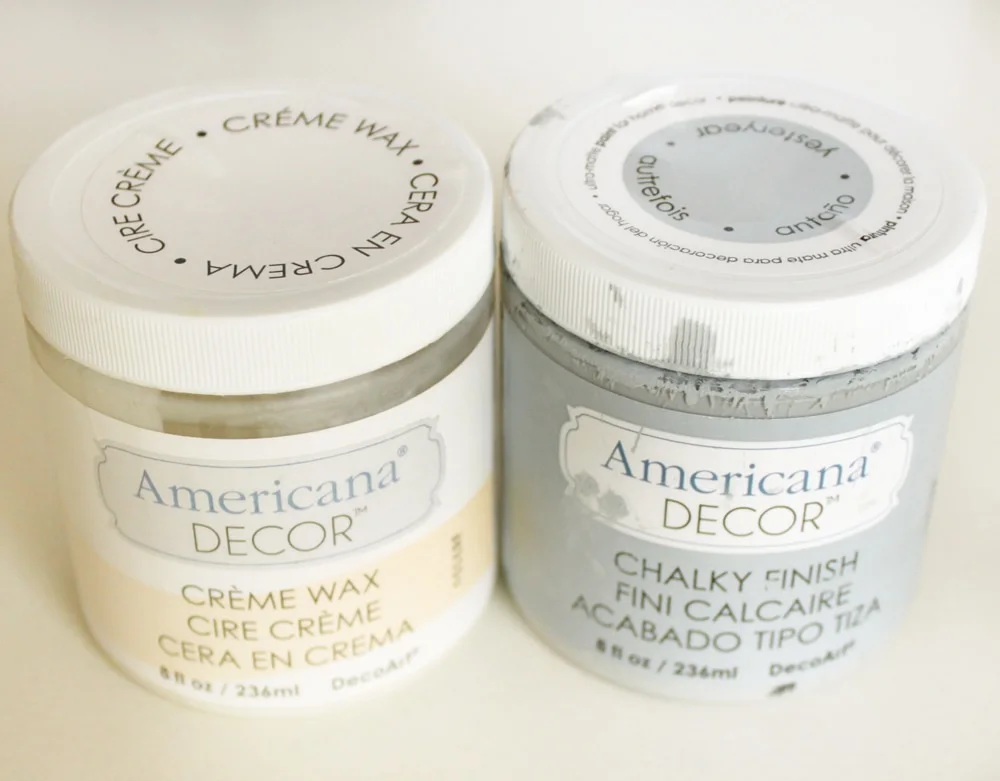
DecoArt sent me some of their new Americana Decor Chalky Finish paint to try out for this project. (DecoArt sent me the paint for free. No other form of compensation was received. All opinions are my own.) I chose the color Yesteryear, which I thought would be more gray, but it ended up looking pretty blue in my house. Works for me though, because you know I like blue!
For a piece this size, you will need two 8 oz containers of the paint (I used about 1 1/2). Just a few of things that I really like about this paint: 1. No priming! 2. You can buy it in small quantities (who wants an entire quart of one color?!) 3. You don’t have to go to a special store to buy it (available at Home Depot and Michaels)
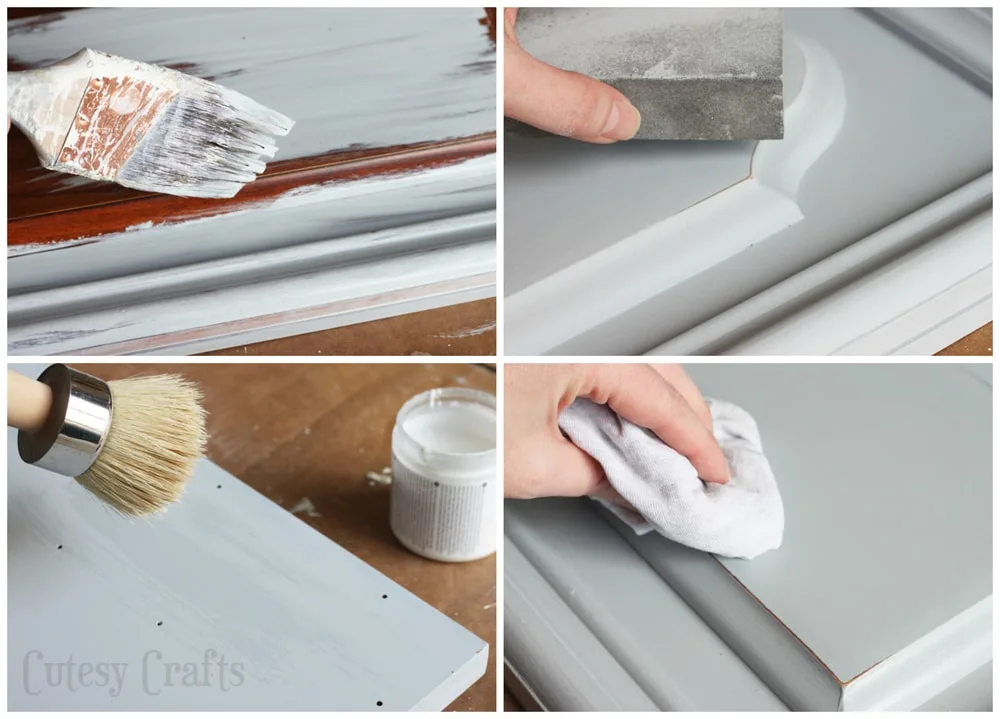
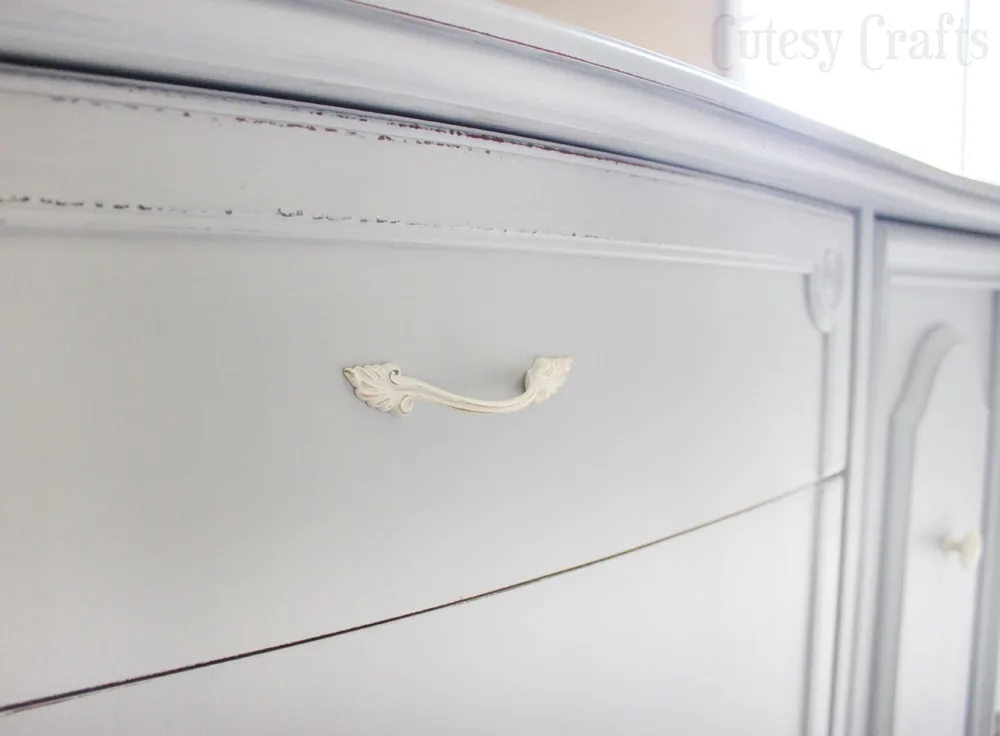
I painted two coats of the paint to get good coverage on the dark wood color and then did a little sanding on the edges to distress it. To protect the paint job, I applied the Americana Decor Creme Wax with the special waxing brush and then buffed it with a rag.
I originally tried to find some cute glass knobs and pulls, but all the drawer pulls that I found looked like they belonged in a bathroom. I decided to just paint the ones that were already on it
Remove the hardware from the buffet, paint it with the same kind of paint (different color), and wax just like you did for the main piece.
It came with no knobs on the doors, so we had to pry open the doors with a butter knife. Not good. I got some dark metal knobs and painted them white to match the pulls. I also painted the hinges white. So much better!
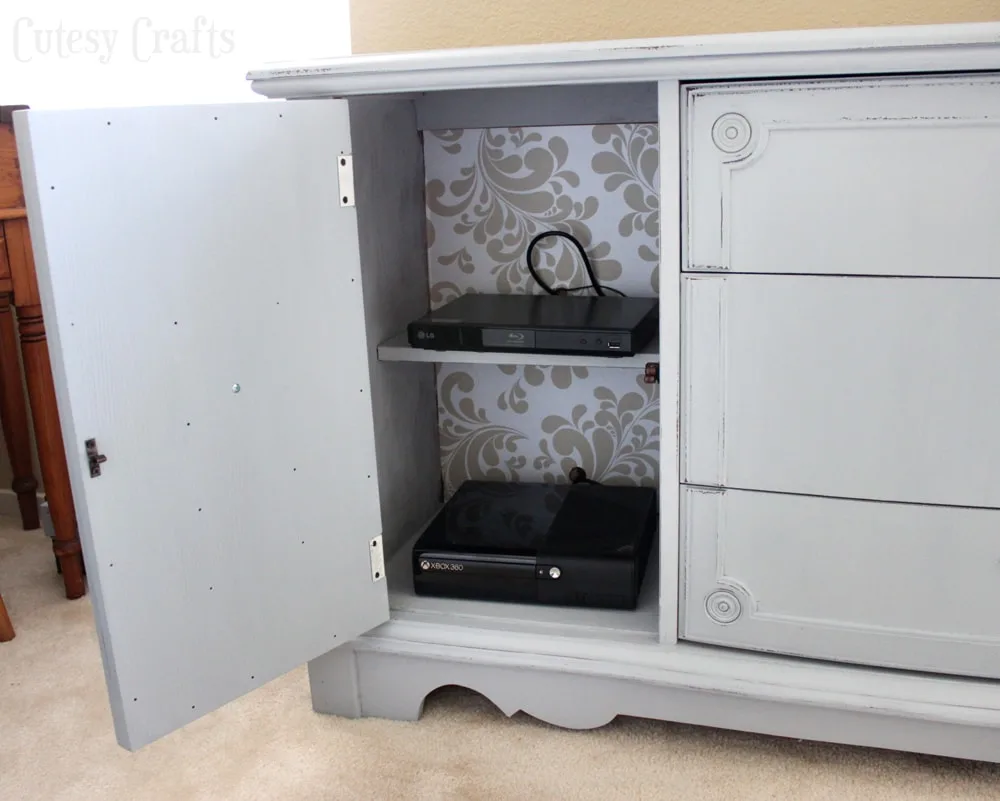
The back of the buffet is that weird cardboard-type stuff. I didn’t feel like painting it, so I got some cute shelf liner and put it up. Joe cut some holes in the back to feed the cords through, so I could hide the DVD player and X-Box. Now we just open the door when we want to use them.
The drawers are great for holding the remotes, DVDs, video games, and other random stuff that needed a home.
Do you love it?! I definitely do!
Now I just need to decorate the top of the table. Suggestions? I’m so bad at that sort of thing!

Roxanne Marchese
Sunday 24th of January 2016
Hi, do you distress it first than apply the wax? Can wax be applied with a soft cloth instead of a brush? Tanks
Jessica @ Cutesy Crafts
Monday 25th of January 2016
Yes, I like to distress it first and then wax. You can use a cloth instead of a brush. I think the brush just makes it so you use less wax because it spreads it out easier.
FatCatAnna
Wednesday 26th of August 2015
Curious ... did you use one jar of the paint? I am looking at buying some from Michael's here in Canada ... and so far ... anyone in the store I've asked doesn't seem to know much (they are all very young in the store I go to). I have 2 little tables that are circa 1940 ... and are same colour as your cabinet you did ... so may go the same route as you have done with the colour ... and this will "update" my boudoir abit.
Jessica @ Cutesy Crafts
Saturday 29th of August 2015
For the big buffet, I think I used about one and a half of those little jars.
Elad
Friday 8th of May 2015
hey, great job ! Can you tell me the number or the name of the color ? Thanks
Jessica @ Cutesy Crafts
Thursday 14th of May 2015
The color name is Yesteryear. It's Americana Decor Chalky Finish Paint, and you can buy it at Michael's.
Nancy
Thursday 5th of June 2014
This is awesome! You did a great job!
Eva Garibay
Sunday 18th of May 2014
Yup helped tons actually. Thank you I will now be doing this for sure tomorrow. Was a bit hesitant but now definitely am up for the challenge.
Jessica Anderson
Tuesday 20th of May 2014
Glad I could help! Good luck! And if it comes down to it, you can always sand it down and paint again. :)