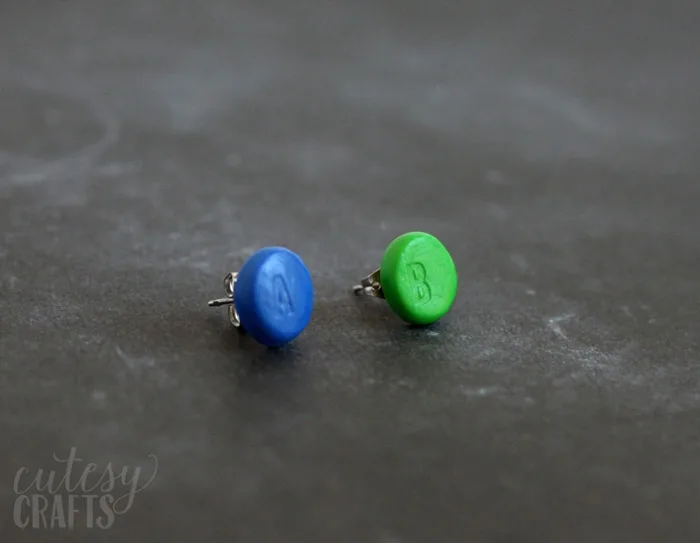
Every once in a while I come up with a craft that gives everyone a little peek at how secretly geeky I am. This is definitely one of those crafts. I grew up playing Nintendo 64 with my siblings, and I thought it would be really neat to make some DIY earrings using the buttons. This would make such a good teen gift or craft. Make sure to check out all of my tween and teen craft ideas!
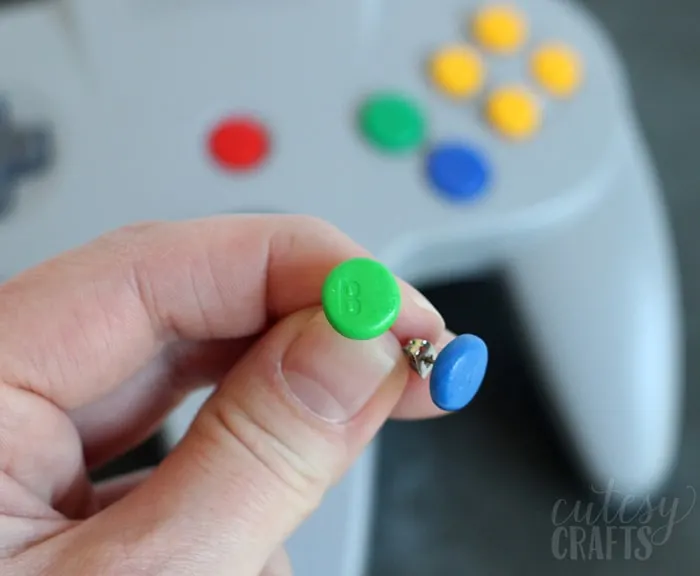
I didn’t realize until after taking the controller apart that the buttons are actually really tall and not good for making jewelry. I decided, instead, to use the buttons to make molds. I then used those molds to make “buttons” out of polymer clay. Now I can make as many as I want! Earrings for everyone! You can use this method of making molds of lots of different things, so even if you’re not a closet video game nerd, you’ll want to check it out.
This post may contain affiliate links, which means I may receive a commission, at no extra cost to you, if you click a link and purchase something that I have recommended.
Supplies needed:
- broken Nintendo 64 controller (Make sure it’s broken or husbands will be sad.)
- screw driver
- blank earring studs
- strong glue
- polymer clay (white, green, and blue)
- glossy polymer clay glaze
- foil
- corn starch (optional)
Grab a screw driver and take apart your old controller.
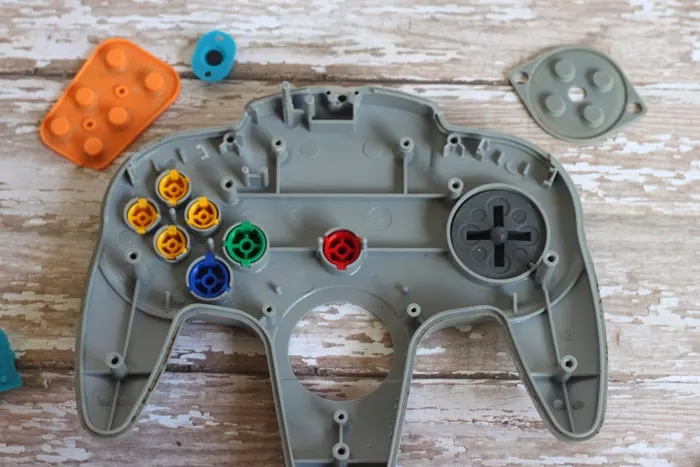
This button is short because I cut it to try and make earrings out of the original buttons. Yours will be taller. Soften some white clay in your hands and roll it out to about 1/2 inch thick.
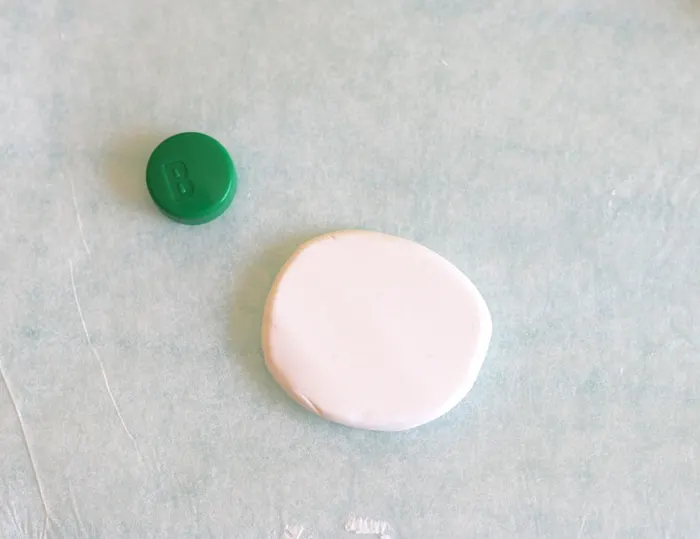
Press the button into the clay and pull it straight out. You want your mold to be as perfect as possible, so try again if you mess up.
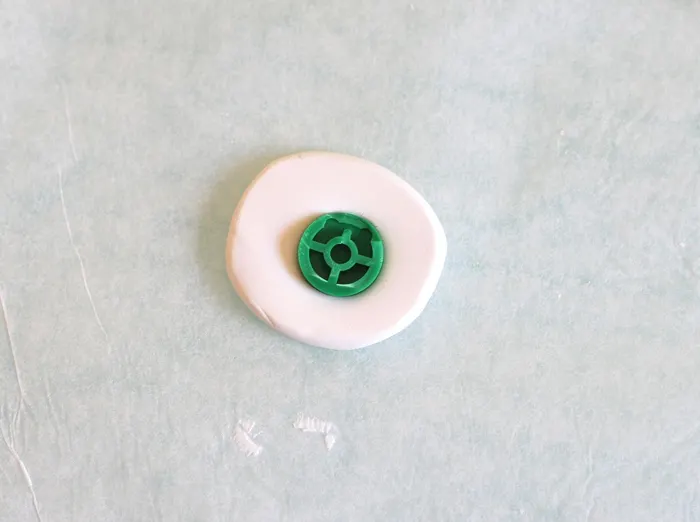
Place the molds on a foil covered baking sheet and bake according to package instructions. The other mold is a “start” button. I’ll show you what I made with that another day. 🙂
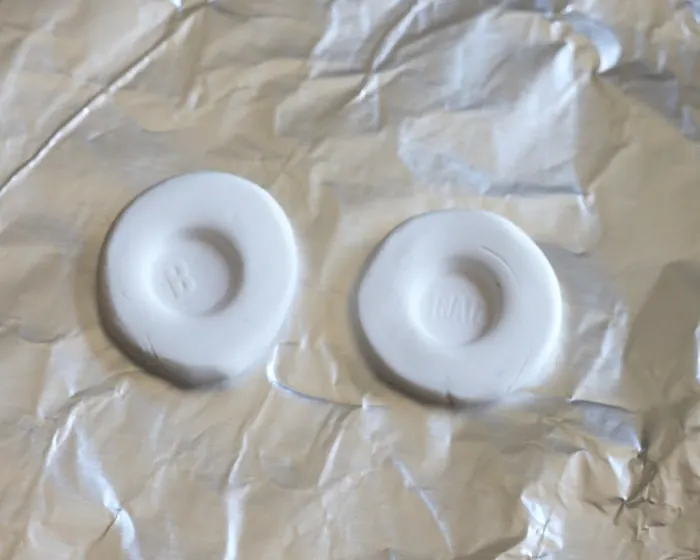
Let the molds cool. Take a small amount of colored clay and roll it into a ball. Dust the outside of the ball and the mold with cornstarch. This will help prevent sticking and fingerprints. Press the ball of clay into the mold and smooth it flat. Very gently pull it out of the mold and place it on foil. I’m not going to lie, this took a few tries, but I got better at it each time.
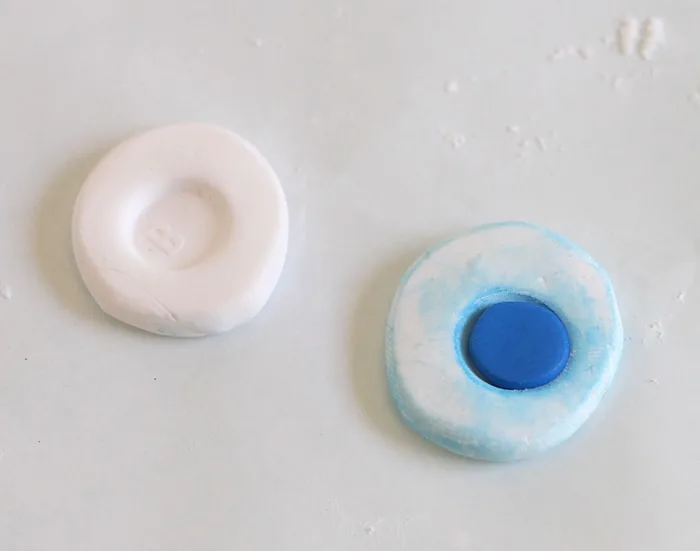
Make a bunch of them so you can choose the better-looking ones for your final project. None of them are perfect, but they look pretty good. Bake the clay according to package instructions.
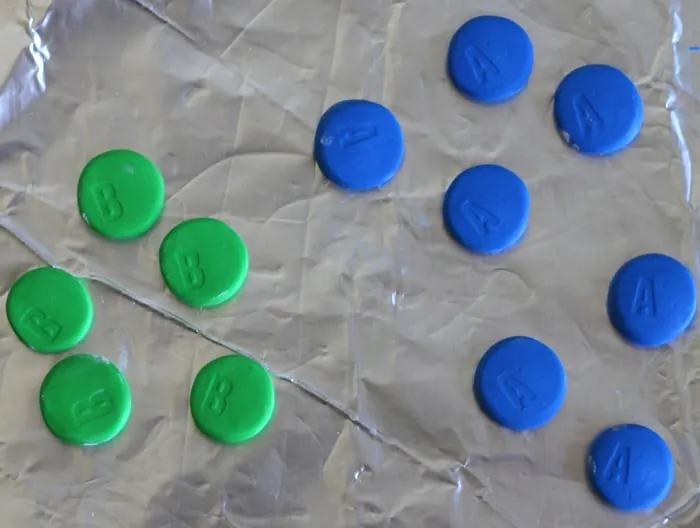
To give the clay a plastic look, I brushed on a coat of gloss glaze made for polymer clay. It made such a big difference!
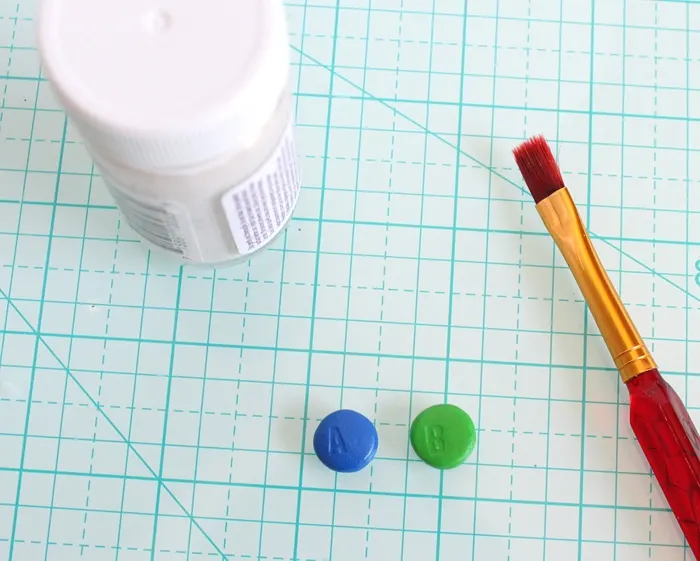
Let the glaze dry completely, and then use a strong glue to attach the “buttons” to the earrings.
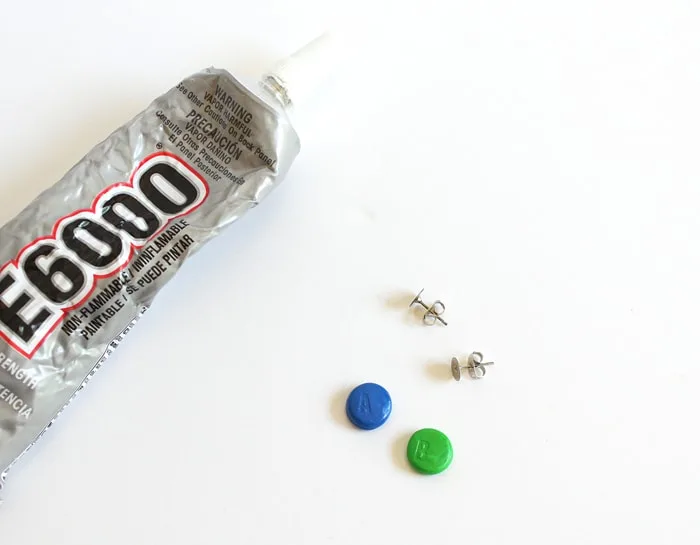
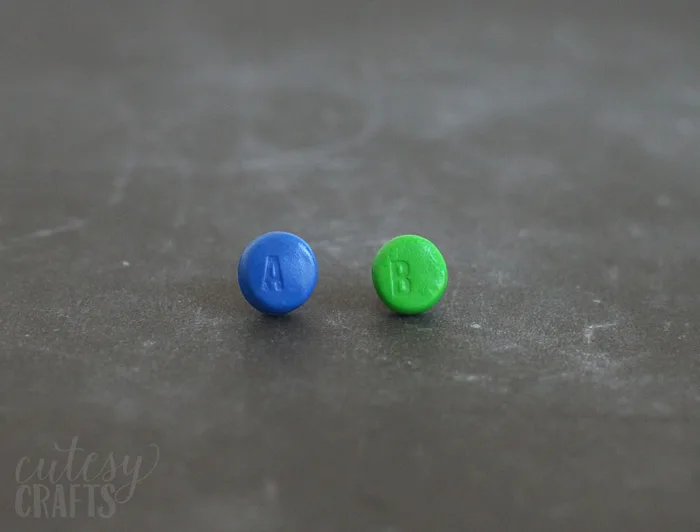
Let the glue dry, and your DIY earrings are ready to wear! Audrey thinks they are so cool. We’ll see if anyone else can tell what they are.
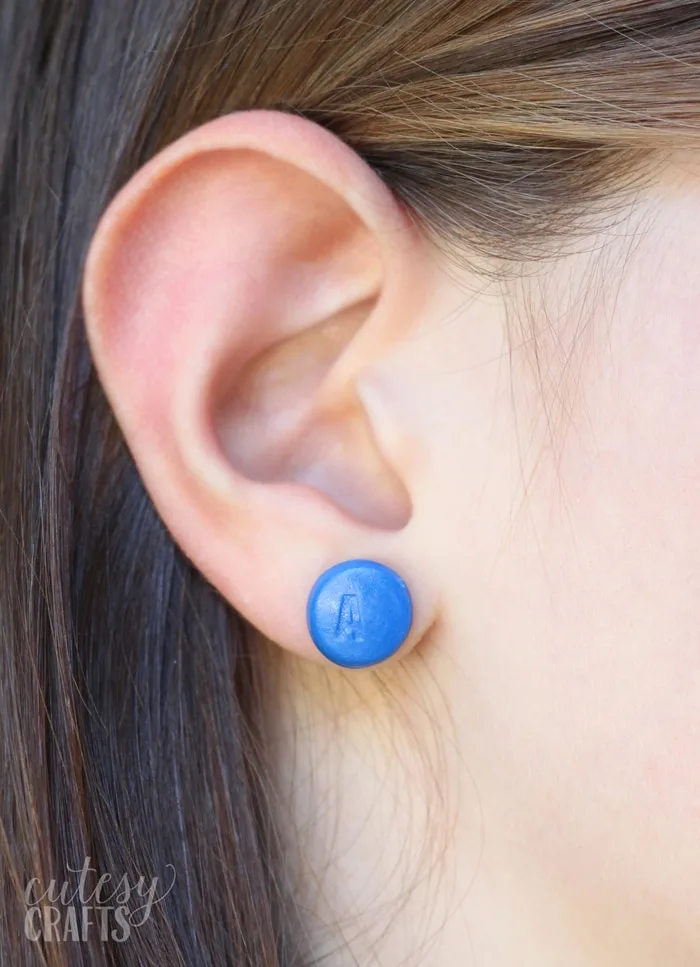
What do you think of these fun DIY earrings? Any other Nintendo lovers out there?
Cutesy Crafts is a participant in the Amazon Services LLC Associates Program, an affiliate advertising program designed to provide a means for sites to earn advertising fees by advertising and linking to amazon.com. This post contains affiliate links.
