Doily Heart DIY Tote Bag
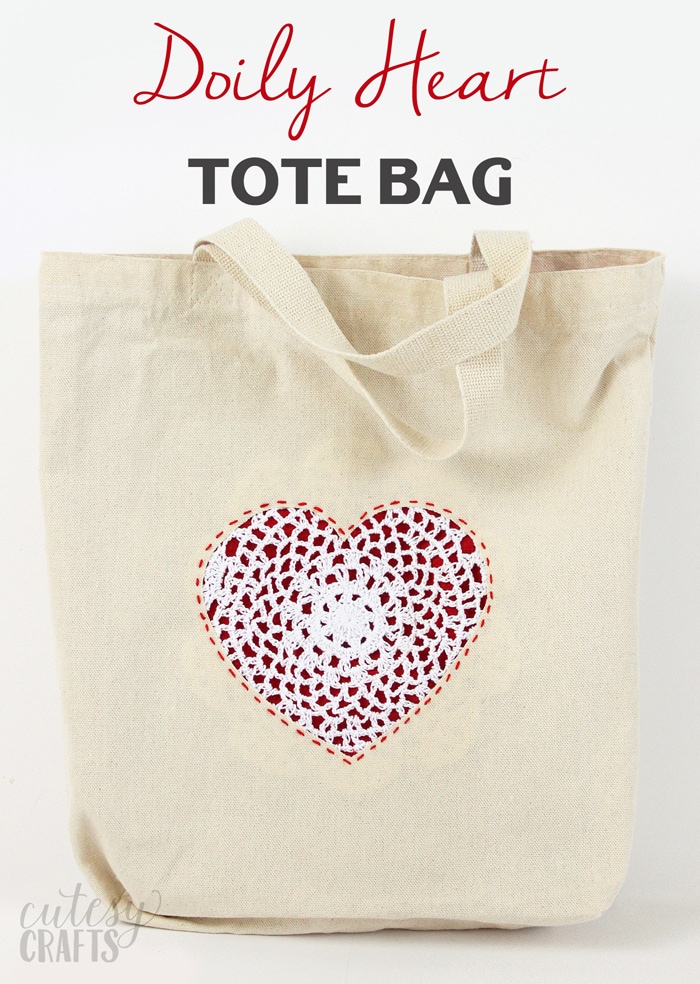
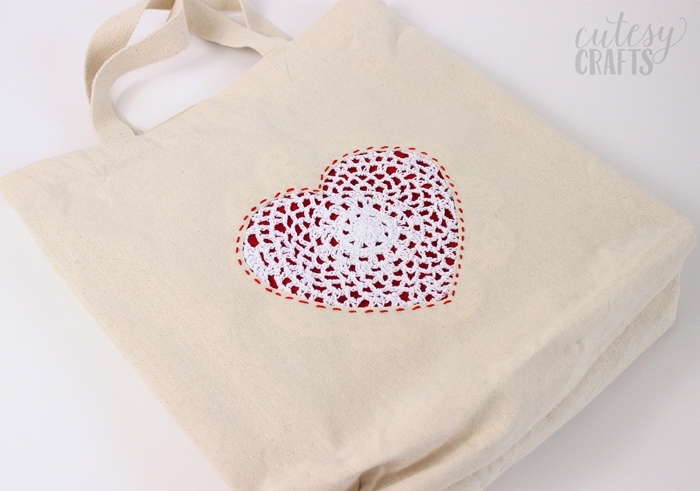
I kind of have a small obsession with bags. I have different ones for the beach, church, the library, and more. I love the plain cheap tote bags from the craft store because you can dress them up to make something new. I made this cute doily heart DIY tote bag using a scrap of fabric and a doily from the dollar section at the craft store. A bag like this could be a cute Mother’s Day gift or even a fun teacher gift.
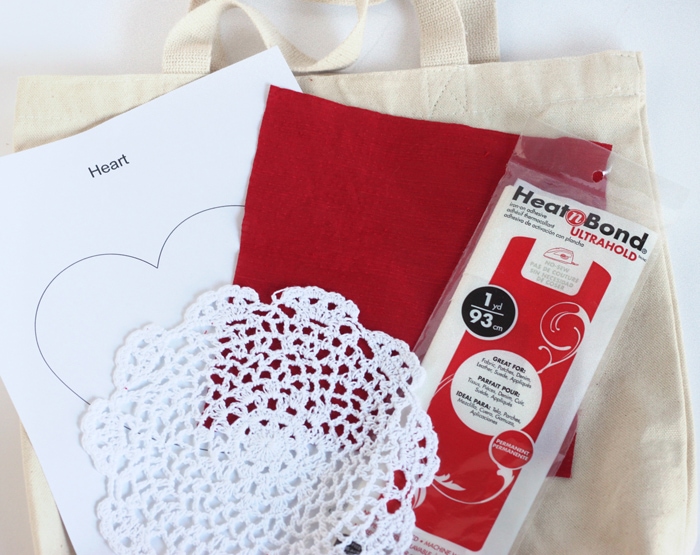
To make this DIY tote bag, you’ll need:
- heart template
- tote bag
- 8 inch doily
- fabric
- paper-backed fusible interfacing (Heat ‘n Bond or Wonder Under)
- embroidery floss and needle
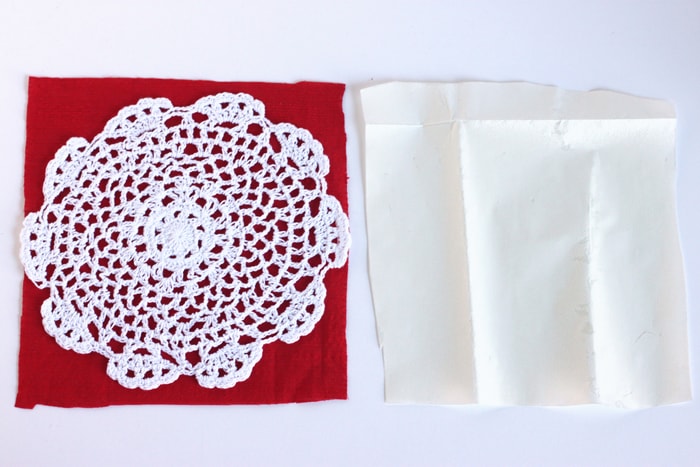
First, cut a piece of fabric about 1 inch larger than your doily. Cut a piece of interfacing slightly smaller than your fabric.
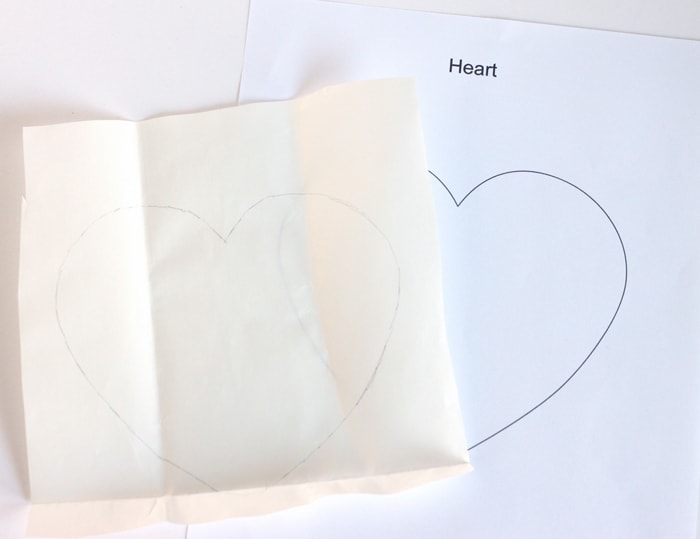
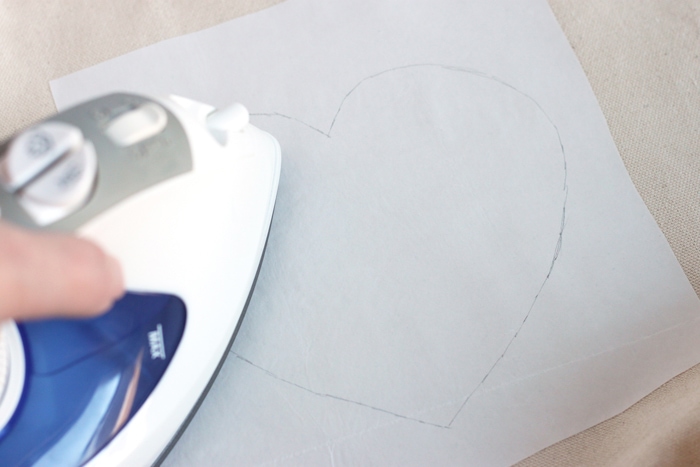
Trace the heart onto the paper side of your interfacing.
Turn the bag inside out. Put the heart on the middle of the bag with the paper side up and iron it.
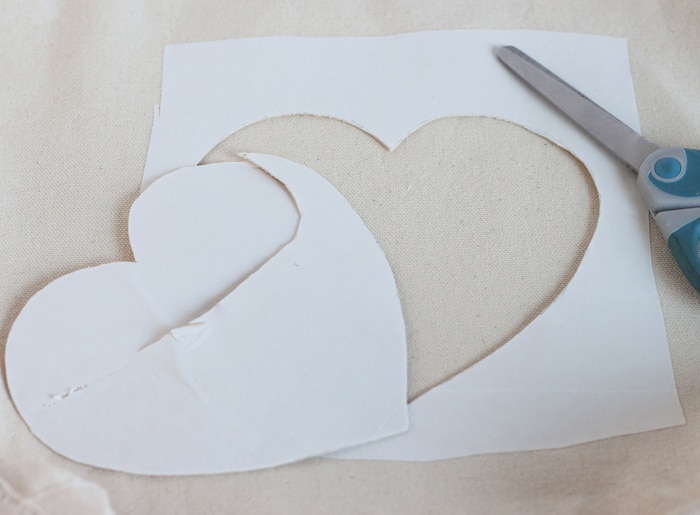
Cut out the inside of the heart and throw it away. Remember, this is a reverse applique, so you want to keep the outside of the heart looking nice.
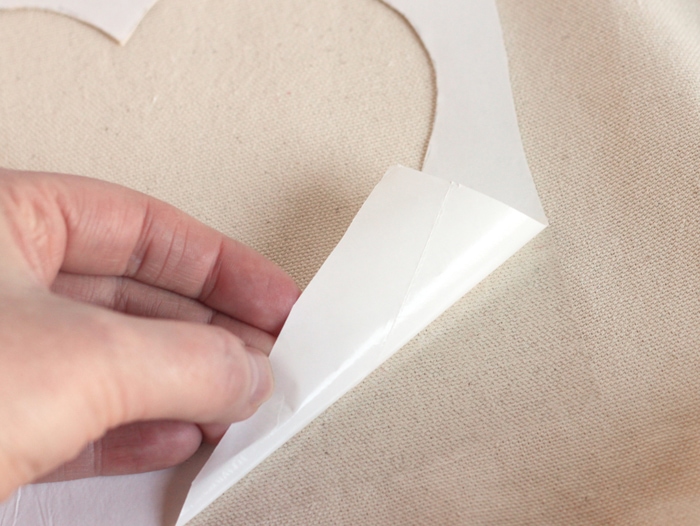
Peel the backing off of the interfacing.
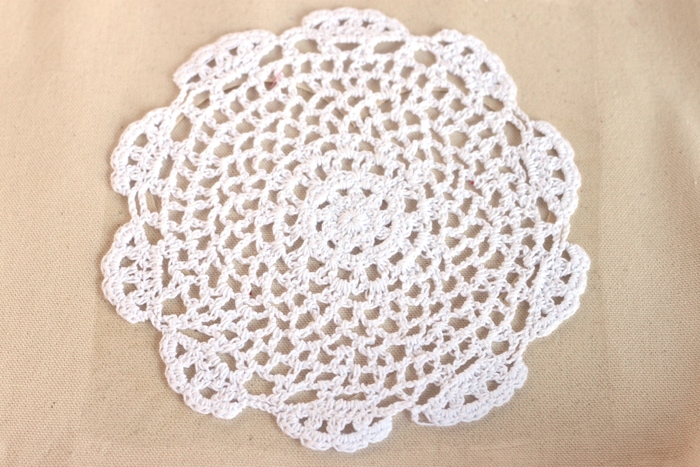
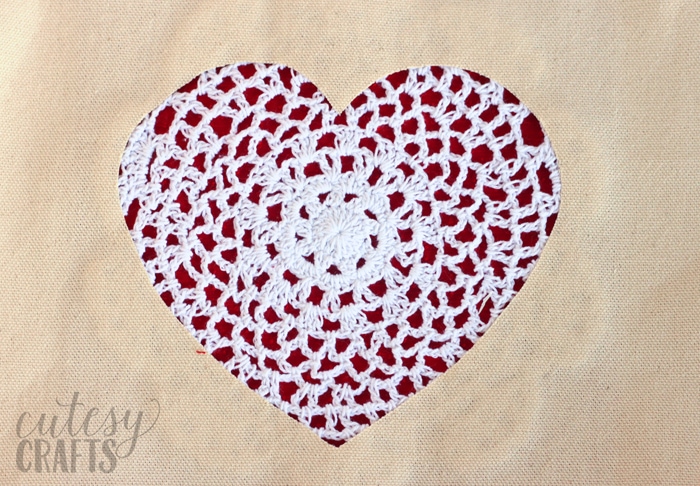
Place the doily over the heart opening. Make sure it covers the whole thing.
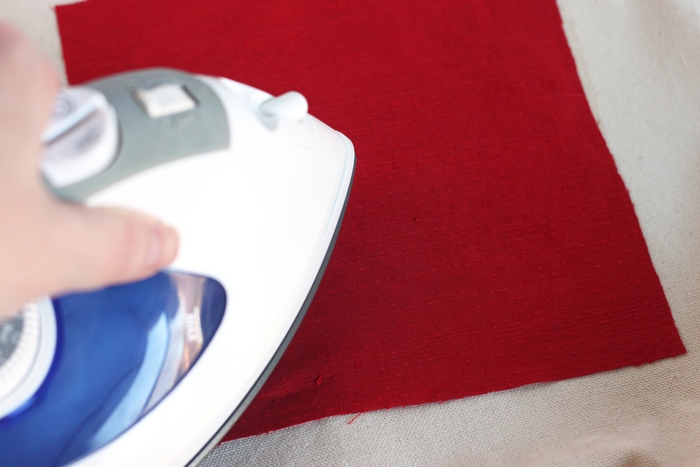
Put your piece of fabric on top of the doily. Make sure the adhesive from the interfacing is completely covered by the fabric, and iron everything down.
Turn the bag right-side-out again.
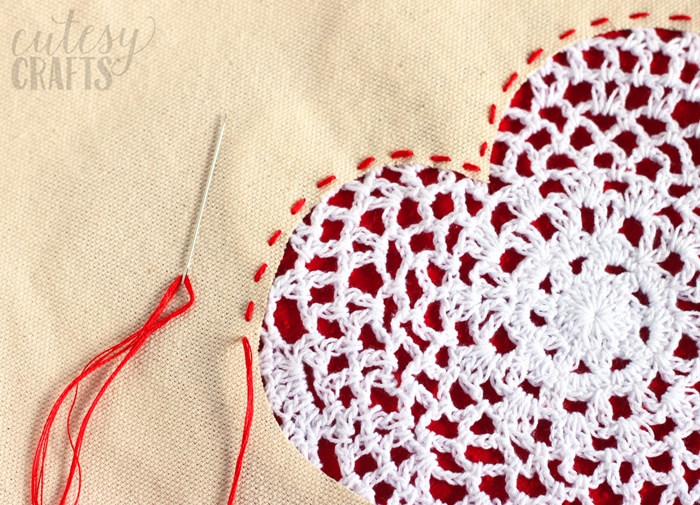
Sew a running stitch around the heart using four strands of the embroidery floss.
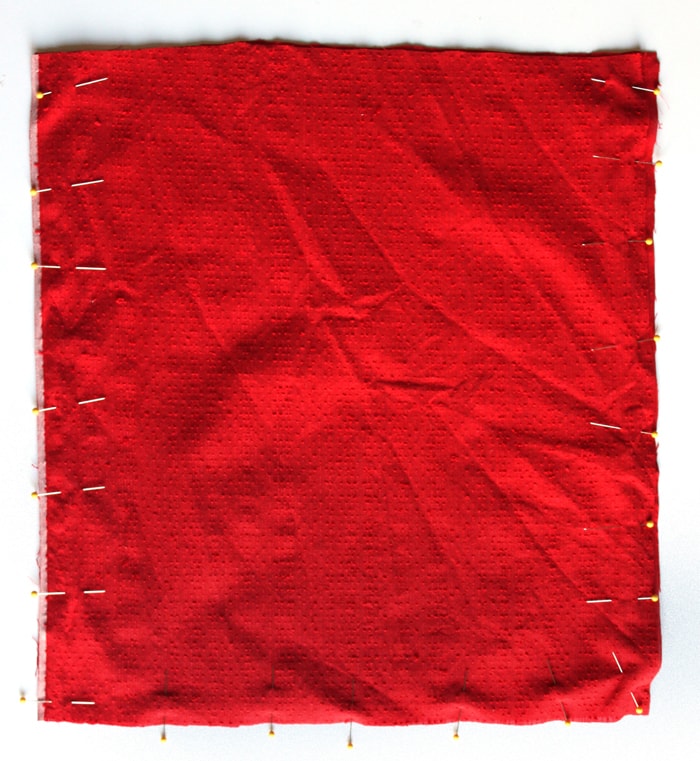
Now you can line the bag if you want. The measurements will depend on the size of the bag that you bought. To get my measurements, I turned the bag inside out and measured from the left to right seam. Add 1 inch (1/2 inch for each seam), and that gives you your width. For the length, measure from the very top of the bag to the bottom and add 1 inch. Cut out two pieces of fabric with these measurements. Pin them with right sides together and sew around both sides and the bottom with a 1/2 inch seam.
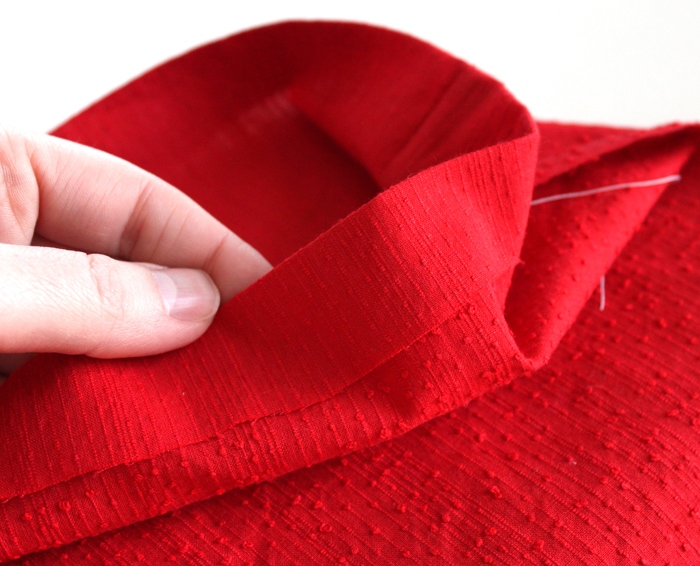
Fold the top of the fabric out one inch and iron.
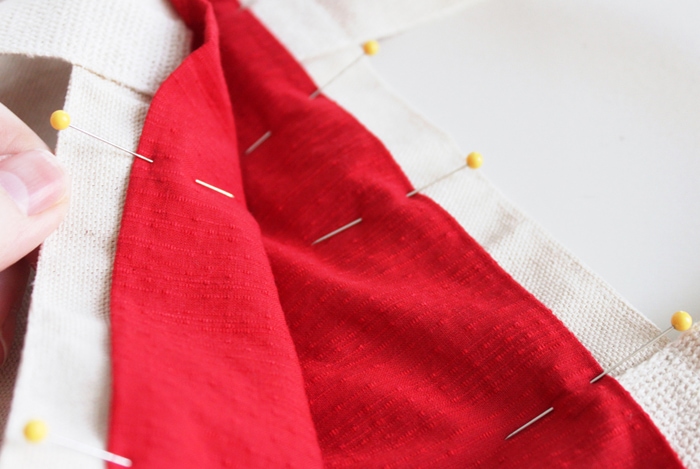
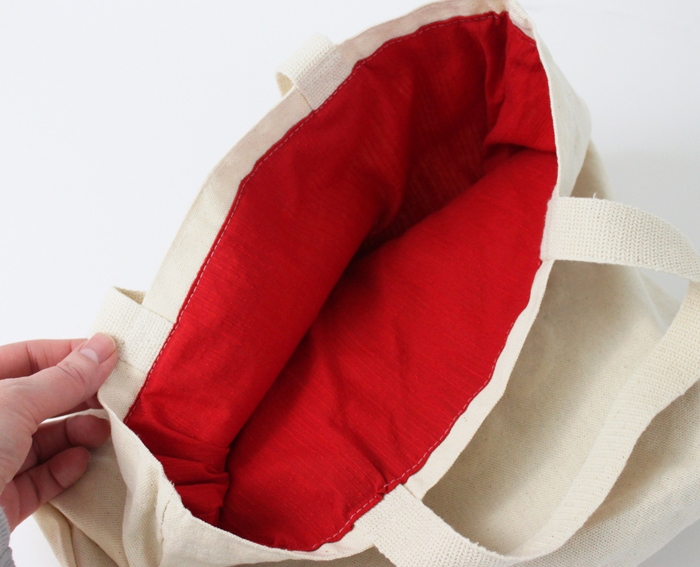
Place the lining in the inside of the bag and pin it around the top. It should be about 1 to 1/2 inch lower than the top of the bag.
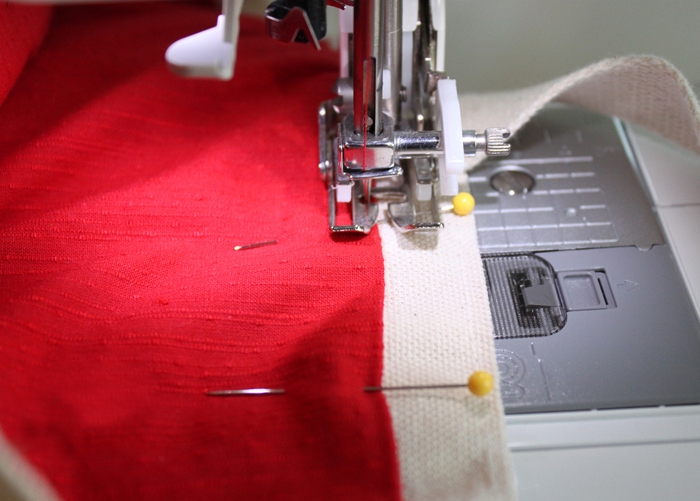
Sew around the top of the lining, getting as close to the folded edge as you can without going off.
Lining the bag like this is optional, but it’s nice because it covers all of the raw edges from the applique.
I really love the way this bag turned out! You could make these with different shapes, different colors of fabric, or even different color doilies. So many possibilities!


Totally incredible great idea could utilize other shapes using this.
Simple but lovely idea and could be used for other things to, thanks for that ?
Thanks Pam! 🙂