
Nautical Beach Bag
I’ve been so busy this weekend that I haven’t been able to tell you the news… I made it into the top three on So You Think You’re Crafty with my Nautical Beach bag! Not only did I make it through, but I got first place in this round!!! Woo hoo!
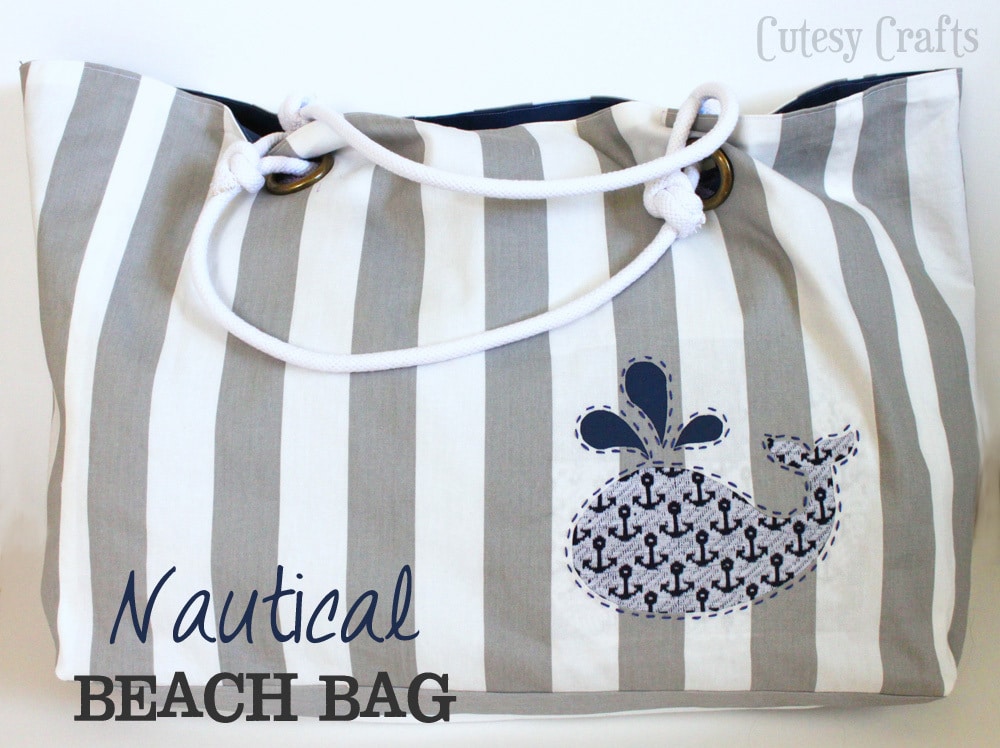
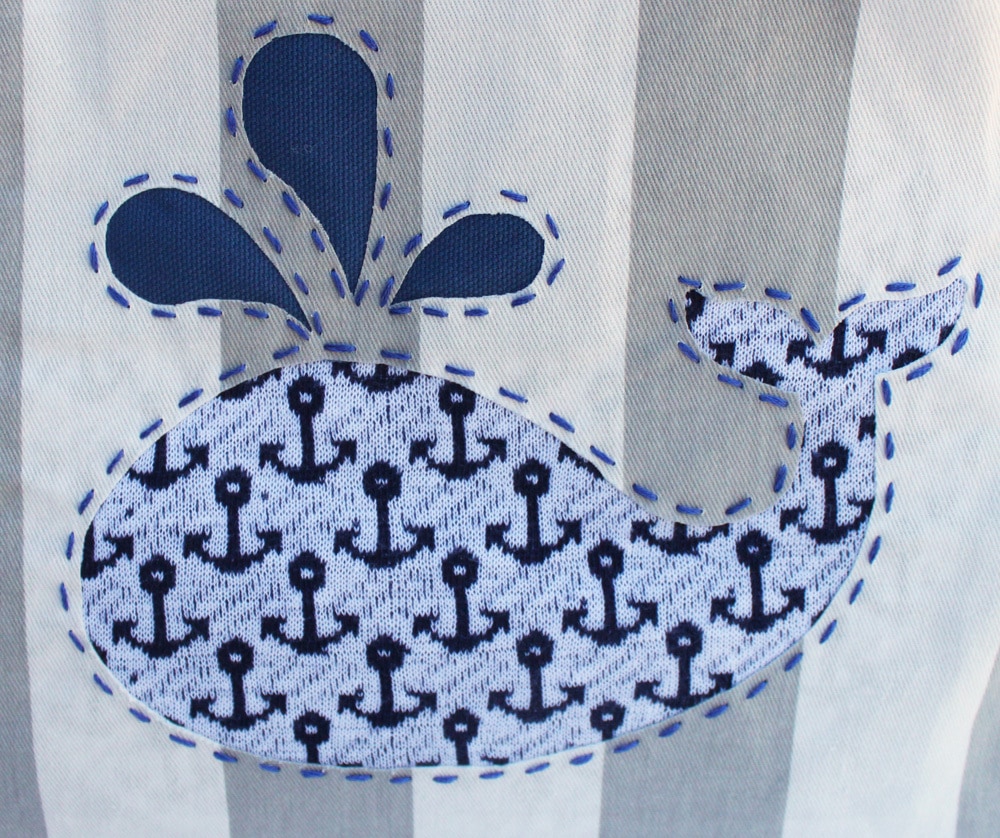
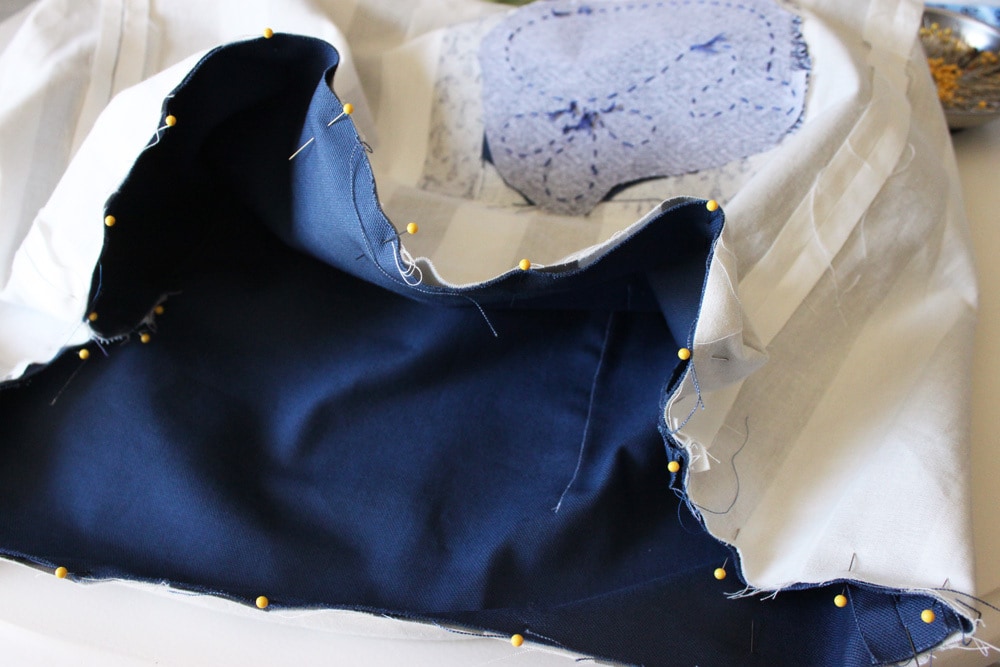
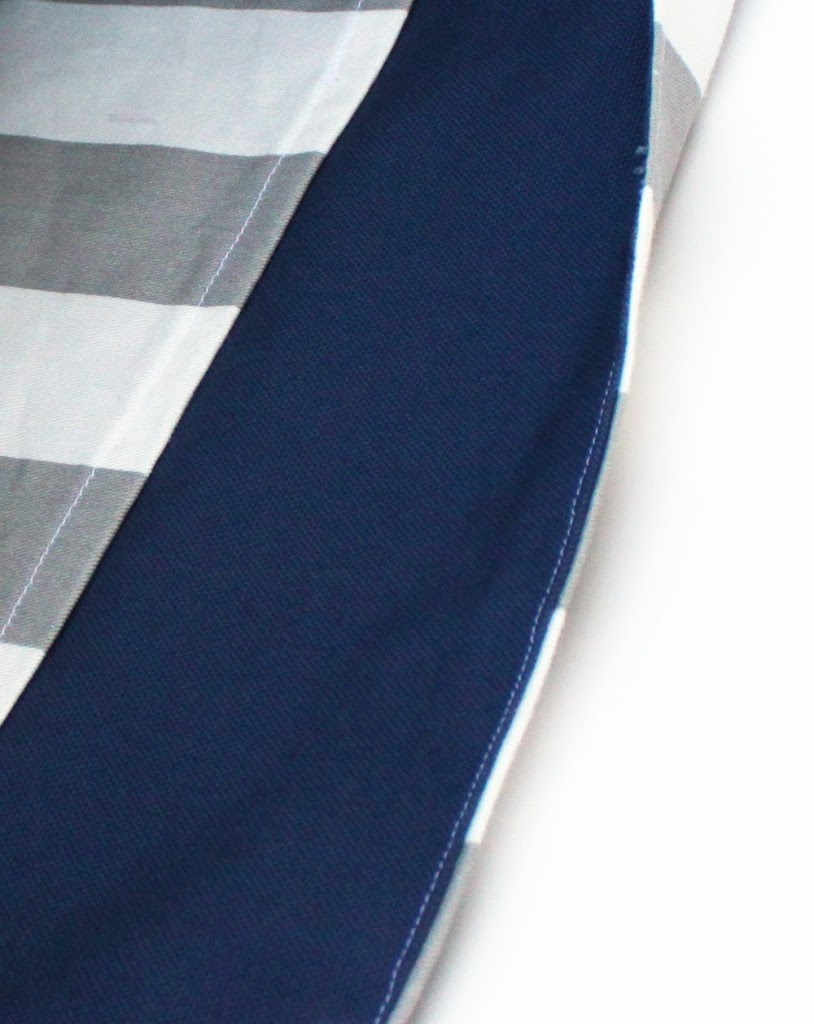
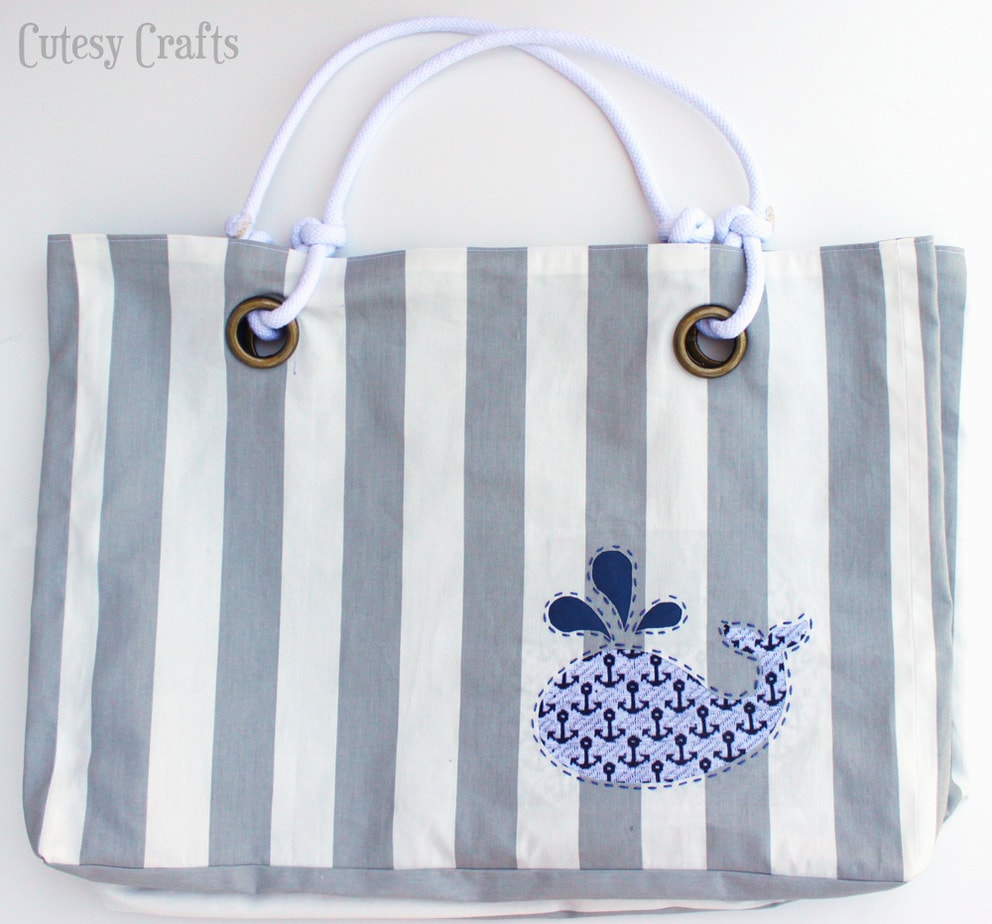
The bag is nice and sturdy with a thick, striped home decor fabric and lined with navy blue. The front has a reverse appliqué of a cute little whale in an anchor print that I had sitting around. I hand stitched around it just to add a little something extra.

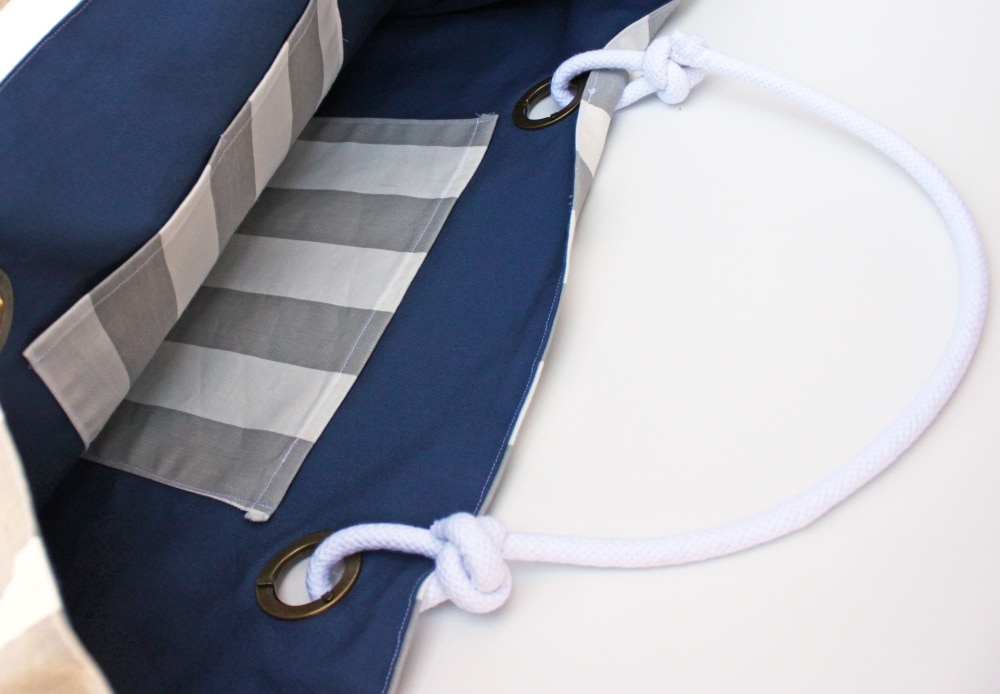
The rope handles are tied on with a bowline knot. The bowline knot is actually used in sailing, so it fits the theme! Yeah… I had to watch a lot of YouTube videos to figure that one out… “the rabbit comes out of the hole, around the tree, and back through the hole.”

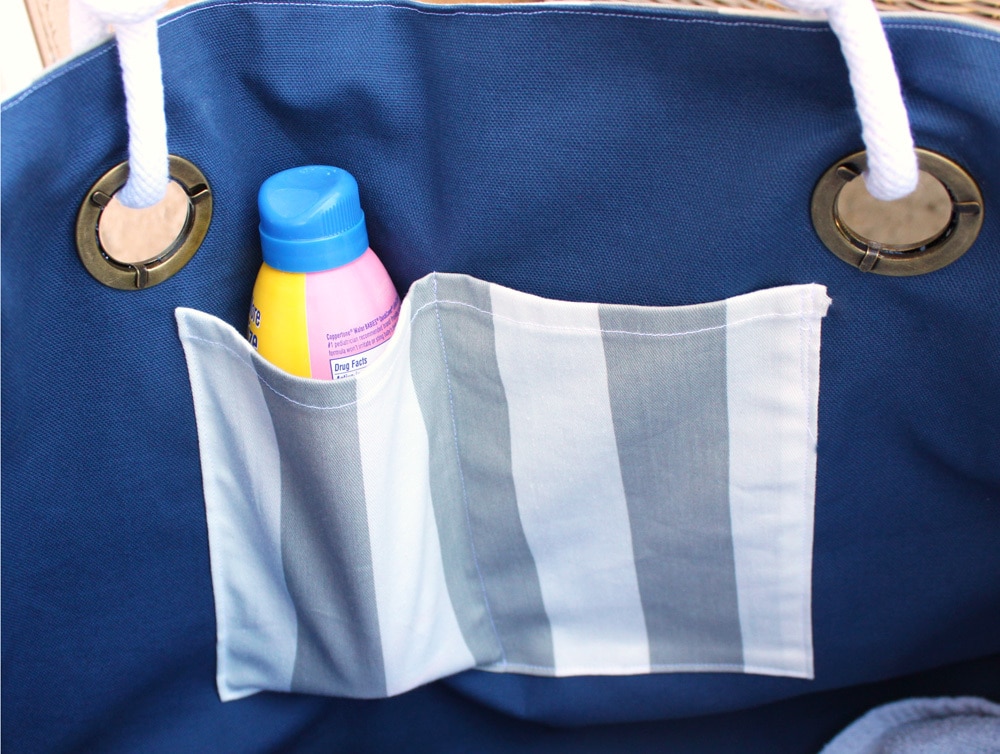
It has a couple pockets on the inside to hold all of our smaller items.
And this thing is BIG! Towels take up a lot of room, and we are gonna need space for snacks, sunscreen, sunglasses, you name it! I’m pleased to say that I can fit five towels in this thing with room for more. Awesome!

Here’s the tutorial that I am sharing on So You Think You’re Crafty today.
You will need:
– 1 yard of outer fabric
– 1 yard of lining fabric
– 2.5 yards of soft rope/cording
– 4 grommets
– paper backed fusible webbing (Wonder Under)
– contrasting fabric for applique
– whale applique pattern
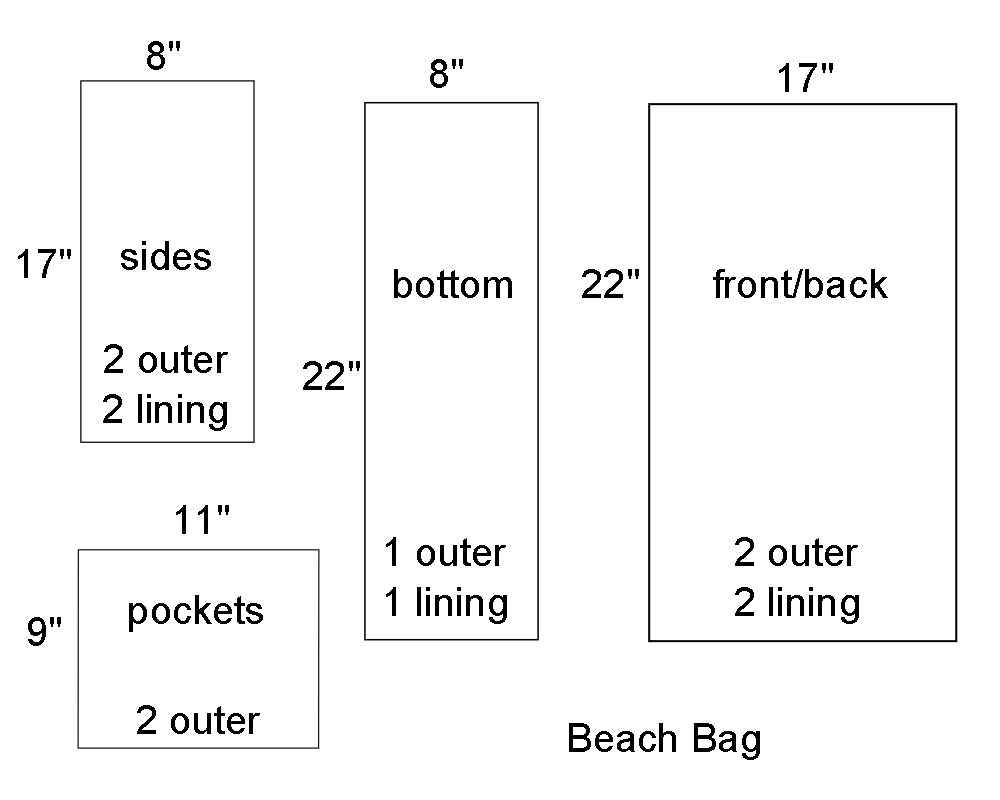
First thing you want to do is cut out all of the fabric for the outside and inside of your bag. I used a nice, sturdy home decor fabric. If I could do it over again, I would have lined it with some interfacing to stiffen it. So, if you want your bag to have a little more structure, I recommend doing so.
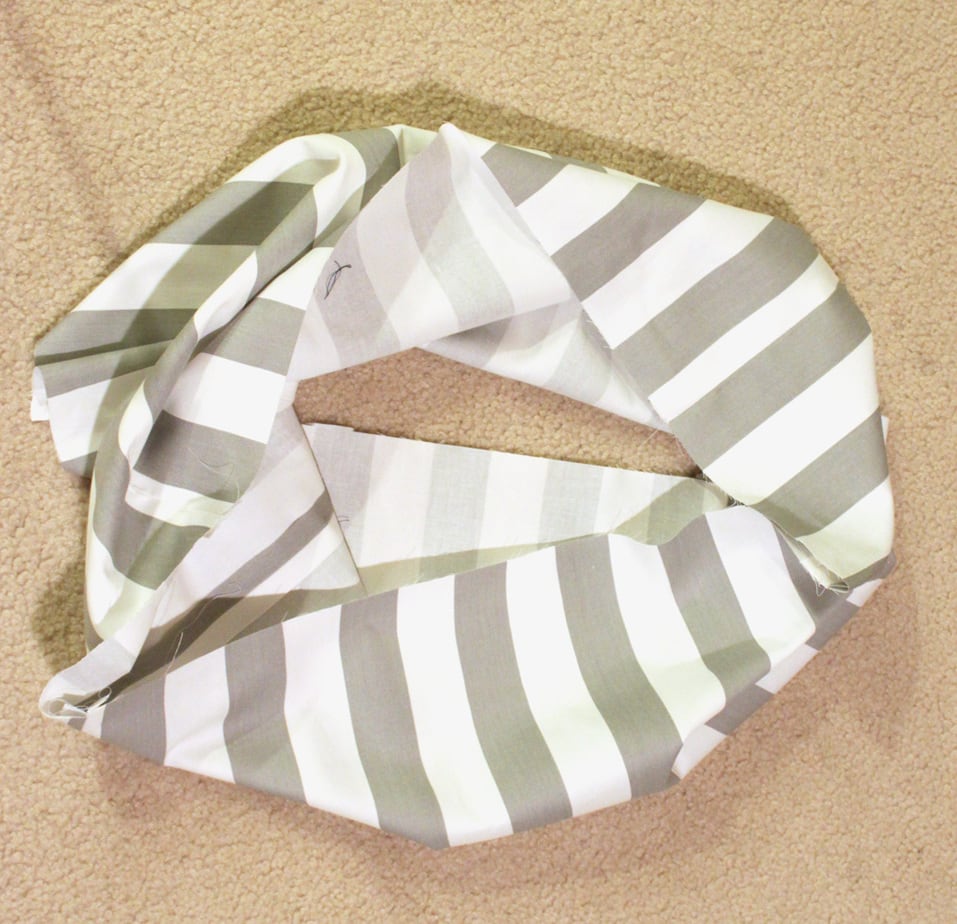
Once you have everything cut out, it’s time to start assembling your bag. I used 1/2″ seams unless otherwise indicated. Sew the sides to the back of your bag right sides together as shown.
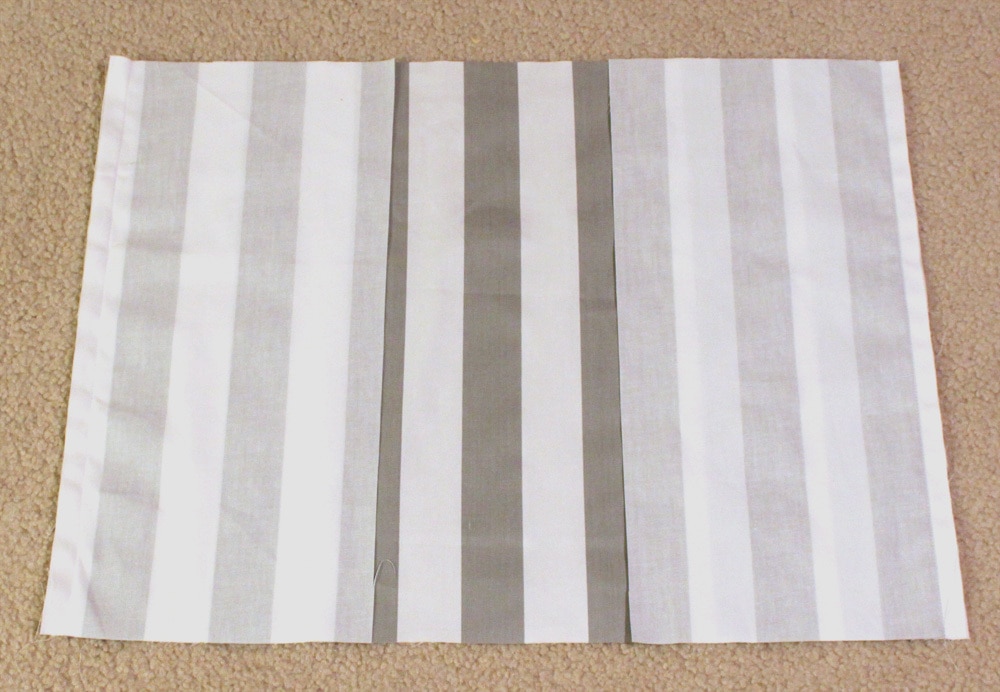
Sew the front of the bag to the sides, so you are basically forming a big loop. Yes, it probably would have been easier in the long run to sew everything to the bottom first, but I wanted to see where everything was going to be before I added the applique.
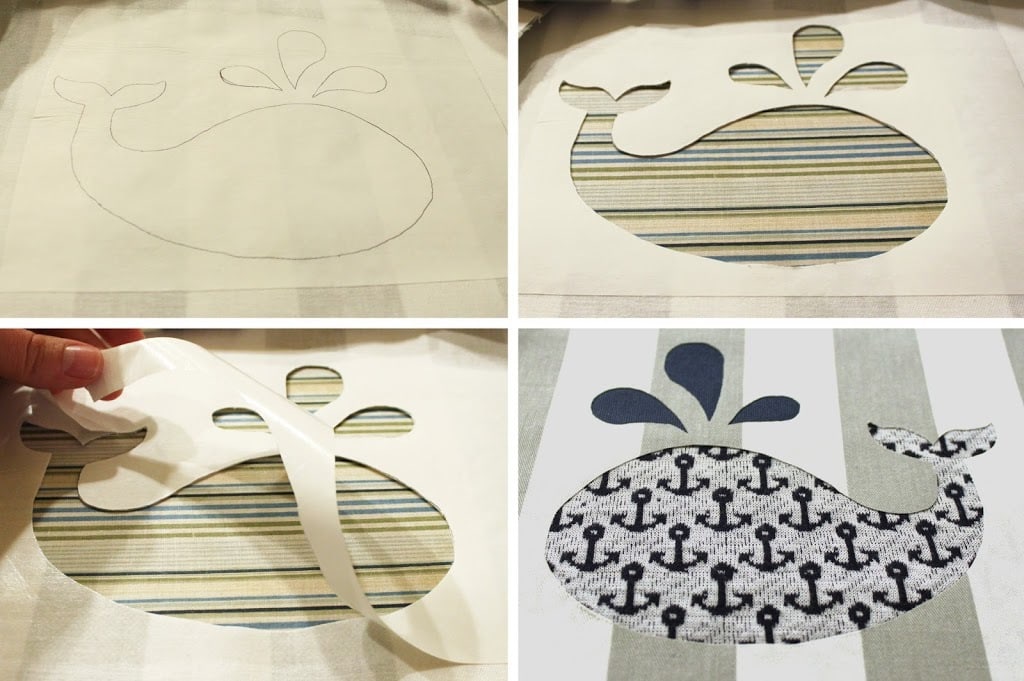
Trace the whale image onto the smooth side of some paper backed fusible webbing. You want your image to be reverse of how you want it to end up. Iron the webbing side onto the wrong side of your fabric and cut it out. Peel off the paper backing. Place your contrasting fabric over the cutout and webbing and iron it down.
Machine or hand stitch around the edge of the reverse applique to secure it. I just did a running stitch using all six strands of embroidery floss.
It took a little finagling, but you need to line up all of the sides with the bottom and pin and sew it on. This is where it probably would have been easier if I had sewn on the bottom before sewing the sides together.

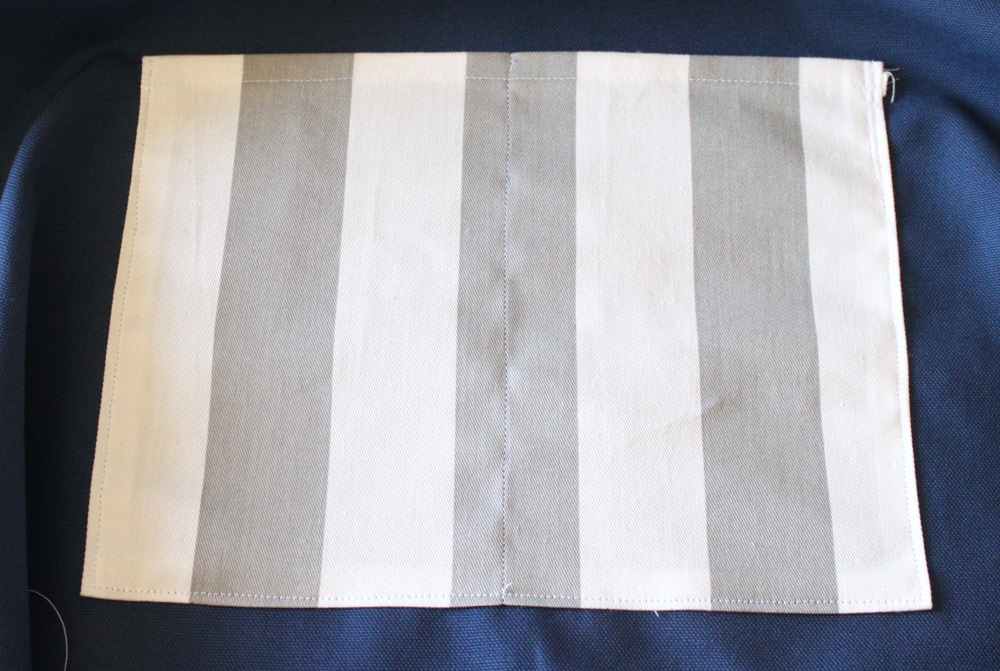
Assemble the lining of your bag the same way. To make the pockets, iron the bottom and sides in 1/2″. Iron the top down 1/4″ and then another 1/2″ and stitch to hem it.

Sew the pocket to the right side of the lining about 4″ from the top. I made two pockets. I sewed one down the middle like in the photo below and left one unsewn. That way I would have room for different sized objects.
You should now have the outer part and the lining of your bag completed. Push the lining of the bag into the outside of the bag with right sides facing each other. All of your seams should be showing. Line up all of the side seams and pin around the entire top of the bag.
Sew 1/2″ seam all around the top of the bag, leaving an opening that is a few inches wide on the back panel. Reach into the opening and turn the whole back right side out.

Top stitch around the whole top of the bag again. This keeps everything in place and eliminates the need to hand stitch the opening closed.
Add a couple of grommets. I got mine in the purse-making section at the fabric store. You can also use curtain grommets, they just come in a bigger pack.
I found a YouTube video to show me how to tie bowline knots.
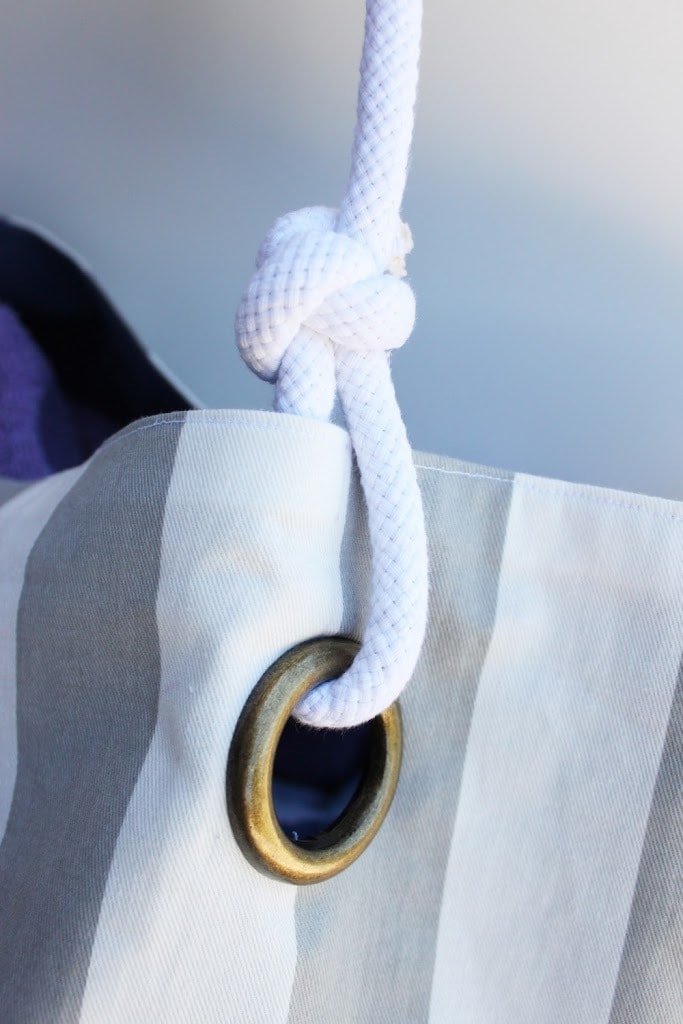
To secure the ends of the knots and keep them from fraying, I sewed through the soft rope with a zigzag stitch.

Then I wrapped the rest of the cord around the knot and hand stitched it down with some white thread.

That’s it! Thanks for voting, everyone! I hope you are all having a great Summer!


Gorgeous bag! Love the beach theme! Thank you so much for the step-by-step instructions…I am tempted to run down to my fabric store this afternoon…
Thanks, Amanda! It has been serving us well this summer going back and forth from swim lessons.
This is so super duper cute! Thanks for stopping by my blog earlier! It’s always fun to meet another local crafty blogger! 🙂
Your bag is fabulous!!! I can see why you did so well. I would love to carry that bag everywhere. Thanks for sharing. Maybe someday I will be brave enough to make one myself. We’ll see if I can get comfortable with my sewing machine. 🙂
So cute! Pinned to my beachy board:) I posted DIY Doily Jacket this week
🙂
Thanks, Michele!
so cute! I voted for this project!!! Adorable… I love the whale cut out… EMily @nap-timecreations
Thanks, Emily!