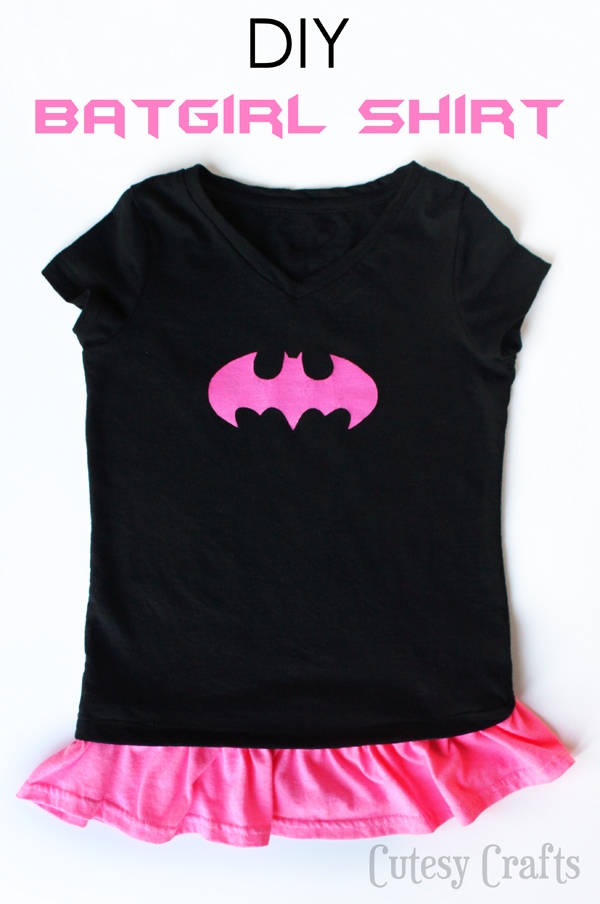
DIY Superhero Batgirl Shirt
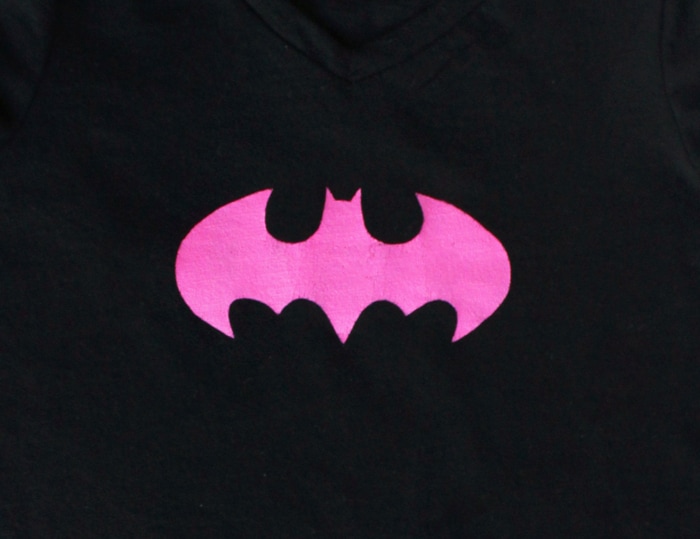
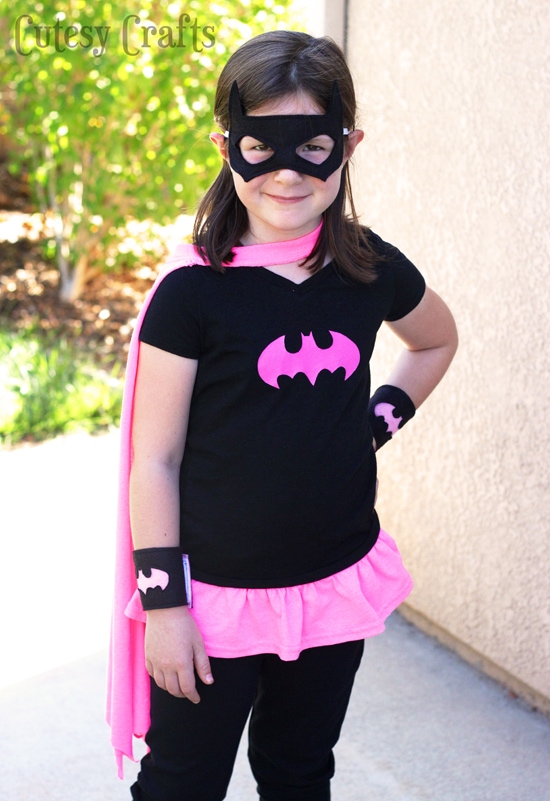
I made this DIY Batgirl shirt to go with Audrey’s Batgirl Halloween costume. To get tutorials for all of the costume elements, go here. This shirt is great because it’s made of a clearance kid’s t-shirt and the bottom of an adult t-shirt. You don’t need any special equipment to make the bat symbol. It’s just a simple freezer paper stencil and fabric paint.
(This post may contain affiliate links, which means I may receive a commission, at no extra cost to you, if you click a link and purchase something that I have recommended.)
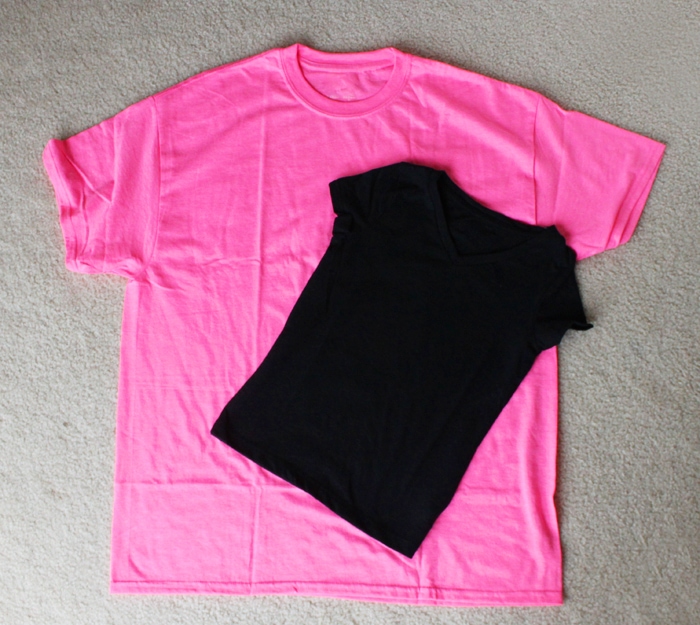
To make this DIY Batgirl Shirt you will need:
- a black child’s t-shirt
- a pink XL women’s t-shirt
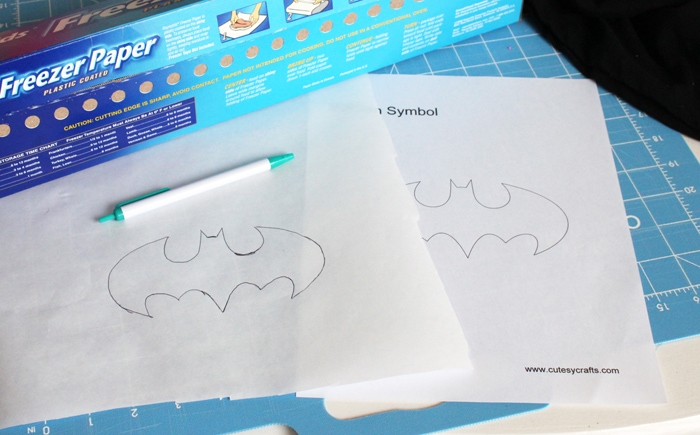
- freezer paper – can be found in some grocery stores
- pink fabric paint
- pink and black thread
- free bat symbol pattern
Trace the bat symbol onto the non-shiny side of a piece of freezer paper, and cut out the inside to make your pattern.
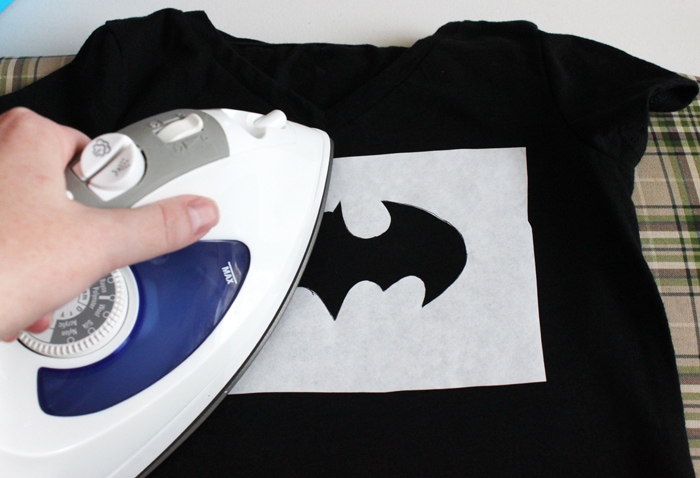
Place the stencil, shiny-side-down, on the front of the black shirt. Using a hot, dry iron, press the stencil onto the shirt. Make sure all of the edges are sealed.
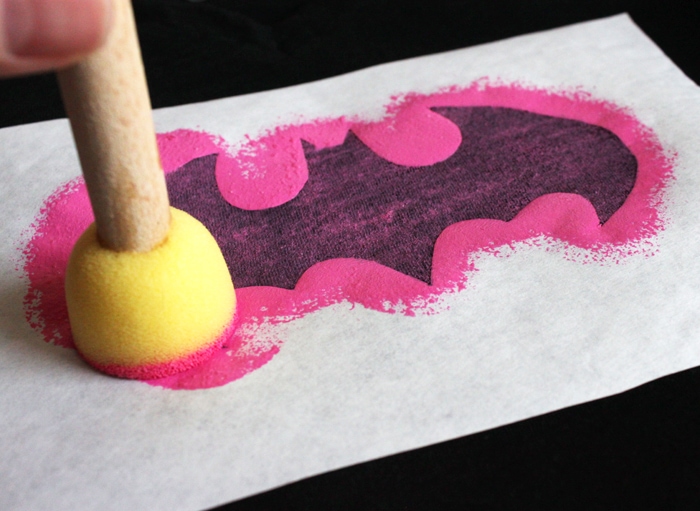
Dab some pink fabric paint on top of the stencil. Don’t use too much paint, and try not to shove it under the stencil. The first coat won’t show up very well. Let it dry to the touch and repeat with multiple coats until you get the desired coverage.
Let the paint dry to the touch and peel off the freezer paper stencil. Ta da! After it completely dries, follow the instructions on your paint to heat set it. This usually involves ironing it or tossing it in the dryer.
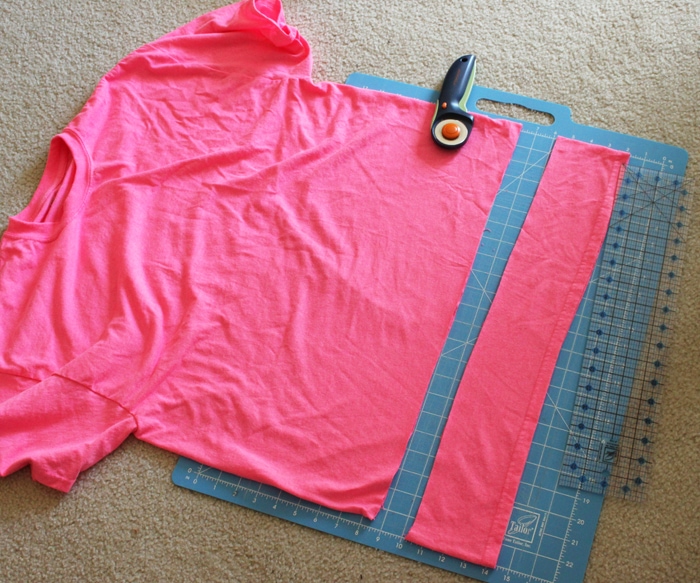
Cut 4 inches off the bottom of the women’s shirt. You will be left with a band of fabric that you will make into a ruffle for the bottom of the Batgirl shirt.
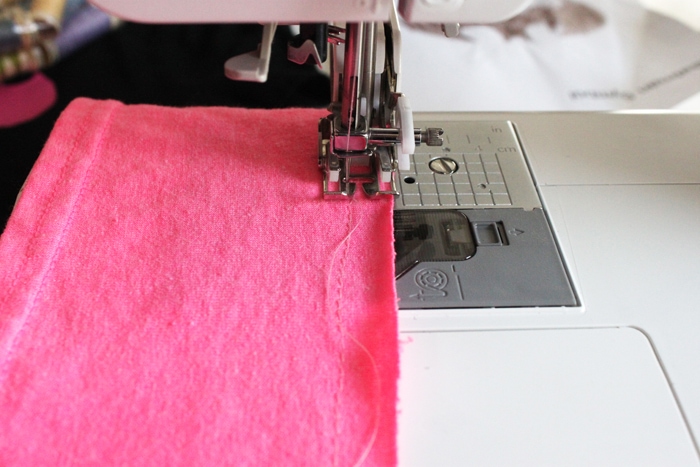
Set the stitch length on your machine to be longer (a 4 on my machine). If you have a walking presser foot, now is a good time to use it. Since the fabric is stretchy, the walking foot, helps feed it through. Sew a line 1/2 inch away from the un-hemmed side of the band you cut off. Do NOT lock your stitch at the beginning or end and do NOT sew back over your stitching when you come back around. Sew another line about 1/4 inch away from the edge.
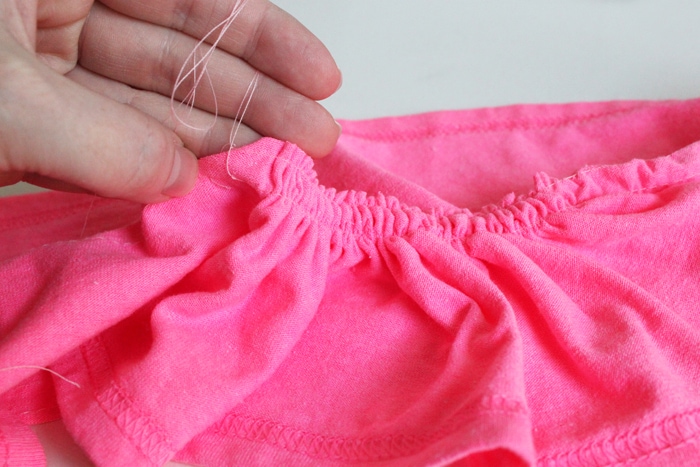
Now take the bottom threads that are hanging out and pull them both to make the fabric ruffle.
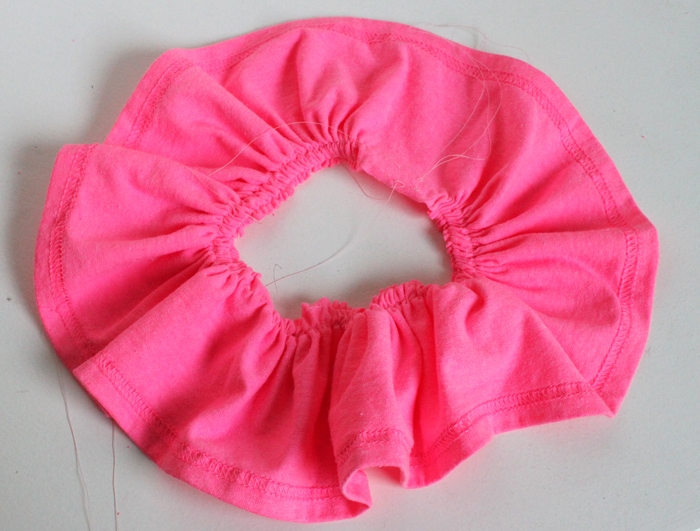
Keep going until you have ruffled the entire band.
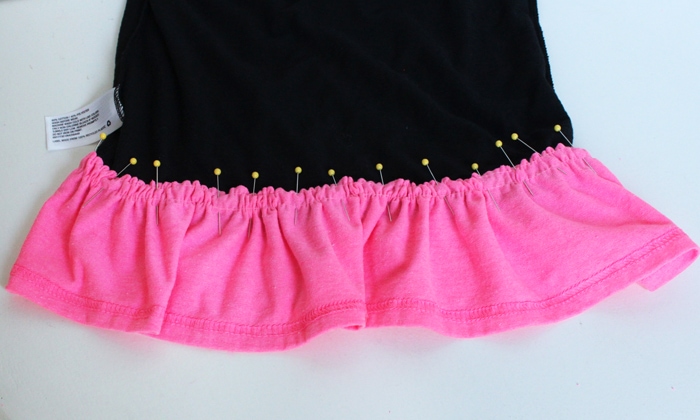
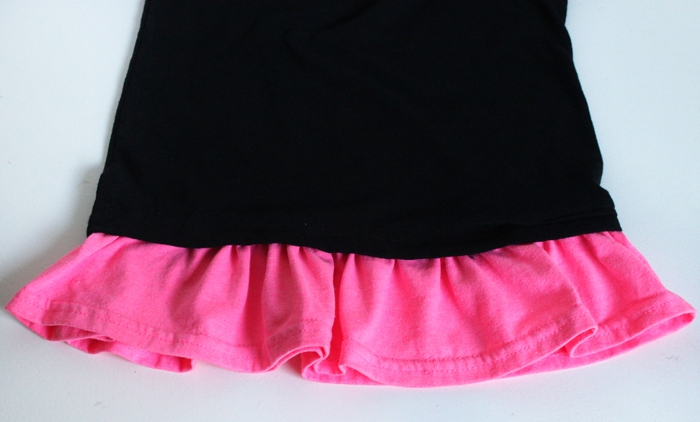
Spread the ruffle back out to make it the right size for the bottom of the black shirt. Turn the black shirt inside out and pin the ruffle on like so.
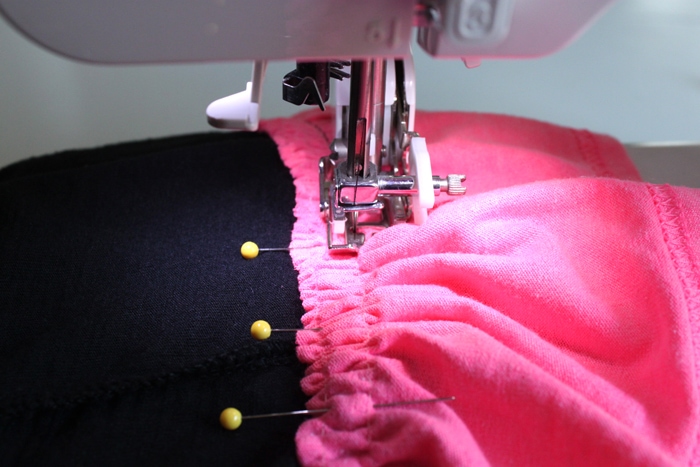
Using black thread, sew the ruffle to the bottom of the shirt, removing the pins as you go.
Turn the shirt right-side-out, and it’s done. Seriously, SO cute! I think I might just need to do this with some more of the girls’ shirts.
My little girly girl Batgirl!
Cutesy Crafts is a participant in the Amazon Services LLC Associates Program, an affiliate advertising program designed to provide a means for sites to earn advertising fees by advertising and linking to amazon.com. This post contains affiliate links.

Will wax paper work in the place of freezer paper, I grabbed the wrong thing at the store. I sure hope it works.
I’ve only ever heard of people using freezer paper, but maybe you can google it to see if anyone has used wax paper stencils. The difference between the two is that freezer paper has paper on one side, and wax paper is waxed on both sides. Wax paper also seems a bit thinner to me, which might make it wrinkle more when it gets wet with paint. If you try it, I would cover it with paper so it doesn’t stick to the iron. I would also test it on a scrap piece of fabric or old shirt first. Hope that helps!