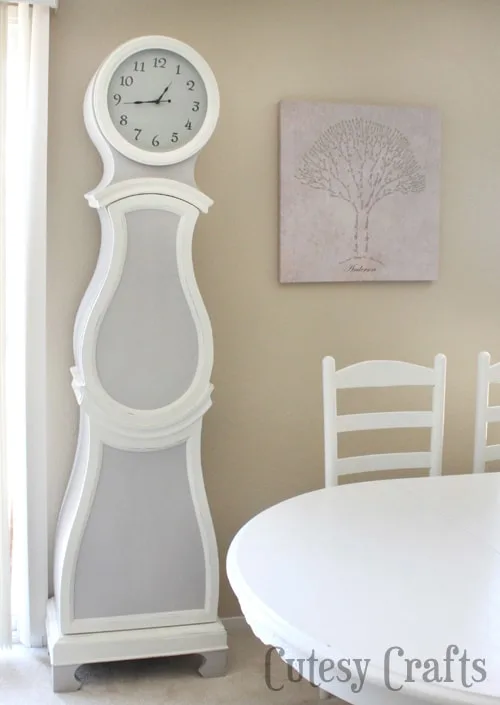
I have this problem where I like to buy things off of craigslist with the intention of painting them, but then taking forever to get around to it. Maybe you can relate? I don’t even know how long I’ve had this clock now, but I know it was WAY past due for a makeover. One good thing about being pregnant is that it gets me to finish undone house projects that I have been procrastinating. Good old nesting! I just HAD to get this thing done before the baby came, and I’m happy to say that I finally did it!
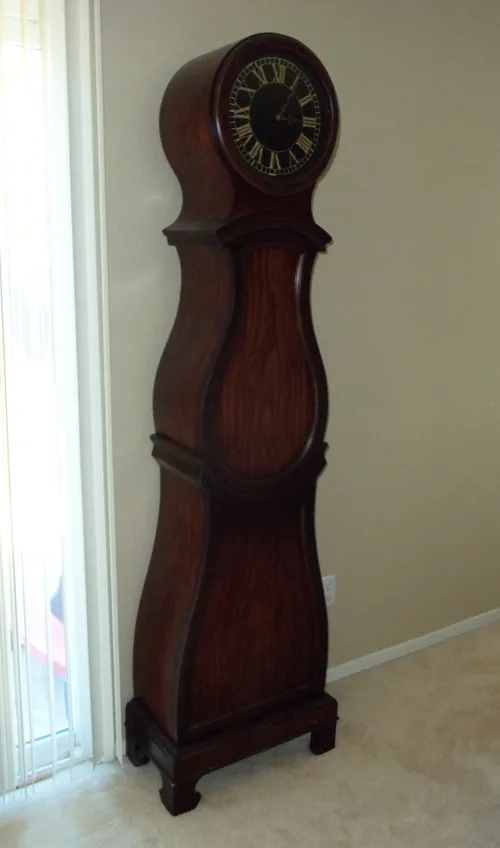
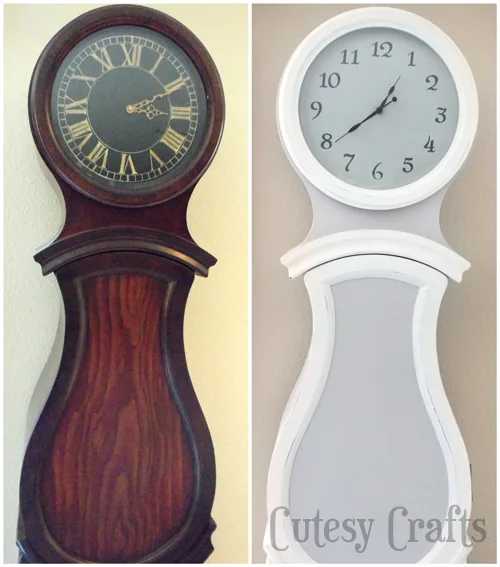
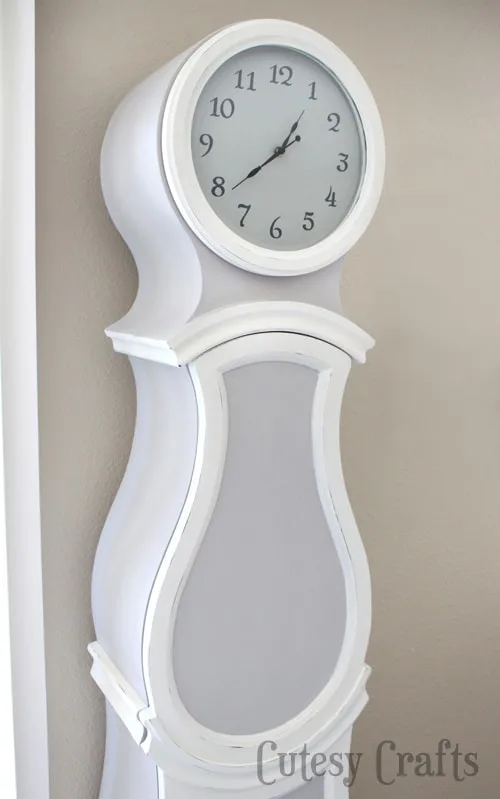
I bought the clock after falling in love with the Swedish grandfather clocks that I saw floating around on Pinterest. The real ones cost a TON of money, so I was going to try and find a regular grandfather clock to paint. One day when I was browsing craigslist, I found this one that looked like the Swedish clocks I had been admiring. I knew I had to have it, and for just $50.00 she was mine! It wasn’t much to look at before the paint, but just take a look at that after photo! Huge difference, right?!
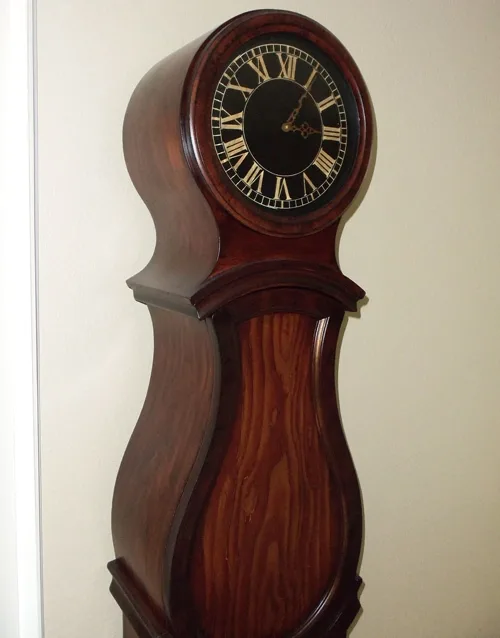
Another “before”. Do you love that horrible, shiny, fake wood-grain?!
I love it so much now!
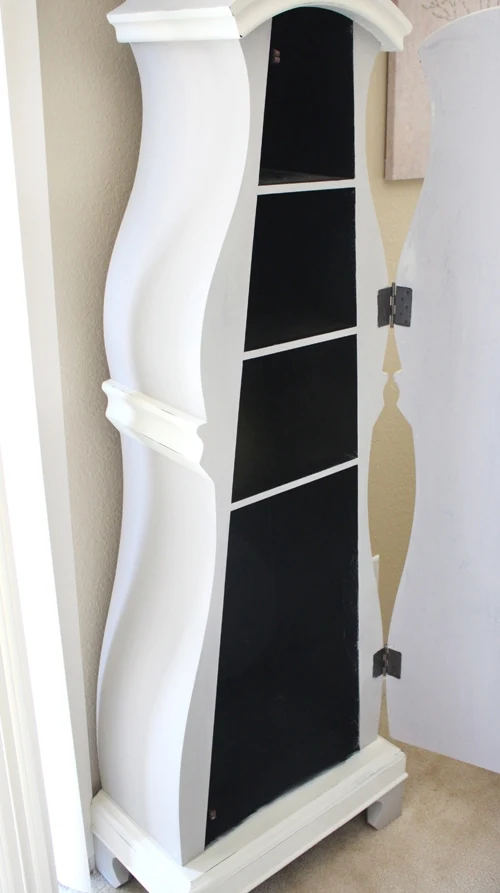
So the clock is not actually a “grandfather” clock. There is no mechanism inside, just a battery powered clock face. The inside has some shelves which makes for some pretty great storage, and no one knows that it’s there.
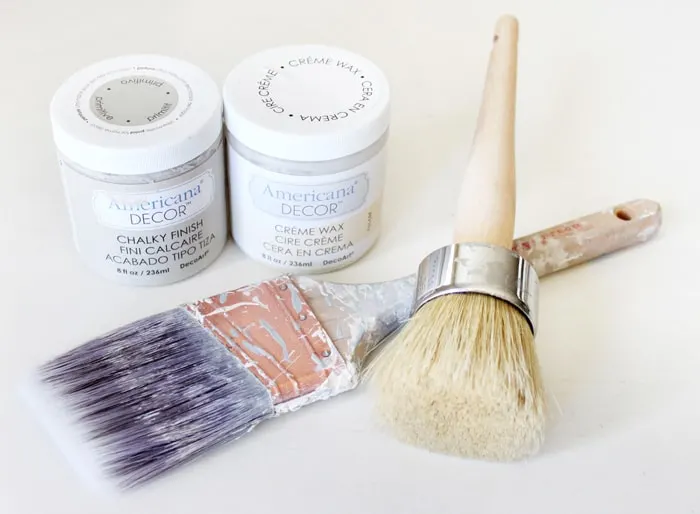
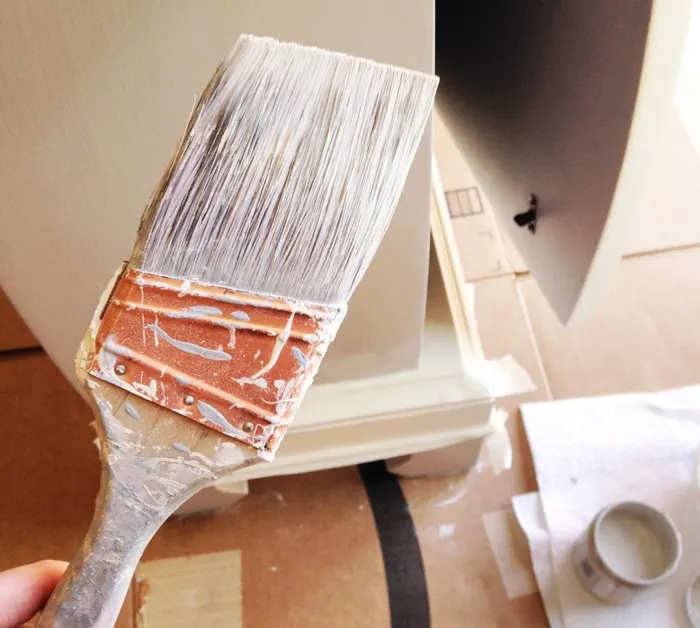
I painted the clock using DecoArt’s Americana Decor Chalky Finish Paint. I really love this stuff because there is no priming necessary. Just start painting! I used the colors Primitive and Everlasting.
I wanted an extra smooth finish, so I like to dip my brush in a tiny bit of water when I am painting. You have to do more coats that way, but it’s worth it.
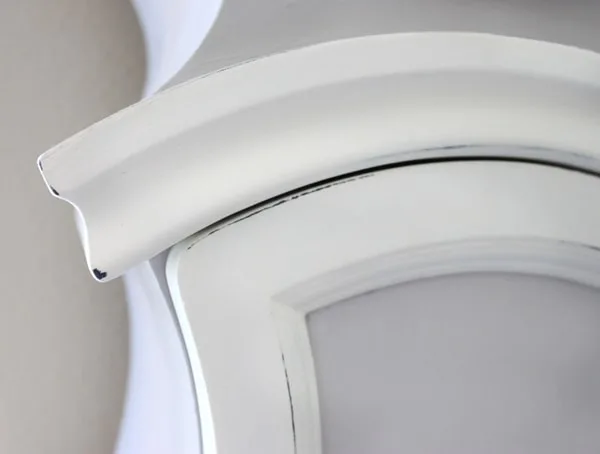
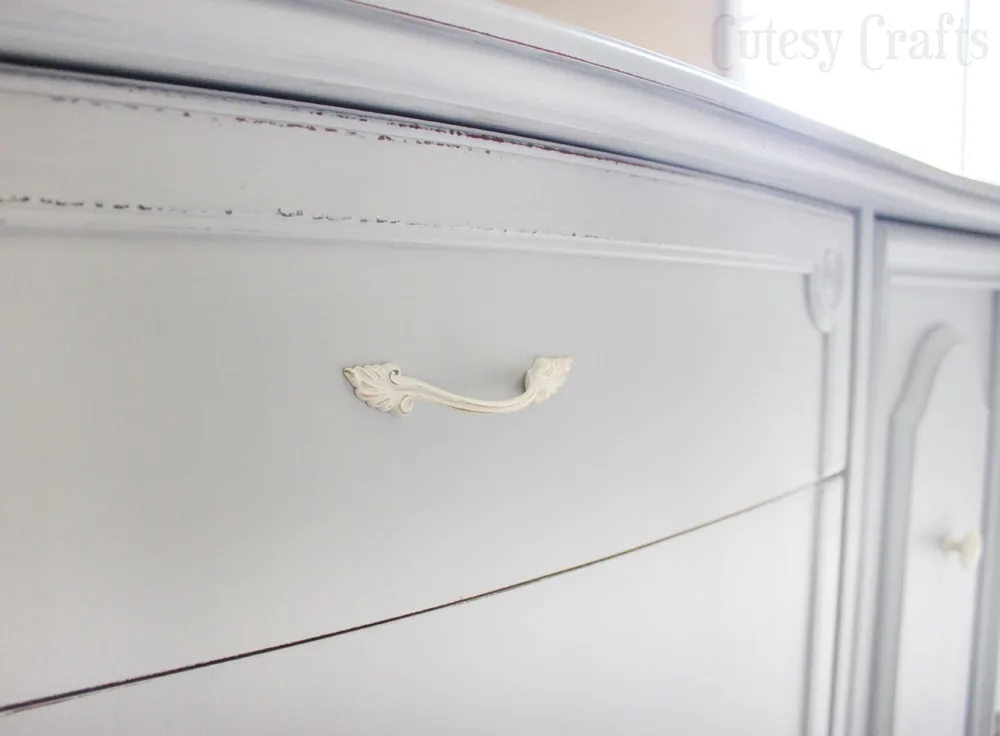
After painting, I took a sanding block and sanded some of the edges to distress it a little.
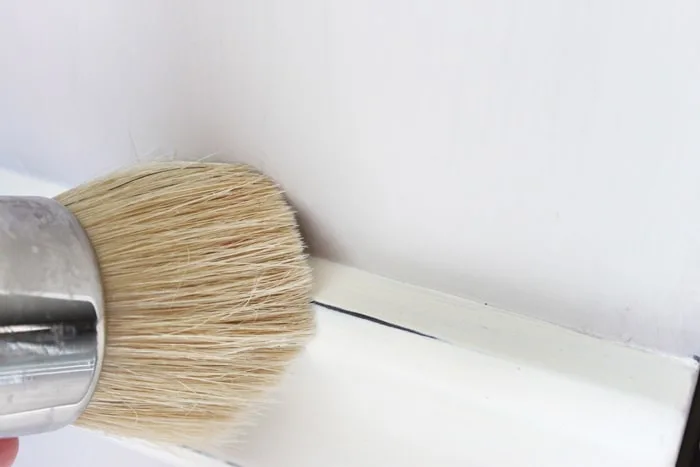
I used the creme wax which is just a clear wax that I applied with a brush.
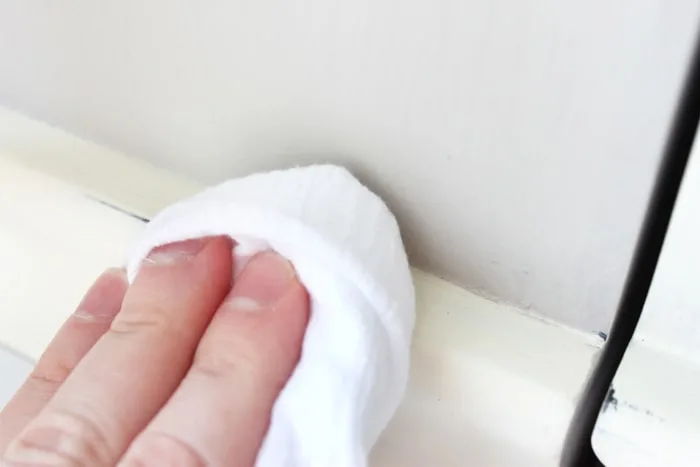
As soon as the wax dried, I buffed it with a clean cloth.
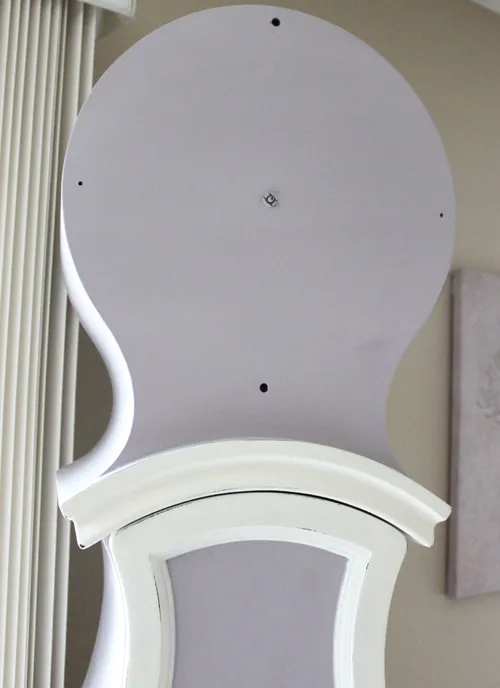
I decided to paint over the old clock face completely. I hated the Roman Numerals, and the dark face made it hard to read.
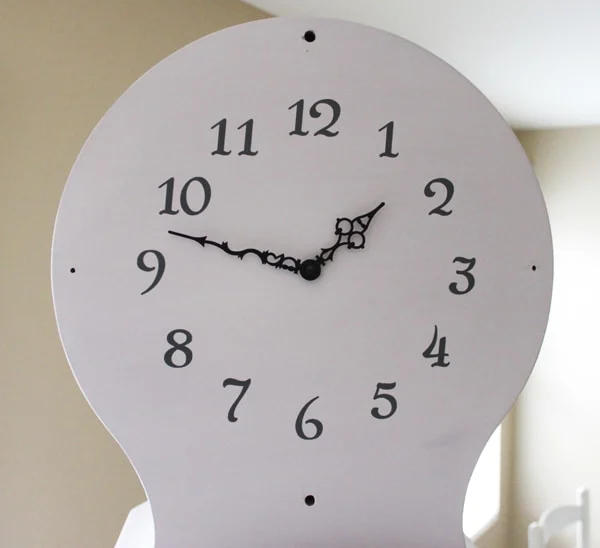
I cut a new clock face out of some dark gray vinyl with my Silhouette and applied it to the front. Here’s a free clock face cut file for you if you need it. Originally, I spray painted the old clock hands, and I really love how they looked. Unfortunately, after I got everything put back together, the clock no longer worked. Yes… I broke it. 🙁 I was SO mad! Not to fear though, I went to the craft store, picked up a new clock kit, and it worked like a charm. I didn’t get to reuse the pretty hands, but at least it works now. That’s pretty important.
I’m so glad that it’s finally done, and it looks really great in my dining room!
Best part? That’s the last big craigslist find that I have sitting around the house waiting to be painted (for now anyway). Yay!
Check out some of my other furniture makeovers:
Cutesy Crafts is a participant in the Amazon Services LLC Associates Program, an affiliate advertising program designed to provide a means for sites to earn advertising fees by advertising and linking to amazon.com. This post contains affiliate links.


Dorothy
Wednesday 25th of August 2021
Hi, I just bought the same clock on Facebook Marketplace! I'm not familiar with printing out a clockface. Can you please explain how to do that? Thanks so much - beautiful job!
Jessica @ Cutesy Crafts
Friday 27th of August 2021
I cut the clock face using adhesive vinyl. This can be done on a Cricut or Silhouette machine. Vinyl is sort of like stickers, but it cuts out each individual number.
Susan
Wednesday 27th of February 2019
You did a great job! I did much the same thing with a cheap floor clock I got on Craigslist years ago, and it is a show stopper, too! I love yours!
Jessica @ Cutesy Crafts
Saturday 2nd of March 2019
Thank you!
DIY Just Cuz
Monday 6th of July 2015
You did such a great job--it really looks amazing. I especially like that you changed the clock face as well, to fit the style of the new look! Great job!! --Brittany