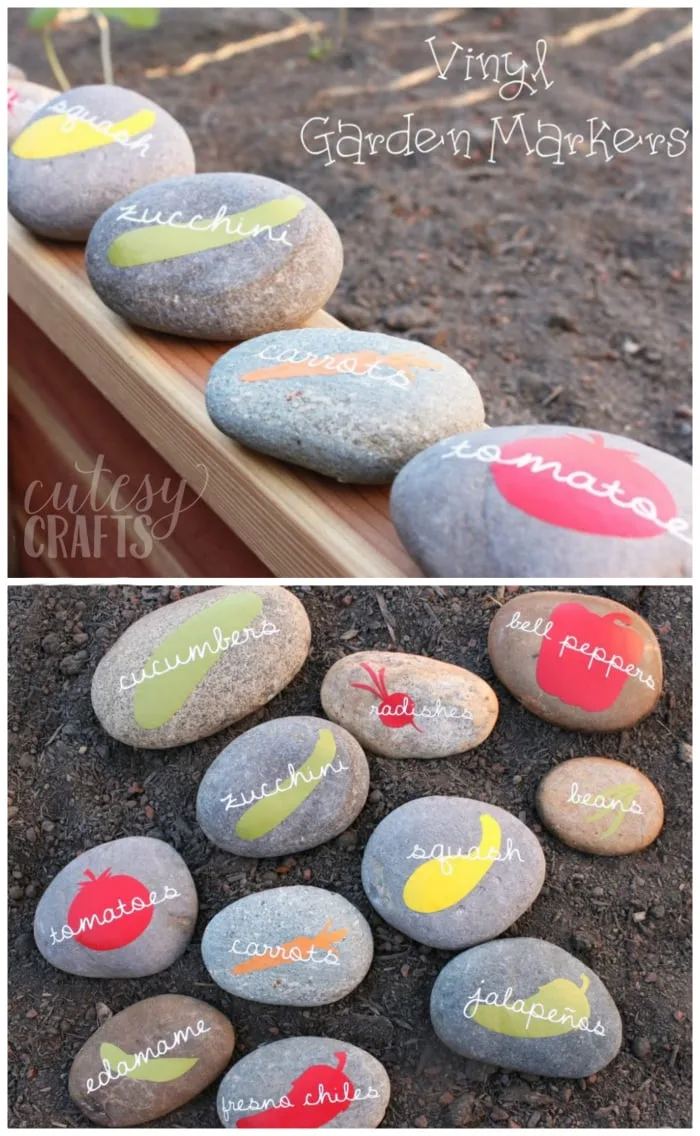
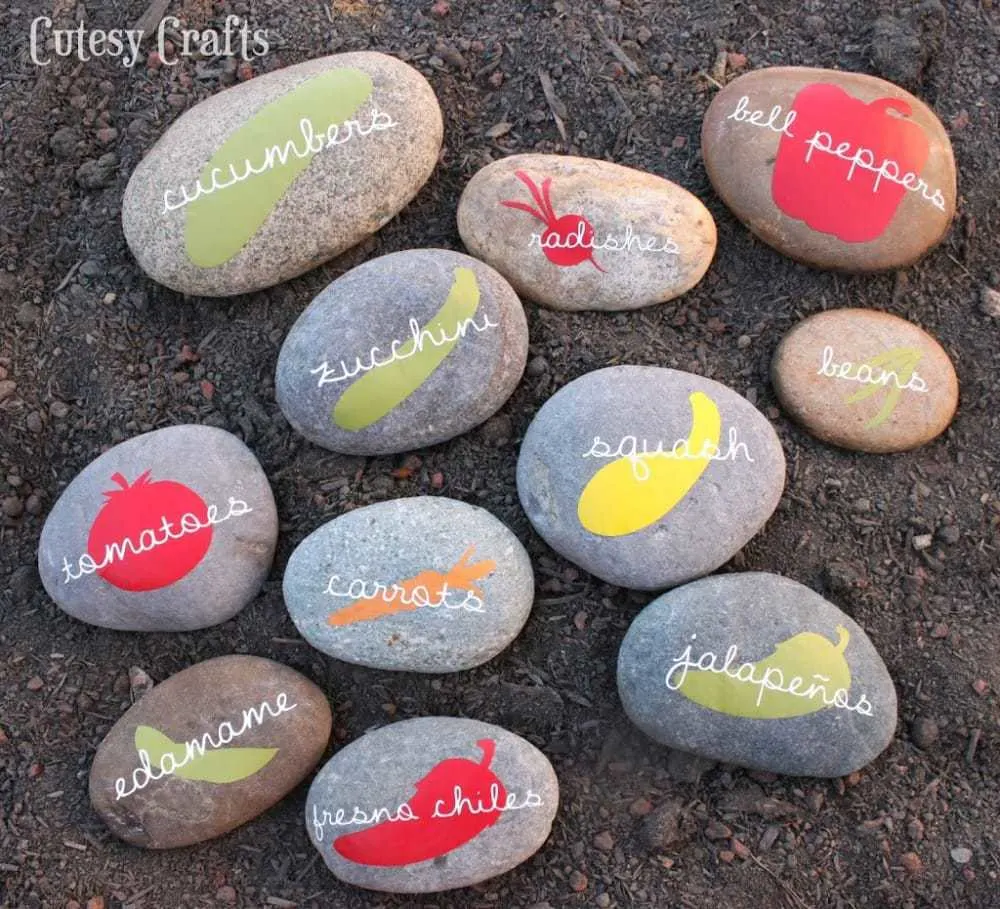
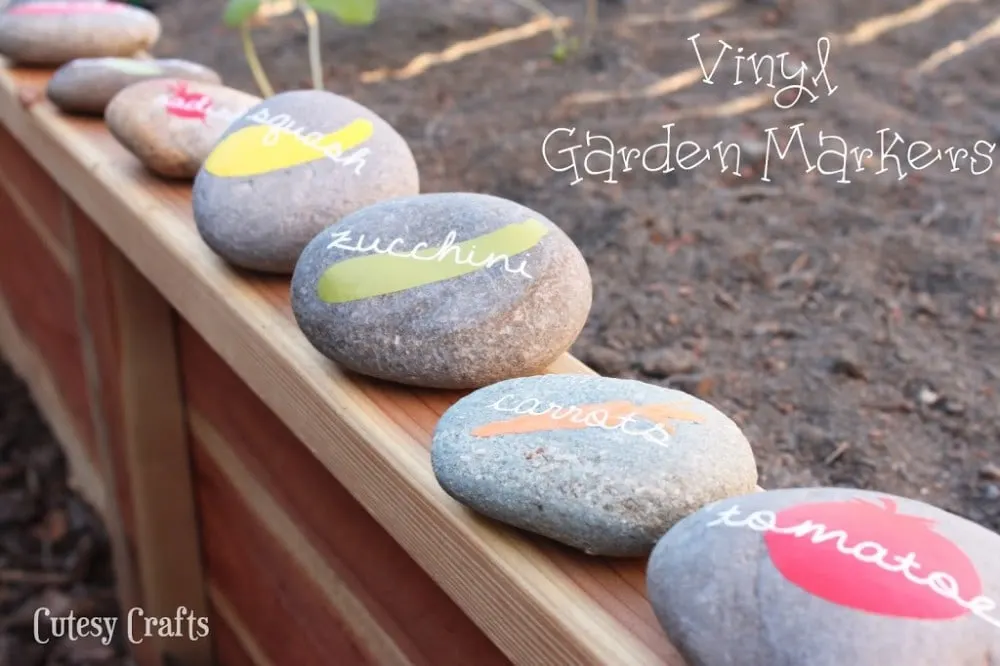
I mentioned earlier this week that we have been hard at work on our new vegetable garden. It’s my first time growing a garden, and I’m really excited. Part of the fun of having a garden is making it cute right? I have seen a few examples of DIY garden markers painted on rocks, and I thought they would look really good done in vinyl. Here is what I came up with.
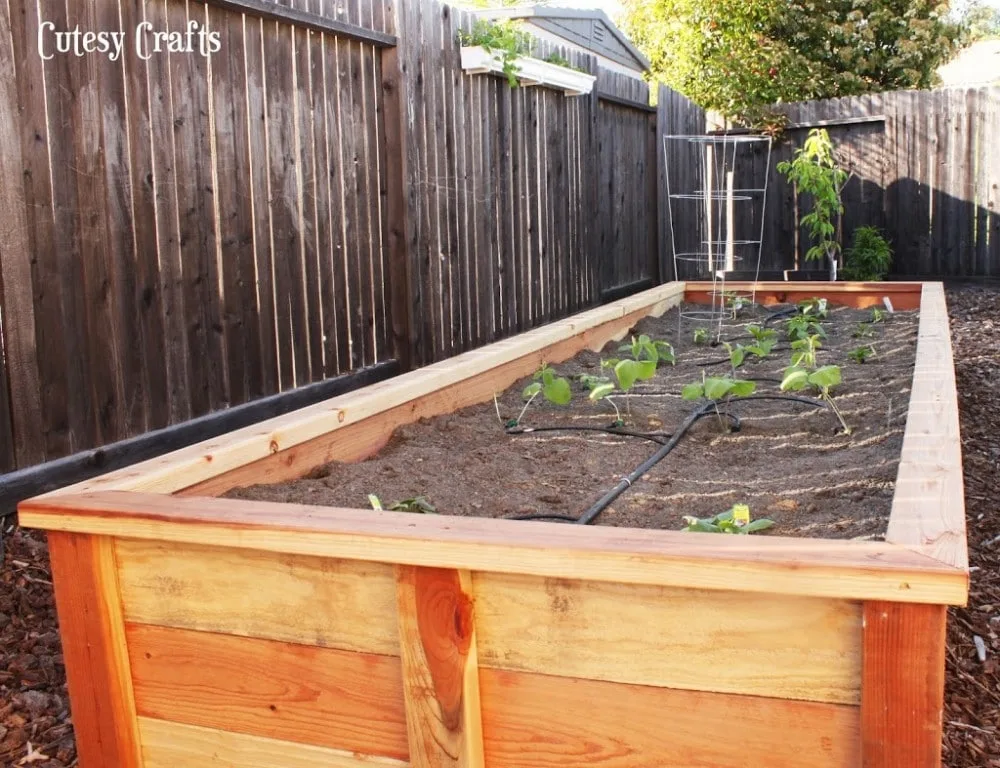
 Huge thank you to my step-dad for helping us build the raised bed! Doesn’t it look great?!
We had some April showers this week, and they still look great! I might still put some kind of clear coat on them to make sure they last. (update: I never put any kind of coating on them, and they lasted 2-3 years in the yard. They might last longer if you use permanent vinyl.)
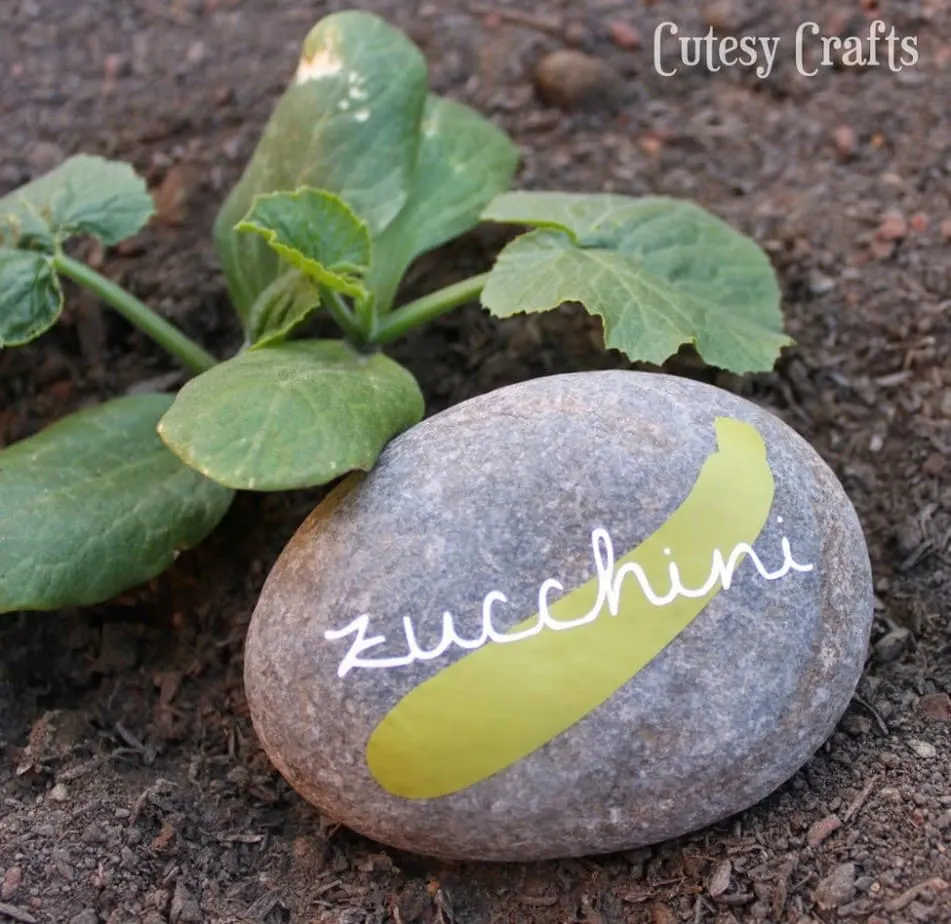
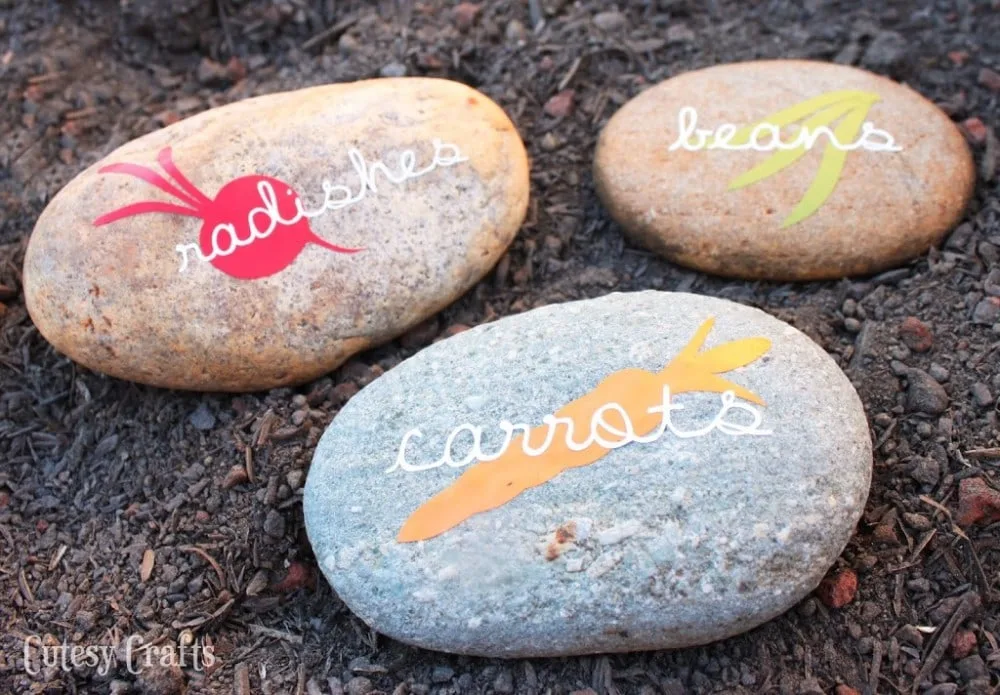
For each rock, I used my Silhouette CAMEO to cut the shapes and names of the vegetables in vinyl. You want your rocks to be as flat and smooth as possible so the vinyl will go on nicely. I made my own free vegetable Silhouette cut files that you can get here for personal use. I also made them available in svg and pdf formats. You will need to size them according to the rocks that you have.
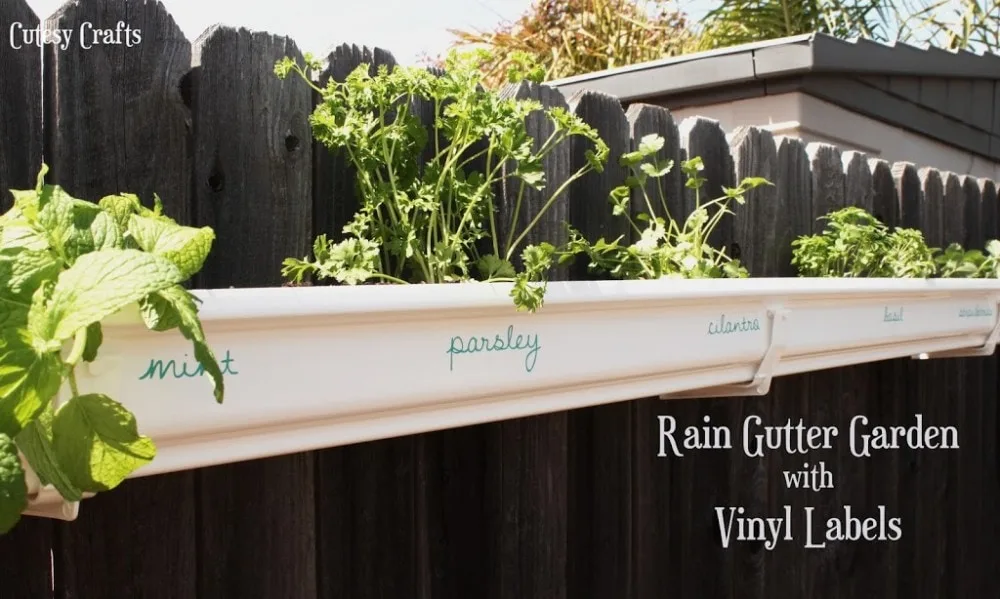
And… have you seen the rain gutter garden ideas going around? My friend gave me some leftover gutter, so we hung it on the fence to try and grow herbs and strawberries in. Maybe we will add a few more rows next year. The gutter got some cute little vinyl labels in a pretty turquoise.
Now just crossing my fingers that I don’t kill everything! Grow garden grow!
Have you made your own DIY garden markers? I’d love to hear about them!
Inspire Me Heather
Monday 24th of June 2013
Oooh, I love your little rocks! So cute (I wish I had a Silhouette...) oh well, I have this linked to my DIY plant markers post too today!!
Nancy Bandzuch
Sunday 5th of May 2013
Jessica--you make it very hard to live without a silhouette! Maybe mother's day... But, I love this project. I can't wait to get my garden in, but first it has to stop snowing here! So jealous of you!Miss chatting each week,Nancy
Q @ JAQS
Tuesday 30th of April 2013
Such a cute idea. Kids would love this for our yard!
Thank you so much for sharing your lovely project :). I featured it here:http://www.jaqsstudio.com/2013/04/made-by-me-78-linky-party-and-features.html
Emily Thompson
Monday 29th of April 2013
hi! I'm featuring this at the party that opens tonight!! Come on over and check it out... Would love for you to grab a featured button and put it in this post. :o) Thanks for linking! Emilyhttp://www.nap-timecreations.com/2013/04/tasteful-tuesday-430.html
Anonymous
Monday 29th of April 2013
Hi Jessica, what a cute idea! Pinning it it for sure! And thanks for making the Silhouette file available, I just might have to make these for my mom :-)Just one question, what font did you use? I can't seem to find any handwritten font I like, but yours is pretty cute!Oh btw, sorry for posting anonymously, but I don't have a blog or site and have no clue how to comment otherwise..... yeah, I'm a regular computer nerd ;-)Marjolein
Jessica Anderson
Monday 29th of April 2013
Thanks! I used a free font that I downloaded from dafont.com called Stars From Our Eyes. Let me know if you need help installing it. Make sure to "weld" it together before you cut since it's a cursive font.