
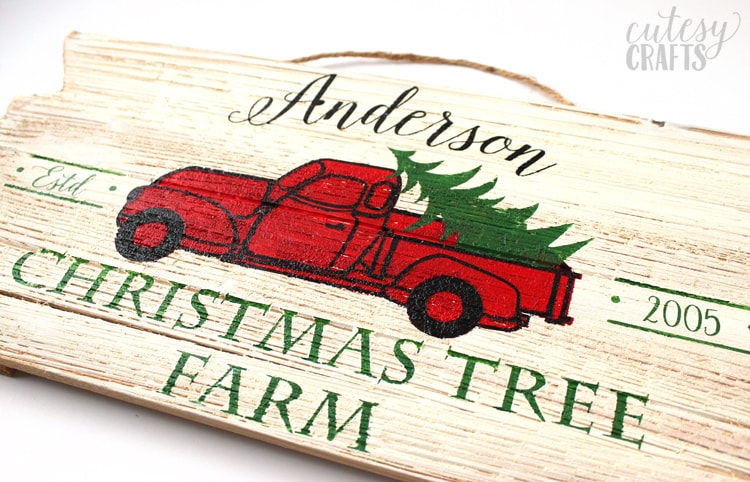
DIY Custom Christmas Tree Farm Sign
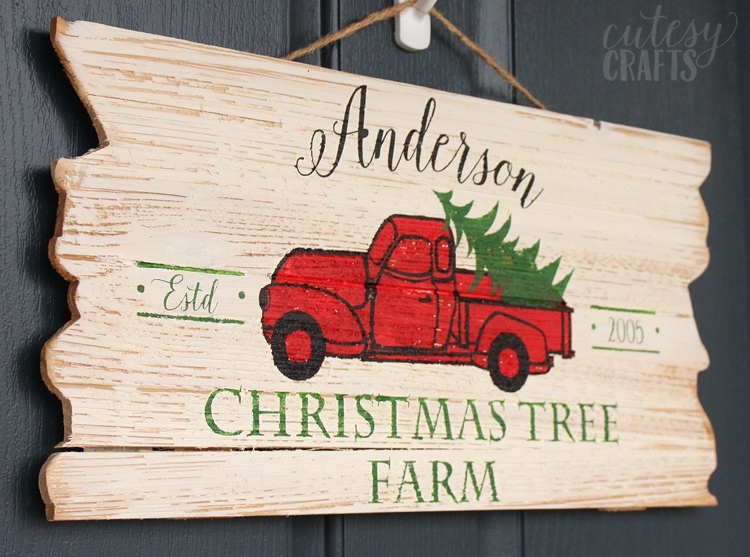
I love the Christmas decor trend with old trucks carrying Christmas trees. I saw some Christmas tree farm signs at the store, and thought it would be really fun to make a custom one for our family. This one has our last name and the year we got married for the “established” date. My kids are a little confused… probably because I told them we are opening up a Christmas tree farm. Haha! Oh, and make sure you keep reading because there’s a GIVEAWAY happening today!
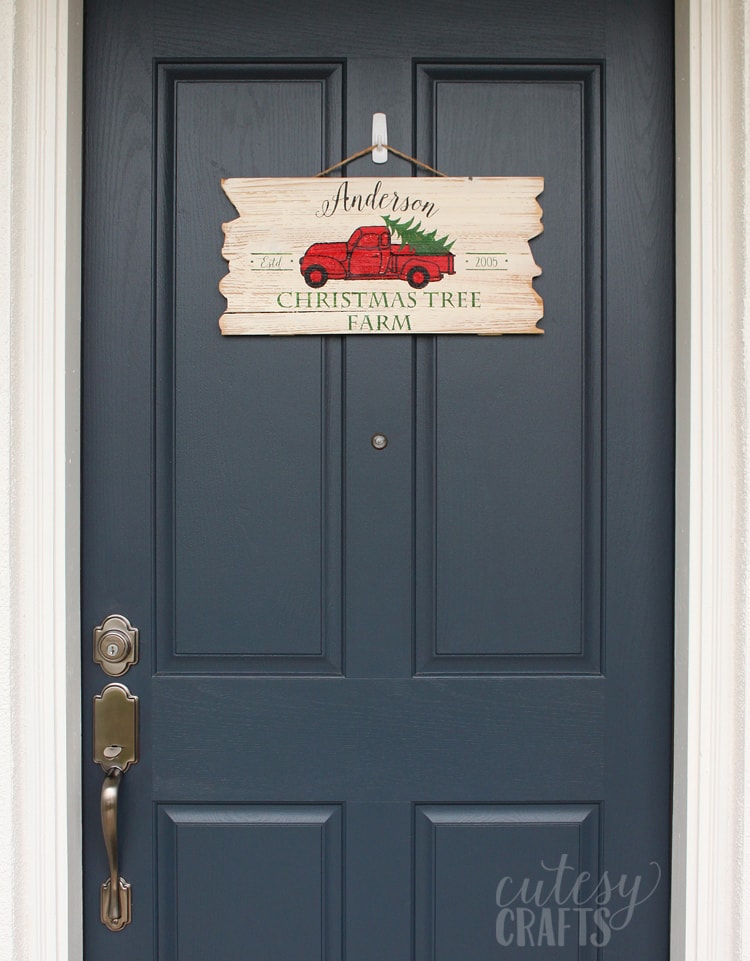
I hung it on the front door as an alternative to a wreath. It looks so cute!
(This post may contain affiliate links, which means I may receive a commission, at no extra cost to you, if you click a link and purchase something that I have recommended.)
To make your own Christmas tree farm sign, you’ll need:
- wooden sign
- acrylic paint (white, black, red, and green)
- foam paint pouncer and small paint brush
- vinyl and transfer tape
- Silhouette or other vinyl cutting machine
- truck cut file from the Silhouette design store
- free words cut file
I purchased this wooden sign at Michael’s already made. It’s about 18 by 6 inches.
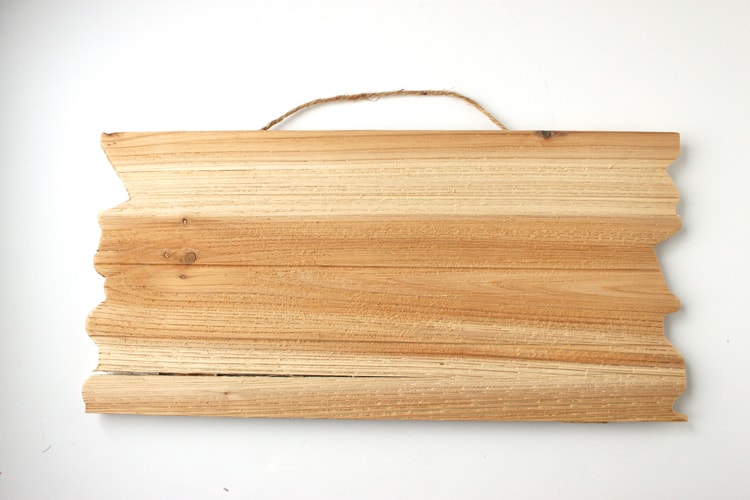
Water down your white paint and brush a single coat over the front of the sign. Adding the water helps make it look more rustic. Let that dry completely.

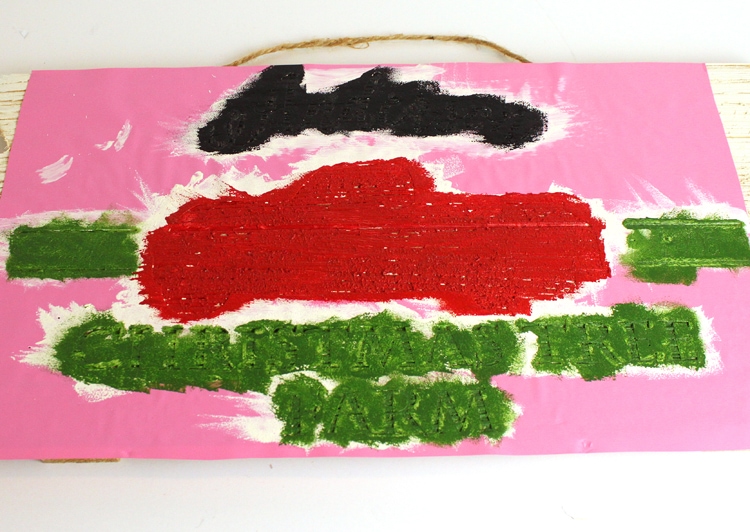
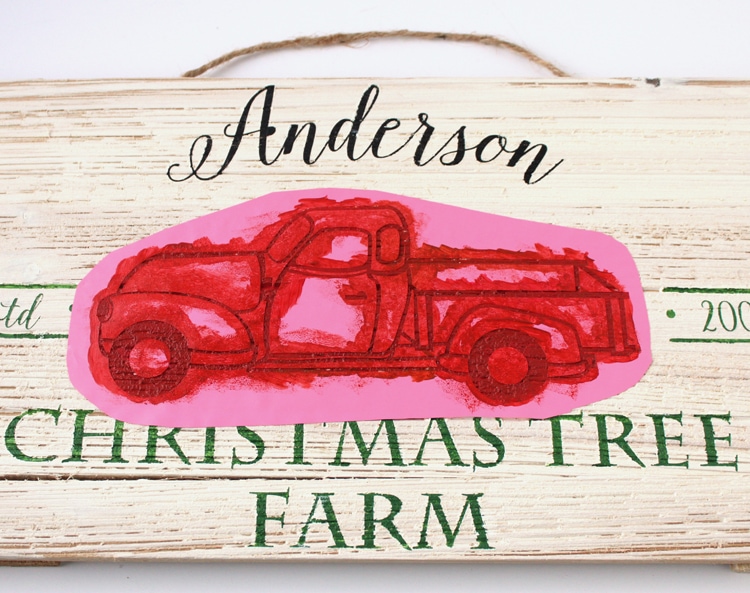
Cut your vinyl and weed out the letters to make a stencil. The truck will need to be done in layers, so start with the largest part of the truck first. Transfer the stencil onto the sign, using transfer tape. You will need to purchase the truck cut file, but I have provided some of the words for you. I used the font Isabella Script for the name, but you can use something different. I think that’s a font you have to purchase. For the date, I used Ke Aloha, which is free.

Take your white paint and paint over the stencil to seal the edges. No need to water down the paint this time. This helps keep the colors from seeping under the stencil.

Once the white paint is dry to the touch, paint on all of the colors, let dry, and peel off the stencil.
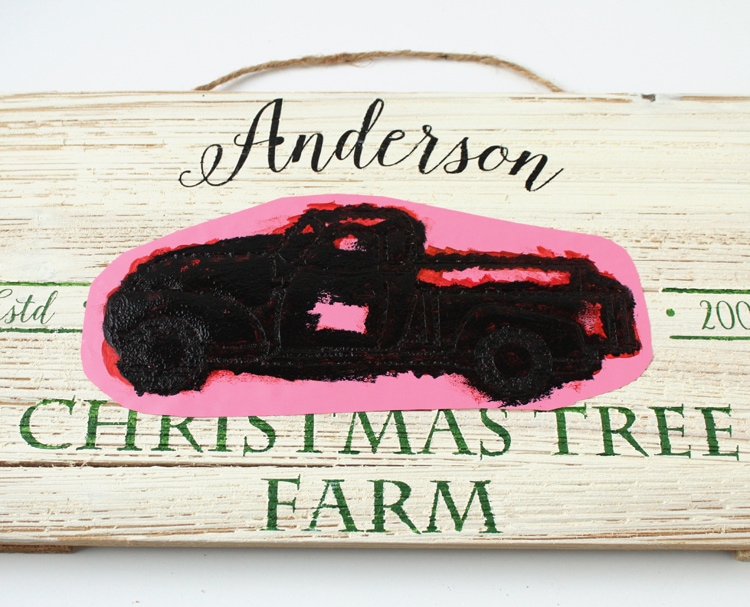
Cut out the outline of the truck, add it to the sign, and paint red over it to seal it.
Once the red is try to the touch, paint on the black. Let that dry, then peel off the stencil.
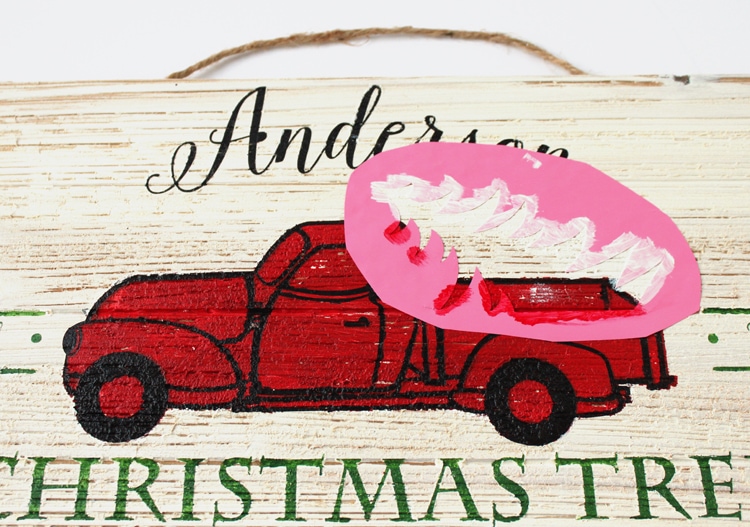
Add your tree layer and paint red and white to seal the edges.
Let that paint dry to the touch and paint on your green. Once that is dry, peel off the stencil.
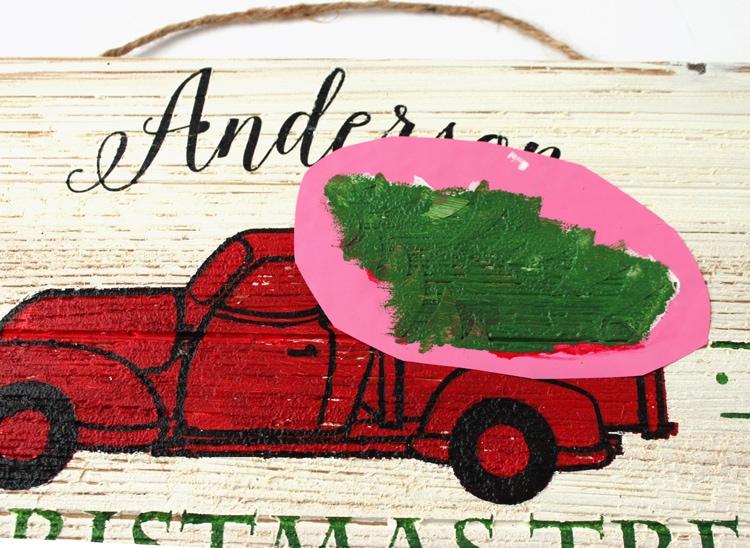
You will inevitably still have a little paint that seeps under the stencil. I just took a toothpick and went back over those spots with white paint.
Isn’t it adorable?! I just love how it turned out! Hopefully my children won’t be too disappointed when they find out we aren’t really opening up a Christmas tree farm.

Want to Check Out More Silhouette Projects?
My Silhouette Challenge buddies and I are all sharing projects on our blogs today, so peruse the projects below for a wealth of Silhouette inspiration!

1. Small Stuff Counts // 2. My Paper Craze // 3. HaberdasheryFun // 4. Create & Babble // 5. Creative Ramblings // 6. Cutesy Crafts // 7. GiveMeAPaintbrush // 8. Architecture of a Mom // 9. The Crafting Nook // 10. Get Silvered // 11. Where The Smiles Have Been // 12. Curly Crafty Mom // 13. unOriginal Mom // 14. Ginger Snap Crafts // 15. Practically Functional // 16. Sisters, What! // 17. The Thinking Closet // 18. Dream a Little Bigger
Silhouette Giveaway

And I’ve saved the best for last. My Silhouette Challenge buddies and I in partnership with Silhouette America are hosting a mega-huge giveaway for TWO lucky winners! The prizes up for grabs?
- First prize: Silhouette Cameo 3 Bluetooth Machine Bundle. $250.00 value.
- Second prize: Silhouette Mint Custom Stamp Maker. $129.99 value.
Sweet, huh? To enter: just complete the entries in the Rafflecopter widget below. Because of my many blog friends who helped make this giveaway possible, you have 33 potential entries, which means a lot of winning power. So, hurry up and enter!
{This giveaway runs from today through Monday, December 19th at 11:59 p.m. eastern and is open to anyone 18 years of age or older with a U.S. or Canada mailing address. You can read the rest of the terms and conditions in the widget below.}
Cutesy Crafts is a participant in the Amazon Services LLC Associates Program, an affiliate advertising program designed to provide a means for sites to earn advertising fees by advertising and linking to amazon.com. This post contains affiliate links.


this is so neat would love to win how much fun i could have with my grandchildren now they can not say grand ma is too biring nothing to make they are always wanting to make crafts.
sorry i meant to say boring.
I love a truck with a tree for Christmas. Great tutorial on stencils, thanks for sharing.
Jessica, this sign is FABULOUS!! I big puffy heart love it and I want to make one!! I’ve never thought to try a multi layer stencil like that, and it looks so great! It’s perfect for this design. Wonderful job!!
This sign is great. Thanks for the tute too. It’s a great tip to seal the edges with the background paint! I was admiring your crisp edges on the rough wood and you told us how 🙂
Very cute and vintage! Nice change from a wreath.
My Dad, who passed away almost3 years ago, drove a red truck, so I am OBSESSED with all of the truck items..I have found a lighted picture of it, Christmas wrapping paper and free printable tags online, spoon rest, kitchen towels..makes me feel closer to him..and all of our sweet memories..
Hello from the challenge.. Love your sign, it has inspired me to try one!! Have a great week – Marni
I am seriously crushing on these red Christmas tree trucks this year! Your sign looks fabulous, I might have to make one for myself!
Your sign is ADORBS! <3