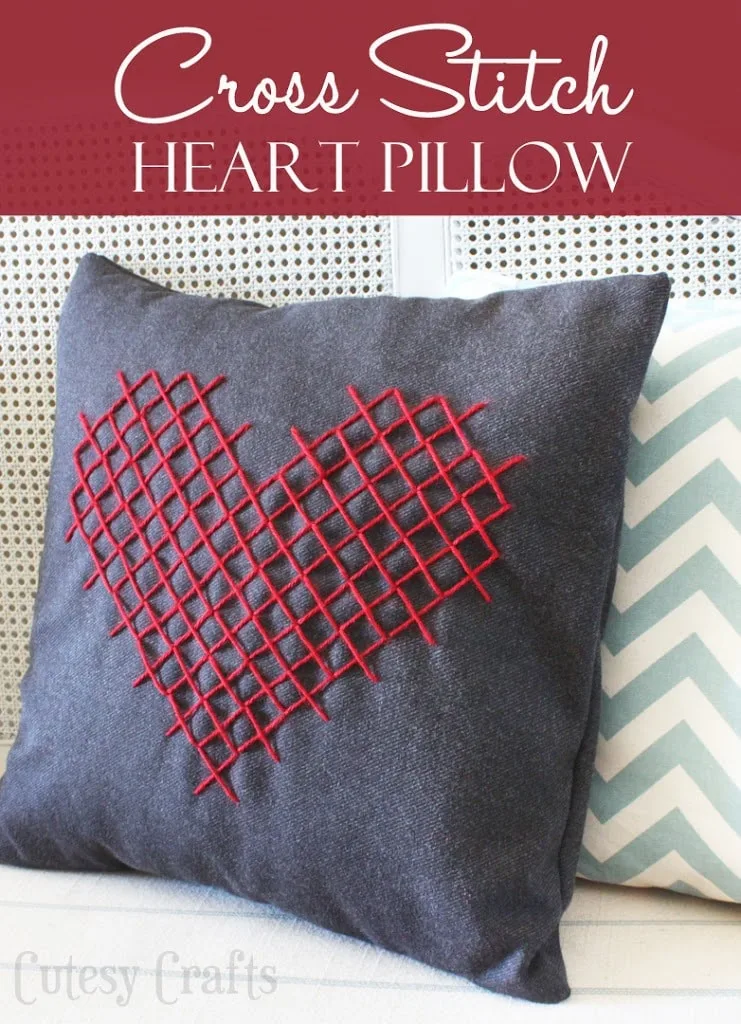
Cross stitched things always bring a sense of nostalgia to me. Serious case of being a child of the 80s/90s, I guess. Cross stitching was how I learned the basics of embroidery… although I never did finish any of the patterns that I started. I was like 10, so I guess I can give myself a little bit of a break. A cross stitch heart pillow seemed like the perfect addition to my Valentine’s Day decor, so that’s what I’m sharing with you today.
The inspiration for my pillow came from Madeline at Uber Chic for Cheap. She made the most ADORABLE cross stitch heart sweater! Of course, now that I’m looking at it again, I am loving the way her “X”s don’t touch. Dang! Should have done that with my pillow! 🙁 Oh well… next time? It’s still cute though, right?
To make your own cross stitch heart pillow you will need:
- fabric for the pillow – You don’t want anything too stretchy. My receipt says this was a “faux wool twill”. I just went around and touched the fabric until I found “the one”… nice and soft with a bit of texture.
- yarn – Yep, I used yarn for this instead of embroidery floss. I wanted the large stitches to show up really well. I found the least fuzzy/fluffy yarn that I could.
- needle – Just make sure you have one big enough for that yarn to fit through.
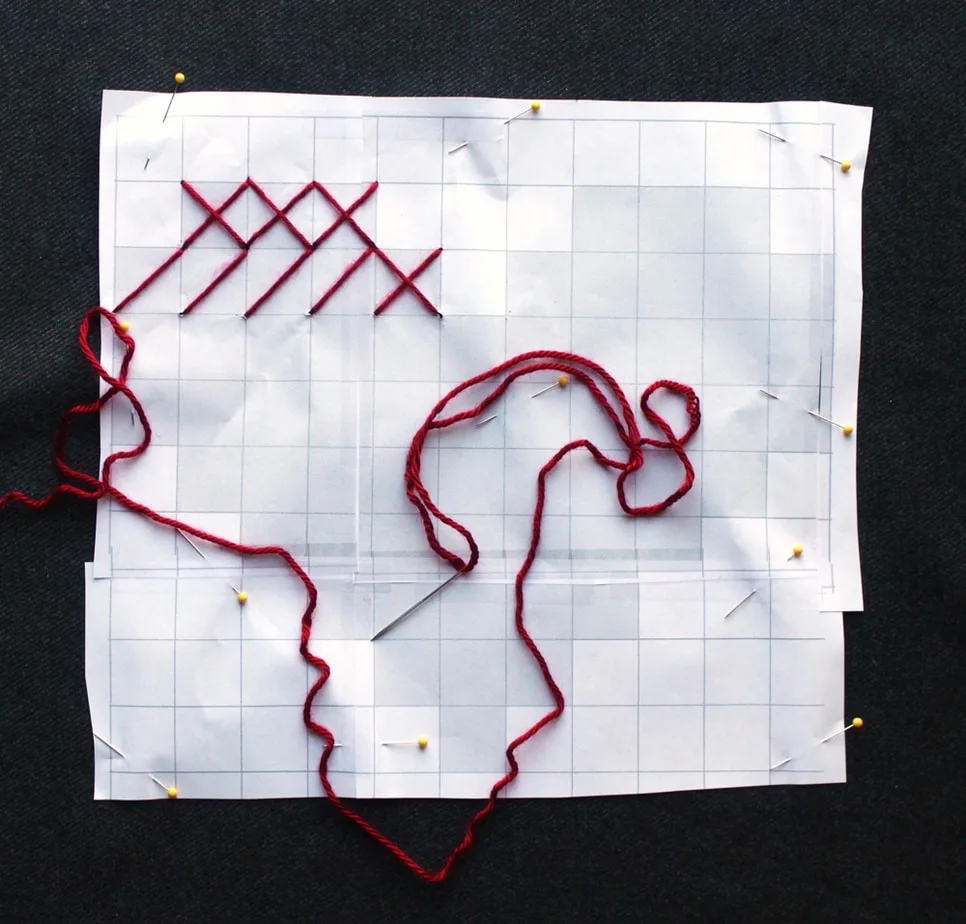
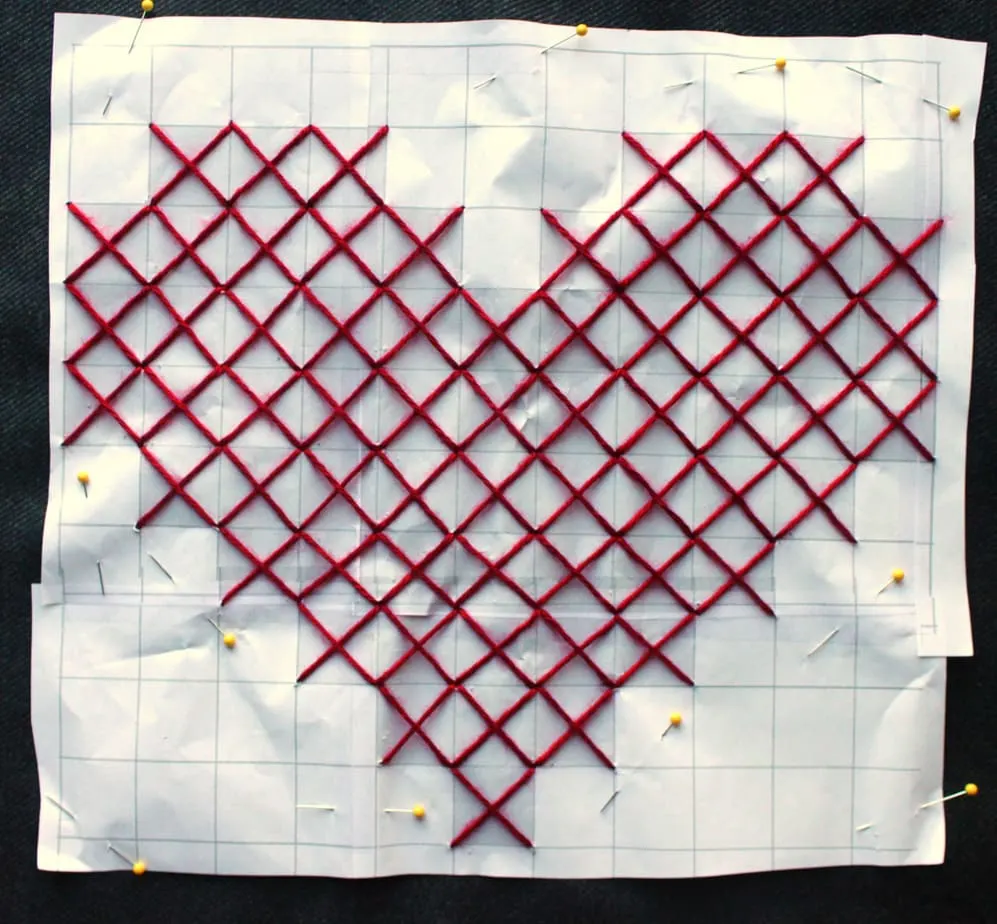
- pattern – I used Madeline’s pattern here and just made it a bit bigger on my computer before printing it out. The heart measured 12 inches across at it’s widest point for my 18 inch pillow. I printed it on multiple pages and then taped it together.
- thread and pins
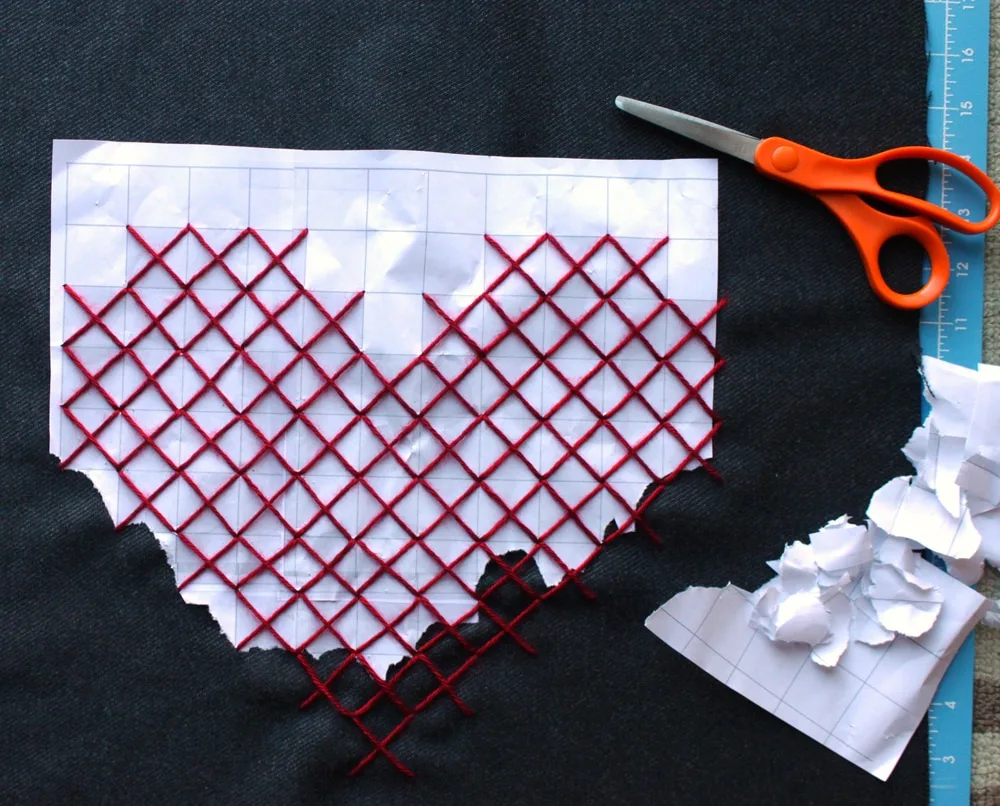
Let’s get started! Cut out the front panel your pillow cover one inch larger than your pillow (I used Jen’s tutorial from Tatertots and Jello to make a removable pillow cover). Center your heart pattern and pin it all over. Cross stitch the heart design through the paper.
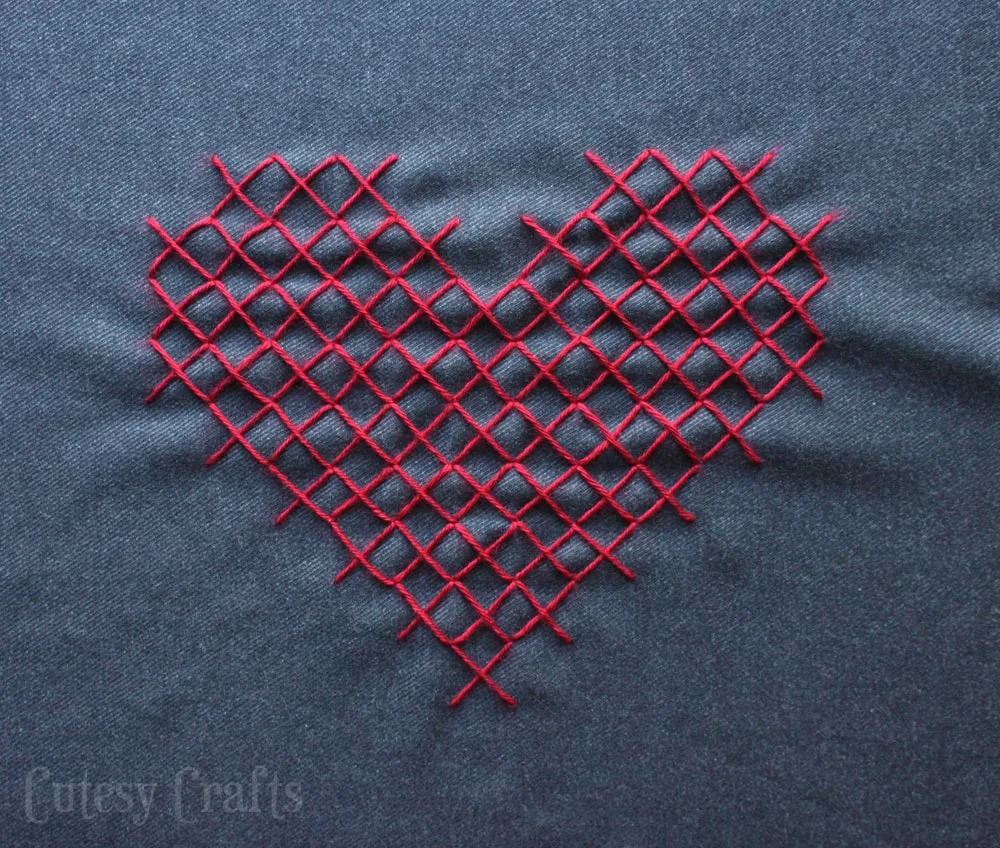
Yay! It’s finished! I seriously need to do more embroidery. I love doing stuff like this!
Now very VERY carefully cut and tear the paper away from your design. I mostly tore the paper because I know myself, and I know that I am capable of doing serious damage with scissors! I was not in the mood for a craft fail!
Now celebrate that you didn’t cut any of the strings!!! (Or cry and fix it if you did… I told you to be careful!) I kind of wish I had ironed some interfacing onto the back of the fabric to stabilize it more. It probably would have helped with all of that puckering that you see. It looked a lot better once I put it on the pillow though, so I’m still happy. 🙂
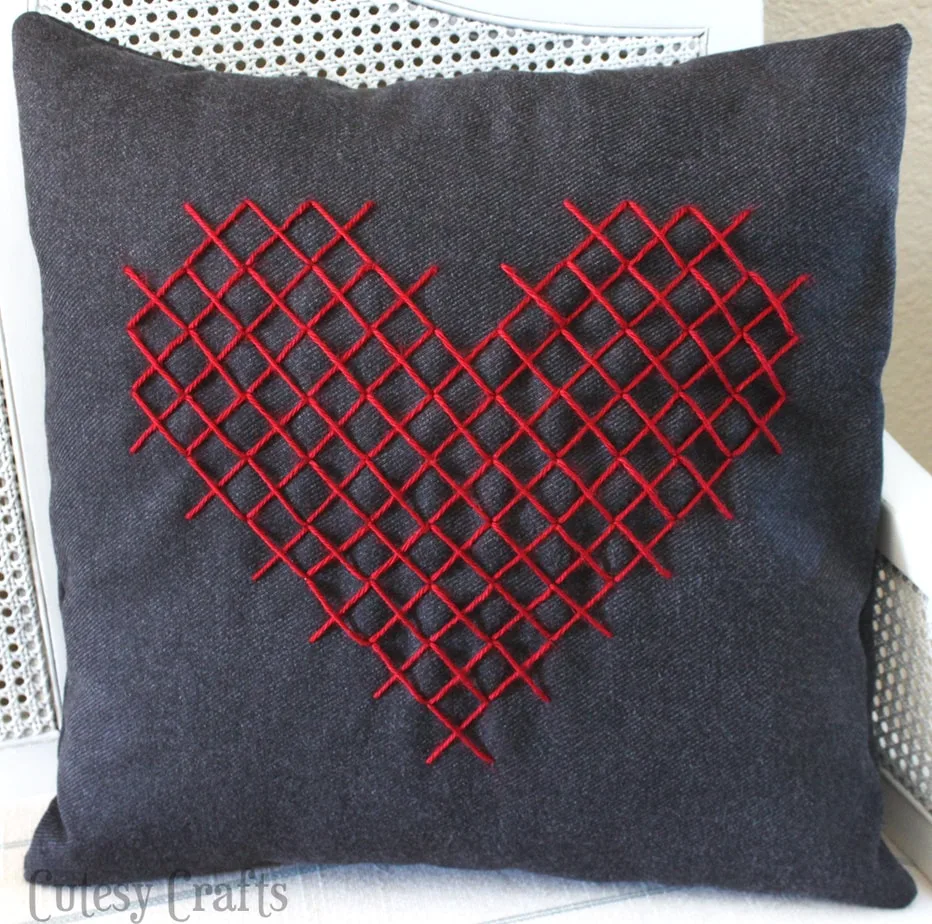
Now, use Jen’s tutorial to assemble the rest of your cover, and slip it over a throw pillow.
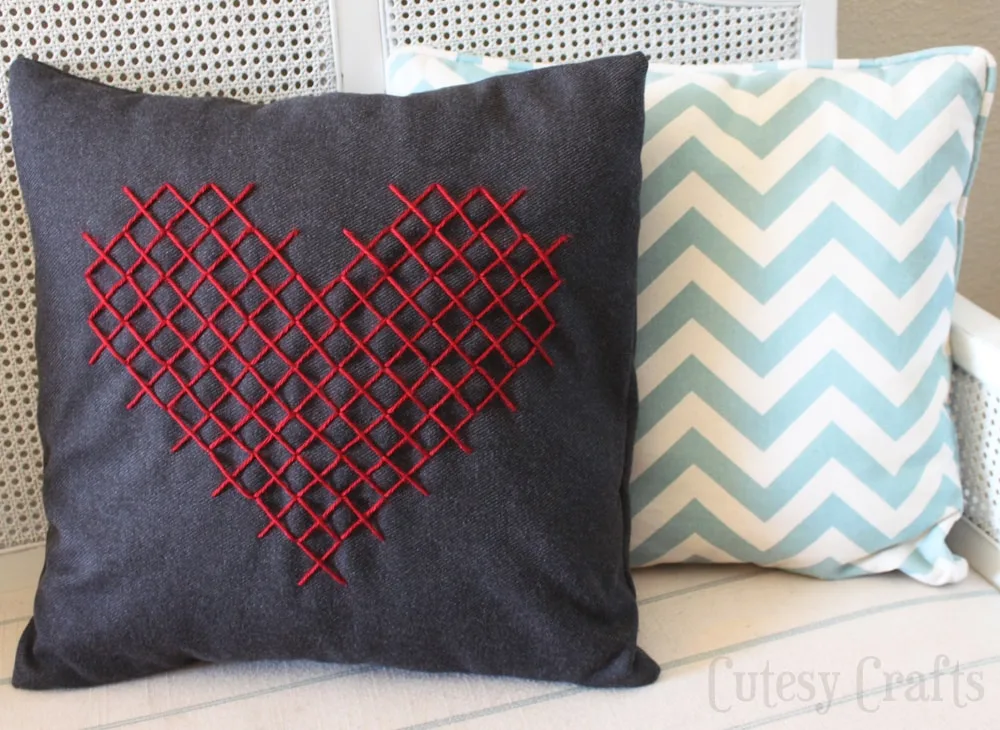
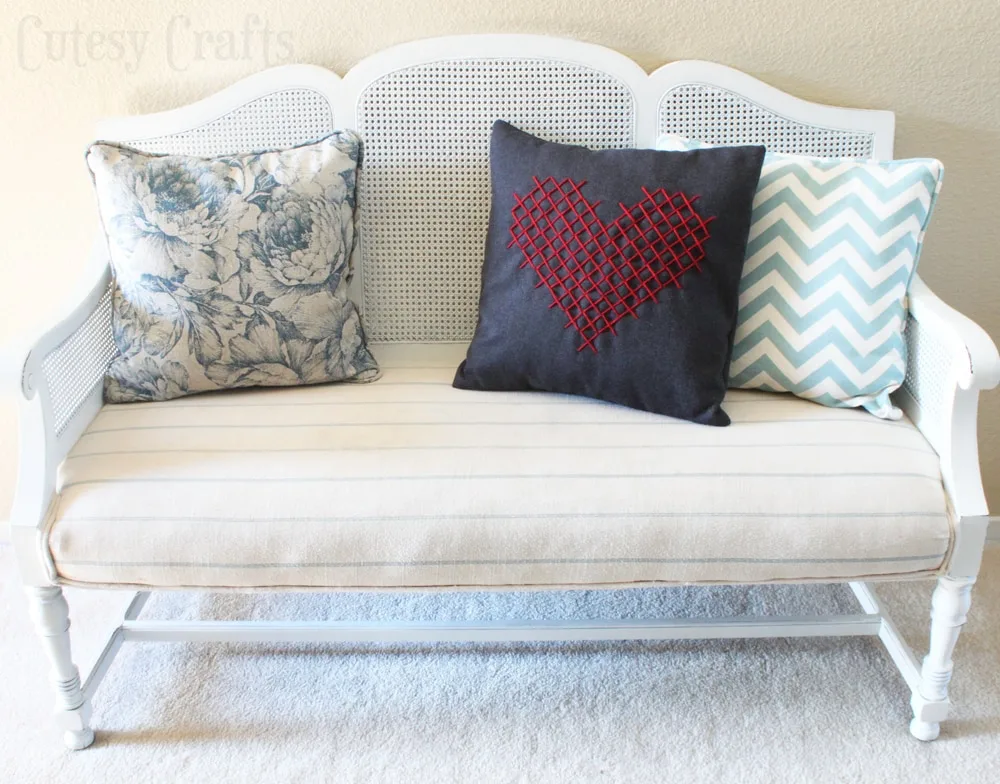
Here she is lookin’ so cute on my settee for Valentine’s Day. By the way, if you want to remember what that looked like before, go have a look here. Eek! I’m so glad I finally painted it!
Pill
Wednesday 19th of February 2020
Just discovered your tutorial and it looks like something I could do for mothers day with my students! If we use a looser fabric, maybe we can use big eyes tapestry needles, or even the plastic kind. I like the puckering effect, it almost makes it look smocked, so cute :)
Mandy Beyeler
Thursday 13th of February 2014
Thanks for linking to Take-A-Look Tuesday over at Sugar Bee Crafts - I featured you yesterday on my blog! And pinned your post - great job! --Mandy, SugarBeeCrafts.com
Ana Lopes
Tuesday 11th of February 2014
Pretty pillow, I love it! Thanks for sharing this great tutorial! Hope you have a wonderful love week!Hugs from Portugal,
Ana Love Craftwww.lovecraft2012.blogspot.com
Jessica Anderson
Thursday 13th of February 2014
Thanks Ana!
Ursula Rosien
Tuesday 11th of February 2014
SO cute!!! I can't wait to learn how to stitch and sew one day ;) I love a grey palette too!
Jessica Anderson
Thursday 13th of February 2014
Thanks Ursula!
Emily Thompson
Sunday 9th of February 2014
I love it!!!I used to make those huge cross stitch things... Not sure what anyone ever did with them, but I love making them ;o) I would do it more now if I had a use for the finished product ;o) This is adorable though.
Jessica Anderson
Thursday 13th of February 2014
Haha! Yes! There was never really a finished product. Thanks Emily!