
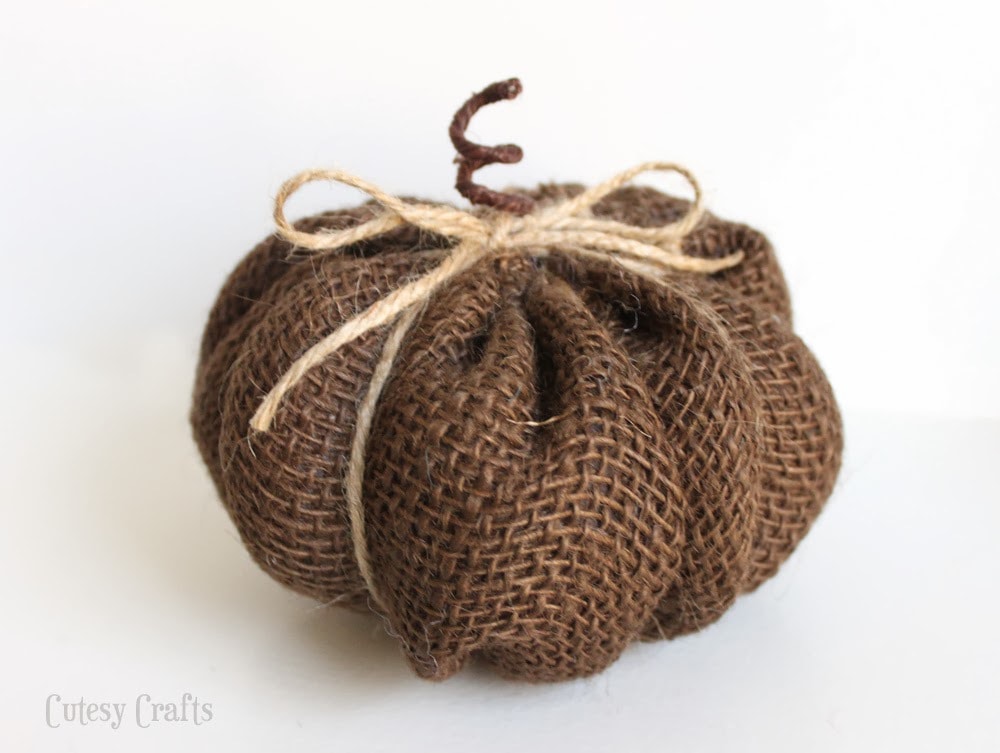
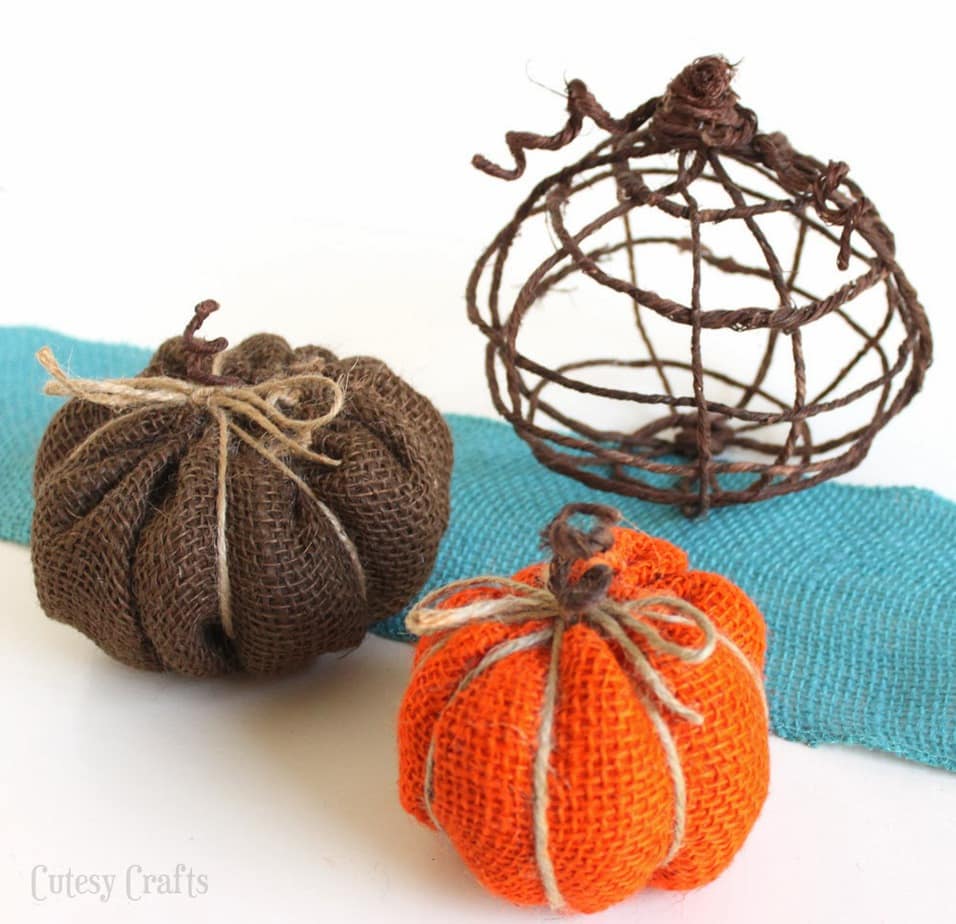
Burlap Pumpkins
Wow, this has been a crazy week! Had a couple of craft fails, I’m supposed to have eight skirts sewn by tomorrow for a dance festival at church, oh, and the best part? My sewing machine kicked the bucket! My sweet little Leah decided it would be a good idea to push it off the table. Nice. With all of the craziness, I’ve had a bit of a creativity block. (Like writer’s block… but for crafters… it’s totally real.) To get out of my funk, I went to Hobby Lobby and just wandered around by myself, KID FREE!!! I could spend days wandering around that store…and probably definitely spend thousands of dollars. I don’t even remember what I went there to get, but I walked out with some pretty burlap from the floral section. I used it to make these cute, rustic pumpkins to decorate for fall.
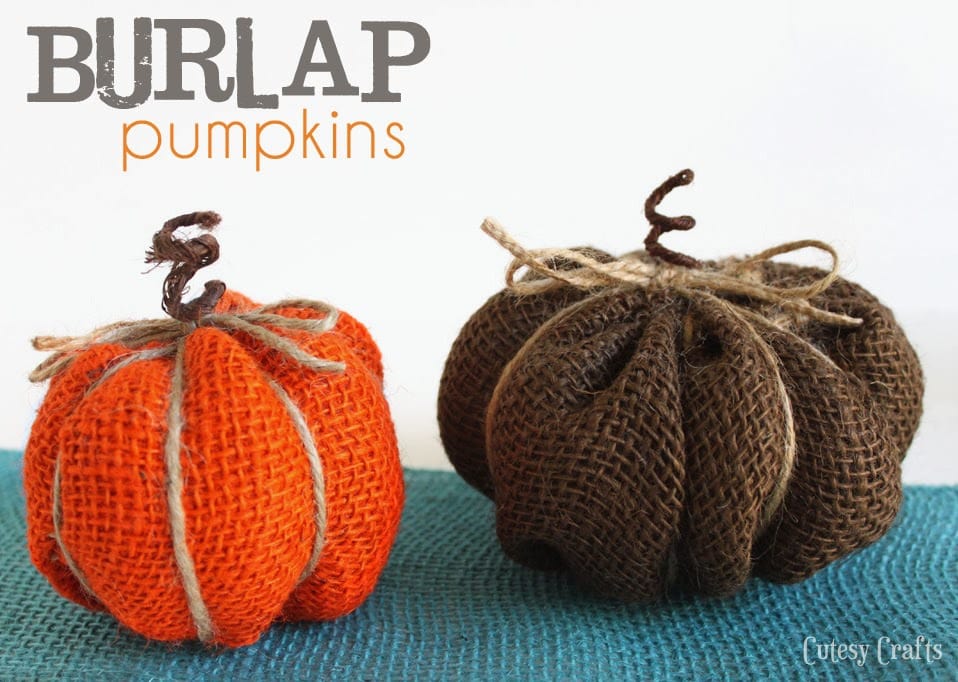
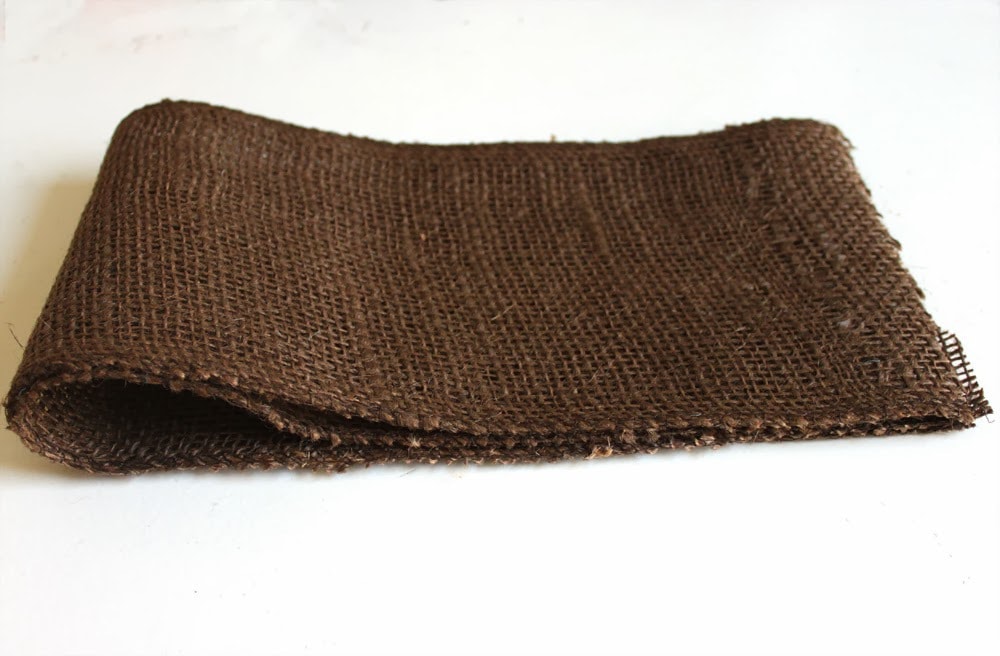
To make them, you will need burlap ribbon (6 inches wide), twine, fiberfill, grapevine wire (also in the floral section), and a very large needle. Confession time: I hate burlap. I mentioned it before when I made my linen stockings. I hate the feel, the smell, and the shedding, but I love the way it looks.
Cut two strips of burlap so the filling won’t show through. The longer you make it, the wider your pumpkin will be. You can also use burlap by the yard to have more control over how tall your pumpkin will be. Fold the burlap strips in half.
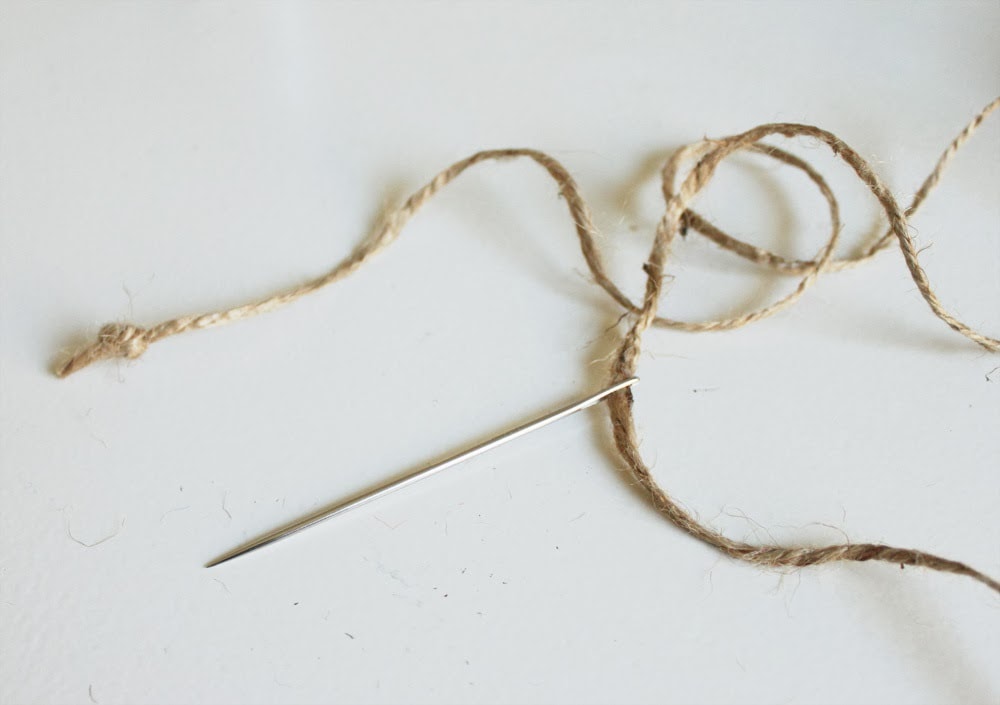
Thread your large needle with the twine and tie a knot in the end.
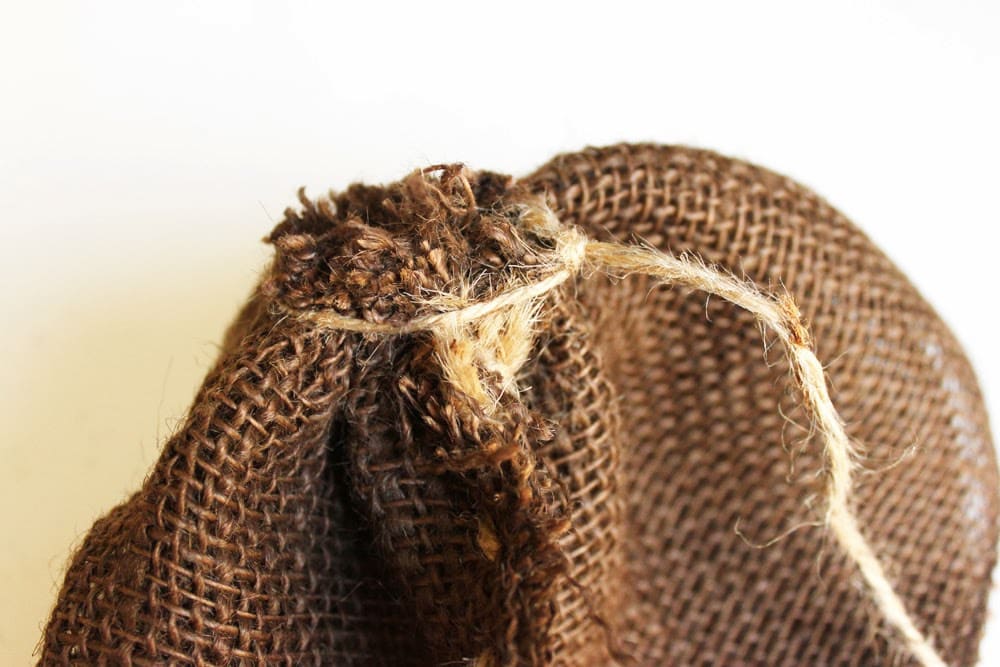
Now, you could really do this part on the sewing machine if you wanted to, but, like I said, mine is broken. I just used the twine to stitch the ends of the burlap together and form a tube.

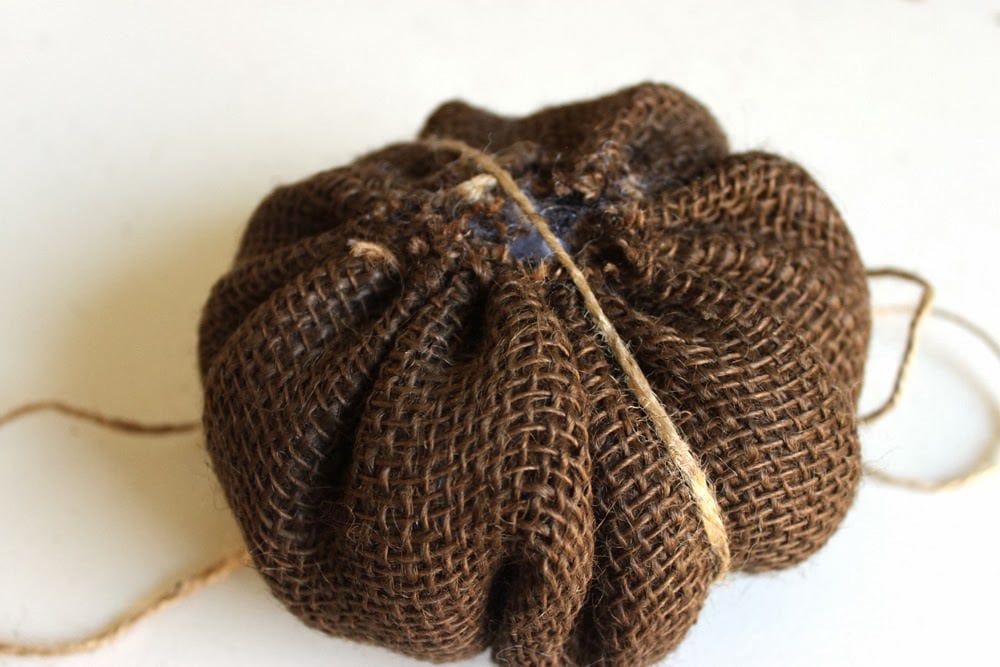
Thread your needle with the twine again. Stitch around the bottom of the tube and pull it tight, like a drawstring bag.
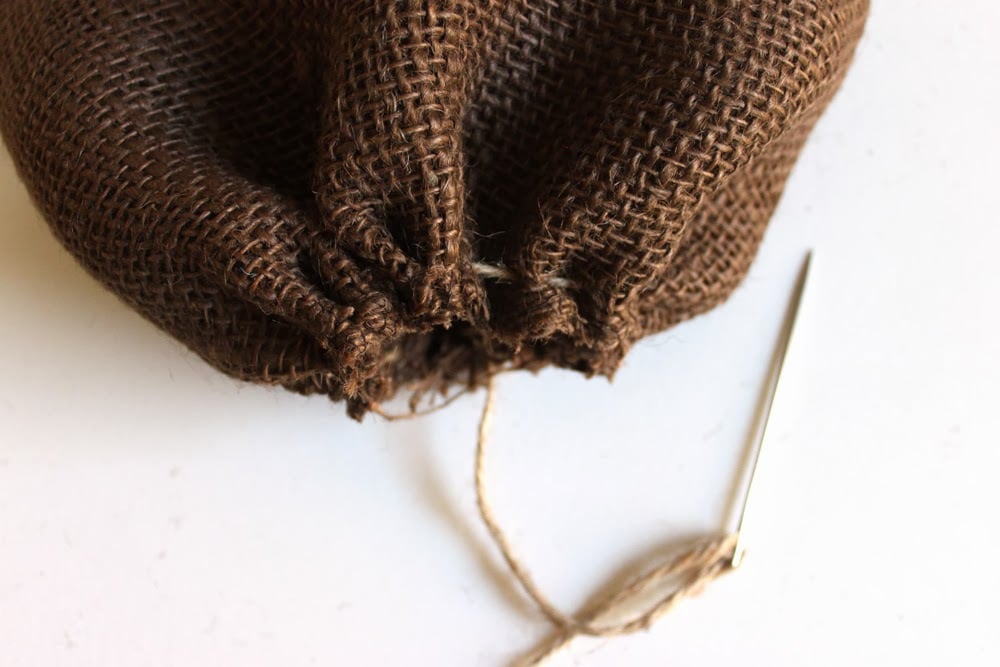
If it’s still a little loose, tie a big knot around the opening.
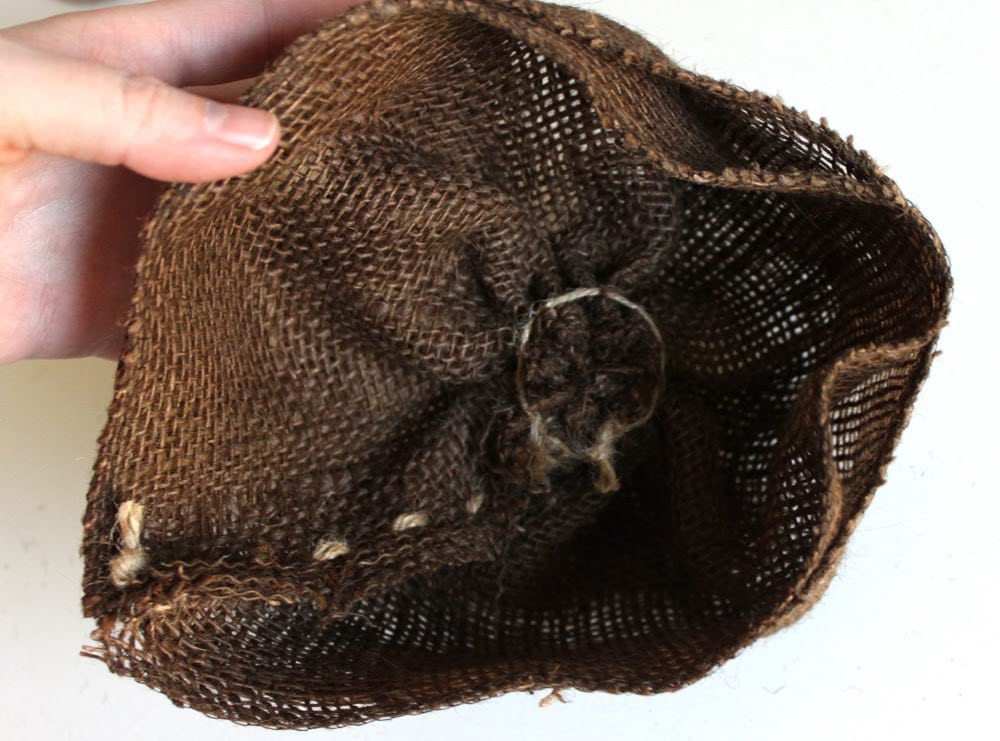
Turn the whole thing right-side-out and you will have a little bowl thing.
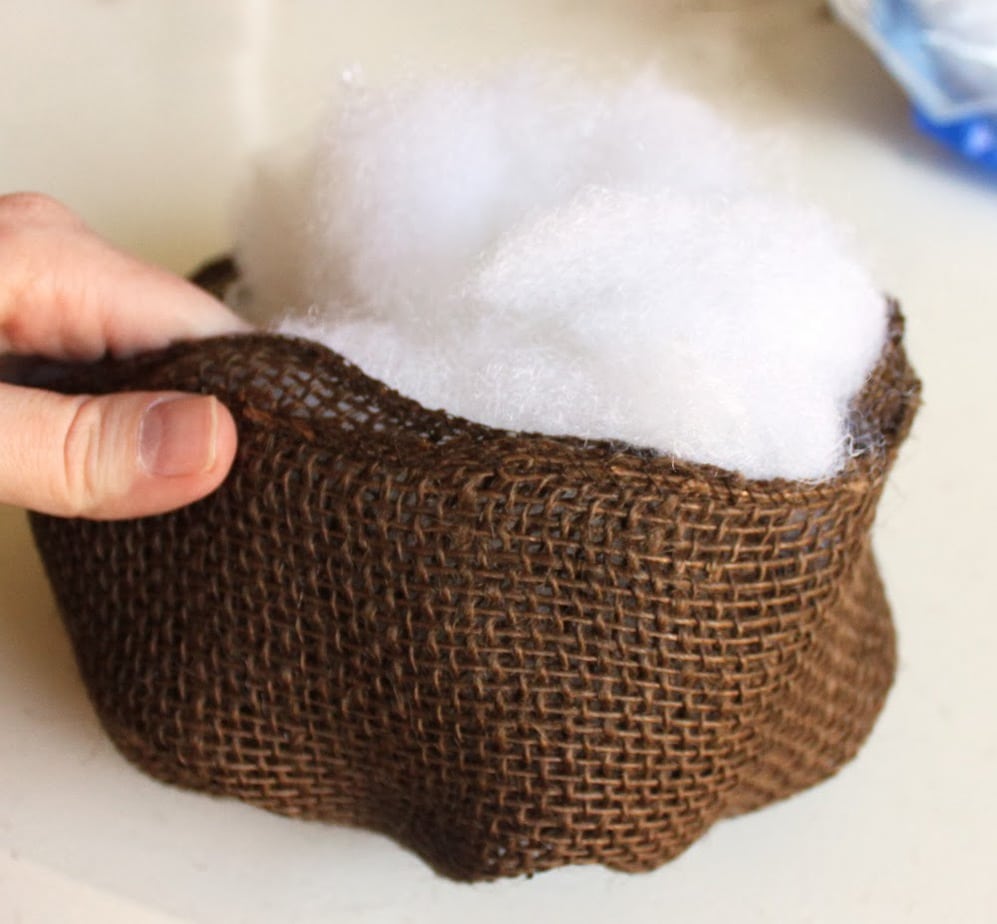
Stuff it with some fiberfill.
Sew around the top, just like you did for the bottom, and pull it tight.
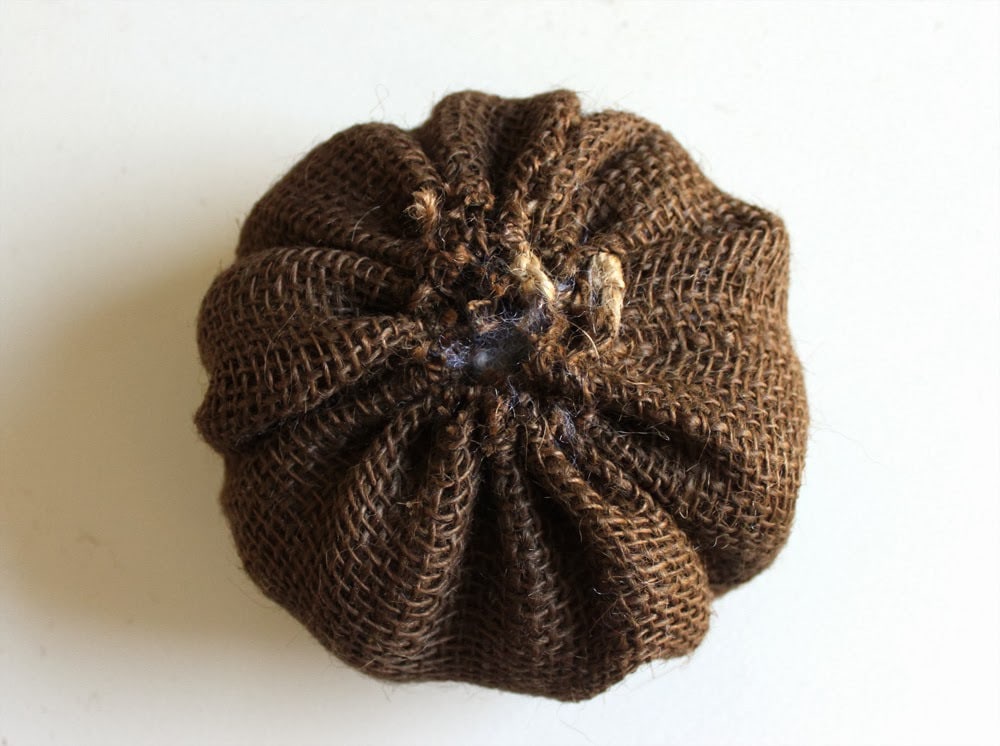
Take a long piece of twine and wrap it around the pumpkin, kind of like you are putting ribbon on a present. Pull it tighter if you want it to be more indented.
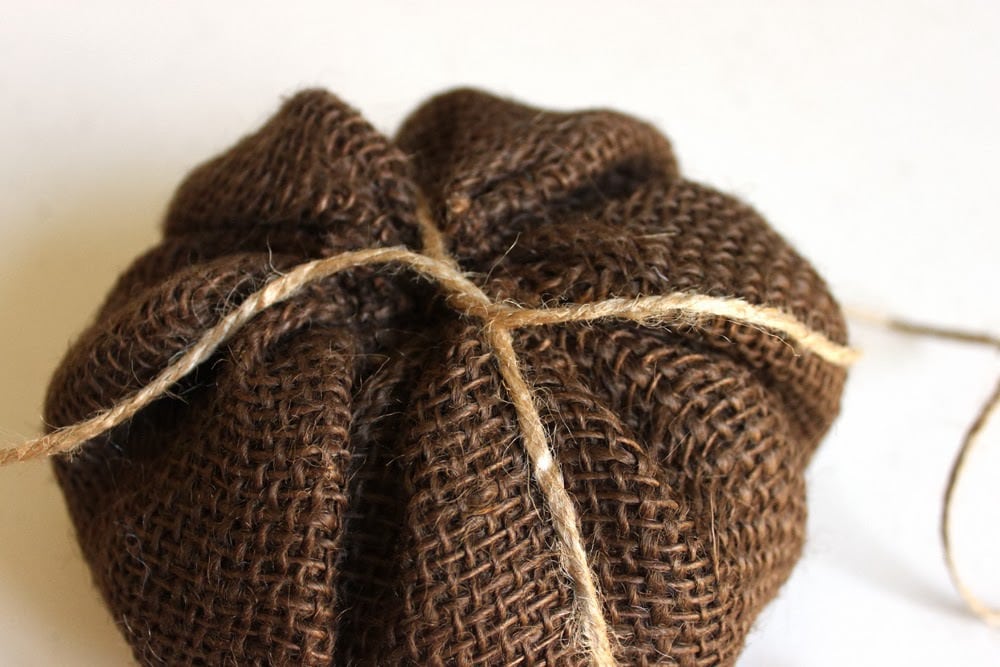
Tie a bow on the top of the pumpkin to finish it off. Trim off any excess.

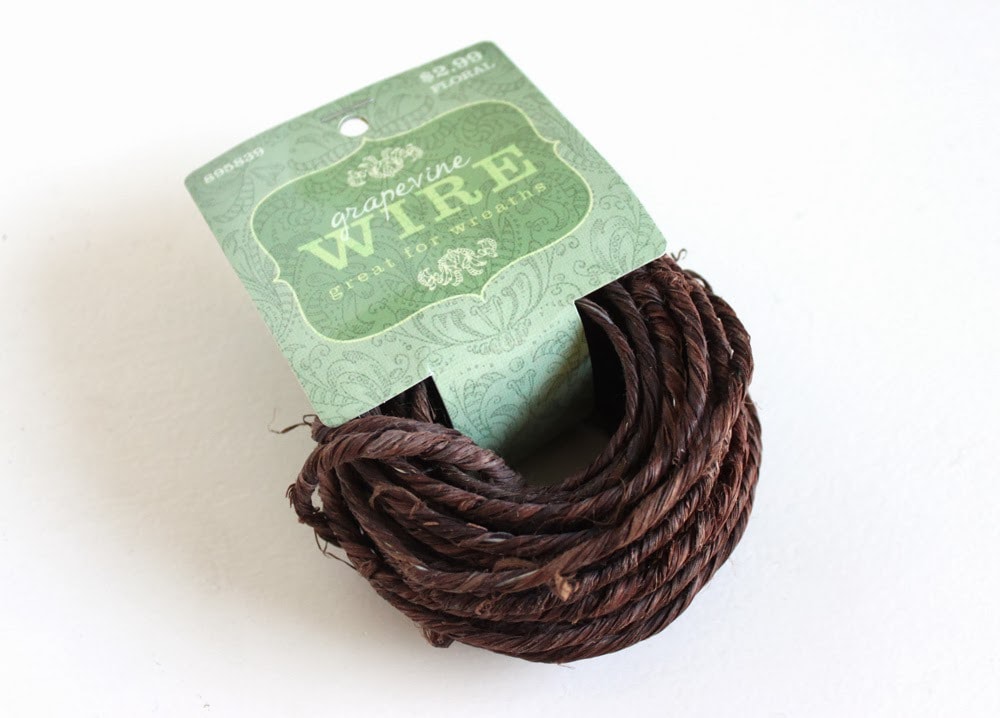
Here is the grapevine wire that I was talking about for the stem.
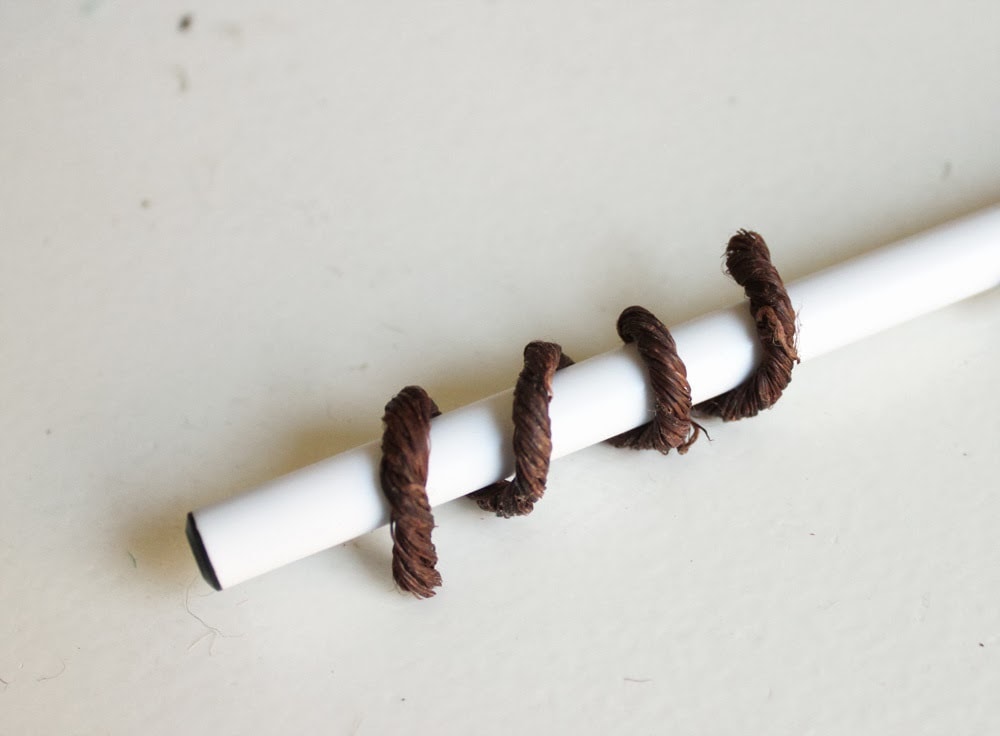
Cut a piece of the wire off and curl it around a pen. (Look at all of those itchy burlap fibers on the table! Eeek!)
Twist the wire into the center of the pumpkin like a corkscrew. If you want it to be more secure, I would put a little hot glue on the end before putting it in.

There you go!
I even made some pumpkins out of the grapevine wire itself. They look great paired up with each other. Go check out my tutorial for those over on Or So She Says.
That’s it! Hope you all have a great weekend! Yay Friday!


I love this ! I think I may put some potpourri in mine !! Maybe even one of those sented pinecones you get in a bag ?!! Thank you so much for all your great tutorials !!
Hi Jessica,
I love your burlap pumpkin project. Burlap is really fun to use in home decor. Thank you for contributing it to my roundup post that includes lots of great DIY Halloween decorating projects like yours. I’m sure my readers will appreciate your tutorial. Much appreciation.
Thank you for the feature!
Magnifique réalisation pour Halloween . J’aime beaucoup . Merci !
These are just adorable! I had to feature them from last week’s party. I also pinned them to my ATTBH features board on Pinterest. I hope you’ll be by to link up to our All Things Thursday Blog Hop again tonight.
Blessings,
Nici
Hi and Happy Halloween! I love the pumpkins that you made out of burlap. I pinned and saw it at posed perfection party. Julie at julieslifestyle.blogspot.com
Thanks, Julie!!!
So cute! Thanks for linking up to the “Get Your DIY On” link up party! Come on back on Sunday for our burlap challenge!
Thanks, April! I will try to remember to come back.
Fab! I love crafting with burlap on my blog too. I pinned this and wish you well! Xo
Thanks, Jennifer!!
These are absolutely darling! I hope you’ll link them up to our All Things Thursday Blog Hop tomorrow night and our It’s Fall Y’all Link Party that is live. Hope to see you there!
Blessings,
Nici
Thanks, Nici! I will be over to party!
These are awesome!! I’m jealous one, because you have a a Hobby Lobby near you…and two, because you had kid free time lol! Great tutorial too. I’d love to invite you to share these at our Get Your DIY on Fall Party Challenge going on now. This week’s theme is pumpkins! These would be perfect! http://www.confessionsofaserialdiyer.com/get-your-diy-on-pumpkins-features/
Hope to see you there!
XO,
Christy
Thanks, Christy! They JUST started building Hobby Lobby’s in the area. They are amazing! Kid free time at the craft store… HEAVEN! 🙂 I’ll be over to check out your party.
Hi, Jessica. I love your burlap pumpkins. Your tutorial is nice and easy to follow! I love that. Have a wonderful week. ~ Jamie
Thanks, Jamie! You too!
Adorable! I feel the same way about burlap. I love the look, but hate working with it.
Thanks! Glad I’m not the only one. Oh, the things we do for cute crafts! 🙂
These are super cute! I am definitely going to give them a try…
Thanks, Heather! I think I’ll probably make a few more!