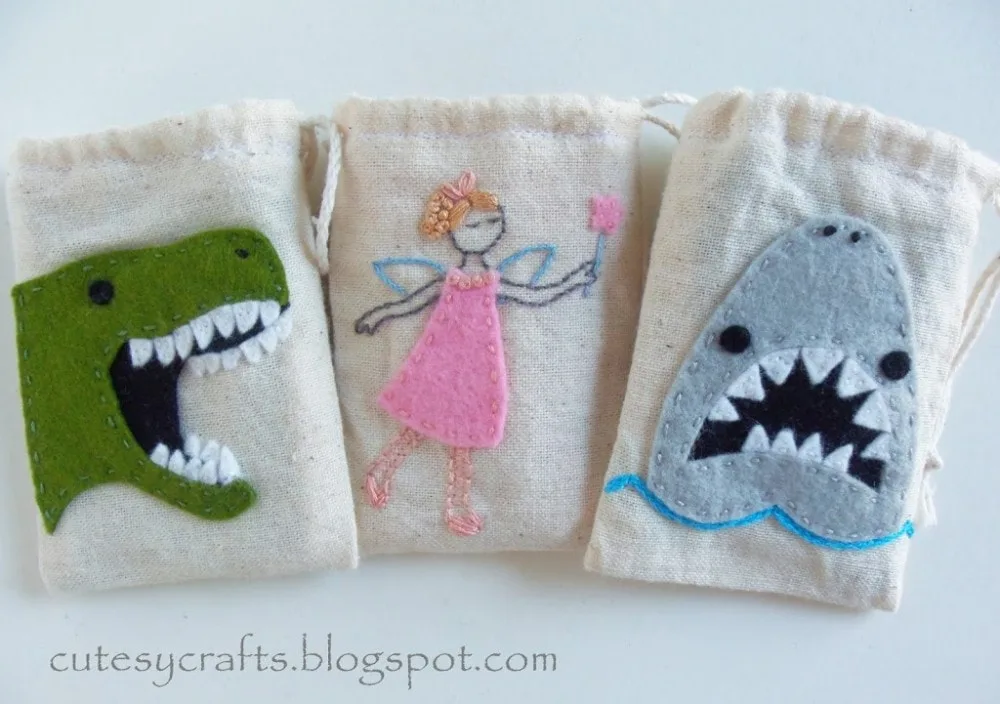
Evan is about to lose his third tooth, so it’s time to start thinking about the tooth fairy again. You might remember, I already made him this bag last year. I shouldn’t have used acrylic felt (see my post about felt here) so it didn’t hold up very well. This time around, I decided to use some embroidered muslin bags with wool felt blend appliques. Here is how they turned out. See below for FREE embroidery patterns! My favorite is the fairy embroidery pattern. Isn’t she cute?!
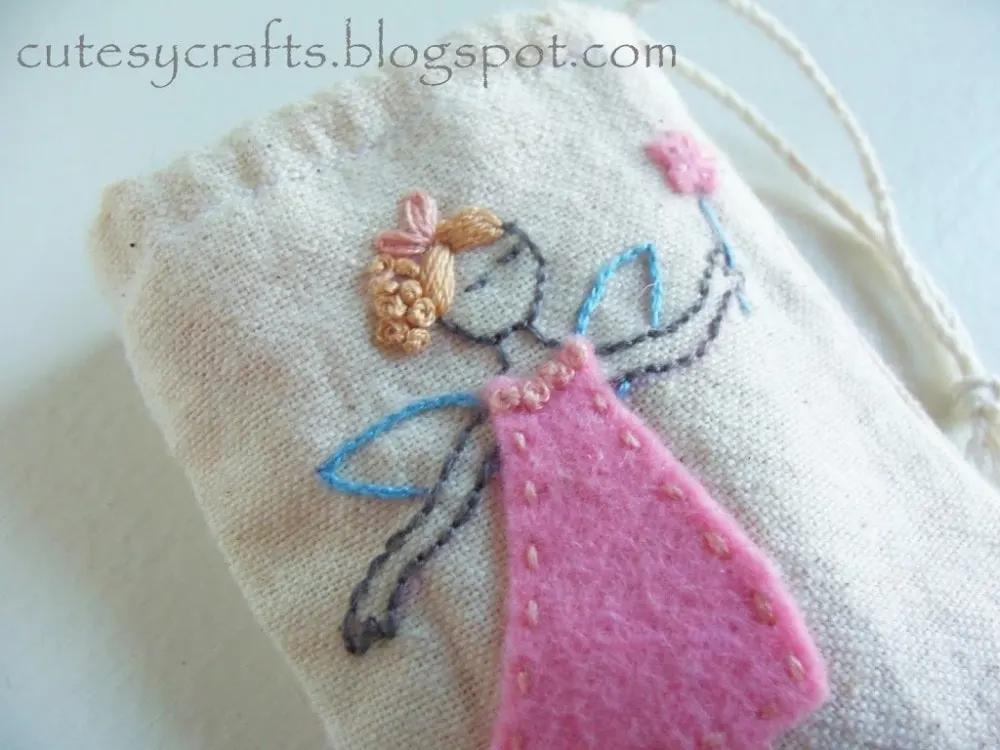
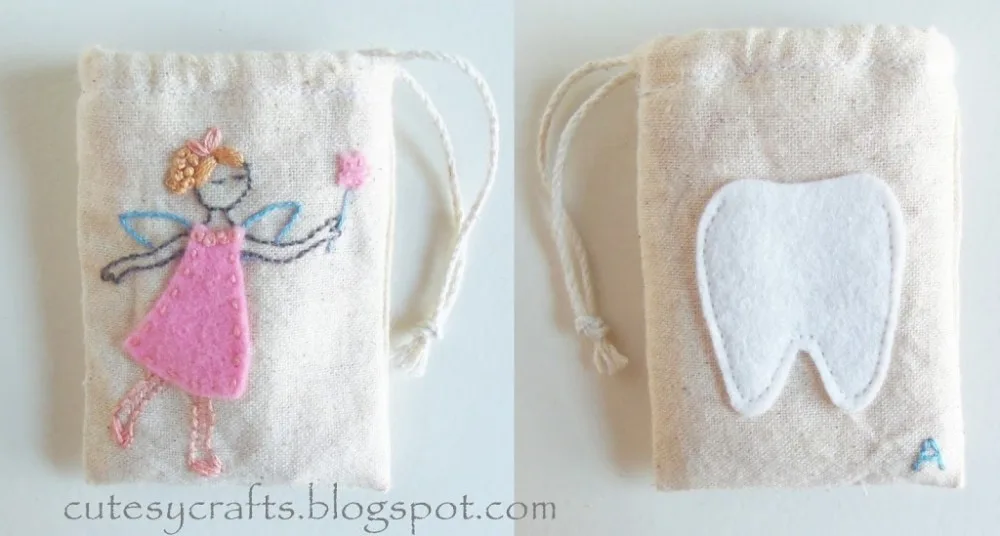
For the girls, a fairy of course. Don’t you love her cutesy french knot curls?
Then just a regular tooth pocket on the back. This pocket is to put your child’s lost tooth in. The money goes in the bag.
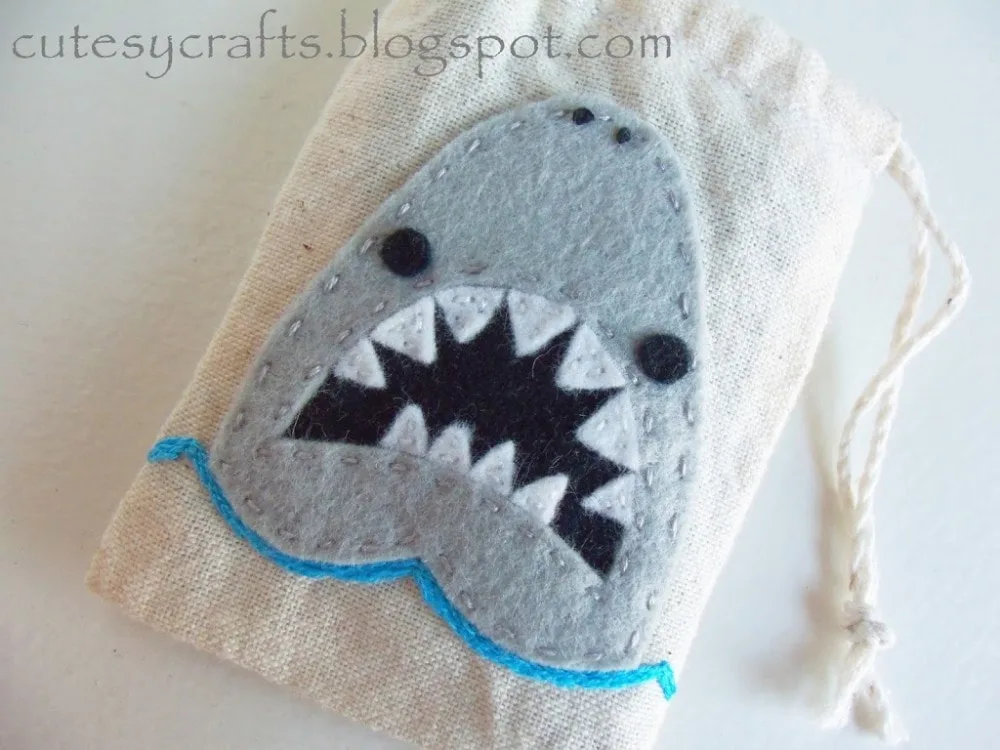
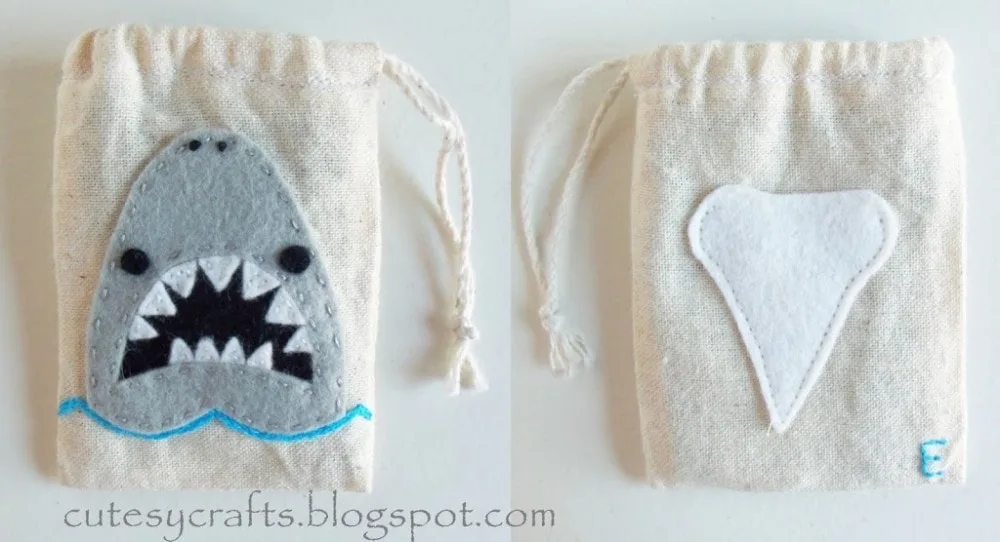
Then this is where I really had fun. A Shark for the boys.
With a shark tooth pocket on the back!
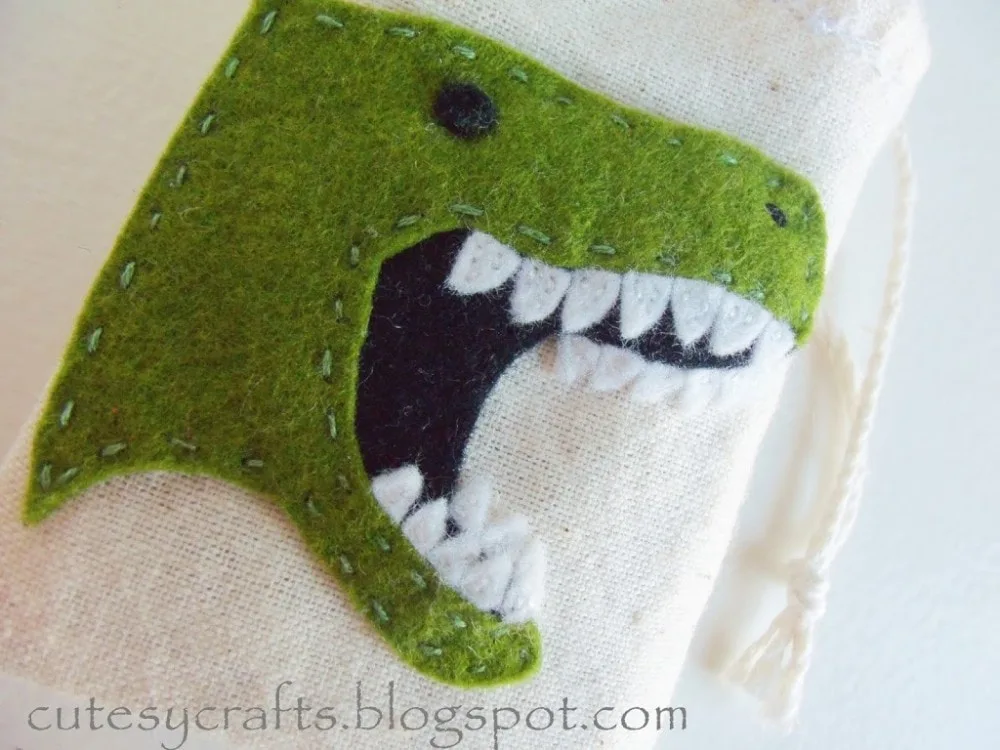
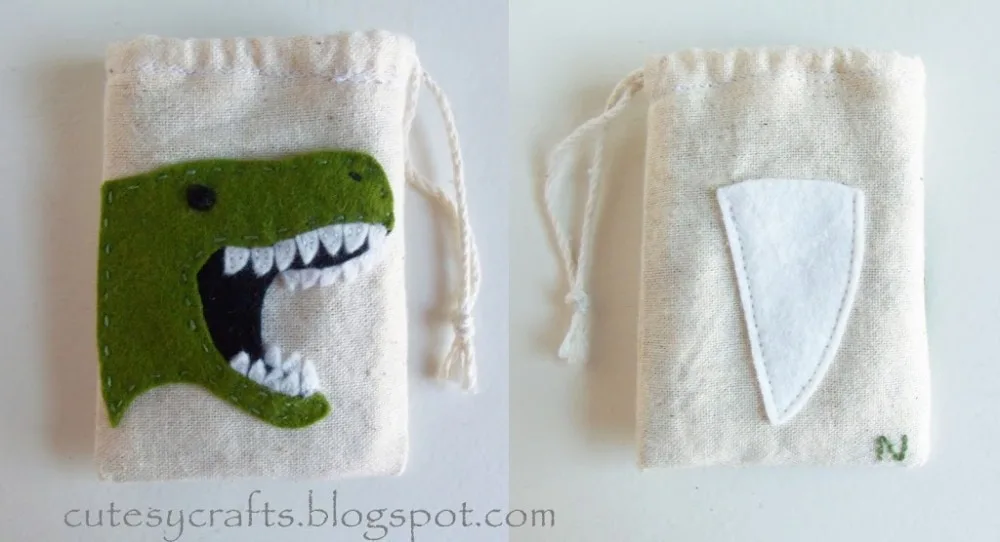
I also thought a dinosaur would be cute. (Yes is was a HUGE pain to cut out all those little teeth!)
And he has a dinosaur tooth pocket on the back.
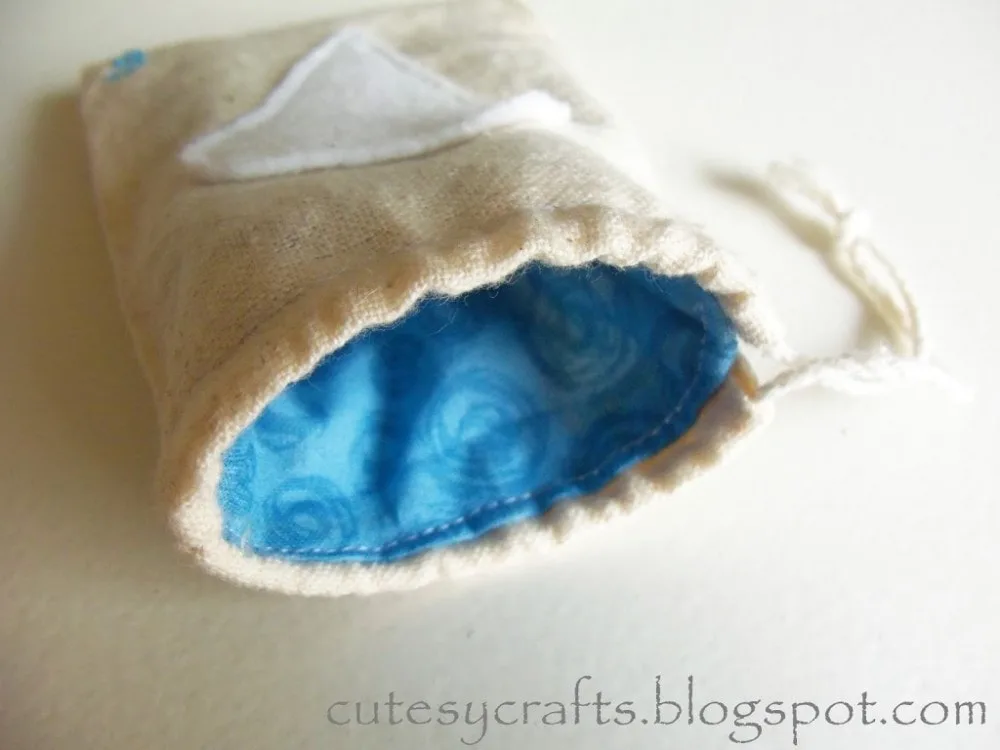
I lined each bag with cotton to hide my ugly stitches and the raw edges of the muslin.
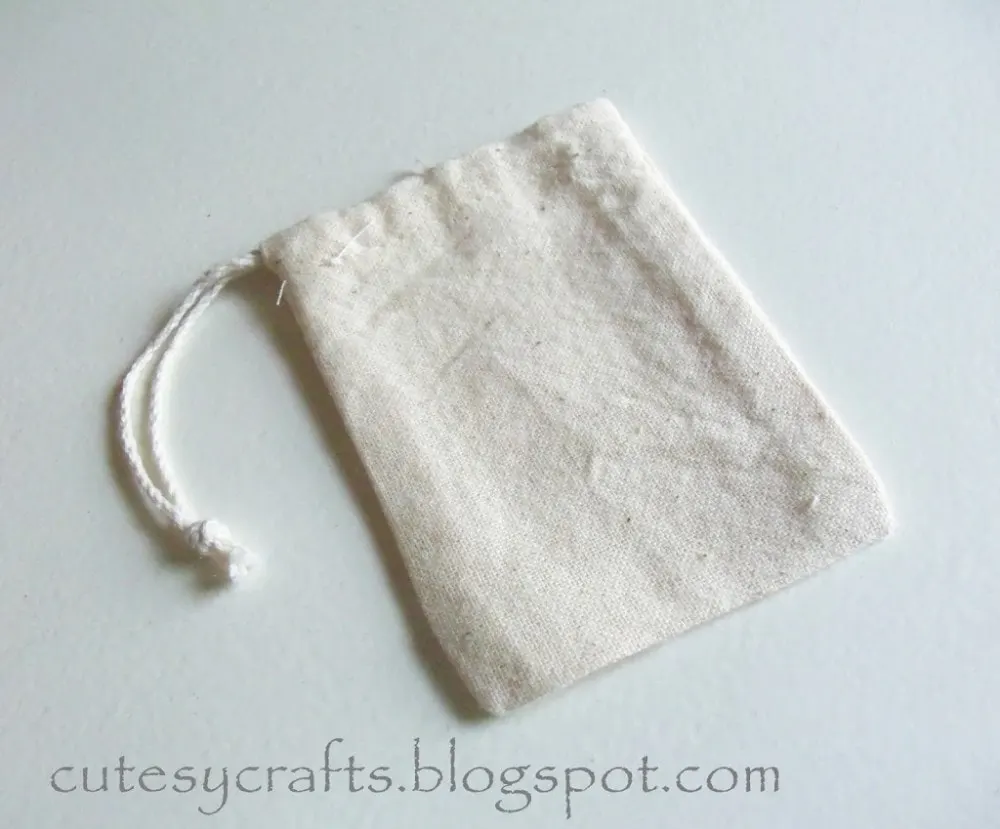
So you start with your bag. I picked up a pack of these at the craft store for just a few dollars. My bags measured 3″x 4″ so you may need to adjust the pattern size to fit yours.
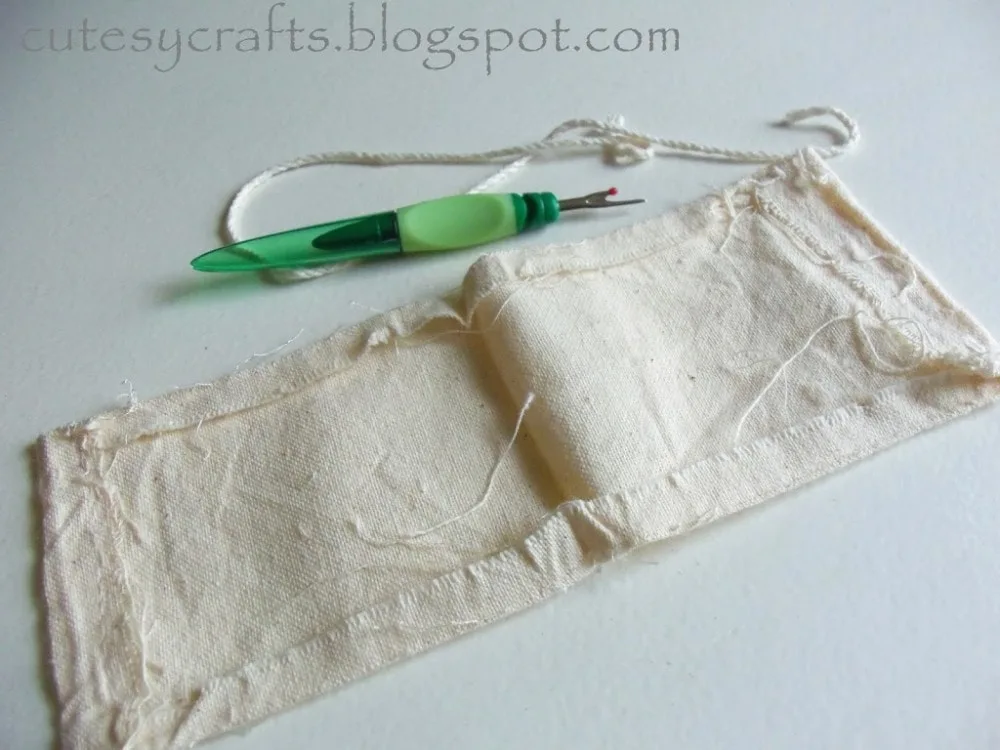
I ended up taking the bags completely apart, so if you want to be extra crafty, you might just want to make your own. Made it kinda nice though because I didn’t have to measure or iron it. Ahh… the seam ripper… my favorite tool!
At this point, you want to sew/embroider everything that you want on both sides of the bag. I’m giving you the patterns for FREE here, so please take a minute and subscribe to my blog. You’ll get the fairy embroidery pattern and the shark and dinosaur applique patterns.
Be sure not to stitch through the seams of the bag. The patterns will tell you what stitches to use, how many strands of embroidery floss, etc. I HIGHLY recommend using a wool felt or, my favorite, a wool felt blend! Especially for something like this that you want to last. Again, see my post about felt here. I also recommend machine stitching the tooth for durability. Make sure to leave the top open so it can function as a pocket for the lost tooth. I embroidered an initial on the bottom right of the side with the tooth.
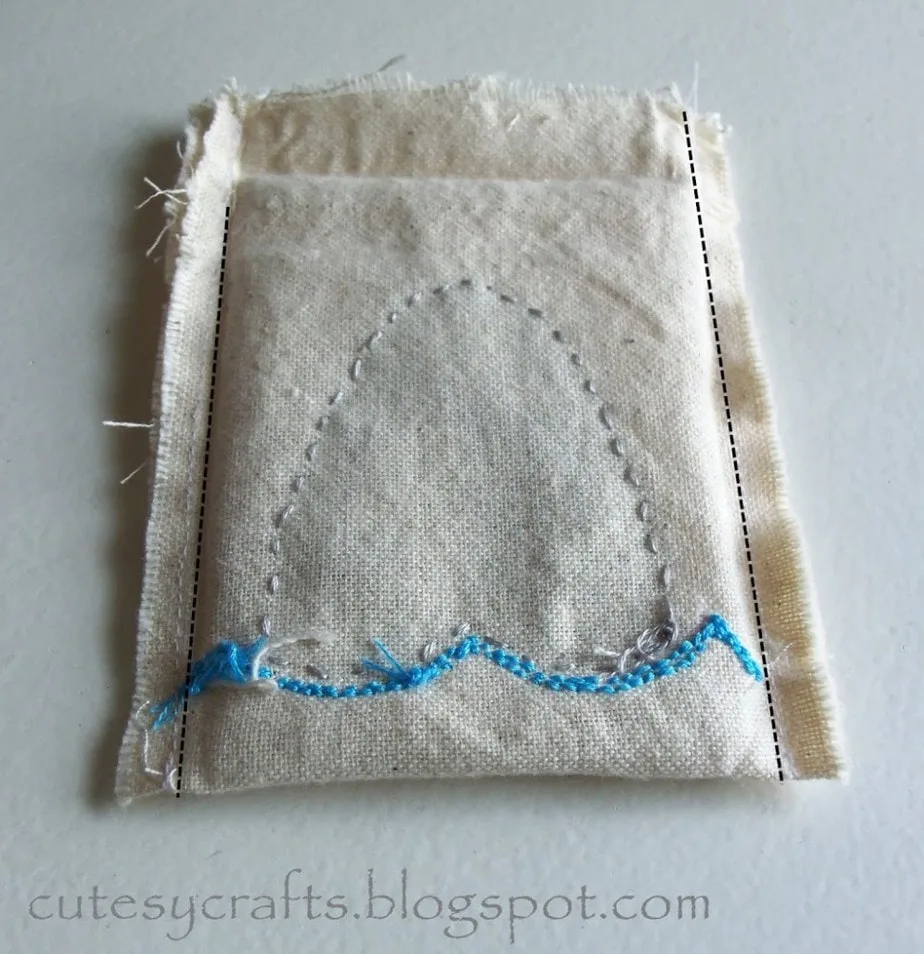
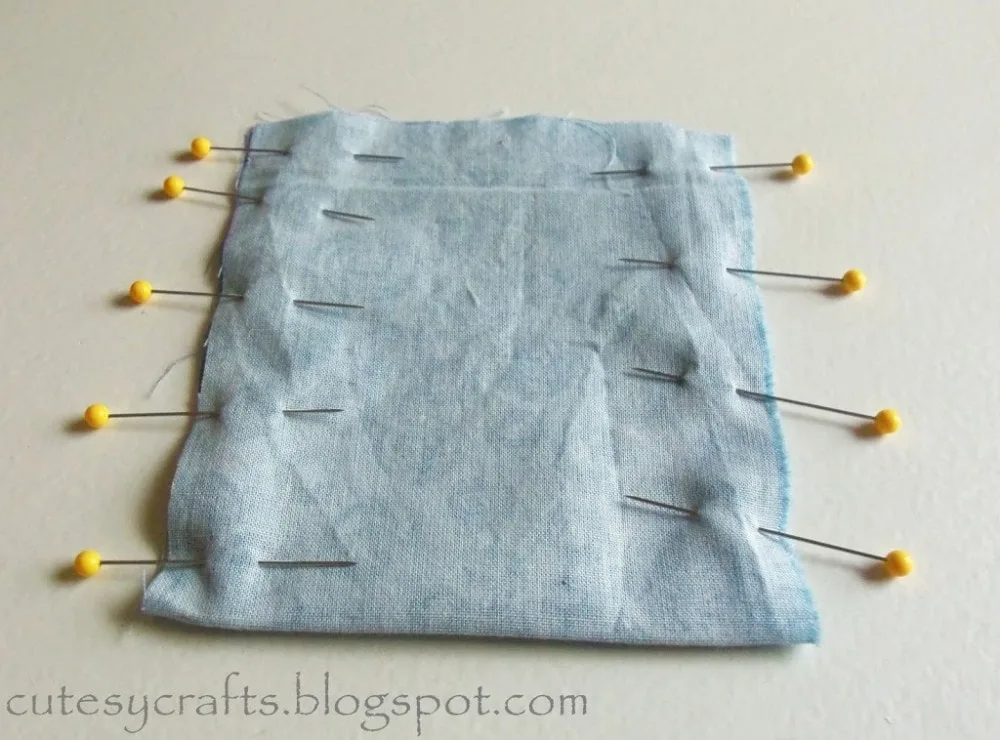
After you have everything sewn on, it’s time to put the bag back together. Your bags might be different than the ones I bought, but I’ll show you how mine got put back together. Pin the bag right sides together and sew up one side completely. For the side that the string is going to come out of, only sew to the spot where the draw string casing was originally sewn down.
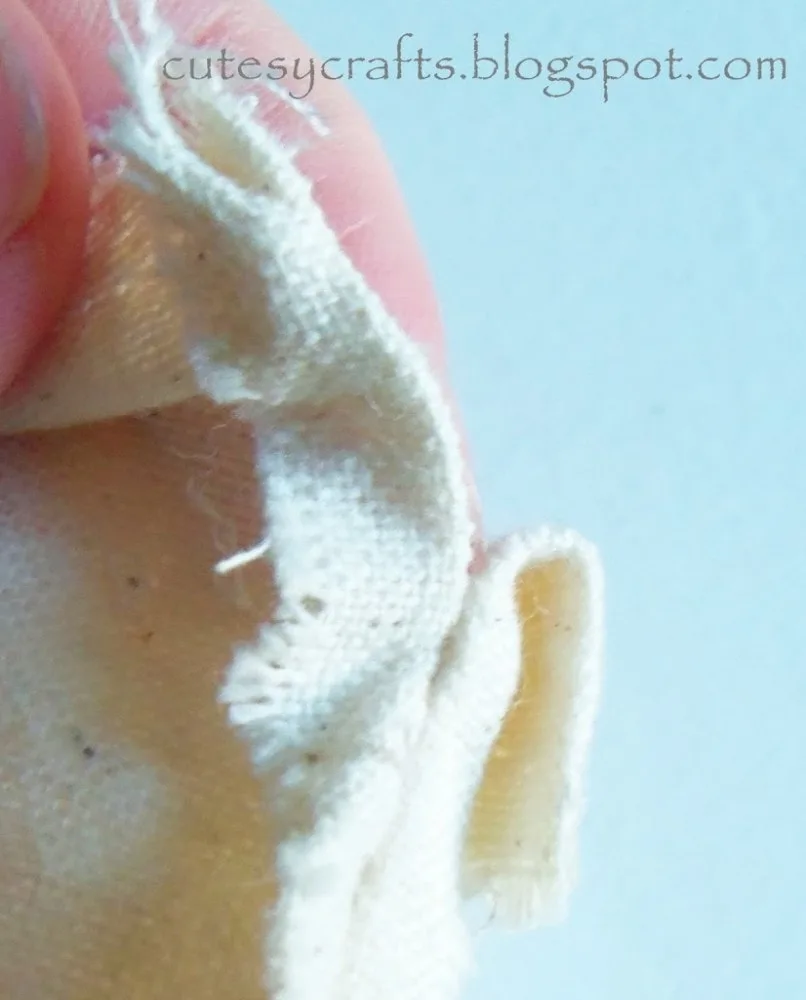
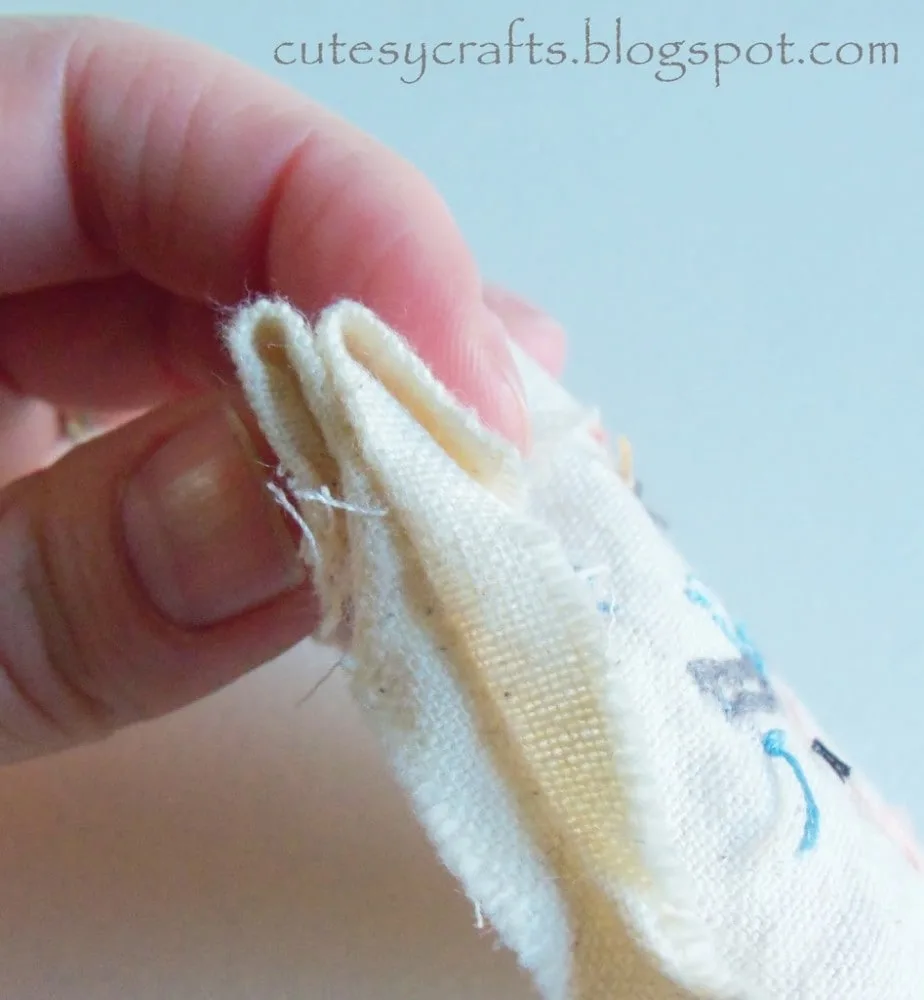
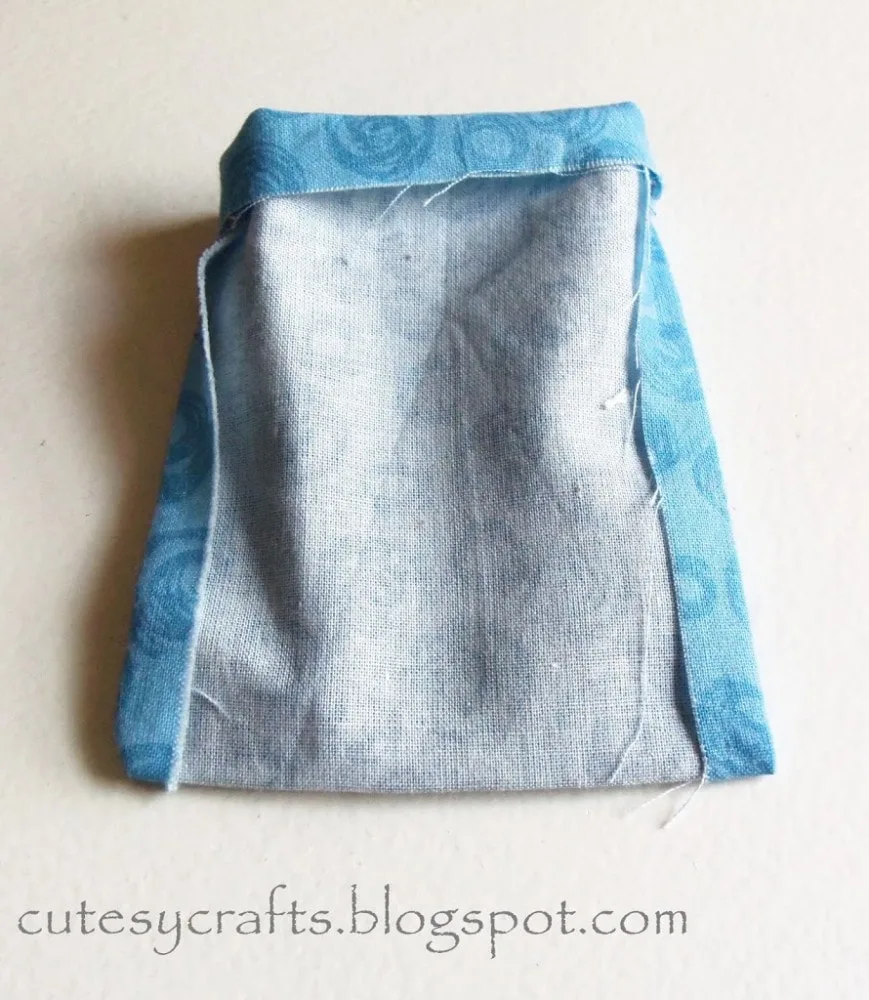
Hard to explain this part, but look at the pictures to get a better idea. Fold the side seams first and then fold the top part down that forms the casing for your drawstring. This is how the side with the string coming out of it should look like.
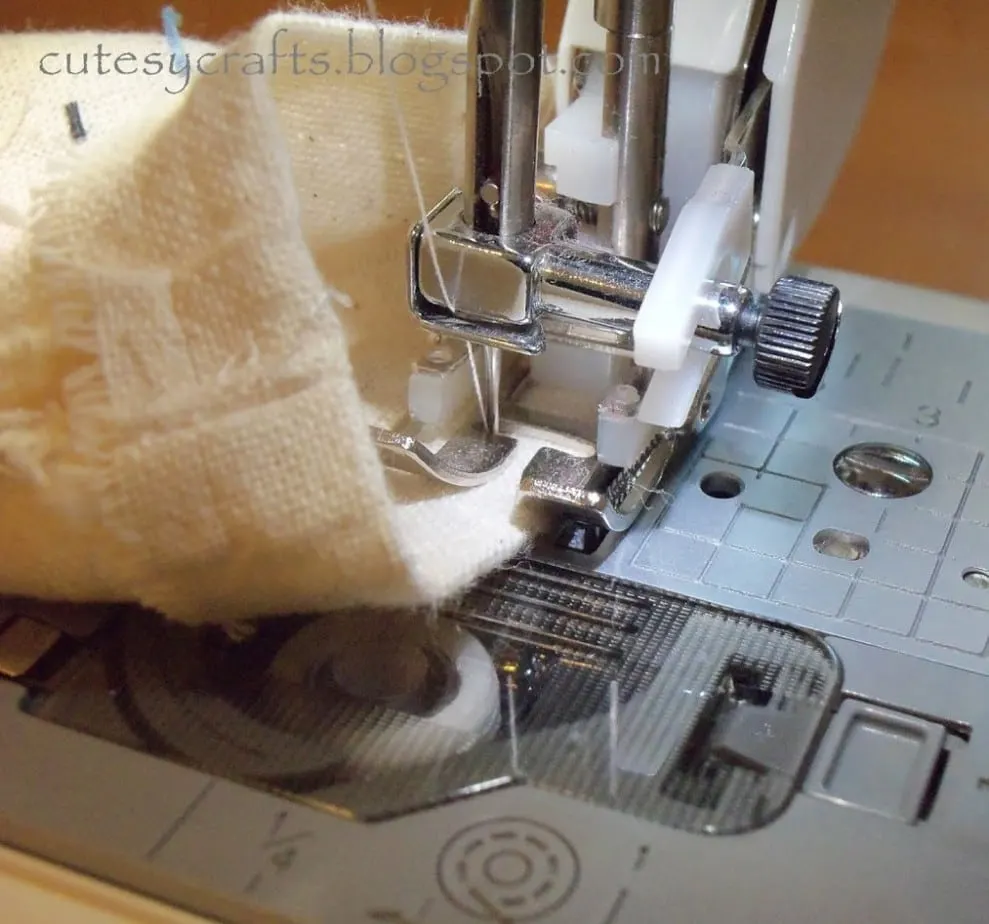
Open your bag up and sew about 1/4″ down all around the bag, to make a casing for your string. Try to follow the same seam that you ripped out from the original casing.
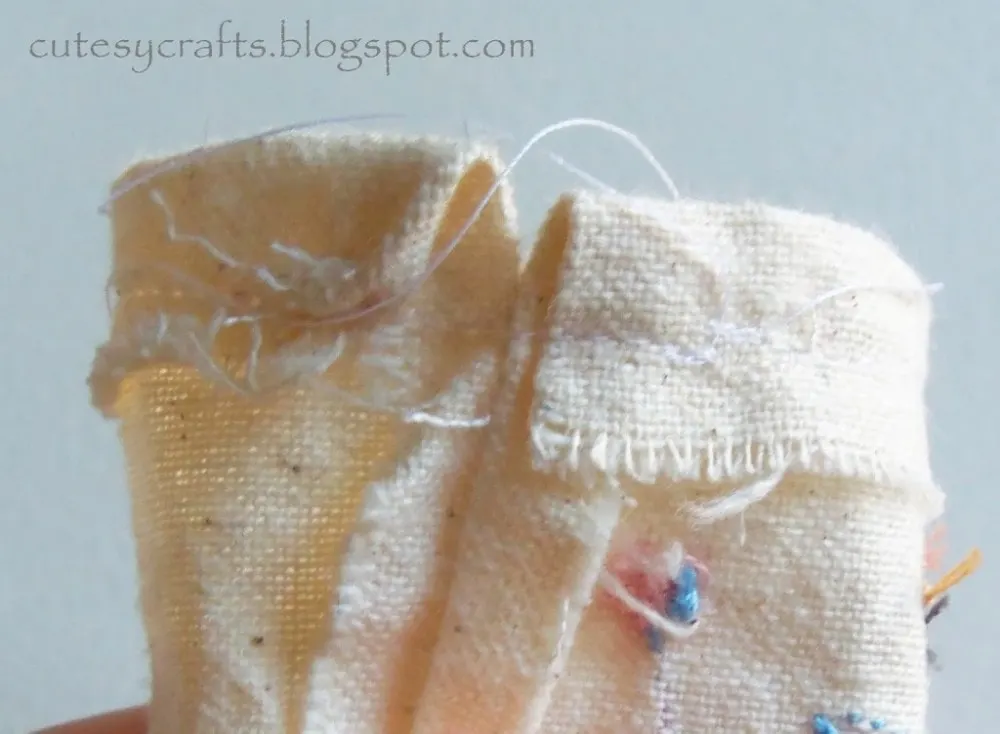
The one side should look something like this when you are done.
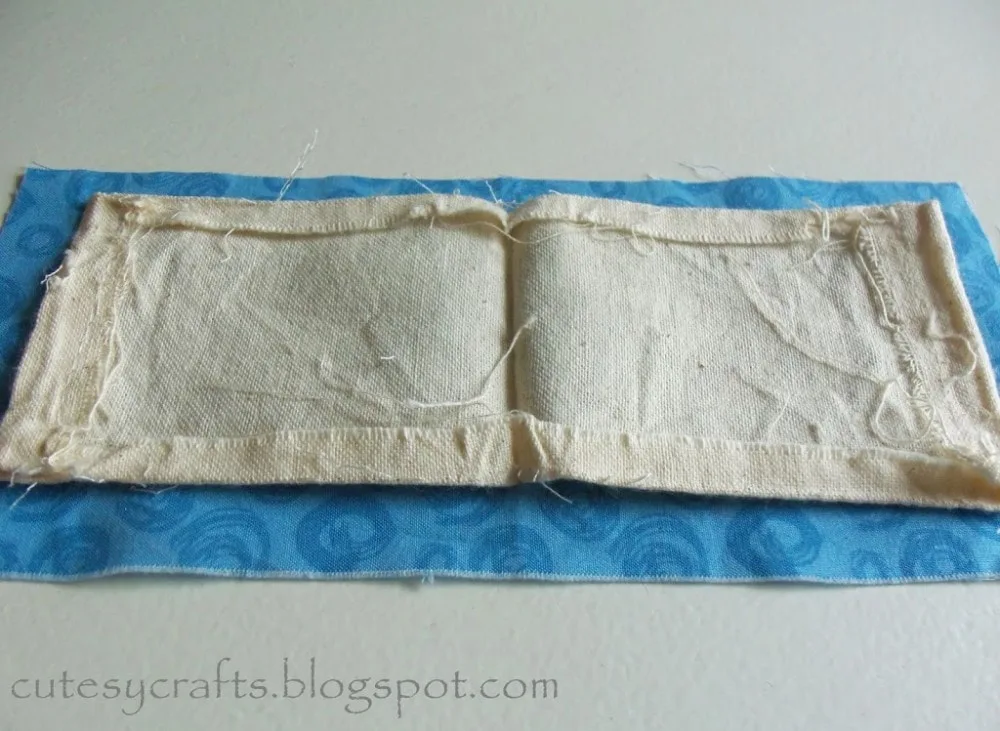
Lining the bags is not 100% necessary, but I think it made them a lot nicer. Take a piece of cotton and cut it 1/2″ larger than the outside of your bag while the seams are still folded.
Fold the lining in half, right sides together, and iron the fold. Sew down both sides from top to bottom with 1/2″ seams.
Press the seams open. Fold the top opening of the lining down about 3/4″ and press it also. I say “about” because you want the top of the fold to be lined up with the seam that you made when you sewed the casing for the draw string.
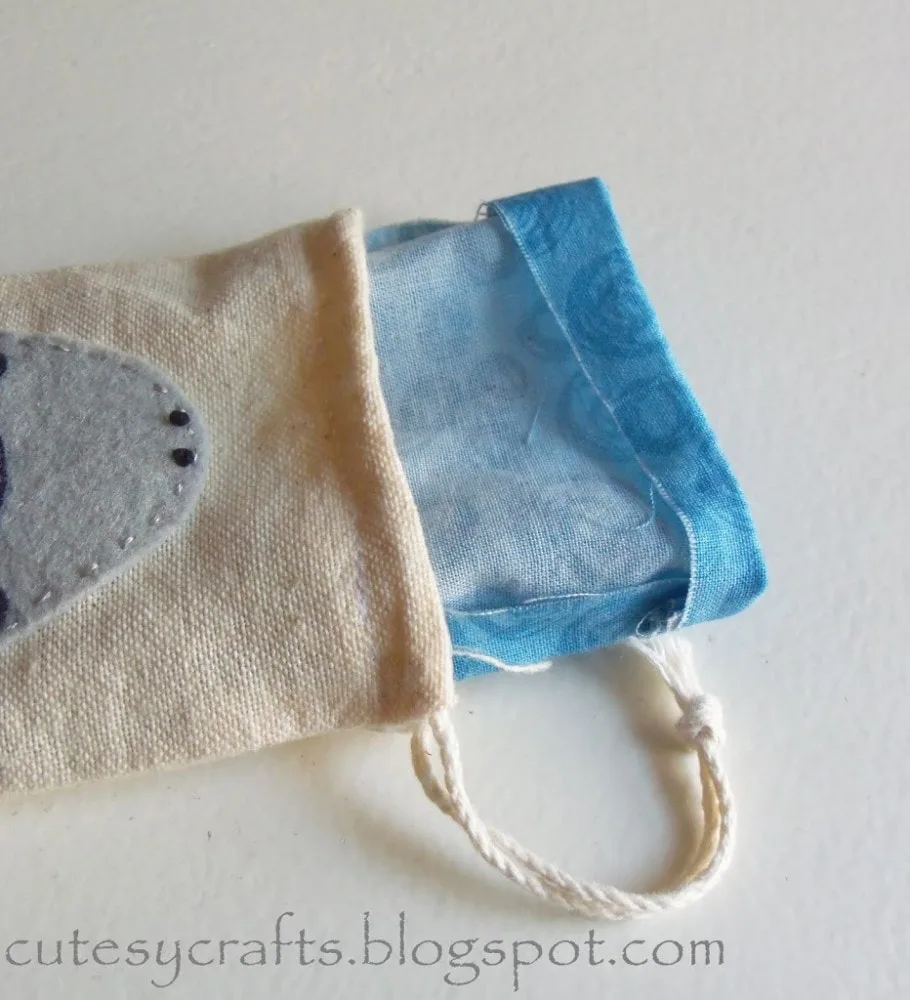
Turn your bag right side out and push the lining into your bag. (You won’t have the string in at this point, I put it in first, but realized later that it was better not to yet.)
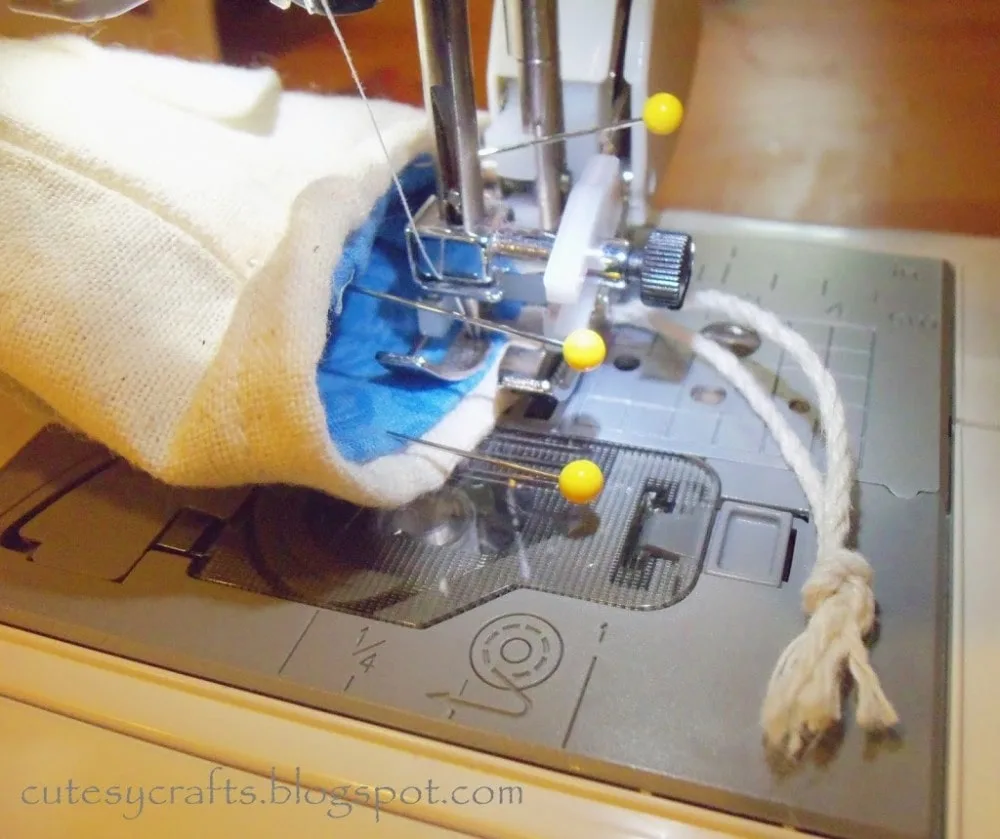
Line up the top of the lining with the seam that you already made for your string casing. Also, match up the side seams of your lining and bag. Pin in place. Open up your bag and stitch around the lining just like you did to make the casing.
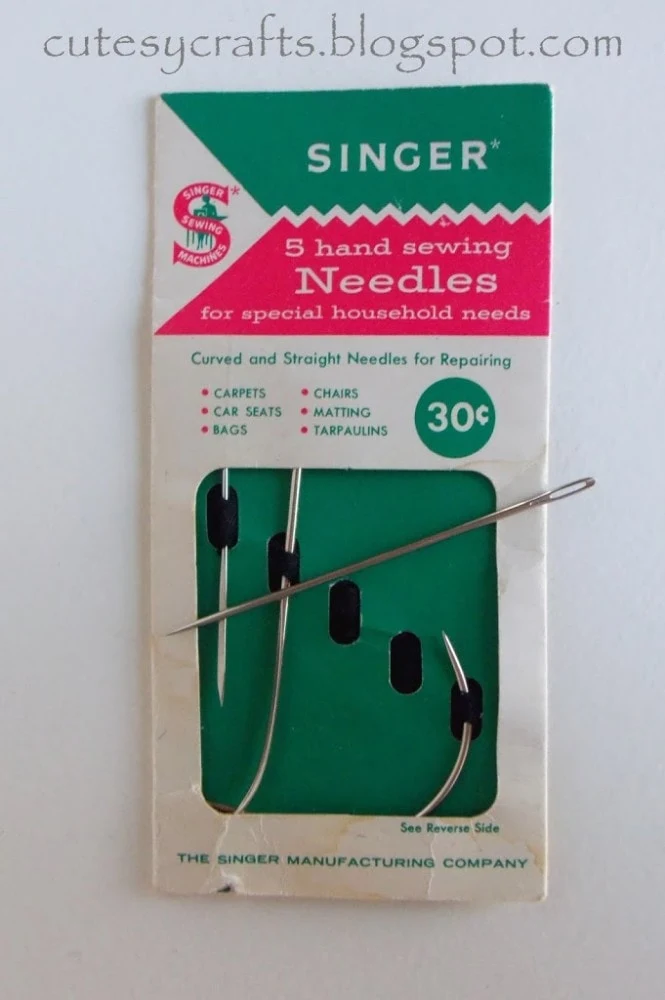
I couldn’t figure out how to get the string through the tiny casing, so I improvised with these GIANT needles that I stole borrowed from my mom. Check out the price tag on these babies. Mom, how old are these?! Haha!
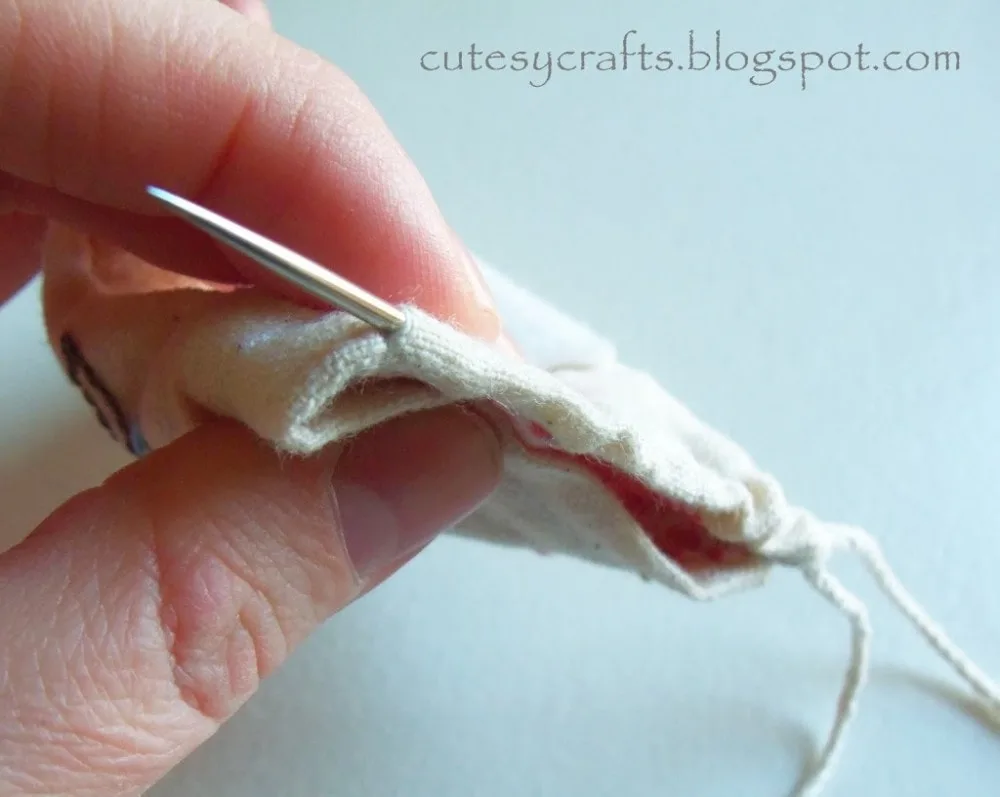
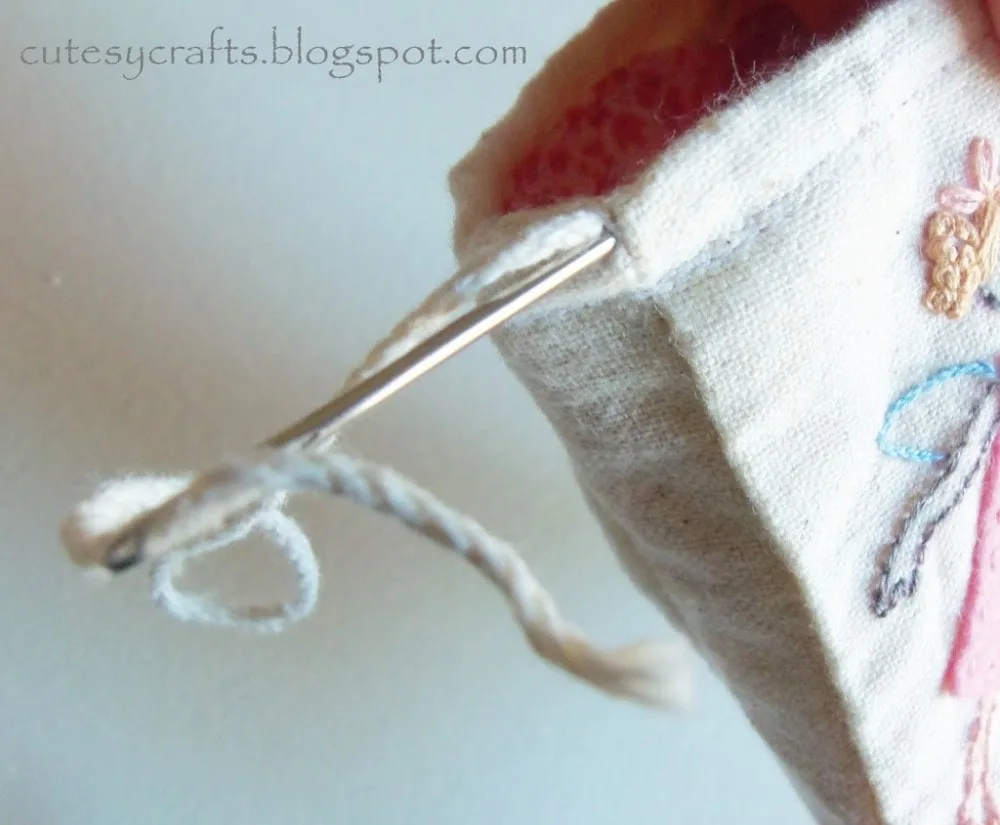
I threaded the needle with the string and pushed it through one side of the casing. When I got to the other side, I carefully pushed the needle through the seam and pulled the string through.
I then turned my needle around and put it back through the same small hole to the other side of the bag. That way the string stays inside the casing. Hopefully that makes some kind of sense. Pull it back through and tie the ends together.
Now you are ready for the tooth fairy! I hope you like them. Please come back to see what else I’m doing.

Tina
Thursday 7th of September 2023
So Cute I cant wait to make these.
Shirley
Friday 8th of August 2014
Love these tooth fairy/monster bags, am I reading this wrong? free pattern for appliqué? would love to make for my grandchildren
Jessica @ Cutesy Crafts
Saturday 9th of August 2014
So glad you like them, Shirley. There is a link to the free patterns just after the photo with the seam ripper. If you can't get them for some reason, send me an email at cutesycrafts (at) hotmail (dot) com and I'll email them to you.
Jana
Sunday 17th of November 2013
Any decision on putting these in your shop? Would love to buy a few
Jessica Anderson
Sunday 17th of November 2013
HI Jana, I had them in my shop for a little while and sold some. I decided that it just took too long to make them to sell. Thanks for your interest though.
M.J. Powell
Thursday 24th of January 2013
Hi,You have some great ideas and we would like for you to share with our readers too. We are hosting our first link party tomorrow and we would like to invite you to link up with us. We have a fun blog to co-host with us. Hope to see you there.
Thanks!The Busy Bee's,Myrna and Joye.
http://thebusybhive.blogspot.com/
ThatsSewSavanna LeCheminant
Sunday 20th of January 2013
Adorable, I hope you do sell them in your shop!