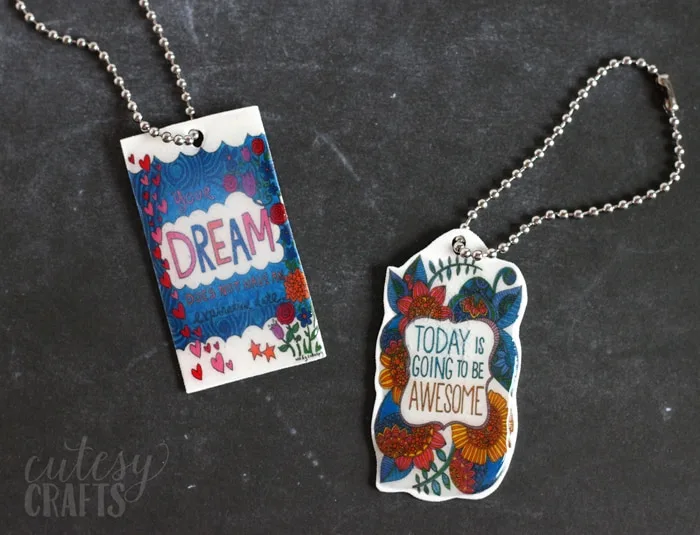
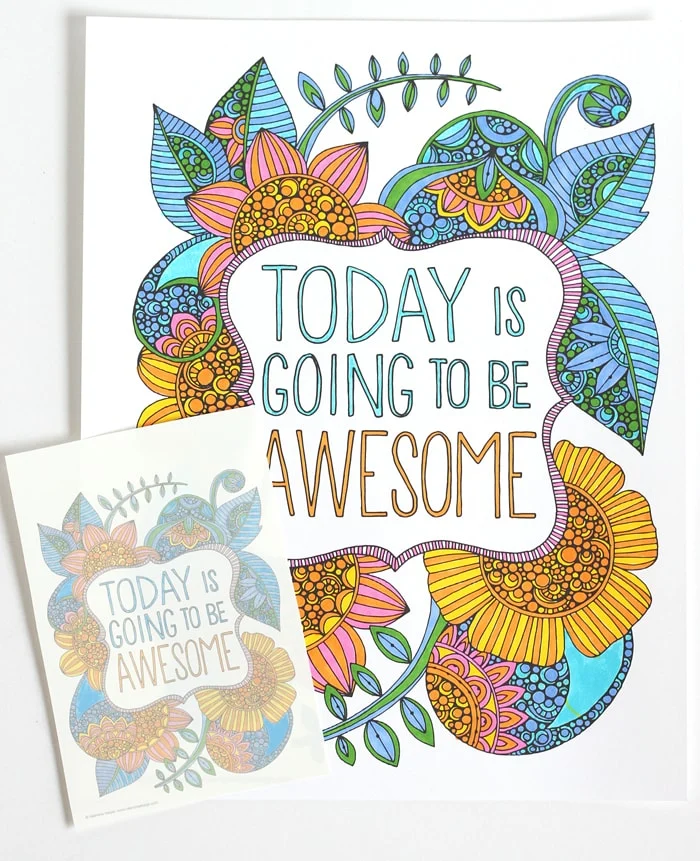
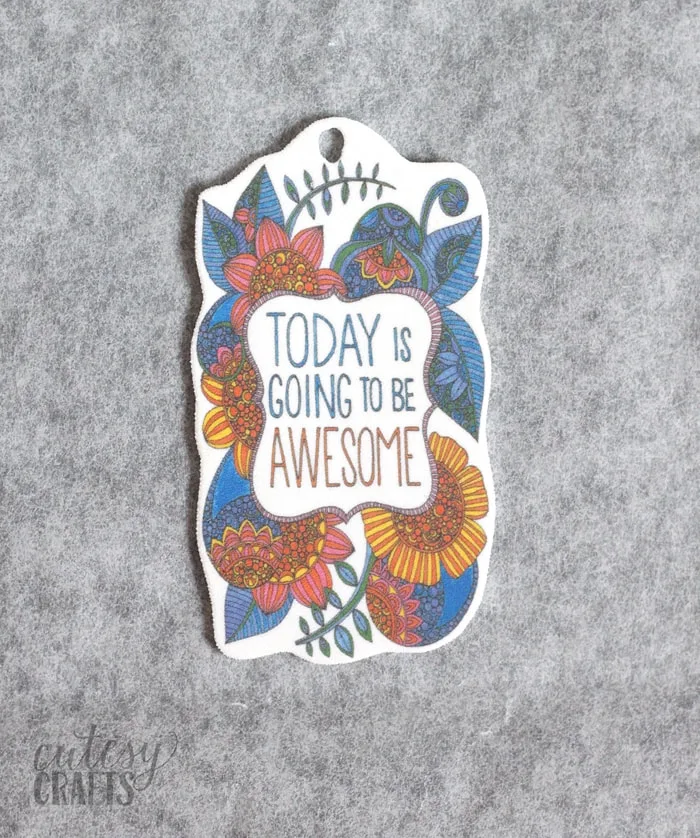
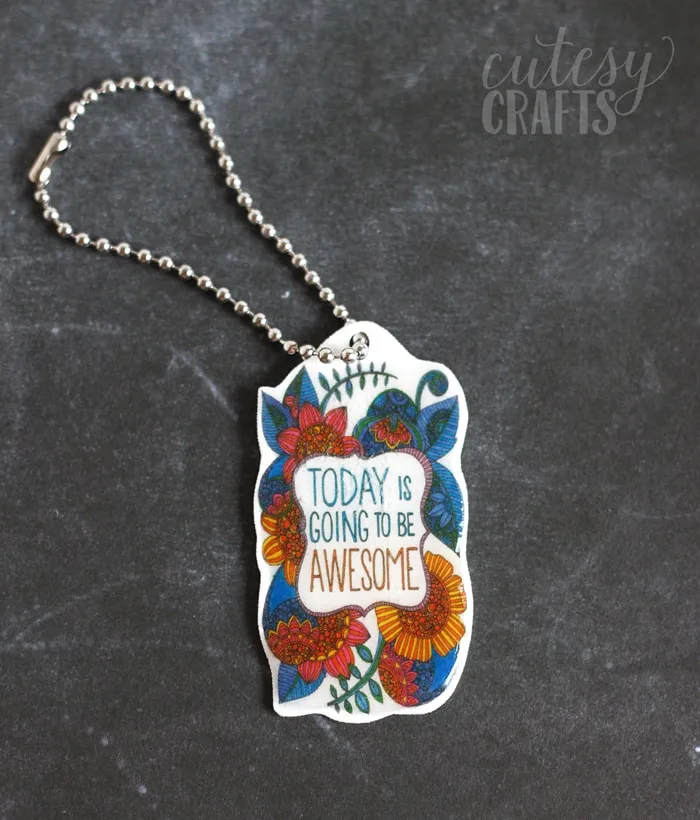
Have you tried adult coloring pages yet? It’s all the rage right now, and I kind of love it. I like having something like this to do when I’m relaxing in the evening, watching a TV show. I feel the same way about it as I do with puzzles though. You spend all of that time on it, and then what? Since I’m a crafty kind of girl, I decided to turn one of my works of art into something practical; a DIY keychain!
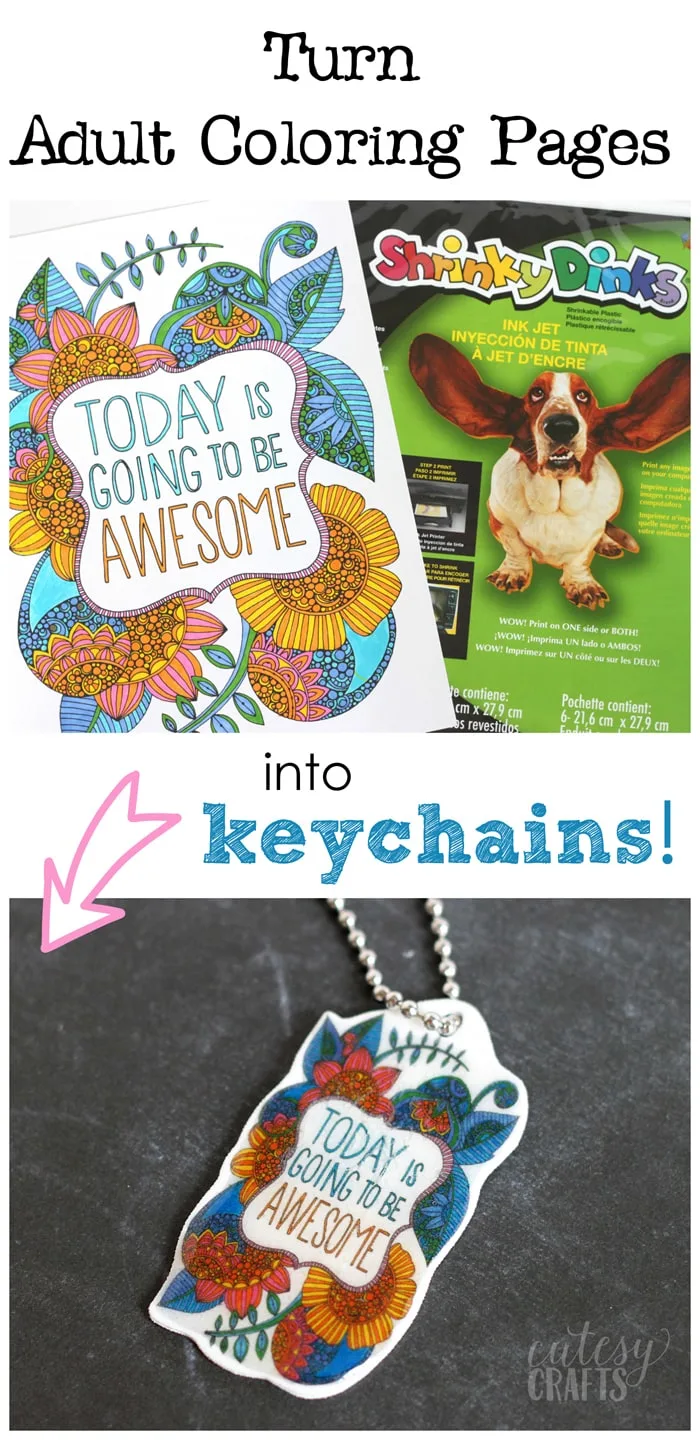 These are a little bit different from the keychains I showed you last week. For those ones, you colored directly onto the shrink film, but for these, you can use the beautiful coloring pages that you have already created.
(This post may contain affiliate links, which means I may receive a commission, at no extra cost to you, if you click a link and purchase something that I have recommended.)
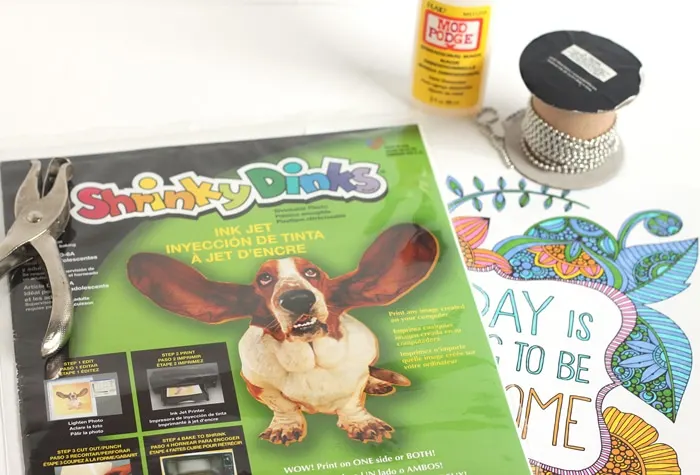
Supplies needed:
- inkjet printable shrink film (Shrinky Dinks)
- finished coloring page – I used some free printable coloring pages found here and here, but you can also use any pages from your favorite coloring book. You can find more free coloring pages here.
- scanner and printer
- parchment paper
- acrylic sealer
- Mod Podge Dimensional Magic (optional)
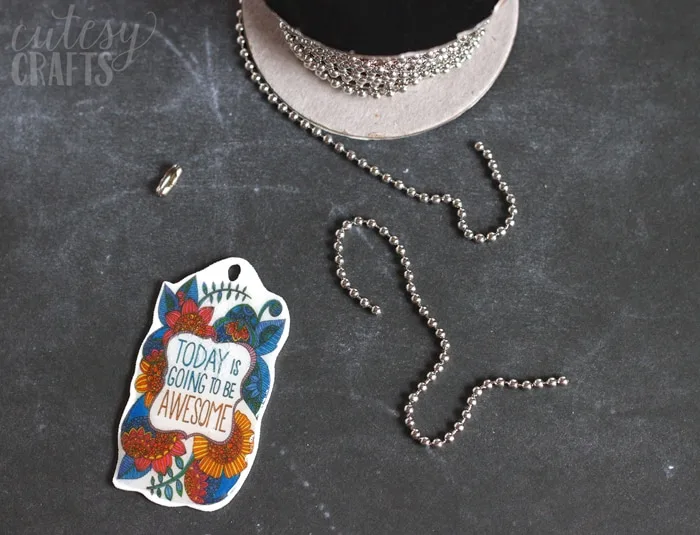
- ball chain and connector
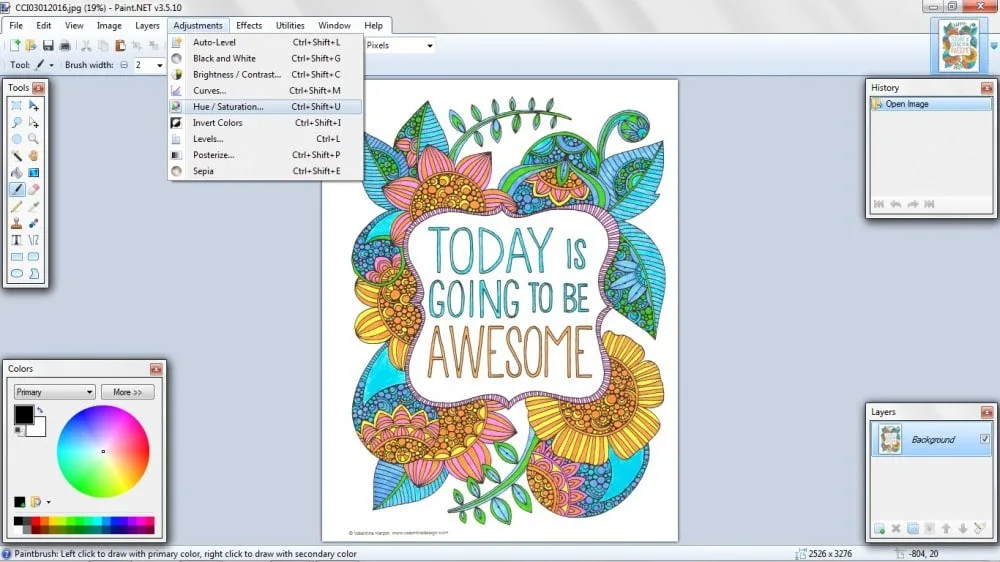
Doing this takes a little bit of computer knowledge, but I will try to make it as easy as possible. You should be able to use any photo editing program. I’ll show you how to do it using a free program called Paint.NET. First, open the image, go to adjustments and click Hue/Saturation.
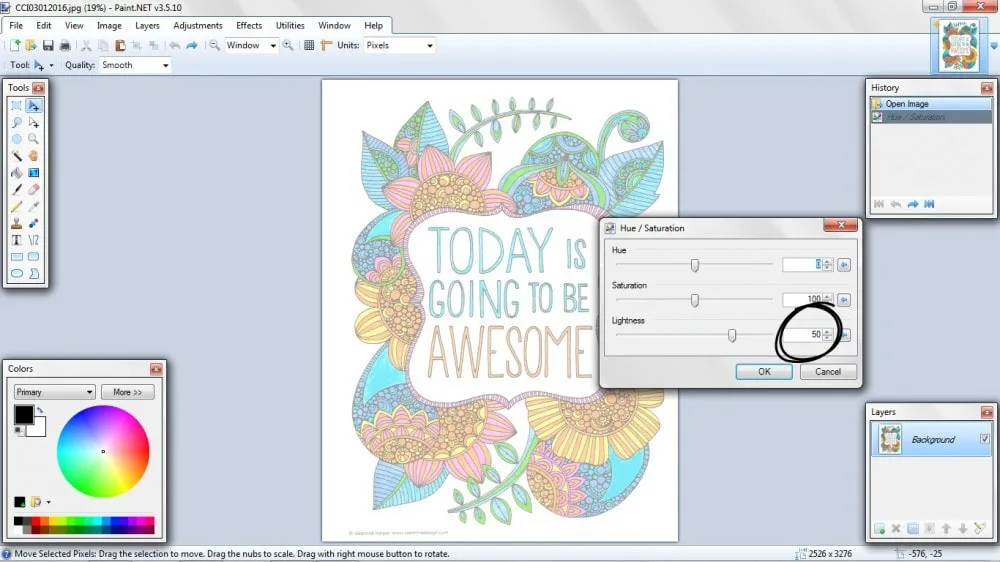
Change the lightness to 50 like in the photo below. When you shrink the image, the colors will darken, so you want to start lighter.
Save it as a JPEG image. When you go to print it, you can select 3.5 x 5 and print up to 4 on a page. As an alternative, you can also just resize the image in your photo editing program before you print it.
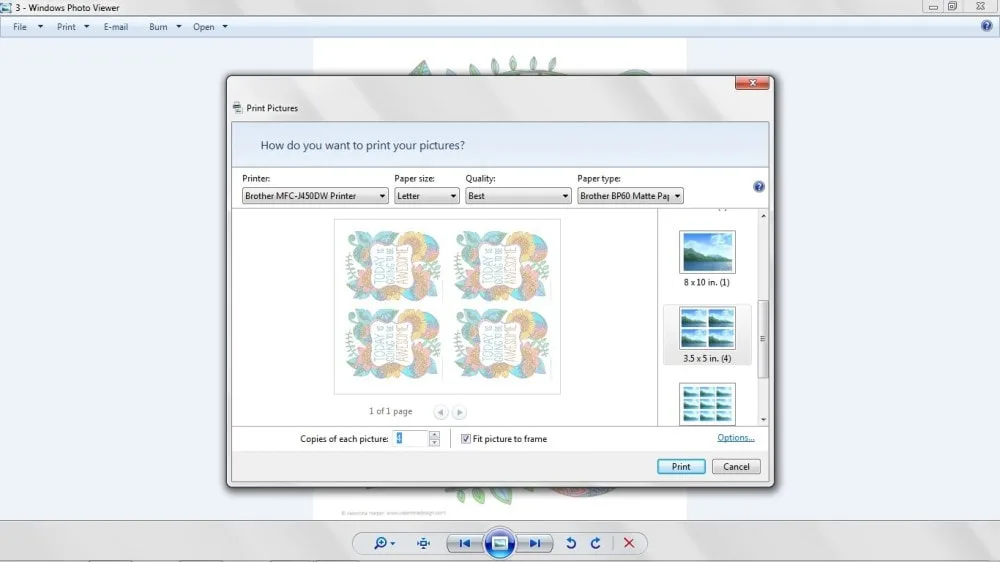
One drawback to doing this is that your colors won’t print out exactly how you colored them. That will depend on your printer. My blues turned out much darker.
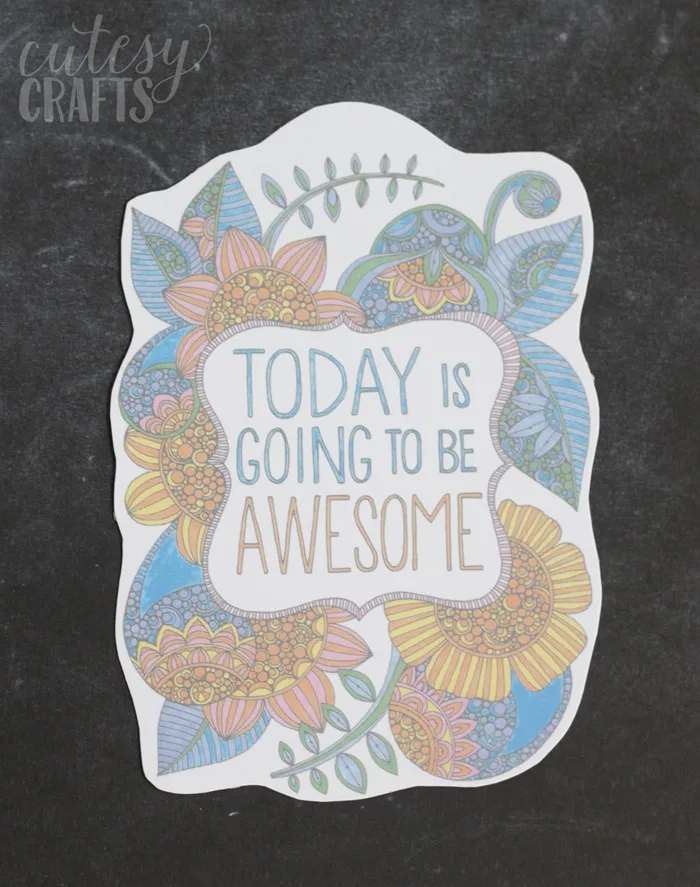
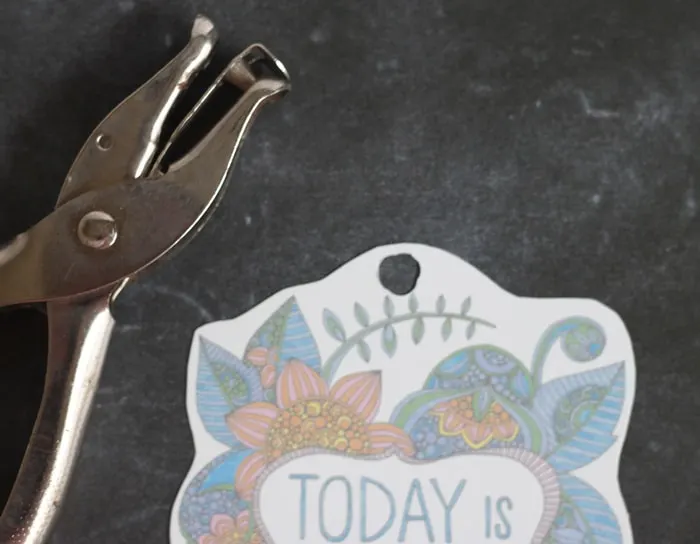
Cut around the outside of the design. Make sure to leave extra room at the top to punch a hole.
When your design shrinks, a single hole punch won’t be large enough for the chain to go through. Make it larger by punching partial holes around the original hole like I did below.
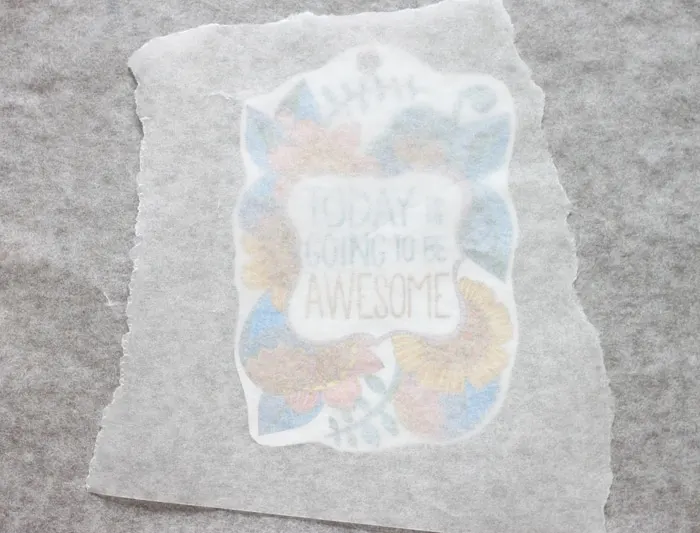
Place a piece of parchment paper on top of a baking sheet and put your design on top. Put another piece of parchment paper on top of the design. This keeps the design from curling up and sticking to itself. Preheat the oven and bake according to the package instructions.
When you bring it out of the oven, flatten it with a spatula as it cools, to keep it from warping.
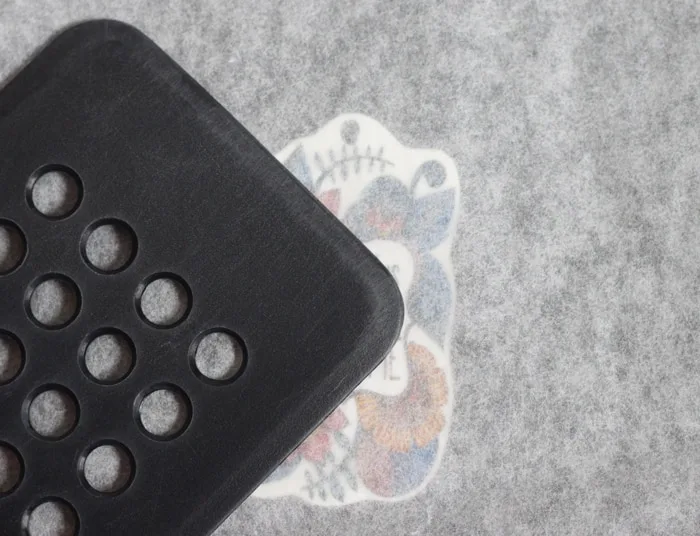
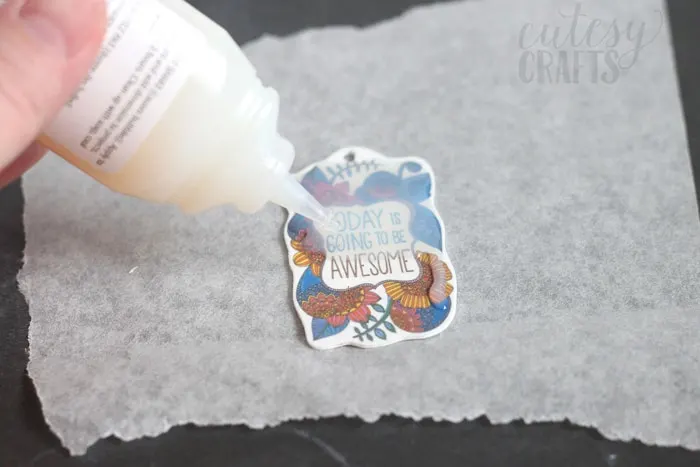
You can be done at this point and just seal the ink with a spray acrylic sealer and let it dry. I decided to add a little something more with a coat of Mod Podge Dimensional Magic.
Squeeze a coat of Dimensional Magic all over the top of the design, avoiding the hole. Pop an air bubbles that appear. The bottle says to let it dry for 3 hours, but I would let it set at least overnight before handling.
Cut a piece of ball chain and thread it through the hole to finish off the keychain.
Now I get to look at the pretty design that I colored and have a little reminder on my keys that “Today is going to be awesome!”
If you liked this craft, make sure to check out my other tween and teen craft ideas!
Cutesy Crafts is a participant in the Amazon Services LLC Associates Program, an affiliate advertising program designed to provide a means for sites to earn advertising fees by advertising and linking to amazon.com. This post contains affiliate links.
