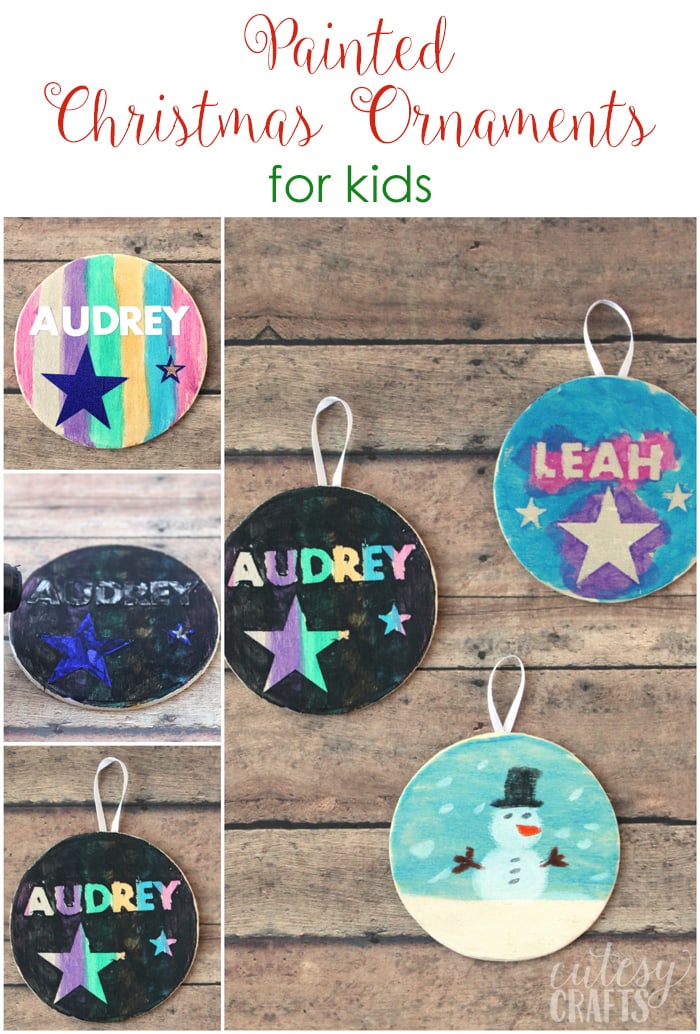
Painted Christmas Ornaments for Kids
This post is sponsored by The Pencil Grip, Inc. for Kwik Stix. All opinions are my own.
I love coming up with new Christmas ornaments for kids to make. These are really easy, and even the smallest crafters can make them look nice. You can use stickers as a reverse stencil, like we did, or just let the kids free-hand their designs. I even posted a little video at the bottom of the post for you to see the process. Also make sure to take a look at all of my other homemade Christmas ornament tutorials!
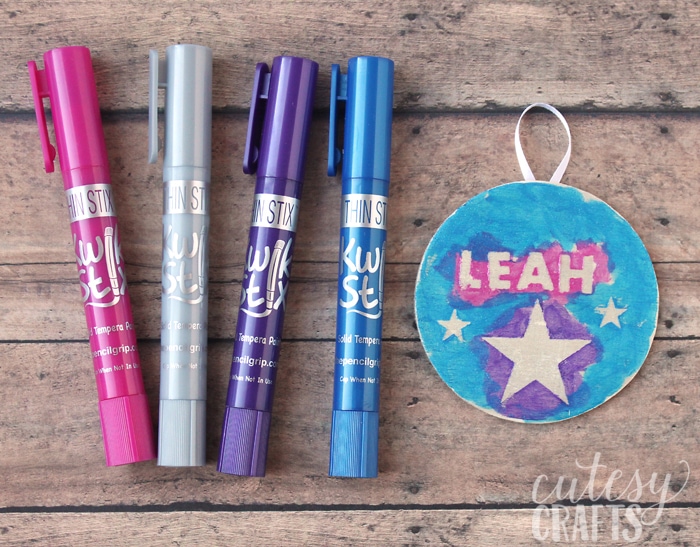
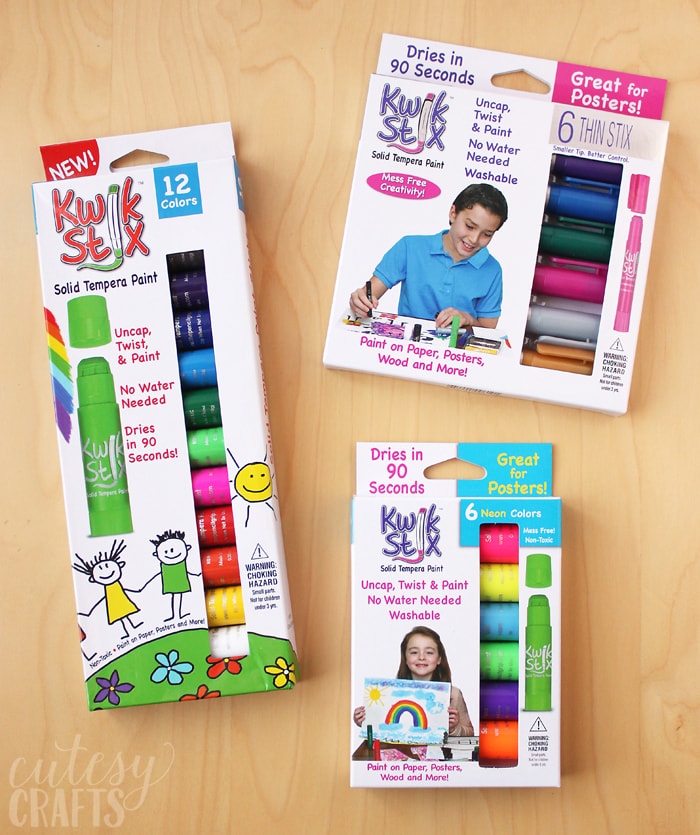
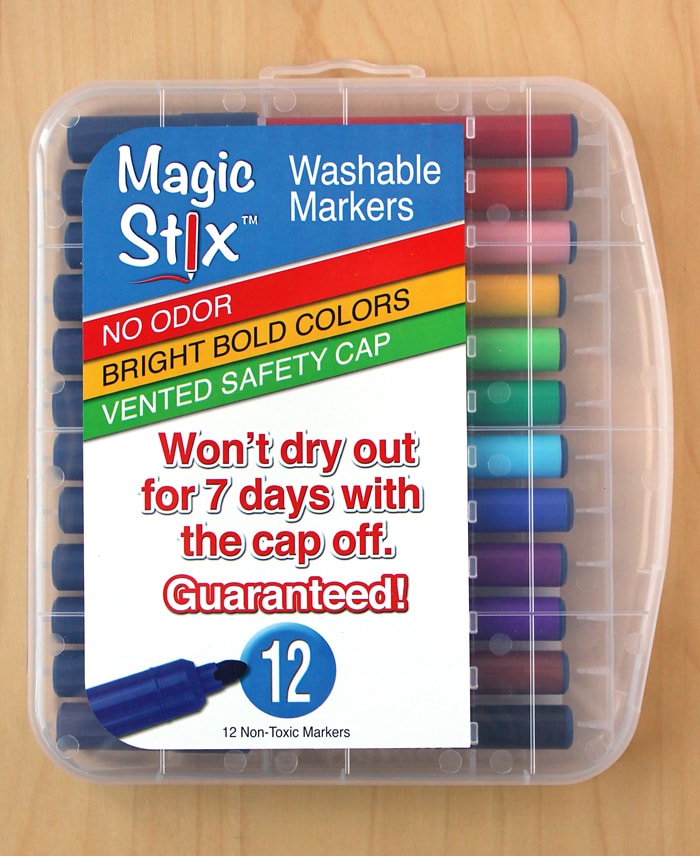
We made the ornaments using Kwik Stix solid tempura paint in a stick. I love letting the kids paint with these because they are basically mess free. No need for brushes or water, just take off the cap and paint! They are similar to a glue stick and the paint dries in 90 seconds.
Kwik Stix are not only egg, peanut, and gluten free, but they are also dairy and soy free. They are available in store at Michaels and Walgreens, and online at Amazon.com. Their 24 pack of Thin Stix is available at BJ’s Wholesale for the discounted price of $19.99 for a limited time only! That’s a great price because it is normally sold for $24.99.
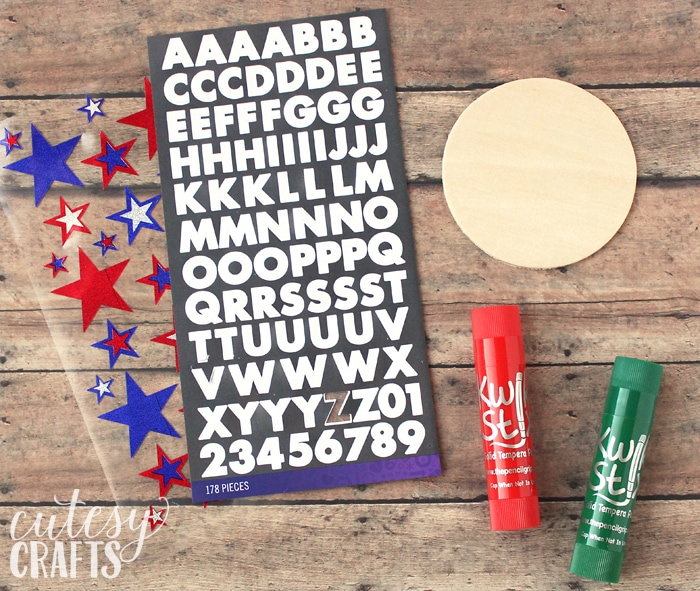
Supplies needed to make these painted Christmas ornaments for kids:
- wooden circles – The ones we used were 3.25″ diameter
- stickers – letters and shapes
- Kwik Stix
- ribbon
- hot glue gun and gluesticks
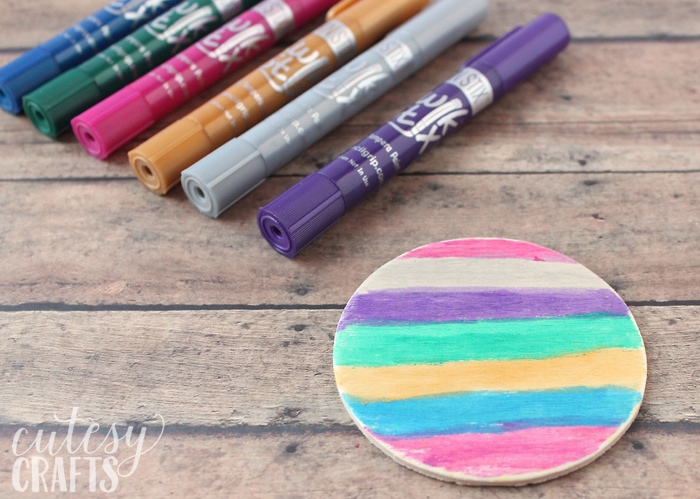
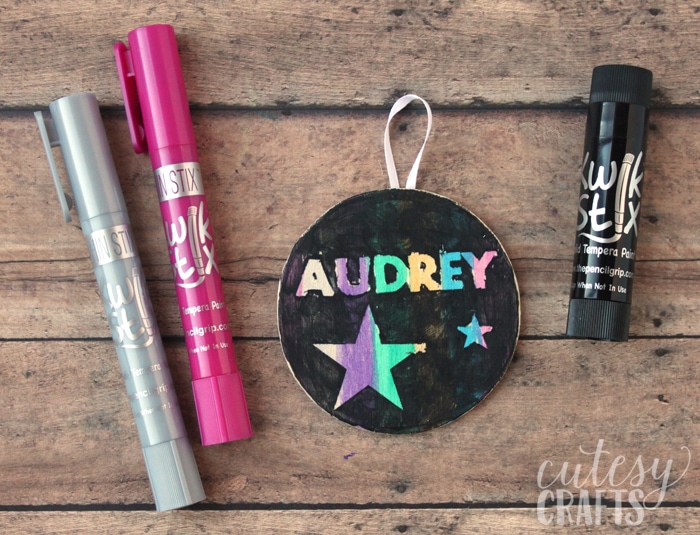
My girls are obsessed with the Thin Stix version of Kwik Stix. They are a little bit thinner, and these metallic colors are so pretty! To start off on this one, Audrey took the wood circle and painted different color stripes.
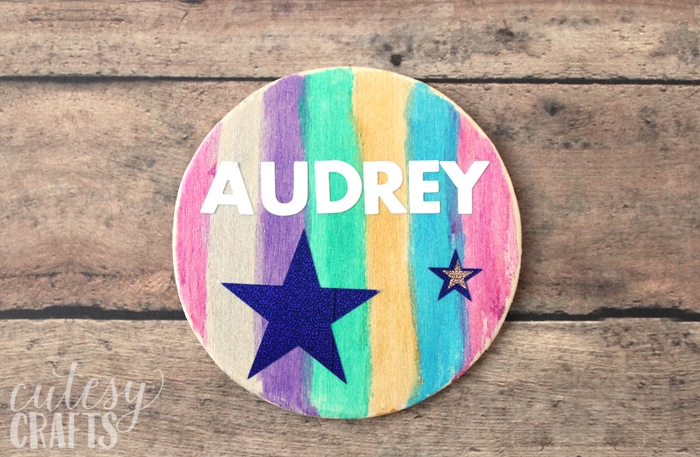
Once that dried completely , I helped her add some stickers. Make sure to rub them so you get a good stick. We couldn’t find any holiday stickers, so we settled for stars.
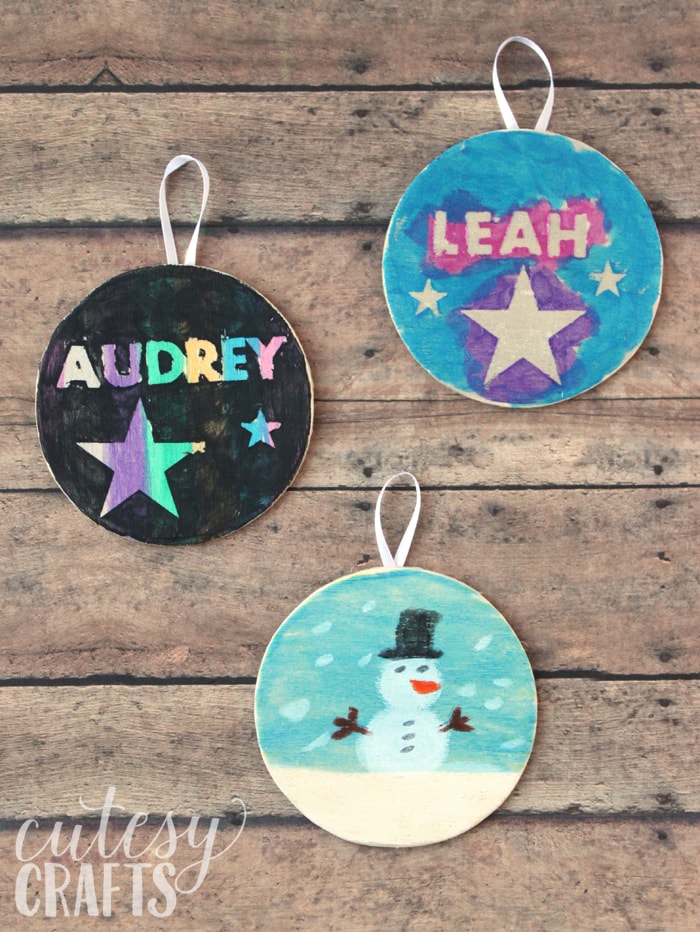
Paint over the top with another color (or multiple colors). Make sure whatever color you choose is darker than the base colors. We used black to play it safe. You could also do a light base color and paint multiple colors on top, like Leah did.
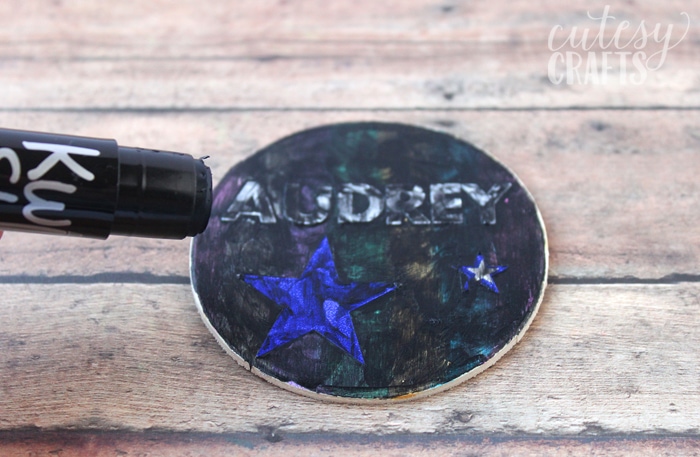
When that dries, peel off the stickers to reveal the base color. Cut a small piece of ribbon and hot glue it to the back for hanging (have an adult do this).
I made a little video to show you the process to make these ornaments for kids. My little Leah was so excited to be part of it!
If you’re looking for a great gift for your crafty kiddos, these should definitely be on your list! Keep up with the latest from The Pencil Grip, Inc. by following them on Facebook, Twitter, and Pinterest.