
Scrap Wood Christmas Trees
This is a sponsored post written by me for Plaid Crafts (Mod Podge) and Blueprint Social. All opinions are my own. To read my full disclosure policy, click here.
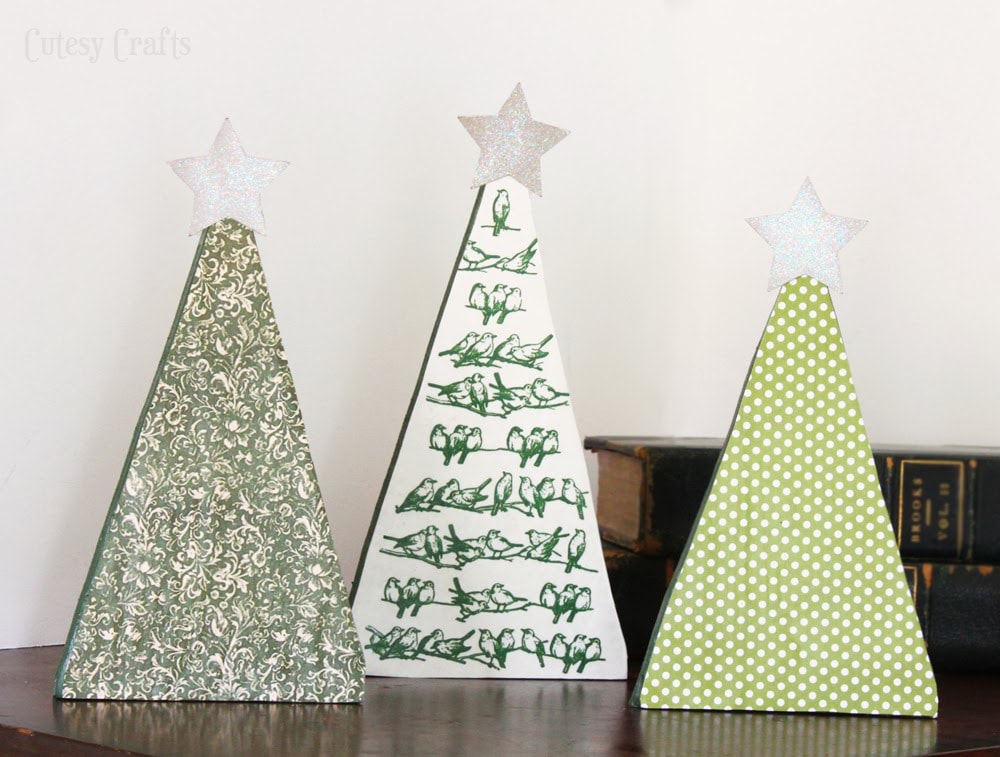
It’s finally time for me to start showing you some of the Christmas crafting I have been doing! Using some paper and different formulas of Mod Podge, I was able to dress up some scrap wood to make these cute little Christmas trees.

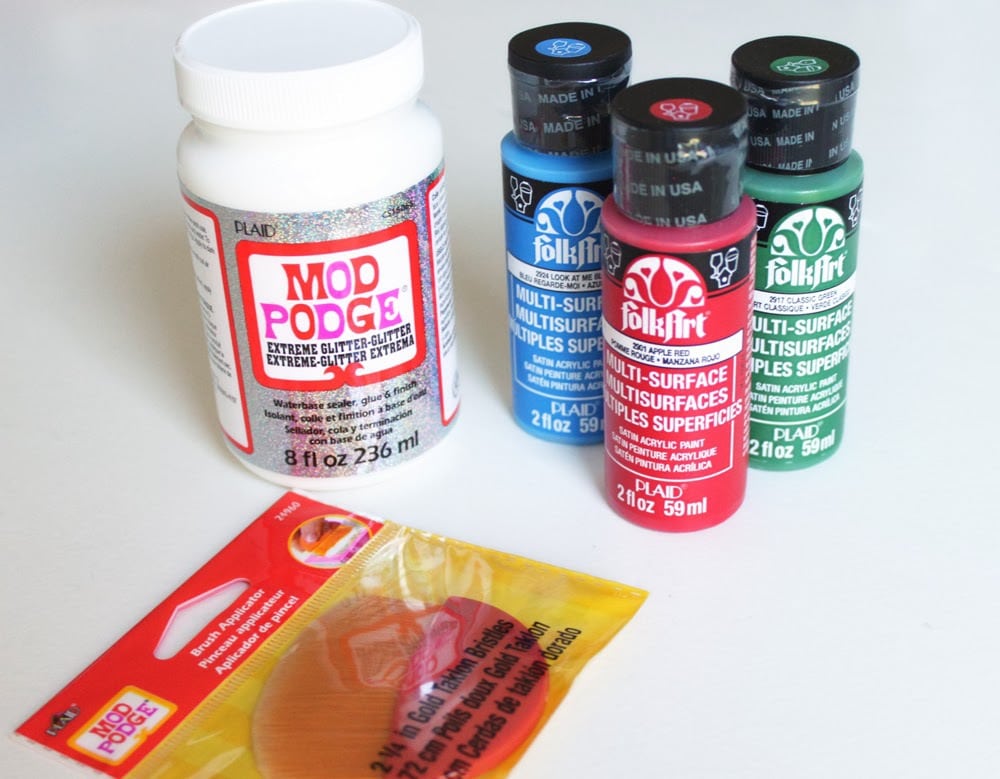
To make some trees for yourself, you will need:
- scrap wood
- Mod Podge
- Mod Podge Extreme Glitter (available at retailers nationwide and on Plaid’s website)
- green acrylic paint
- scrapbook paper (two of these are printouts from The Graphics Fairy. You can find those here and here.)
- chipboard
- paint brush (the one seen here is made especially for Mod Podge to leave less brush strokes)
Cut and sand your wood. I made these out of some leftover fence pickets. They are about 5 1/2 inches wide at the base and 8, 9, and 10 inches tall.
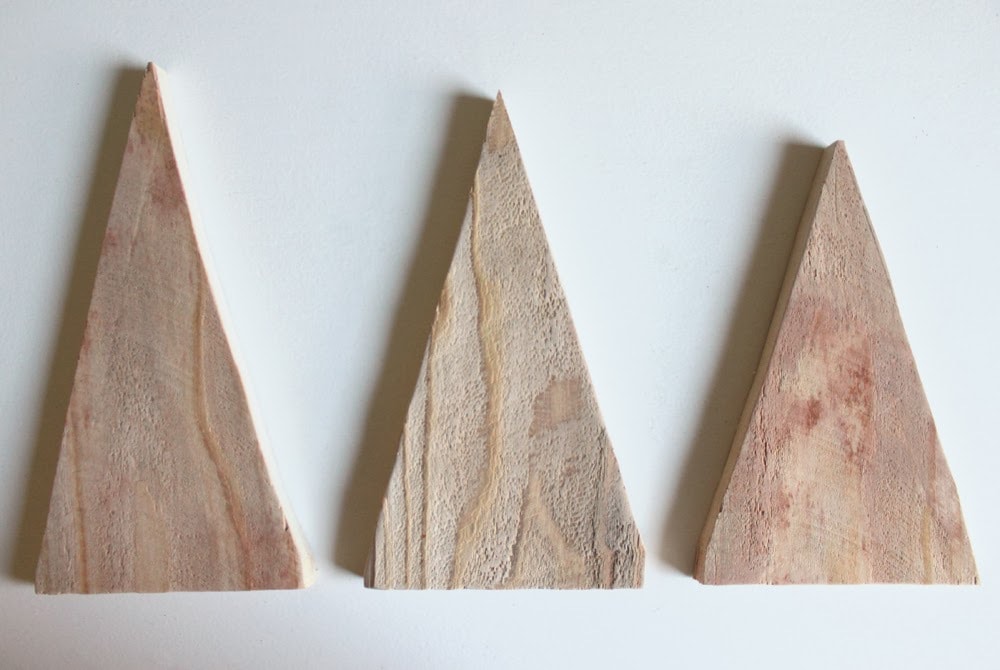
Paint the trees all over with green acrylic paint and let them dry.

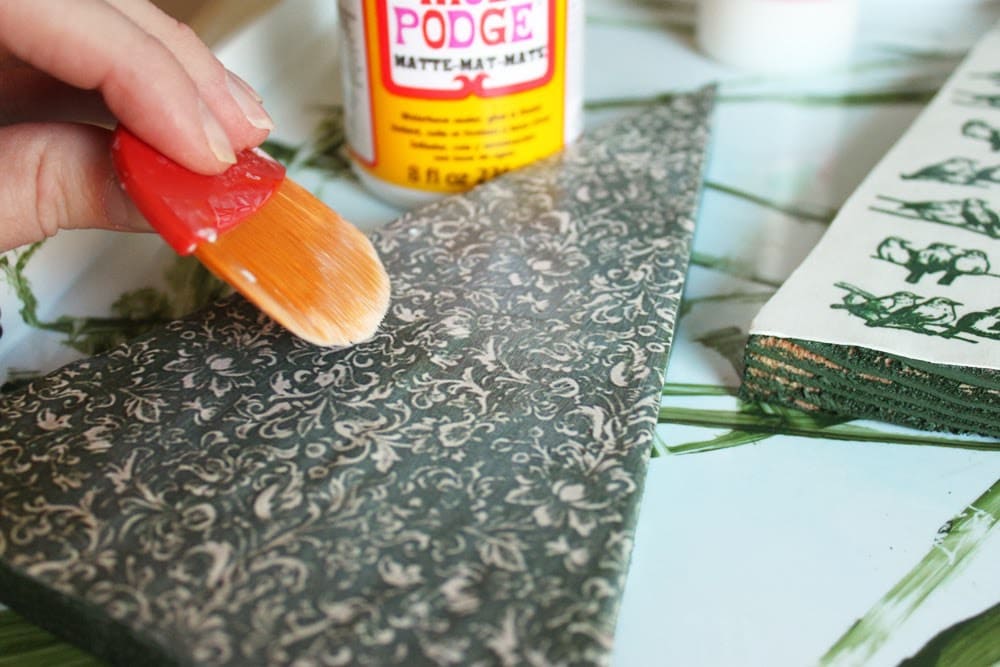
Trace the triangle shapes onto your paper and cut them out. Use Mod Podge to decoupage the paper to the front of each tree. If you are new to decoupage, you can learn the basic’s on Plaid’s website.
Cut some stars out of chipboard. Chipboard is a really thin type of cardboard that you can usually find in the scrapbook section of the craft store. I used my die cutting machine for these, but it can easily be done by hand. Paint 2-3 coats of Mod Podge Extreme Glitter on each star. I am really loving this stuff! So sparkly and no mess!!!

Use some more Mod Podge to adhere a star to the top of each tree.
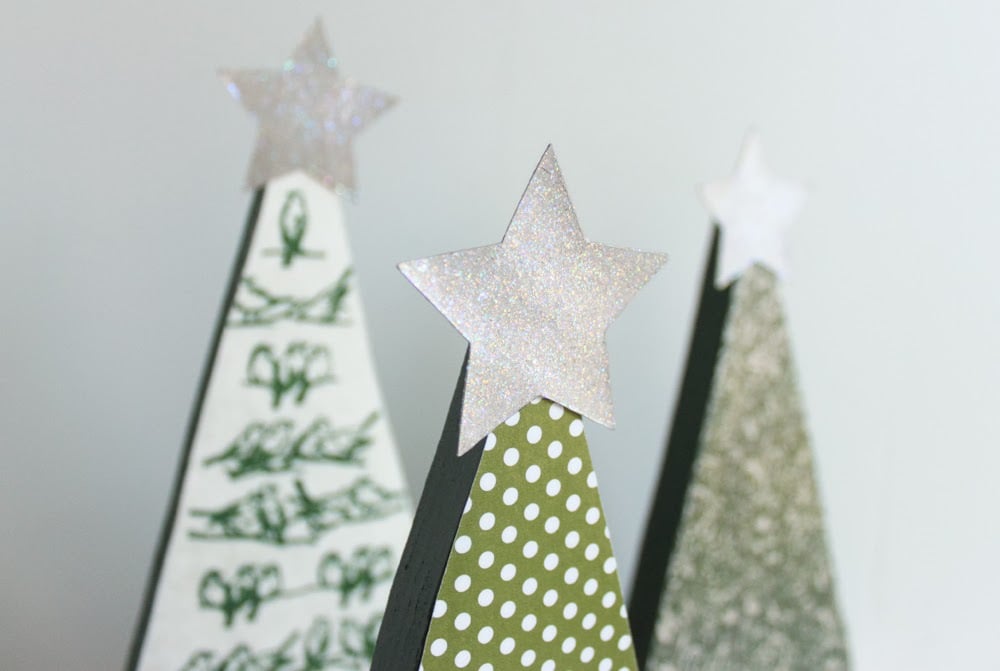
A cute Christmas decoration for your mantle or table!
Keep up with the latest from Plaid by checking out their blog, following them on Facebook, or subscribing to their email newsletter.


Love your trees, especially one with birds lined up. These are so great and look fabulous. Great project for anybody to make. Maybe I can get hubs to cut some trees out for me to put the papers on. They’ll look wonderful with my other decorations.
So glad you shared these, can hardly wait to make them. If I can’t get him to cut some out I’ll use some heavy cardboard to put papers on or heavy watercolor paper or both. Our weather is going to turn very cold and snowy and we don’t have a garage or basement for hubs to work in, has to be outside. Happy week
Thank you! Yes, the hardest part was trying to get my husband to cut the wood for me. Haha.
Love these! Especially the bird one!!!
Amber @ Averie Lane
Thanks Amber!
Love these! I just love scrap wood projects. These trees are so cute!
Thanks Bethany!