
Learning how to long and short stitch can produce beautiful results on embroidery. It’s an advanced move, that will take a bit of practice. Eventually you will be able to shade to different colors and produce some really nice effects like my butterfly embroidery hoop. This is just a beginner tutorial to give you the basics of the stitch.
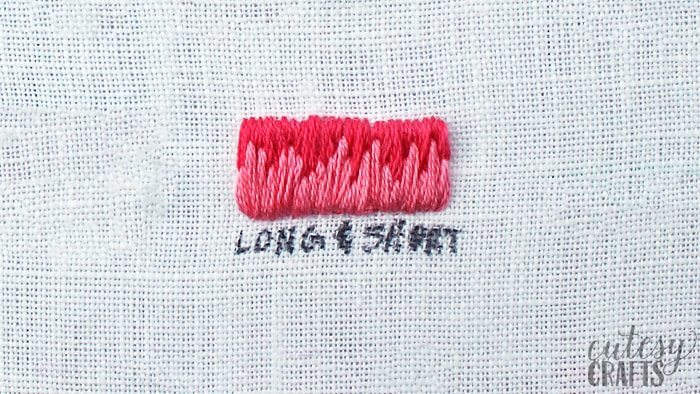
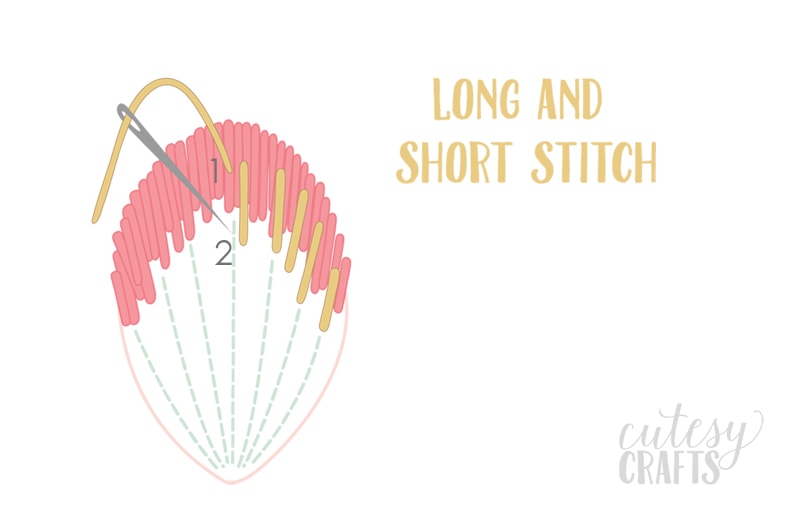
Do a row of straight stitches, close together. (This part is similar to a satin stitch, but does not go all the way across the shape.) Vary the length of each stitch. Start a second row, coming up at 1, splitting the previous stitch thread, and down at 2. Split every stitch in the first row with a stitch in row 2.
Learn the basics of how to long and short stitch by following the video tutorial on my YouTube channel. You can also watch it by using the video player below.
If you are using an ad blocker, you may need to disable it to see the video.
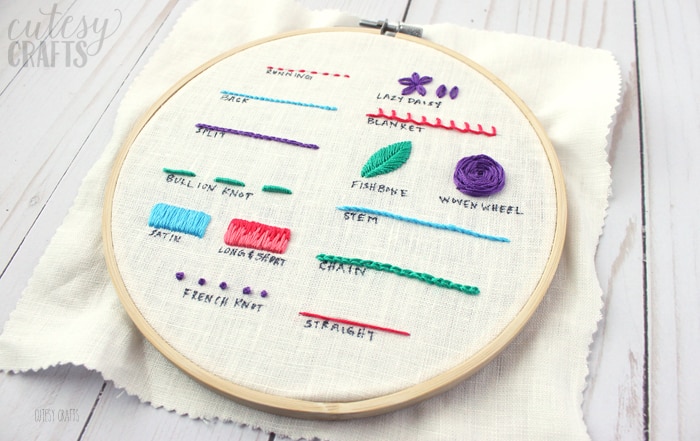
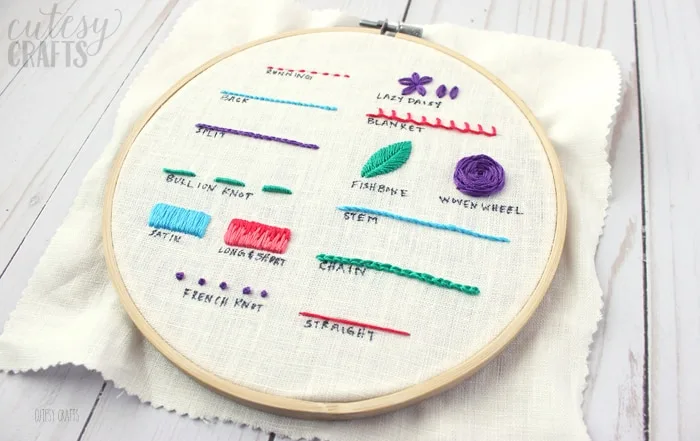
Learn all of these other embroidery stitches by making this stitch guide sampler with me. It’s a great way to practice and a nice reference to have while you are reading other embroidery patterns.
Get the free pattern!
To download this free pattern, enter your information in the form below or click here to subscribe to my newsletter. It’s free, and I’ll keep your email address safe. You can also unsubscribe at any time.
To watch all of the videos in this series, including some basic embroidery tips, go to my YouTube channel here. I’ll walk you through the entire process and make it super easy for you.