If you want to learn how to embroider, but have no idea where to start, then you’re in the right place. My hand embroidery blog posts and video tutorials (many which have millions of views) have taught people all over the world to embroider. Hand embroidery is my number one crafting passion, and I’ve compiled my knowledge into 6 beginner lessons. With just a few supplies and some basic stitches, you’ll be creating beautiful works of art in no time.
How easy is it to embroider?
Learning to embroider isn’t hard. You don’t need a lot of supplies, and you can start with some very basic stitches to create beautiful work.
What is the easiest embroidery stitch?
The easiest embroidery stitch is the running stitch, followed by the backstitch.
What are the 6 basic embroidery stitches?
- Running Stitch
- Backstitch
- Split Stitch
- Stem Stitch
- Satin Stitch
- French Knot
Watch the Video!
Watch my detailed video below that shows you everything you need to learn hand embroidery. (If you are using an ad blocker, you may need to disable it to see the video.)
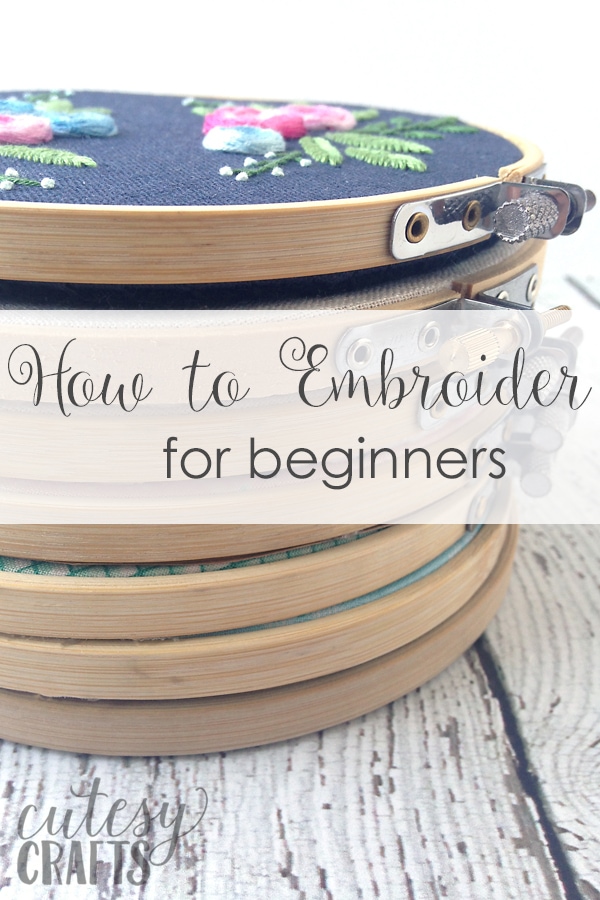
How to Embroider for Beginners
Lesson 1: Embroidery for Beginners – 5 Essential Supplies
Gather your supplies. Naturally, you’ll need to gather some supplies before you can start to embroider. Luckily, you don’t need very much to get started:
- fabric
- thread
- needles
- a hoop
- tracing supplies
I’ve gathered everything that you’ll need to successfully start doing embroidery for beginners, and put it into this lesson. I also added in some extras, in case you’d like to make it more fun.
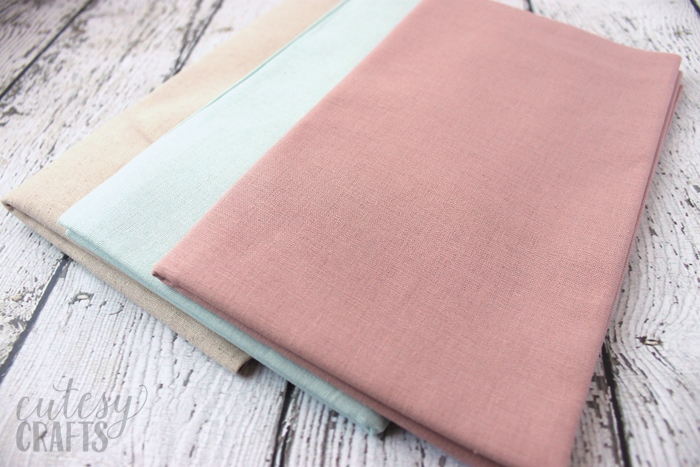
Lesson 2: How to Embroider – Best Fabric
I already talked about this in the supplies part, but just in case you missed it, you’ll want to choose some fabric for your project. Basically, if you can stick a needle through it, you can embroider on it. There are, however, some fabrics that I find easier to work with than others. This lesson is all about the different kinds of embroidery fabric and why you might want to choose some over others.
Lesson 3: Embroidery For Beginners – Top Tips
When you learn how to embroider, there are some basic tips that you’ll need to be successful. How to thread a needle, how to separate embroidery floss, and how to start and stop your thread are just some of the topics I’ll cover. Work your way through these tips, and you’ll be well on your way.
Lesson 4: How to Hand Embroider – Beginner Patterns
I always say that the best way to learn is by doing, so you’ll want to choose a pattern. This lesson will tell you what to look for in a beginner pattern and give you some nice options to choose from. If you’d rather go simple, I suggest my Free Embroidery Sampler Pattern. If you have previous experience, or are feeling adventurous, I have loads of other Free Embroidery Patterns to choose from.
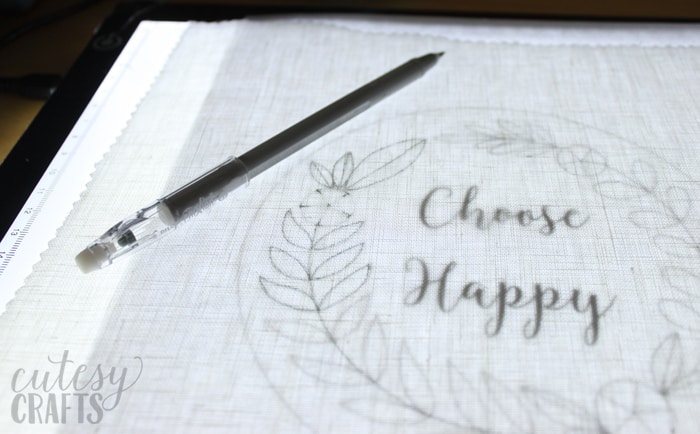
Lesson 5: How to Transfer an Embroidery Pattern
Once you find a pattern you like, you’ll need to transfer the pattern to your fabric. There are so many different methods to choose from! In this lesson, I’ll walk you through the pros and cons of each method and what kind of fabric each one is best for.
Lesson 6: How to Use an Embroidery Hoop
Choose a hoop that is slightly smaller than your fabric. Unscrew the top screw just enough to release the inner hoop. Place your fabric over the inner hoop and press the outer hoop over the fabric about halfway down. Tighten the screw and press the outer hoop down the remainder of the way. Pull the fabric on all sides, evenly until the fabric is drum tight. Tighten the screw completely.
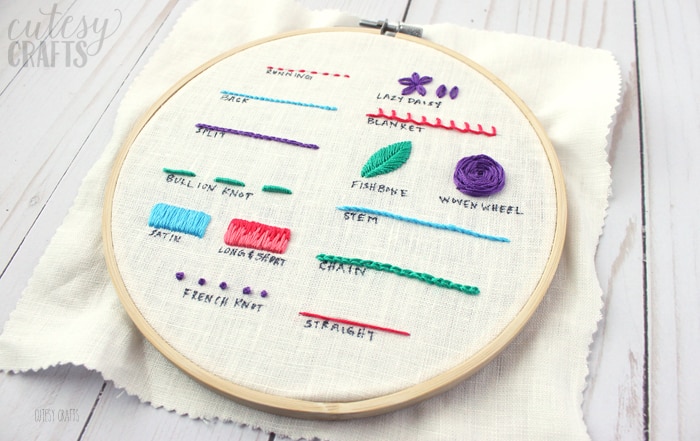
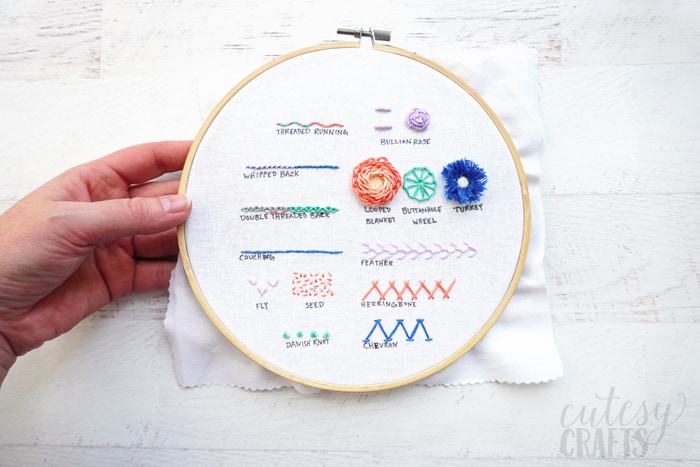
Lesson 7: How to do Embroidery – Basic Stitches
Every embroidery pattern is made up of different stitches. On this page, you’ll find a simple video tutorial for each stitch. Using these basic embroidery stitches, will teach you how to embroider flowers, letters, and anything you can imagine.
Lesson 8: How to Finish Embroidery
- Frame it in the hoop – Leaving your embroidery in the hoop is a lovely way to frame it. The most professional way to finish off the back is to stitch a piece of felt onto it. Here’s a video that shows you how.
- Mount it on a canvas – If you don’t like the look of it being in a hoop, try mounting it to a canvas like I did with this succulent embroidery.
- Iron on a backing – If you’ve embroidered on clothing you can iron on a backing to protect the back of your work and keep it from irritating your skin. Here’s a post about the best backing to use.
Lesson 9: How to Wash Embroidery
Hand washing and line drying embroidery is going to make it last the longest. Hand embroidery can be very delicate, so your best bet is going to be hand washing in cold water with mild detergent. The dye in some embroidery floss can run so be careful of that. If you notice it, keep rinsing over and over, and don’t let it dry. Using a color catcher in the wash may help if you are concerned with running dyes.
Lesson 10: How to Press Embroidery
Try to avoid ironing over your embroidery design so you don’t smash it down. If you must iron your finished work, lay the design face down, with a thick towel underneath it to give the stitches some cushion. Lay a thin towel on top of the embroidery to add a layer of protection between your work and the iron. Do NOT drag the iron around, simply press down and lift it up before moving it.
Extras
Once you’ve mastered the basics of how to embroider, you might have some additional questions. Here are links to a few other embroidery tutorials to help you along the way:
How to Embroider Letters by Hand
How to Back an Embroidery Hoop with Felt
How to Tie Knots in the End of Embroidery Floss with a Quilter’s Knot
Start Embroidery without Knots
If you’ve never learned how to embroider by hand, I suggest you jump right in and give it a try. Your stitches don’t have to be perfect. The imperfection is what gives your piece character. Otherwise you would get something that looks machine-made. Don’t worry about making mistakes. The beauty of hand embroidery is that you can always take the stitches out and redo them. Have fun and enjoy your relaxing and productive new hobby!
You’ll also like:
- How to make a Loop Yarn Blanket
- No Sew Minky Blanket
- Embroidery Letters
- Cute Blanket Ideas
- Learn how to Back Stitch
- How to Make Candles at Home