
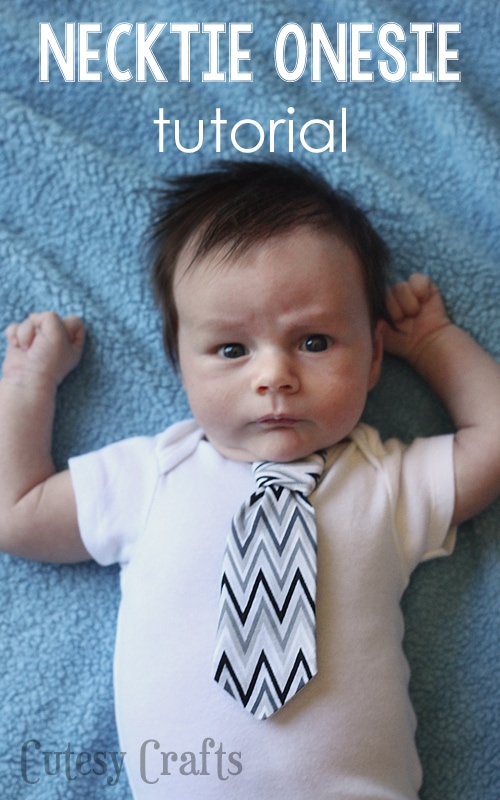
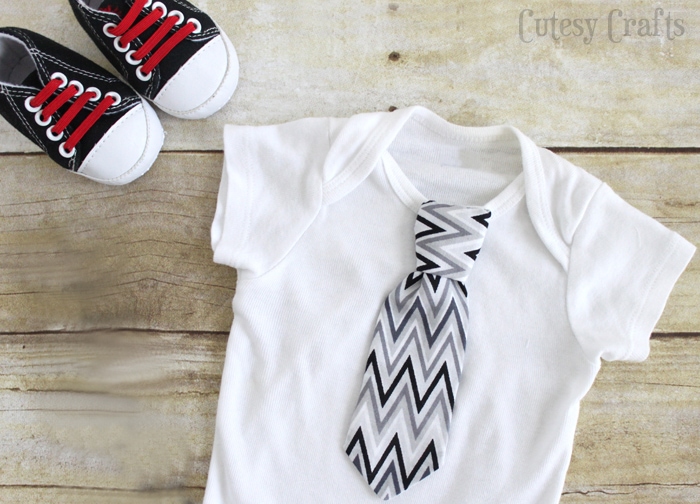
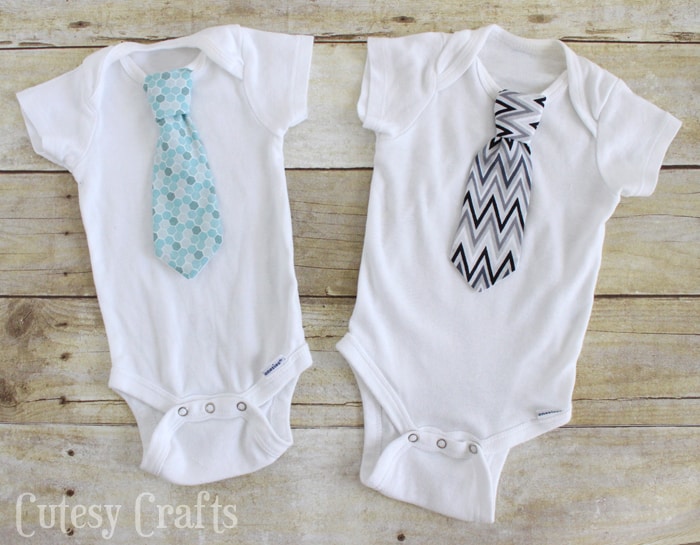
Ok, first let’s just take a second to say awwwww!!!! I know. So cute! Anyway, I wanted my little guy to look like a stud at church, so he needed some tie onesies, of course. I’m not a huge fan of the appliqued tie onesie because the tie gets lost in baby rolls, so I made this one with a “real” tie instead. Not as practical as an applique, but definitely cute! Seriously, I can’t get over his cuteness when he wears them! How many times can I say “cute” in this post? Guess they don’t call me Cutesy Crafts for nothin’. So here’s a little tutorial for you with a free baby tie pattern. Enjoy! If you like this post be sure to also check out my other baby crafts.
Supplies:
- onesie
- main fabric
- lining fabric (for underside)
- matching thread
- free baby tie pattern – this pattern is good for 3 month and 6 month onesies. It might work for 9 month ones as well, but I haven’t tried yet. You can always make it longer for a bigger onesie/baby.
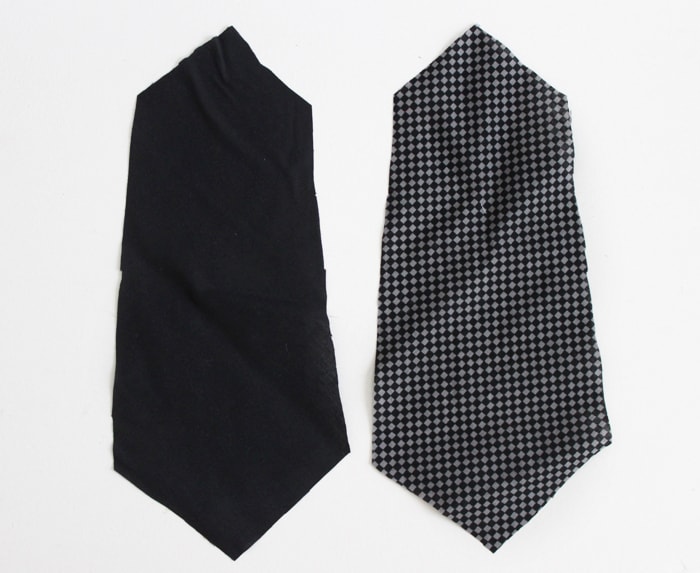
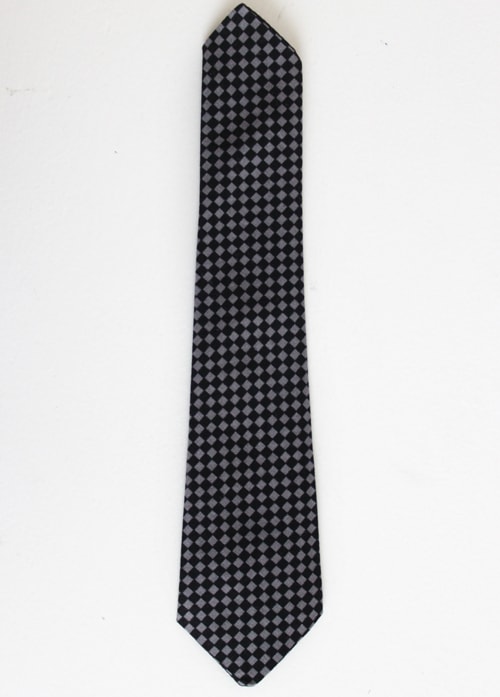
Cut two tie pattern pieces. One in the main fabric, and one in the lining fabric. I just used a woven cotton for these, but I think a silky tie fabric would be even better. Next time I’m at the thrift store, I’m going to try and find some old ties to upcycle.
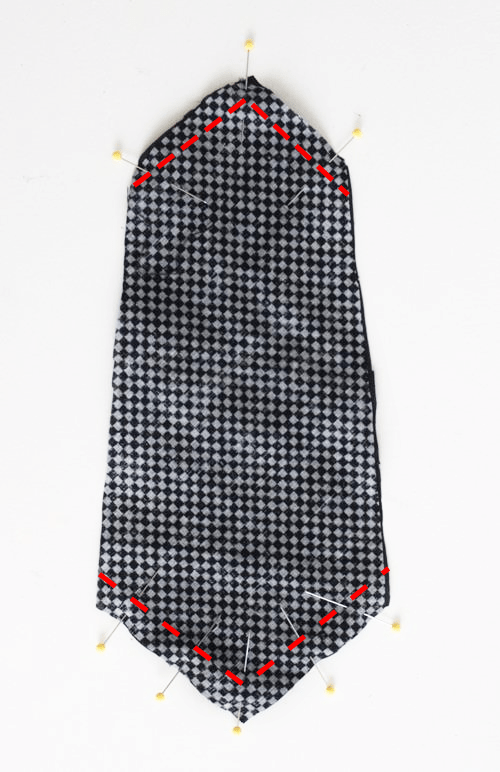
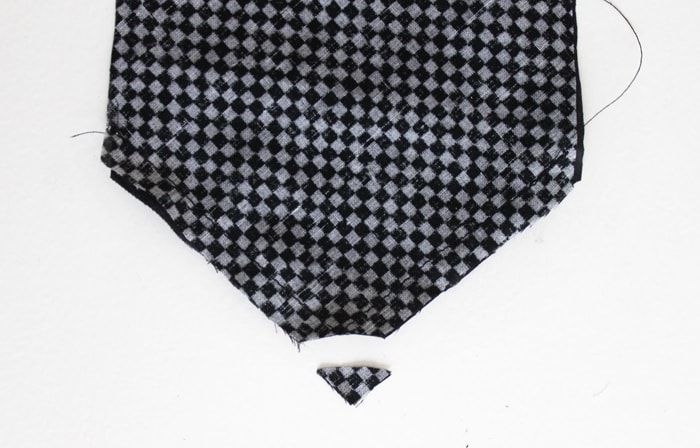
Pin the two pieces of fabric, right sides together. Using a 1/4 inch seam allowance, sew both pointed ends as shown below.
Snip both of the tips, being careful not to cut through your stitching.
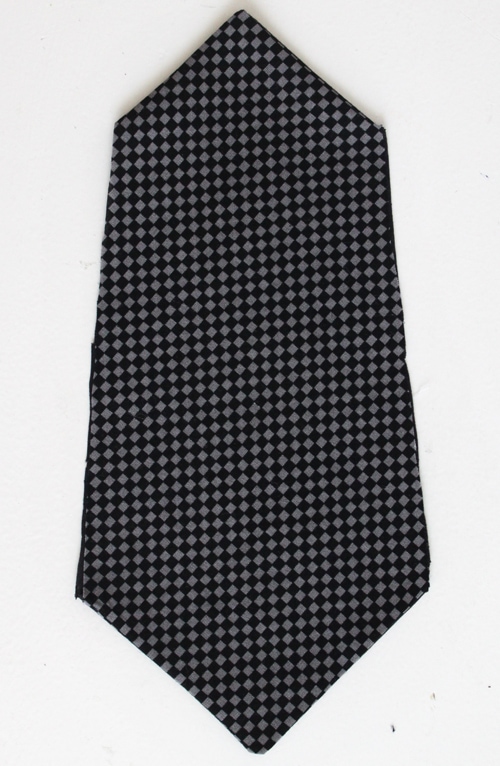
Turn the tie, right side out and press the seams flat. Make sure the tips, are nice and pointy.
Fold the tie in half, lengthwise with your main fabric facing inward. Sew a 1/4 inch seam down the long, raw edge.
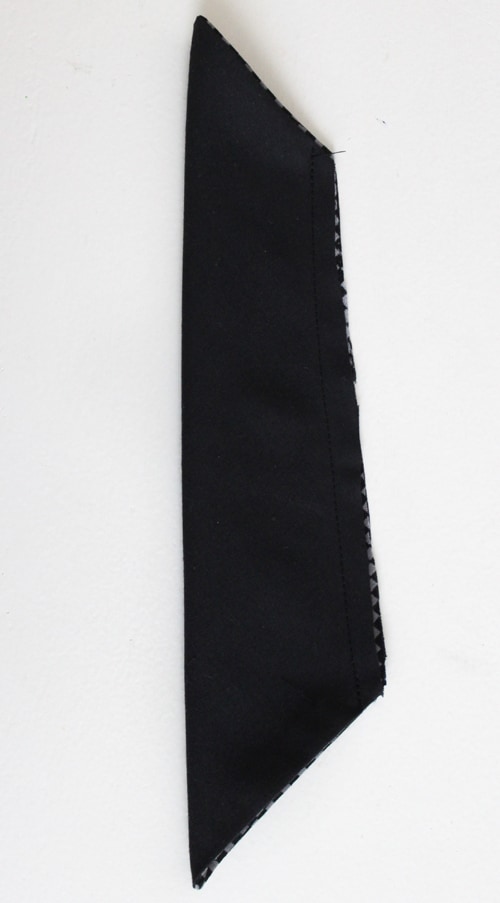
Flatten the tie, putting the seam in the middle. Things might be a little crooked at this point, but it’s more important that the larger end of the tie is straight. The smaller, skinnier end is not going to show. Iron the seam open. Try to use just the tip of your iron, so you don’t press the sides too much. This will make everything lay nicer when you are done.

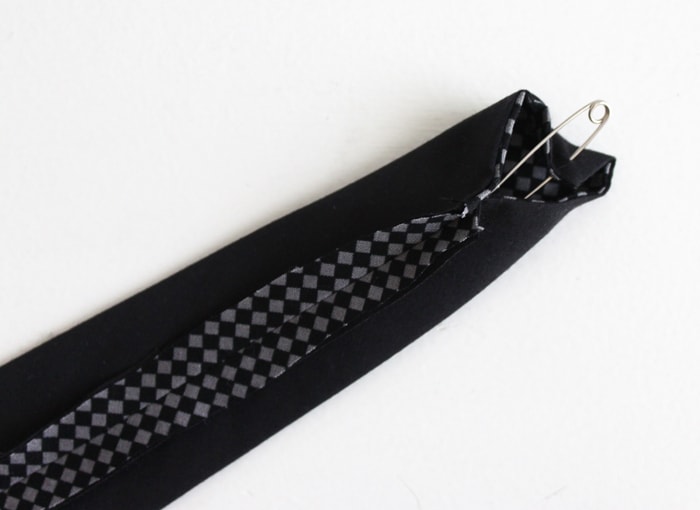
Hook a safety pin onto the smaller end of the tie, and use it to turn the tie right side out.
Iron the whole tie flat.
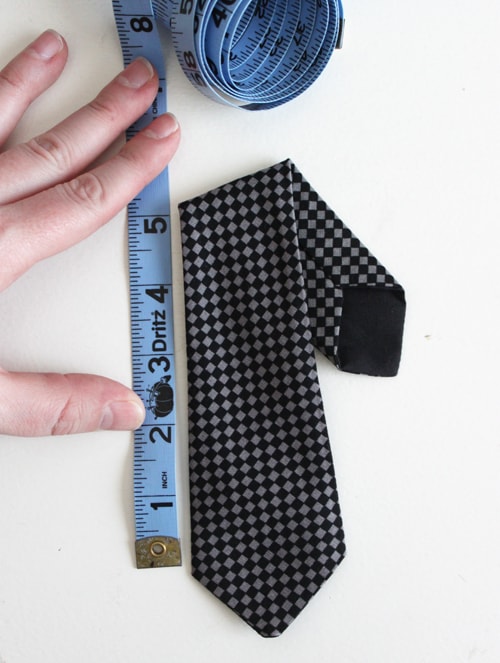
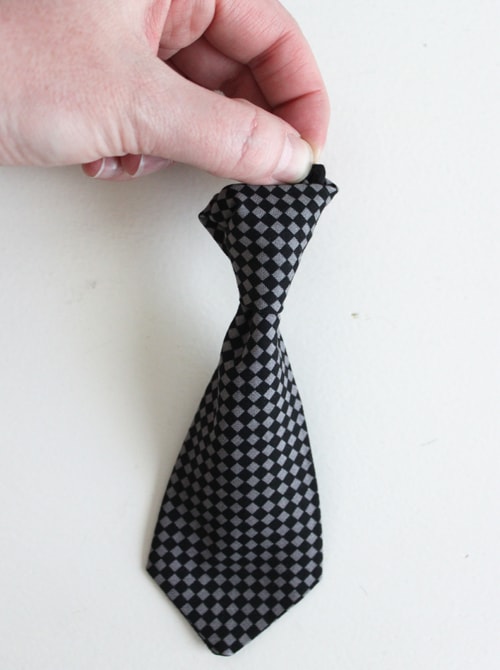
Now to “tie” the tie. Fold the top under about 5 inches from the upper point on the bottom. (Hard to explain… thank goodness for photos.)
Bring the top around the front of the tie.
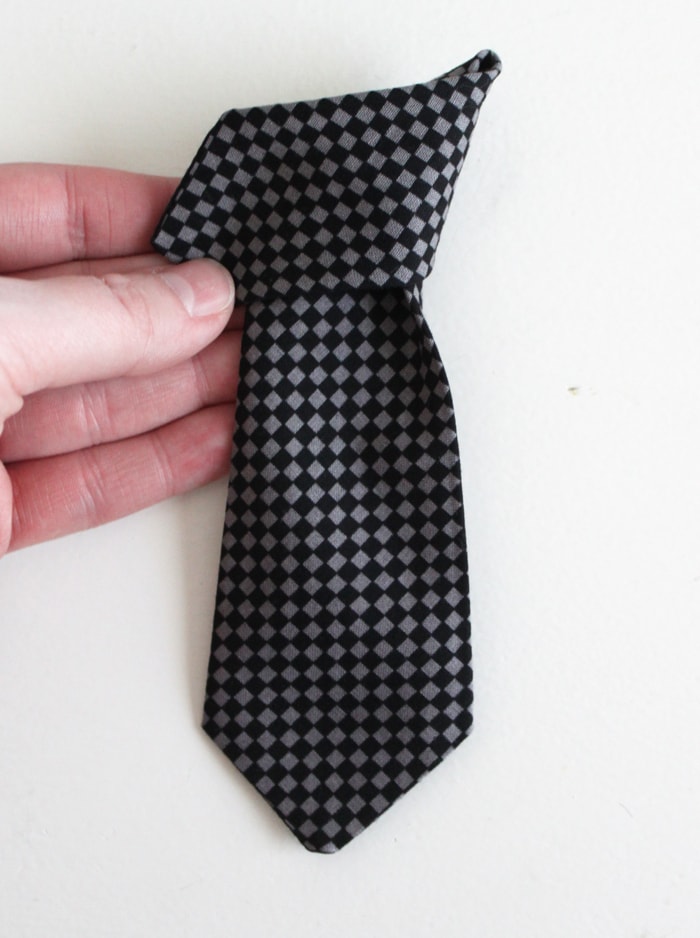
Tuck it around back.
And bring that tip up through the middle. It might take you a few tries to get it perfect, but you’ll get it.
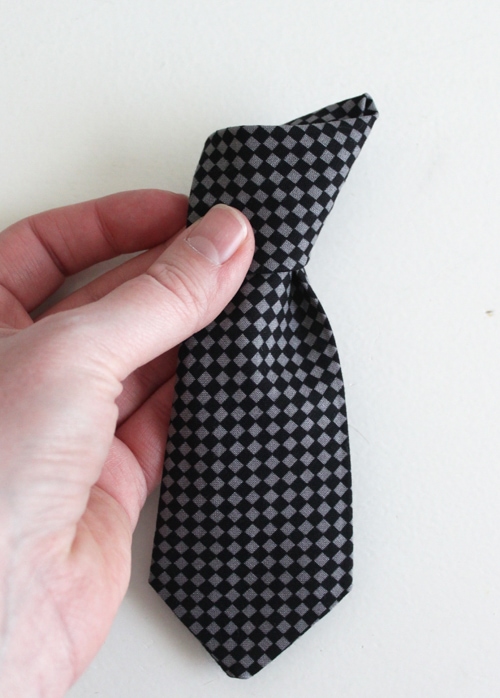
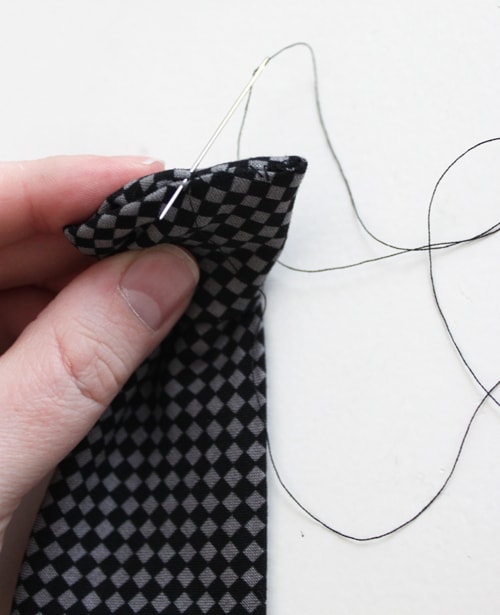
Hand stitch across the top of the tie, making sure to catch that tip that you pulled through. You want everything to be nice and secure, so stitch any parts that you think might slip. I used a simple whip stitch.
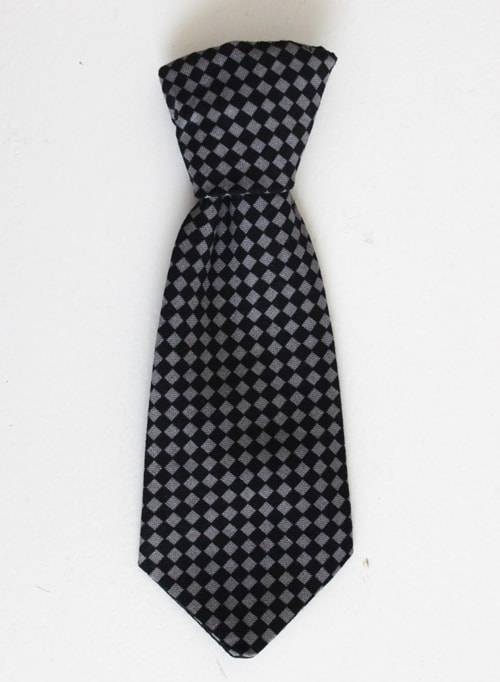
And you’ve got a cute little baby tie!
I just hand-stitched the top of the tie to the collar of the onesie. Make sure to stitch through the collar for extra support. I tried to think of a way to make the tie detachable for washing purposes, but I couldn’t think of anything practical. I even tried some snaps, but they just came off (maybe user error?) Anyway, if you choose to sew them on, like I did, you’ll probably have to hand wash the onesie so the tie doesn’t get messed up. I did accidentally wash and dry one. It looked ok after ironing, but still not the same. Up to you. I’m off to snuggle with my little guy! ♥
Wanda Dunlap
Friday 17th of January 2020
I'm very impressed with your creativity. This is exactly what I was looking for. It would have been nice if your web site had the capability of printing the pattern, instructions, and photographs without all of the ads so I can keep a copy in my files.